How to Master Gel Print Layers in Monoprinting
Are you struggling with creating beautiful layers with your gel prints? If so, you’re not alone. You may have seen so many articles and videos that may look simple but you’re still struggling to get great results. Join me as I show you two different ways I create layered prints with my gel plate to get the best results every time!
Hop-A-Long Studio is reader-supported. When you buy through links on our site, we may earn an affiliate commission at no cost to you. Learn more.
Embrace Imperfection
The hard thing about gel plate printing with layers is that you might have a great idea. But you try it and it doesn’t turn out perfectly the first time. That’s ok! I love the gel plate because it’s my opportunity to embrace imperfection and experiment with techniques.
But let’s talk about how we can set ourselves up for success every time we make layered prints with the gel plate.
2 Ways You Can Create Layers with the Gel Plate
My two favorite ways of creating layers with the gel plate:
- Adding multiple layers of paint to a gel plate then pulling one print
- Creating individual prints that are layered onto one piece of paper.
Each technique gives a unique result which is why I use both in my gel printing practice.
Printing Individual Layers on One Piece of Paper
When I was new to gel plate printing, I learned to create individual prints. Then I learned how to create gel print layers by adding several prints to the same piece of paper. This is an easy way to learn how to layer, especially when you’re new to gel printing techniques.
If you’ve never used your gel plate before, make sure to check out this article first. I share tips and tricks for getting no-fail results with your very first prints.

Choosing Gel Prints for Layering
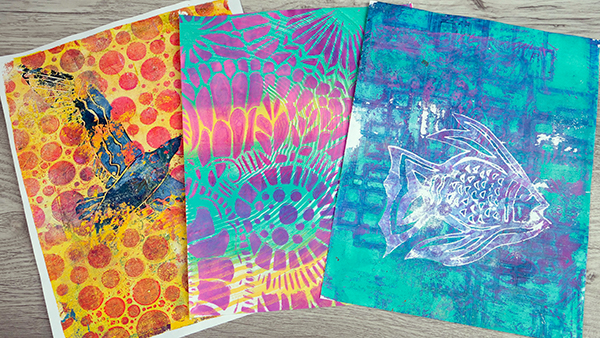
With this technique, I like to go through the gel plate prints I’ve made. They key is to find ones that I’m not attached to. Perhaps these prints have subtle texture, you don’t like the colors you chose, or they just feel incomplete. These are the papers I look for when gel printing with individual layers.
You can always create a gel print from scratch to use for this gel print layering technique, but I often already have prints that could use a bit of help.
Now that you’ve chosen your print, let’s start creating another image to add on top of the existing print. Be aware that depending on your design, you may cover a small part or a large part of the original print. This is why I like to start with ones that I’m not super attached to.
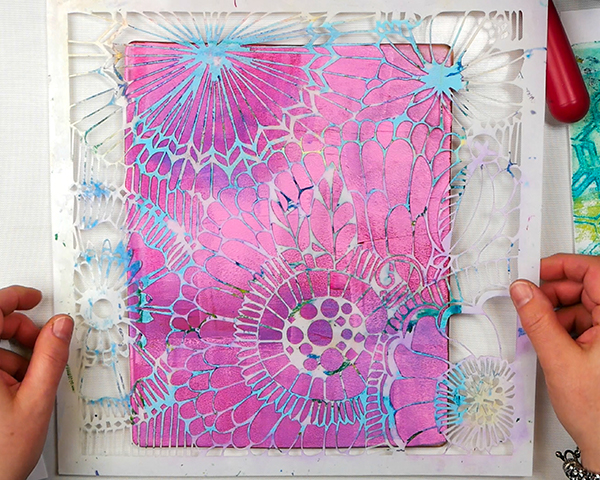
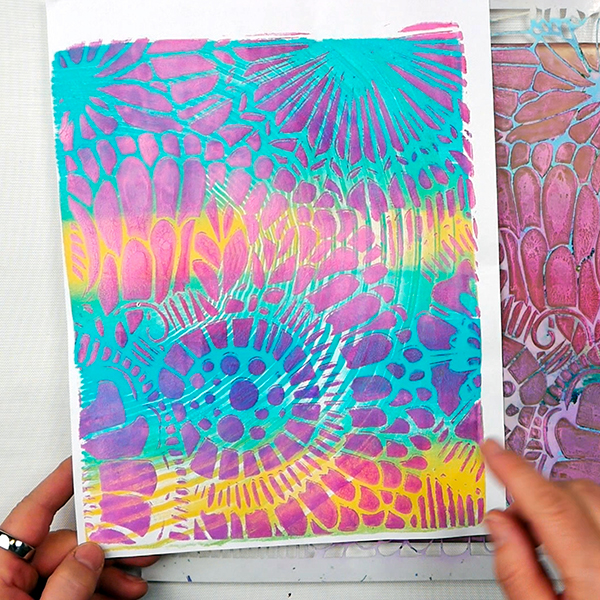
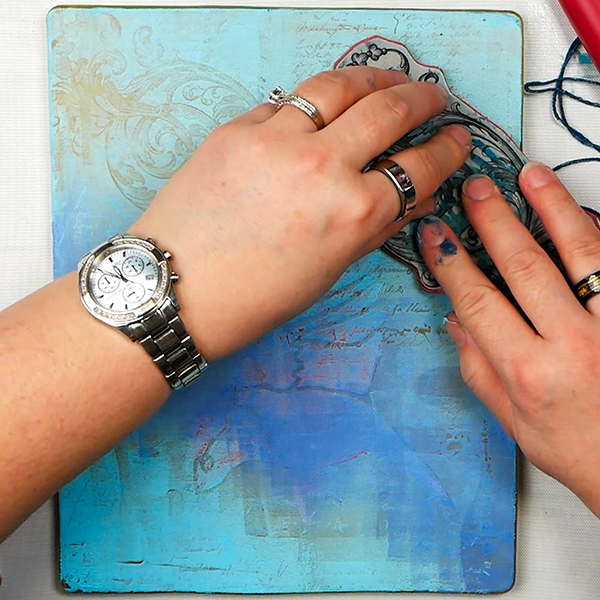
For this technique, one of my favorite materials to use is stencils. They will cover large areas with a pattern, working as a mask. This way you ensure that you still see some areas of the previous print.
Brayer your paint onto the gel plate, then add in textures and designs.
Tip #1: When we are layering print on top of print, only the areas that are covered will show the print below. You are building the print from back to front.
Take your gel print that you’ve chosen to alter and line it up on your gel plate and take a print. When you pull it up, you’ll be able to see where the layers of paint have been added to the background. This is why I suggest taking those ‘failed prints’ to use for this process. It gives them new life and an opportunity to do something fun and creative with them.
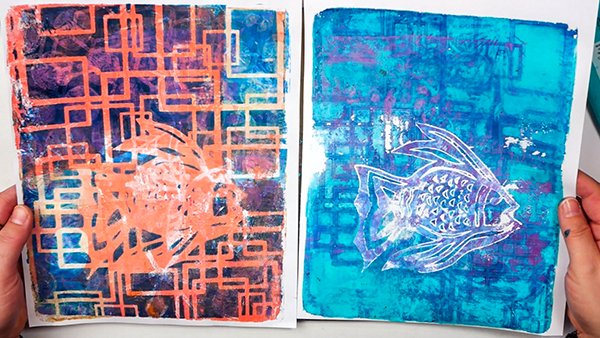
Using Masks for Gel Printing Individual Layers
Sometimes you may want to see a lot of the original print when using gel print layers. Other times you might want to cover up most of the print.
In this situation I like to use masks to create something beautiful and unique. Start by adding in your first layer of paint and any mark making you want to create.
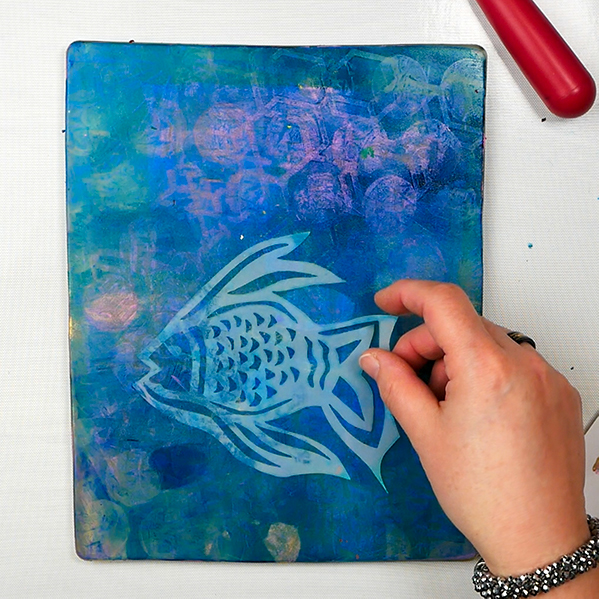
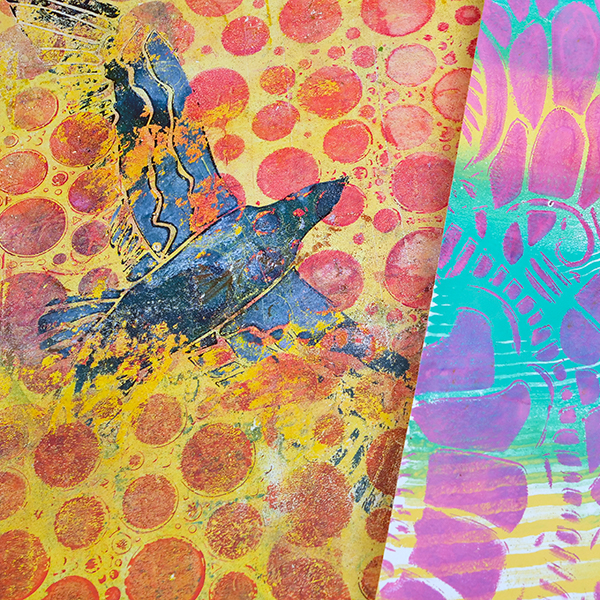
I add in my fish mask and geometric stencil from Stencil Girl Products, then take a print using a gel print. You’ll see that the areas covered with the mask and stencil show the color below, but most of the previous print is covered up. Though you can see subtle textures in the areas that I added in bubble wrap texture before adding in the stencil.
Tips for the Best Results with Gel Print Layers
Tip#2: Use Thin Layers of Acrylic Paint
Even if you’re adding in a second layer to a print, you still want to make sure that you use thin layers of paint. Any heavy layers of paint will cause blurry images or strange textures on the prints.
Tip #3: Lining the Prints Up Correctly
If you think you may use some of your prints for multiple layers, make sure to line the prints up at the bottom of the paper. This way, if you need to add a second layer, it’ll be very easy to line them up. You may not get it to line up perfectly every time, but it will generally be close.

Gel Print Layers Using Multiple Layers of Paint
There is another way that you can gel print layers your prints, and this is by drying the layers of paint between each layer.
Tip #4: When layering the paint, be aware that you are building your gel print from front to back, so keep this in mind while working.
This can be done in a very simple manner and without much complexity. But you can also look at adding 2, 3 or 4 layers of paint to your plate before taking a print.
The Basic Multi-Layered Print
Let’s talk about the creating the most basic multi layered print.
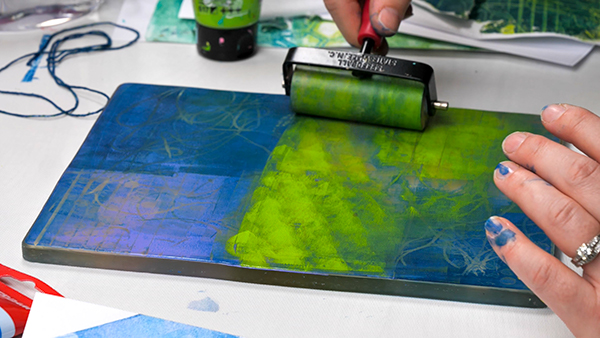
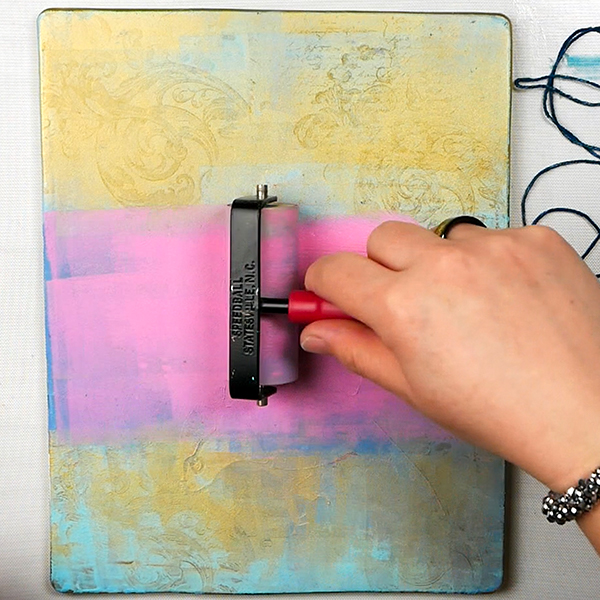
Paint Layer 1
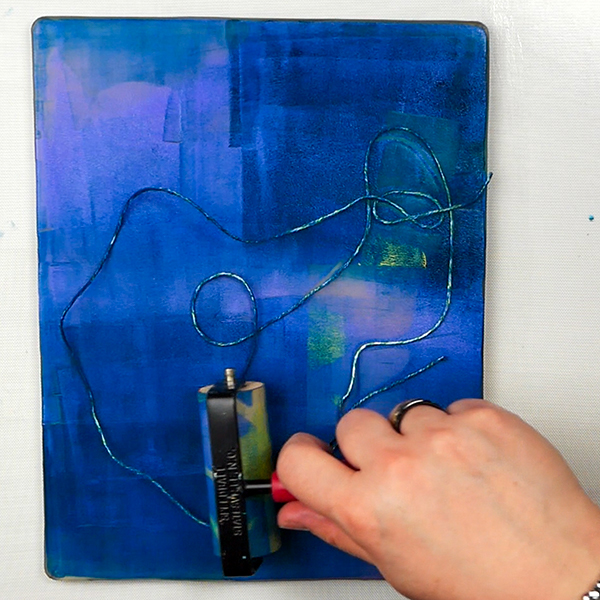
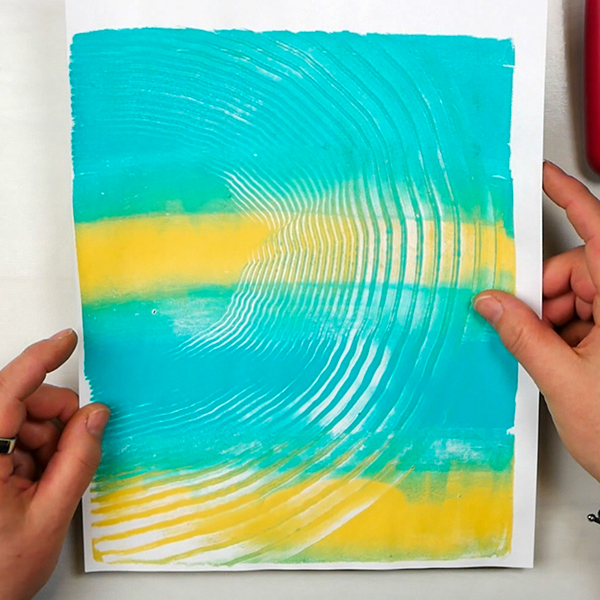
Add paint to your surface and add in some strong mark making to the surface. For this print I’m using string, bubble wrap and corrugated cardboard. You want to press these into the plate and make sure that you are removing the layer of paint from the gel plate. This will create more contrast in your print.
Make sure to stick with very thin layers of paint for this technique. You’ll get better results, and it will dry much more quickly.
Let the paint air dry onto the plate. I like to use a piece of paper to fan the paint to speed up the drying process. I don ‘t recommend using a heat tool to dry the paint, you can dry out or crack your gel plate over time.
Tip #5: This technique works the best with thin layers of paint and it should only take a minute or two for your paint to fully dry. You will know when it’s dry when you don’t see any more shiny areas on your surface and when you touch the paint it doesn’t stick to your hand.
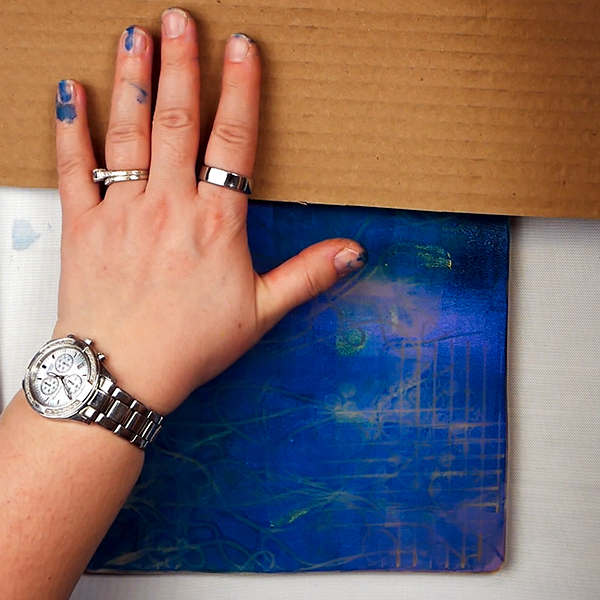
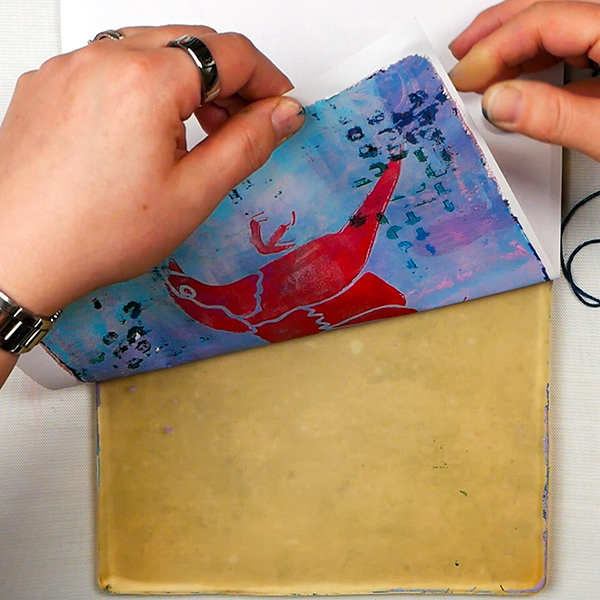
Paint Layer 2
Add a thin layer paint on top of the previous layer of paint. Make sure it’s thin so that you can pull up both layers of paint together. Take your piece of paper and pull the print. You should get both layers of paint up in one layer.

Troubleshooting this Technique
Tip #6: Don’t use too much paint for the second layer
If you add too much paint in your second layer it’s not going to pull up all the dried paint that you added on the first layer. You will get half a print come up or only the second layer of paint come up from the surface.
If you start peeling back the print and it doesn’t lift all the paint, press it back down and leave it for a bit. Sometimes I’ll leave these prints 5 minutes or so just to make sure that they lift correctly.
When you pull the print, it should take all the paint. Expect it to be a bit difficult to remove from the plate, like removing a very stuck on sticker. Work carefully and gently to make sure that you don’t rip your print.
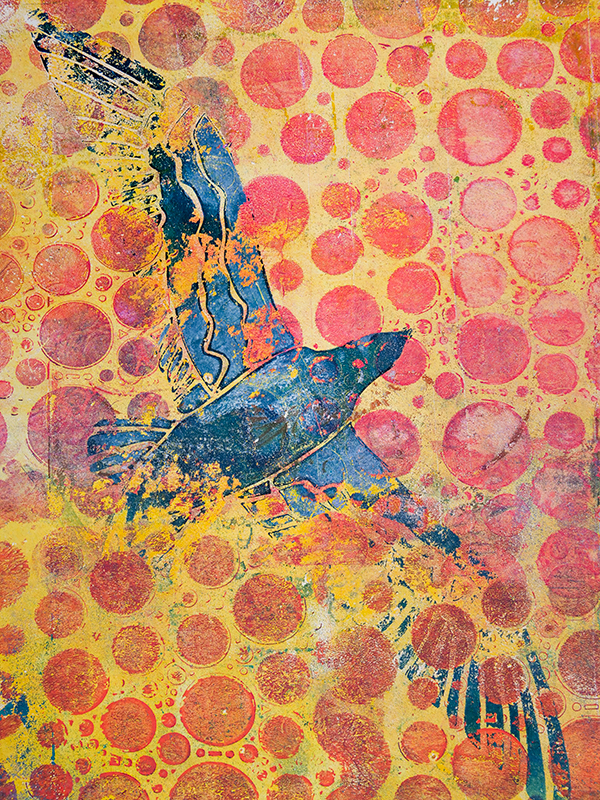
3 Layered Prints
For this print, I’m going to show you how to create a 3-layer print. The key to this technique is to make sure each layer is fully dry before adding the next layer.
Paint Layer 1
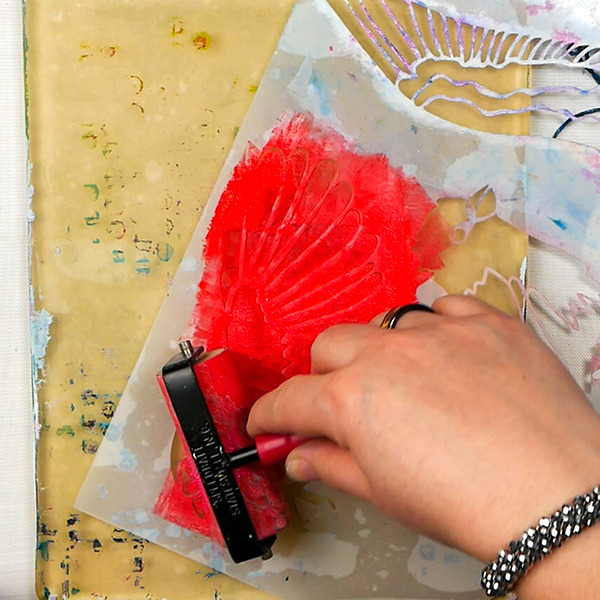
Choosing a bird as a focal point, I’m adding paint to my brayer and rolling to across the stencil. Pull the stencil and let it dry.
Paint Layer 2
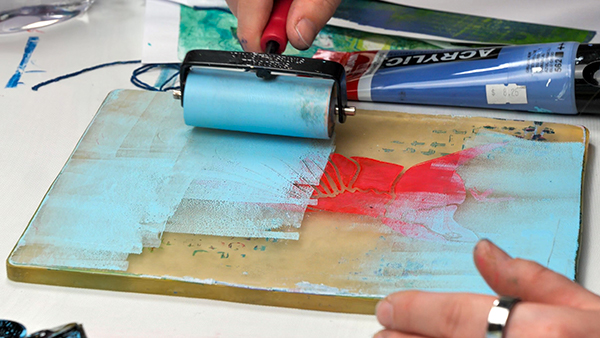
I added in a second layer of paint and while it’s still wet, add in more textures.
Using my favorite script stamps and baroque stamp, I was able to add in lots of subtle texture to the print. Let it fully dry.
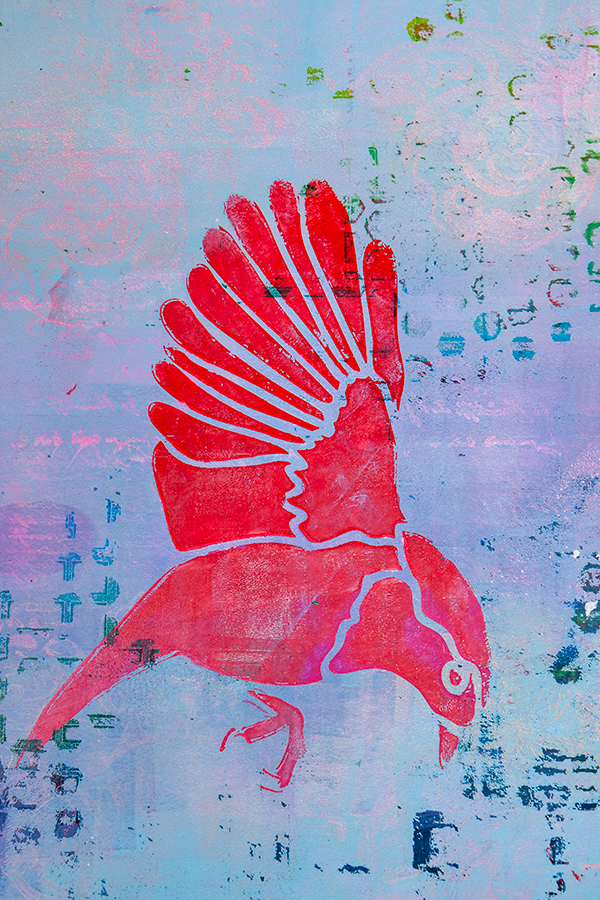
Paint Layer 3
For the third layer, I used gold and pink paint to create a more subtle final layer. I could have used a very contrasting color, but depending on how opaque or transparent the paint is, it might have made the print too dark.
To make sure I had great results, I added in my paper and left the print for 5 minutes to dry. I was able to pull it out and got a very clean pull from my gel plate.
Final Thoughts
Gel print layers may feel a little intimidating at first but try to embrace the experimentation! This is where gel plate printing gets to be a LOT of fun! I find the key to these techniques is practice. Learning how much paint to use, how long to leave it to dry, and how to pull the print can take a few trial runs. Just remember, the more you practice, the better you will get!
But I hope that this has helped you demystify the process of gel plate printing with layers and helps you to create in new and interesting ways.
If you haven’t checked out my previous article on gel plate printing, check it out below. If you are new to the gel plate, this is a great place to start to make sure that you master the basic techniques before trying layers.
Next week I’ll be sharing some ideas on how to use your gel plate prints on your next mixed media project. Make sure to come back and check it out!
Project Supplies
Every time you purchase from the affiliate links below, this supports my website (at no additional cost to you) and lets me bring you new content every week. Thank you for your support!

Proudly crafted in the Netherlands, these acrylic paints are value priced and easy to use, making them an excellent choice for the beginning or intermediate artist. They can be mixed with water or mediums, and clean up requires only soap and water.

Proudly crafted in the Netherlands, these acrylic paints are value priced and easy to use, making them an excellent choice for the beginning or intermediate artist. They can be mixed with water or mediums, and clean up requires only soap and water.

Proudly crafted in the Netherlands, these acrylic paints are value priced and easy to use, making them an excellent choice for the beginning or intermediate artist. They can be mixed with water or mediums, and clean up requires only soap and water.

Proudly crafted in the Netherlands, these acrylic paints are value priced and easy to use, making them an excellent choice for the beginning or intermediate artist. They can be mixed with water or mediums, and clean up requires only soap and water.

Proudly crafted in the Netherlands, these acrylic paints are value priced and easy to use, making them an excellent choice for the beginning or intermediate artist. They can be mixed with water or mediums, and clean up requires only soap and water.

Proudly crafted in the Netherlands, these acrylic paints are value priced and easy to use, making them an excellent choice for the beginning or intermediate artist. They can be mixed with water or mediums, and clean up requires only soap and water.

Proudly crafted in the Netherlands, these acrylic paints are value priced and easy to use, making them an excellent choice for the beginning or intermediate artist. They can be mixed with water or mediums, and clean up requires only soap and water.

Proudly crafted in the Netherlands, these acrylic paints are value priced and easy to use, making them an excellent choice for the beginning or intermediate artist. They can be mixed with water or mediums, and clean up requires only soap and water.
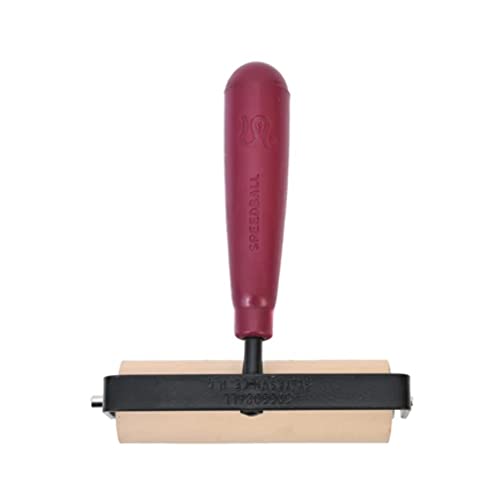
My recommended brayer for gel plate printing. 4" brayer provides even ink distribution and maximum coverage. Allows for consistent prints on a variety of surfaces.


1 ream (500 sheets total) of 8.5 x 11 inch white copier and printer paper. Acid-free to prevent yellowing. Smooth 20 pound weight paper for consistent ink and toner distribution; dries quickly and resists paper jams.

Proudly crafted in the Netherlands, these acrylic paints are value priced and easy to use, making them an excellent choice for the beginning or intermediate artist. They can be mixed with water or mediums, and clean up requires only soap and water.

Pebeo High Viscosity Studio Acrylic Paints are the ultimate mixed media acrylic! Vivid, deep, and richly pigmented, it offers very good lightfastness and permanence.
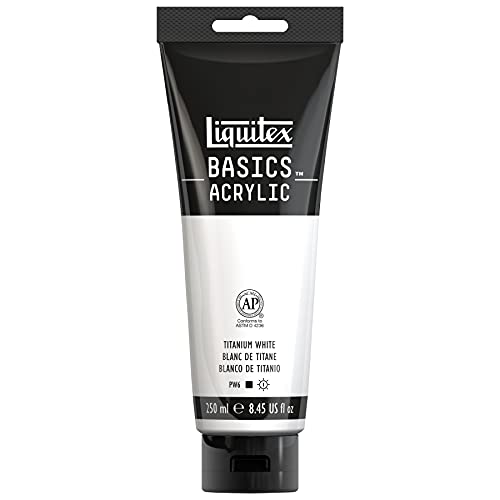
Liquitex Basics Acrylic Colors were developed for students and artists who require dependable quality at an economical price. Each color is uniquely formulated to bring out the maximum brilliance and clarity of the individual pigment.

Package contains 1 piece peonies flower stencil - 12x12Inch. Material: Translucent 10mil Mylar PET.

Package contains 1 piece stencil - 12x12 Inch. Material: Translucent 10mil Mylar PET.

Package contains one 12" by 12" stencil for use on all your mixed media projects!
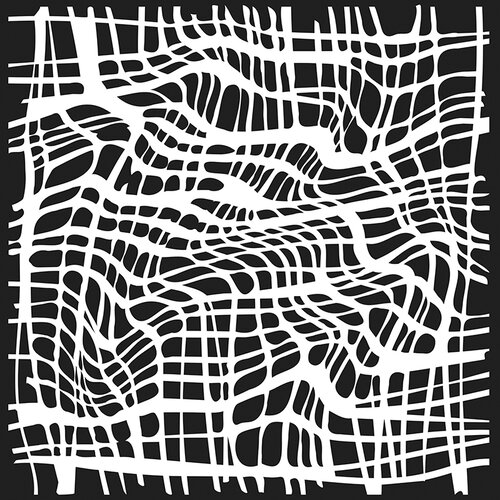
Add a unique and thought-provoking background to your creations with the Gauze stencil designed by Jaime Echt for The Crafter's Workshop. This 6" x 6" reusable stencil can be used with your favorite acrylic paints, pastes, markers and inks.

Features large size bubbles; heavy-duty large bubbles provide extra strength and protection for large bulky items; use large bubble cushioning to fill empty spaces in boxes and add instant padding for fragile items
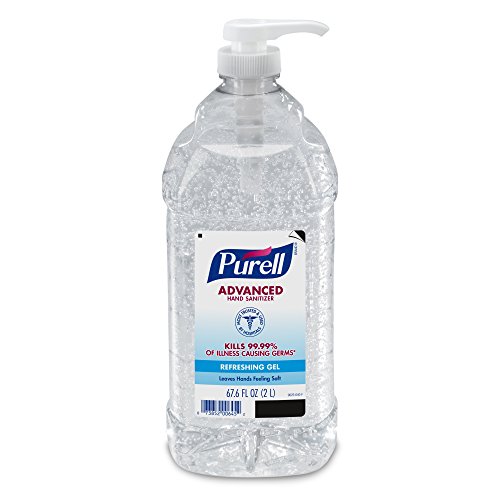
Hand sanitizer will get acrylic paint off of most surfaces. This is an excellent product for cleaning your gel plate before conditioning it.
Baby oil has fantastic uses in mixed media art and for conditioning your gel printing plate.
100% Cotton Butcher Twine String. 500 Feet of 2mm twine. Fantastic for a variety of gel printing and mixed media projects.

Corrugated cardboard works well for a base for many mixed media projects. This includes creating custom tools for gel printing and adding texture to gel prints.

You'll quickly love creating mixed media projects with Tim Holtz's Faded Type Cling Mounted Rubber Stamp Set by Stampers Anonymous. Included in the package are 6 cling rubber stamps that can be used with your favorite inks and an acrylic block (sold separately).
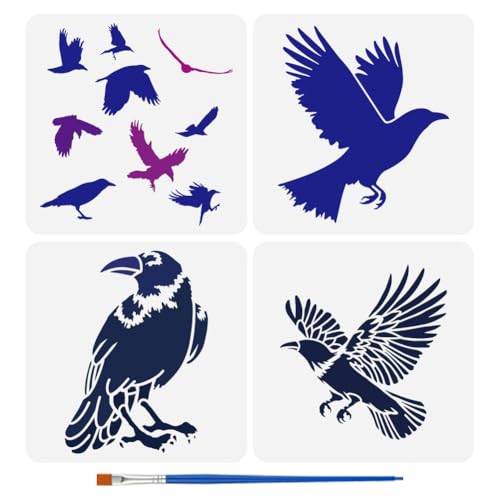
You will receive 4 delicate painting stencils with beautiful patterns and a plastic paint brush. There are crows and these ravens are standing or flying on the sky.

Create a beautiful and unique altered art project with the Ledger Script Cling Mounted Rubber Stamp Set by Tim Holtz for Stampers Anonymous. This stamp set comes on a three-hole punched storage sheet.

Create breathtaking DIY projects with the Baroque Cling Mounted Rubber Stamp Set designed by Tim Holtz for Stampers Anonymous. The set includes 2 cling rubber stamps that can be used with your favorite inks and an acrylic block (sold separately).


You May Also Like
3 Easy Ways to Trace Images onto Paper
Easy Foil Alternatives for Cards and Art Journal Pages