Make Gorgeous Collage Papers for Free
Do you ever see beautiful collage papers and feel like you just have to have them? Collections from companies like 49 and Market are beautiful but these papers can get pretty expensive, especially if you do a lot of projects.
Today I’m going to walk you through how you can make your own dynamic and beautiful collage papers that can be curated to work with any project or theme. Whether this is vintage and distressed or bright and bold, this technique can work on a variety of papers.
Hop-A-Long Studio is reader-supported. When you buy through links on our site, we may earn an affiliate commission at no cost to you. Learn more.
Materials to Use for Collage
You can use a variety of materials, from old calendars, magazines, text paper, and junk mail to name a few. I’m also using pieces of recycled packaging that have beautiful designs. The more you create with mixed media, you’ll find a lot of things around your home that will start ending up in your art!
What Surface to Use for Collage Papers?
When you’re creating these collage papers, you can use copy paper, or if you want a sturdier surface, use mixed media paper or cardstock. But today, I want to show you how freezer paper can be a fabulous material for creating unique and semi-transparent collages.
Why Freezer Paper?
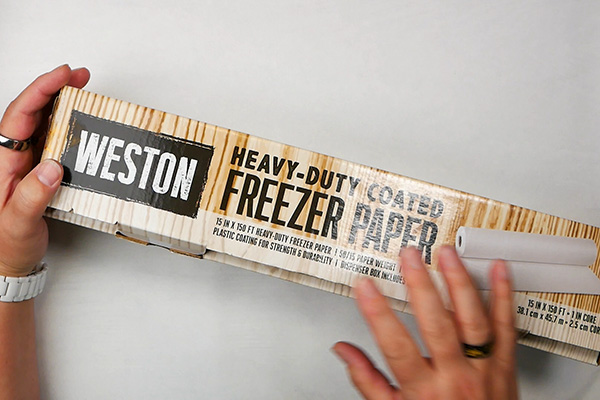
Freezer paper is fantastic because you probably already have some in your kitchen. This is a surface that you can create your collages on, but the papers peel off easily once they’re dry. This way you can re-use the freezer paper for future collages.
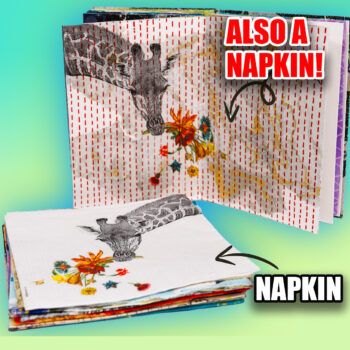
If you’re using semi-transparent images like tea bags, napkins or tissue paper, this gives you a lot of creative opportunities that you won’t get when collaging onto white paper.

Freezer is a must have for any mixed media artist! This paper is fantastic for collage, but has many other uses in the art room!

How to Collage on Freezer Paper
Start by laying out a piece of freezer paper. You can take a large piece if you want to create a collage that is bigger than 8.5” by 11”. I tend to work large with these pieces because they can be used as dual page layouts in one of my journals or can be cut up to create several unique projects.
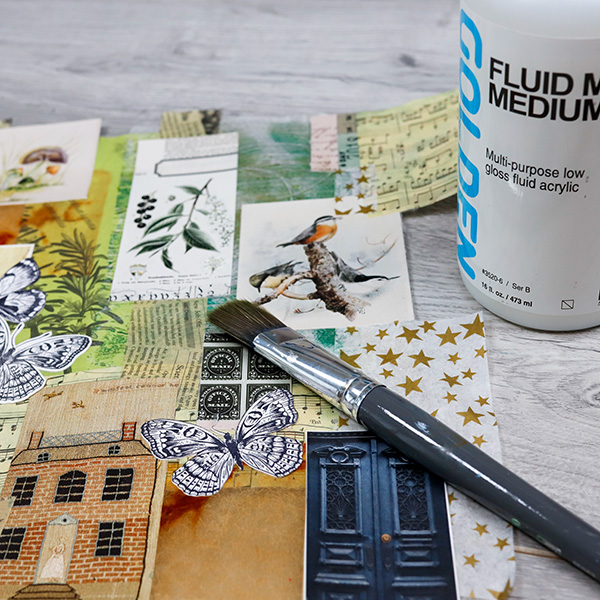
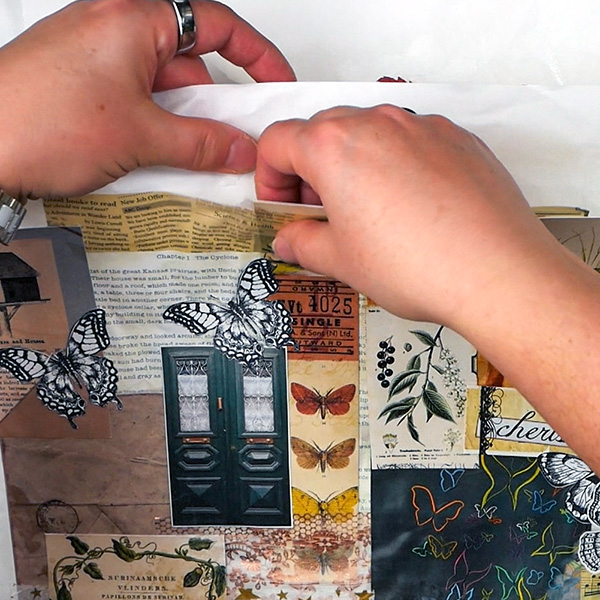
Start by adding matte medium (or Mod Podge) to your freezer paper surface, then add some matte medium to the back of your image and place onto the freezer paper.

You’re going to want to seal the top of the paper, so add another layer of matte medium or collage glue on top.
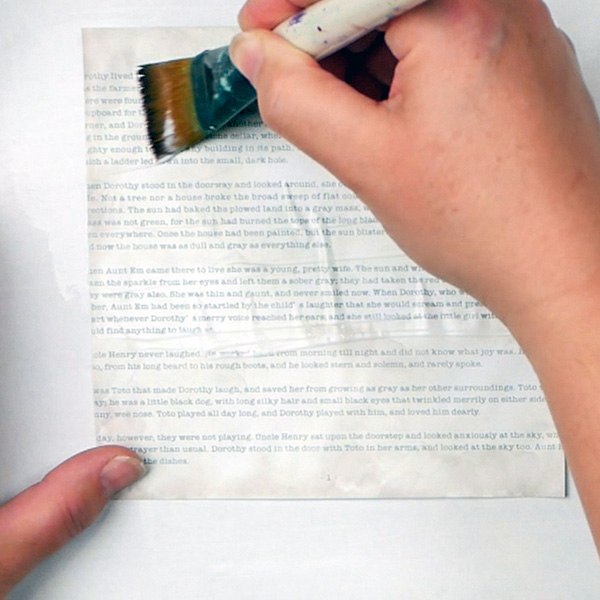
You might be wondering why we want to add matte medium to the freezer paper. This helps the paper stay in place and creates a seal in behind the paper, you’ll see as we go on why this is helpful!
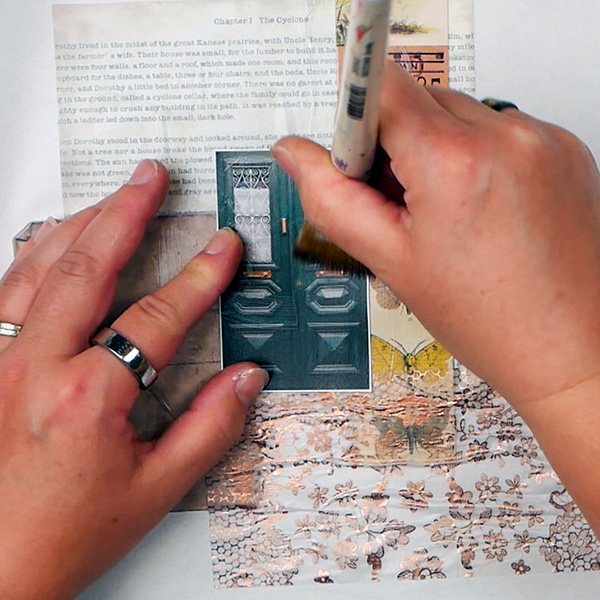
Continue to build your collage. I’m working with larger pieces, but there’s no reason that you can’t work with smaller pieces of collage paper. It comes to personal preference and what you like.

Mod Podge serves as an all-in-one glue, sealer, and finish, eliminating the need for multiple products and making it a staple in any crafter's toolkit.

Creates a matte, non-reflecting finish when added to acrylic colors. Lightweight, non-toxic; Opaque when wet, translucent when dry. Intermixable with Liquitex Professional Acrylic Paint Colors and Mediums
Building in Translucent Layers
The reason I like using the freezer paper over regular copy paper is that any slightly transparent surface will continue to stay transparent. For example, when using tea bags, you’ll be able to create a layer that is semi-transparent. This means when you add it onto a project, the background layers will shine through. This makes it an amazing technique. You can also use tissue paper to get similar results.
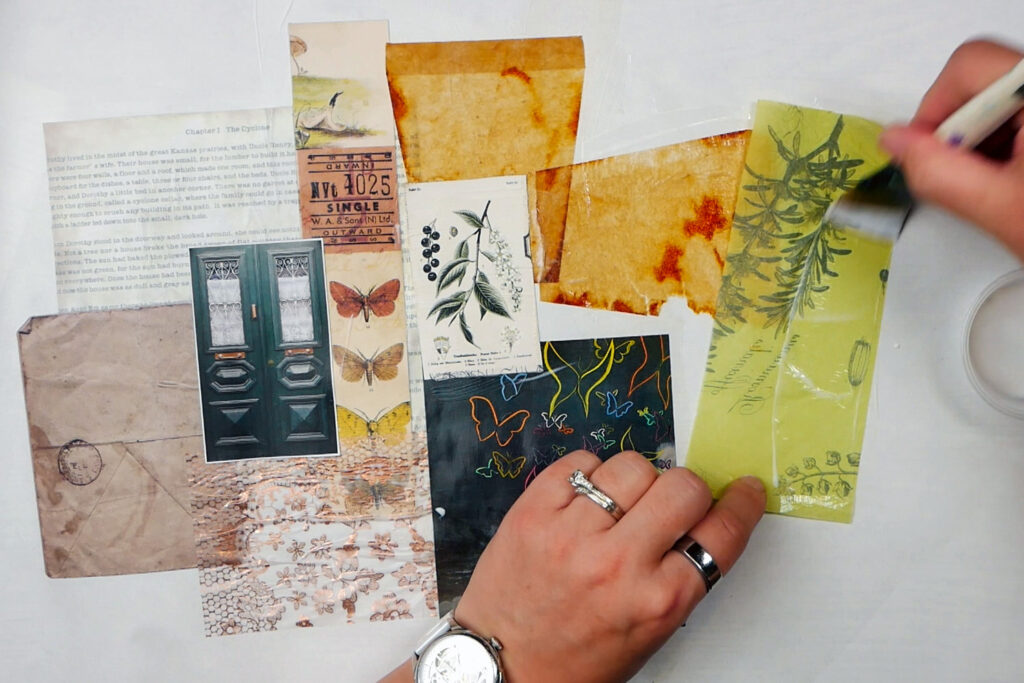
After you’ve added all your layers, let it dry. If you’re impatient, just use a heat tool to gently dry the paper. Just make sure to stick to a cool setting and have your tool 6” above the surface. You don’t want to bubble or buckle your paper!
Removing the Collage Paper from the Freezer Paper
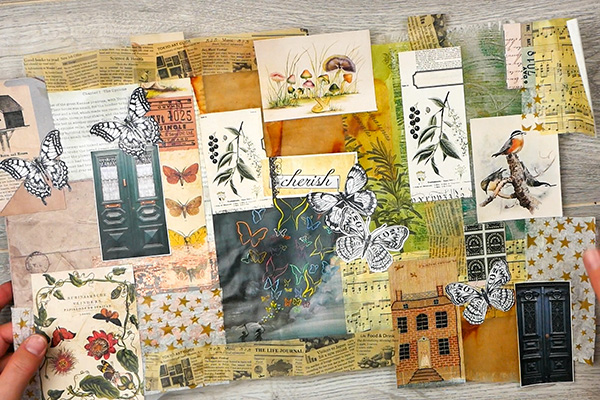
Once the collage paper is dry, start at a corner and gently peel the paper from the freezer paper. It should be very easy to remove. This creates a strong, and bendable piece that you can use for any of your projects. By adding the matte medium on both the front and the back, this creates a strong acrylic layer. You’ll notice that the back is more matte from the front, but that is to be expected.
Before Using Your DIY Collage Papers…
Make Copies of Your Collage Papers
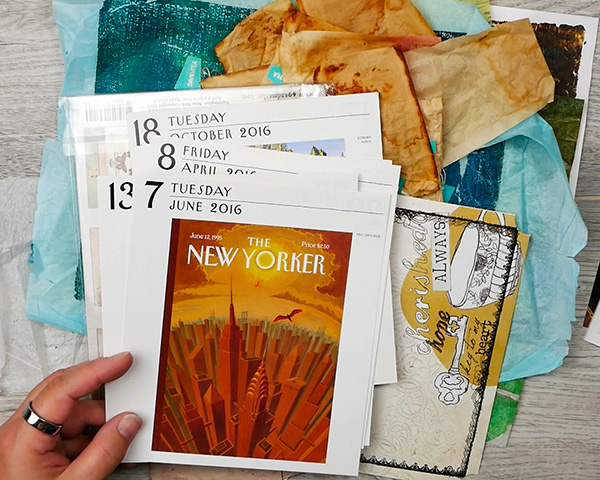
Before I use these unique collage papers, I tend to scan them on my flatbed scanner. This gives me a high quality and clear image that I can play with in Photoshop.
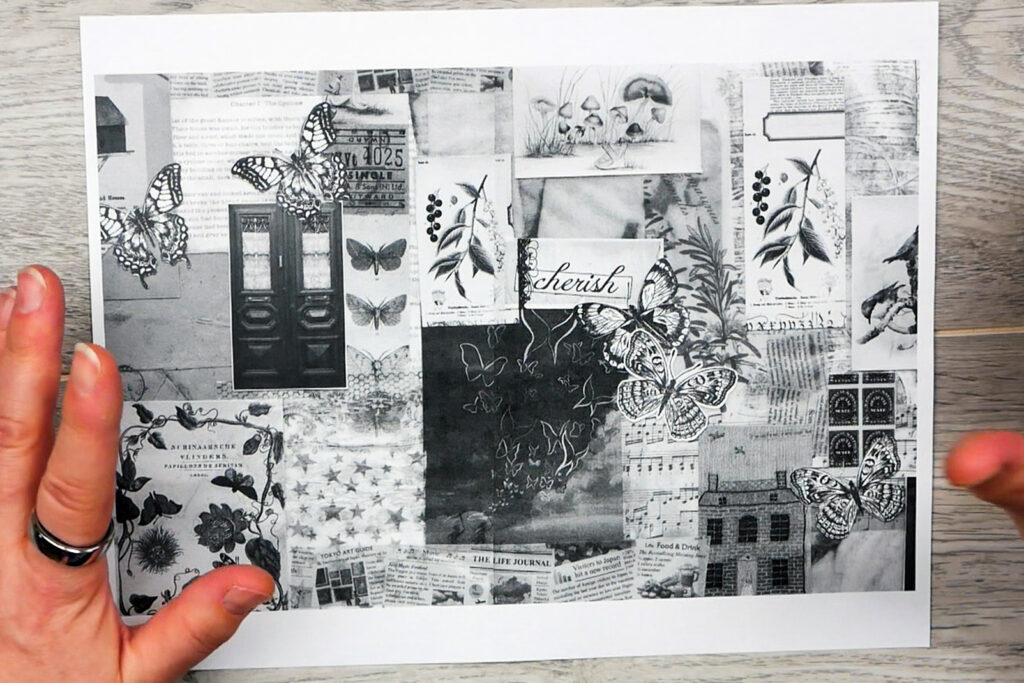
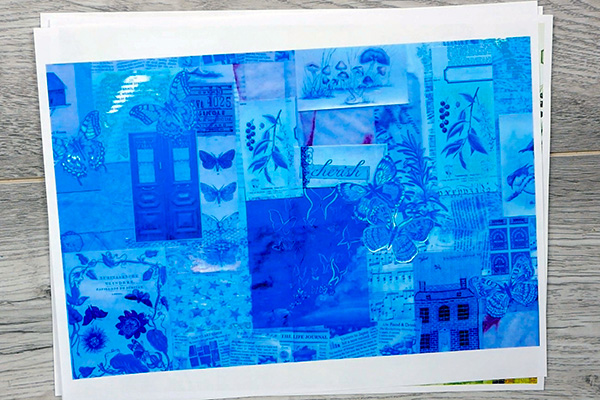
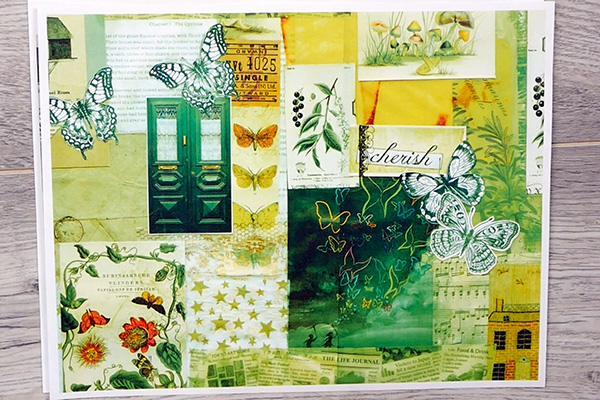
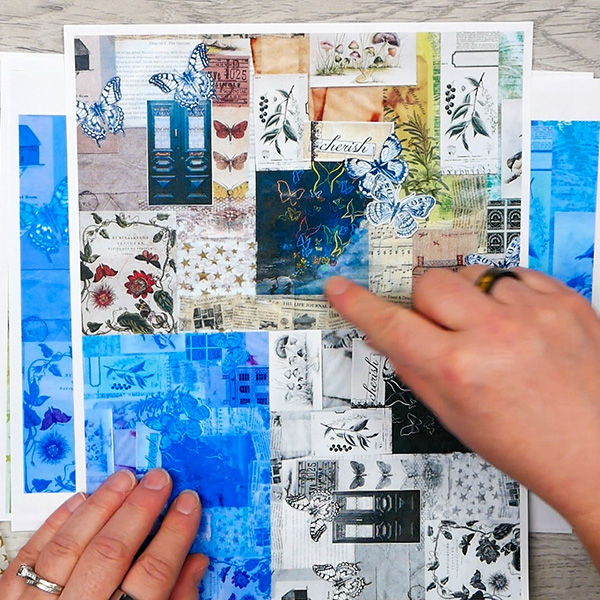
Here’s a few ways I adjusted the colors on the scanned file and printed them on copy paper. One collage can give you a lot of creative options!
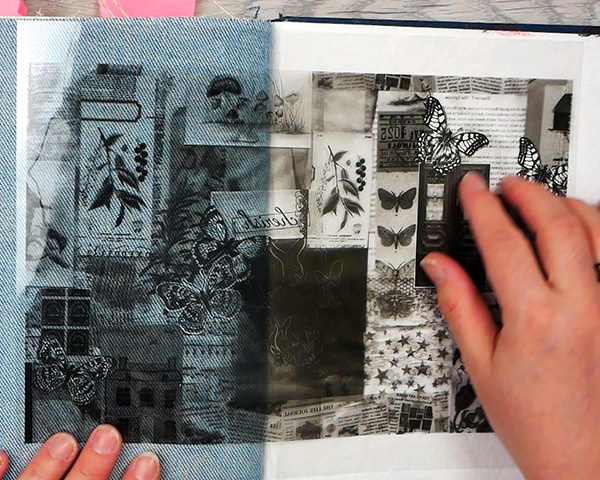
Black & White
Blue & Purple
Green & Yellow
Not Super Techy?
If this seems like an overwhelming idea, no problem. Just take a well-lit photo with your phone. These photos can be printed and used in your projects.

What to Do with Oversized Collage Papers?
With oversized papers, I take several scans and turn them into one image in Photoshop.
The low- tech option is to go to your local library and use their color photocopier. Most copiers have settings where they can shrink down images from larger sizes to smaller sizes. This is a way that you can take these larger pieces and shrink them down to a size that’s easier to use.
If the idea of using software is overwhelming, this is an easy option.
How to Use Your Collage Papers in a Project
There’s lots of ideas for using these papers in a project. You can cut them into shapes or tear them into pieces to use in your projects. These papers are great when you want to create but don’t have a lot of time. By having a stack of papers that you can cut or glue straight into your art journal can save time!
Using Copies in Your Art Journal
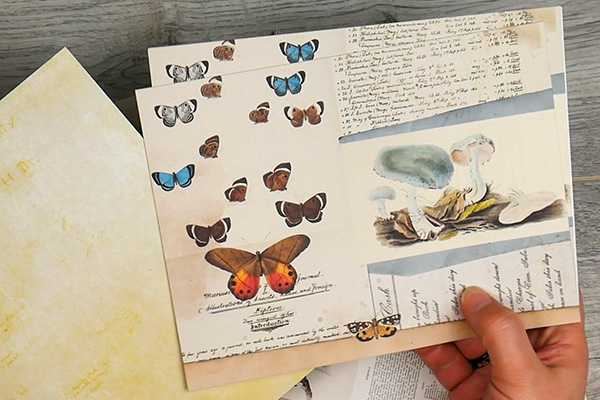
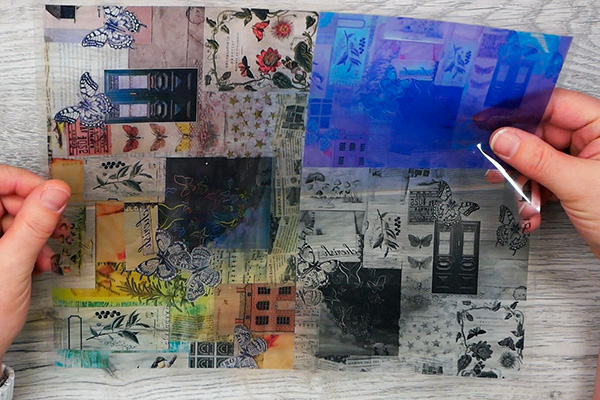
Here’s a few of my collages that I’ve altered from the scans. I’ve printed them onto acetate sheets, and they can be easily used as is or cut into shapes to be added to a project.
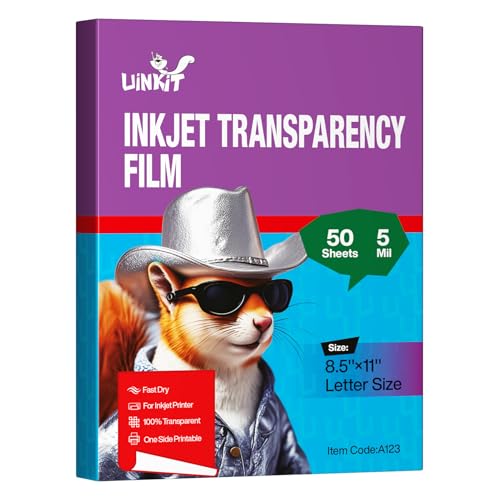
- INKJET PRINTER COMPATIBLE: printable color inkjet transparency sheets for standard inkjet printers
- 100% TRANSPARENT: less exposure time for screen prints and clearer overhead projector transparencies
- HIGH QUALITY PRINTING: transparency film specially designed to produce brilliant colors and details

Koala Laser Transparencies are made of 0.1 mm PET material and non-adhesive liner paper in a staggered package that prevents film sticking and maintains durability and print quality.
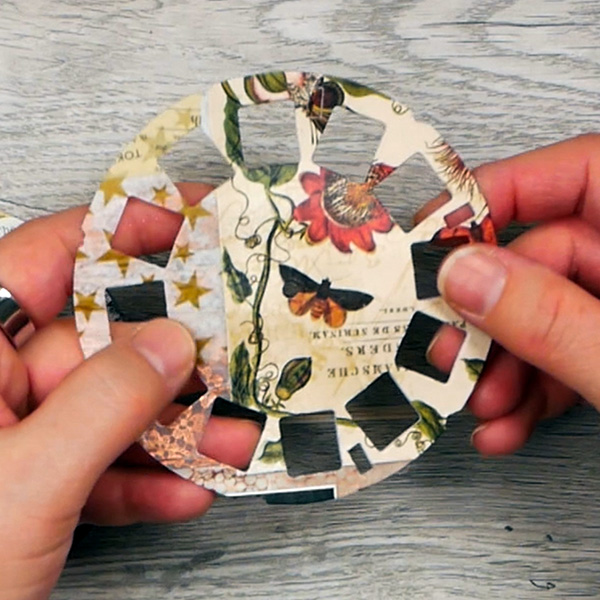
How to Cut Collage Papers
You can use scissors, a craft knife, punches or steel rule dies with a die cutting machine to create a variety of shapes.
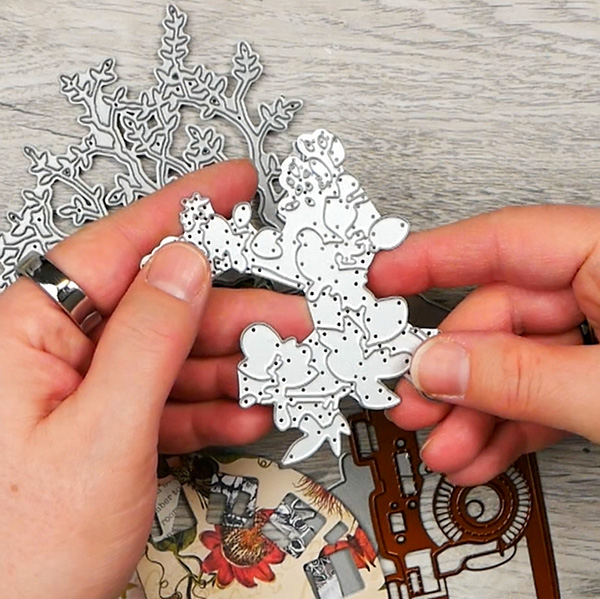
The nice thing about these papers is that the matte medium makes these papers stronger, so they are great to be used for making unique shapes.
Final Thoughts on Collage Papers
I love these collage papers because it helps get the creativity flowing, especially if you’re running into creative block.
It’s a fun process just playing with these papers, trying out different designs and seeing what you come up with. What’s great about this process is if you don’t love a particular design, that’s ok. It’s not yet included in your art. This is a great way to experiment and play without worrying about the result.
Project Supply List
Freezer is a must have for any mixed media artist! This paper is fantastic for collage, but has many other uses in the art room!

Every day features a different masterpiece representing a variety of mediums, eras, and cultures.

Archival material created and made in USA. Lineco is a leading and trusted brand for archival quality art, photography, and framing supplies. 16 gm2 tissue allows for translucency and durability. Acid-free and lignin-free; PH Neutral and Non Buffered.

100 sheets of vintage wildflower floral tissue paper measuring 20" by 14".

Creates a matte, non-reflecting finish when added to acrylic colors. Lightweight, non-toxic; Opaque when wet, translucent when dry.

Use Golden Matte Mediums to extend acrylic paints while promoting even flow and leveling, and maintaining the film's stability. These 100% acrylic polymer liquid mediums also decrease gloss and increase translucency.
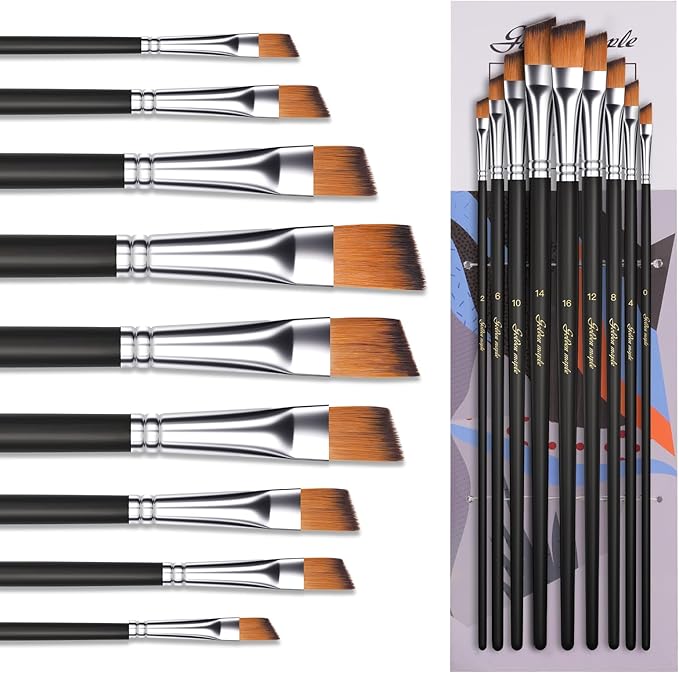
This angled paint brushes set includes 9 sizes (0,2,4,6,8,10,12,14,16) for achieving optimal painting results. Crafted for durability, these acrylic paint brushes deliver smooth strokes and precise color control. The resilient filaments hold paint effectively and release it evenly for seamless application.
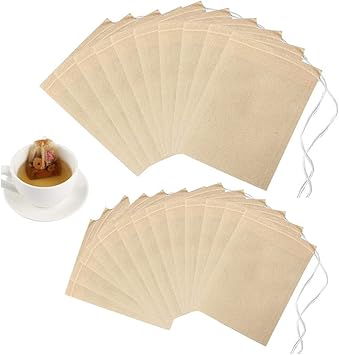
The tea bag is made of natural wood pulp filter paper, unbleached, safe and tasteless. Specially designed to brew the best tea for you to enjoy pure tea.

Capture your precious moments with the exquisite Nostalgic Memories 6x8 Collection Paper Pack designed by Dennis Bruton for 49 and Market.
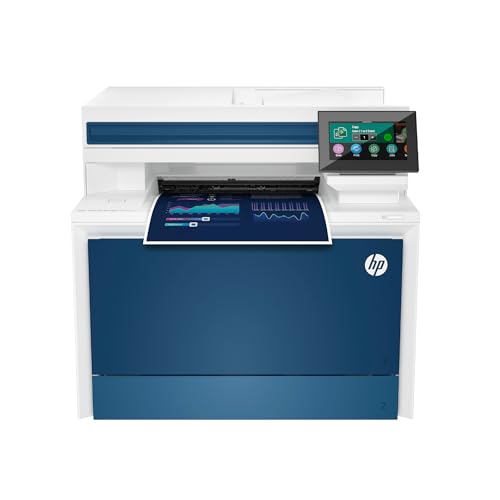
If you're an artist looking for a versatile laser printer, this is the one for you! This printer will print on acetate, watercolor paper, pastel paper and heavy cardstock.
- INKJET PRINTER COMPATIBLE: printable color inkjet transparency sheets for standard inkjet printers
- 100% TRANSPARENT: less exposure time for screen prints and clearer overhead projector transparencies
- HIGH QUALITY PRINTING: transparency film specially designed to produce brilliant colors and details
Koala Laser Transparencies are made of 0.1 mm PET material and non-adhesive liner paper in a staggered package that prevents film sticking and maintains durability and print quality.

Capture every nostalgic detail with the Vault Picture Show Thinlits Dies from Tim Holtz and Sizzix! This 15-piece set includes film reels, slides, and vintage photo frames.


You May Also Like

Wet on Wet Watercolor Technique
New to Napkin Decoupage? Start HERE!