How to Cut and Color Intricate Die Cuts
Have you ever had frustrations when working with small die cut images? This week we will be talking about how to cut and color intricate die cuts successfully. I will be sharing a few of my favorite materials and tips on how to get successful images every time.
The Challenges with Cutting Die Cuts
There can be many challenges when working with die cuts, especially delicate ones. It takes some trial and error to figure out the best way to run the die cuts through your machine so that they will cut consistently. Here are 3 tips that will help you get consistent die cuts.
Using a Quality Die Cut Machine
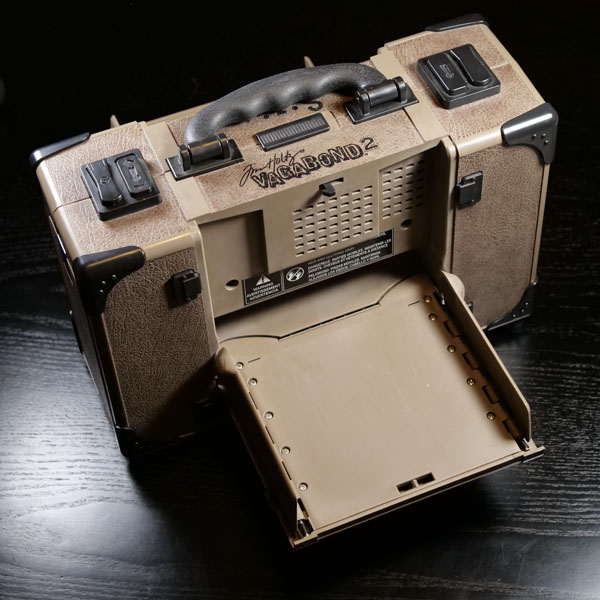
There are many die cut machines out on the market, but my favorite is the Tim Holtz Sizzix Vagabond 2. This machine is very easy to use, is motorized and the machine itself has a lot of torque. This workhorse machine will help get you a better cut every time compared to a machine that requires manual feeding.
I have used several manual feed die cut machines over the years, my favorite manual machine is the Sizzix Big Shot. I loved this machine and used it for years, but there was always a limit to how much strength I had to hand crank the paper through the machine.
With the Vagabond 2, it can generally cut paper that I could never physically manage to get through my Big Shot. The motorized nature of the machine allows for better, faster, and more consistent cuts. Plus, it folds up very compactly and is easy to store.
The Condition of Your Cutting Plates
The condition of your cutting plates is important when dealing with intricate or delicate die cuts. If you are using an intricate die cut, having cutting plates in good condition without warps is important. You will notice over time the plates will warp a bit, which is normal. By flipping them every time you put them through your die cut machine you will help keep them flat.
If you are still running into problems getting the die to cut all the way through the paper, consider making several passes through the machine. When you do more than one pass, make sure to alter the position of the die and paper with every cut. This will give different pressure with every pass and will help getting a successful cut.
If you are still running into problems with cuts, try using shims. Shims are pieces of paper or cardstock that are added into your die cut sandwich to cause additional pressure in places to help with a successful cut. If there is one spot of your die cut that is not cutting properly, add a shim to this spot.
Paper Thickness
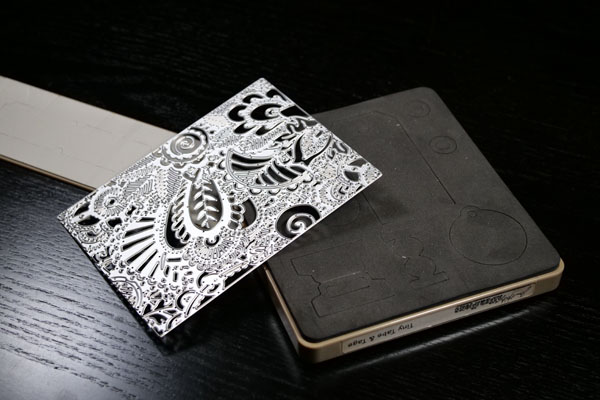
It is important to realize that not all die cuts will cut the same thickness of paper. The style and name of the die will give an indication of the thickness. Thinlit dies are quite slim and thin, which makes them very good for cutting cardstock and thin paper, but they will not be able to cut chipboard and heavier paper.
For dies that are thicker and heavier, like Bigz dies, these are meant for cutting heavier paper, and chipboard. It is important to be aware of the constraints of your dies before cutting. For materials such as Yupo, some Thinlit dies will cut it very easily, but it depends on the design. Some delicate and intricate dies cut well with Yupo, other ones struggle to cut through this medium.
Coloring Delicate Images
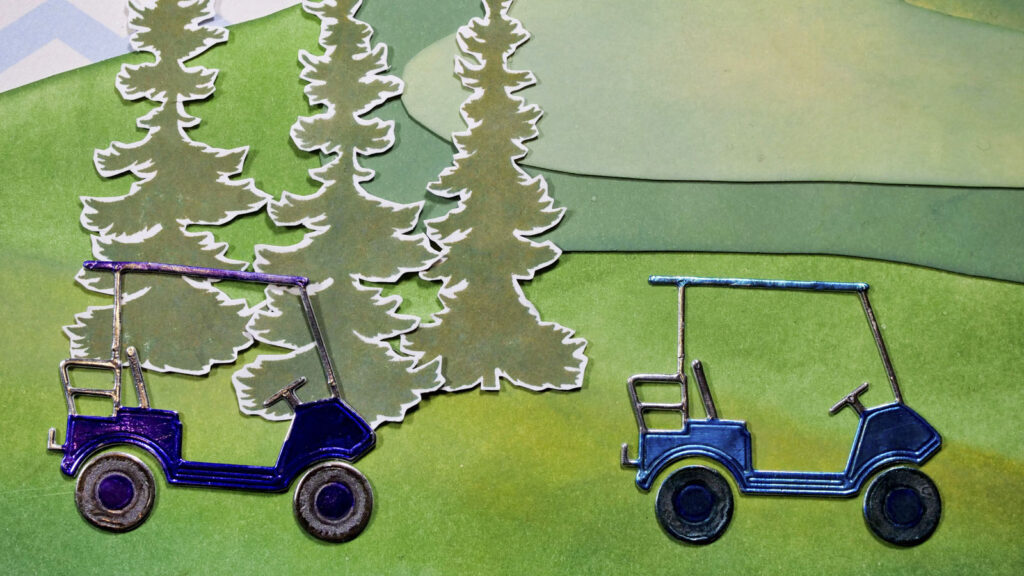
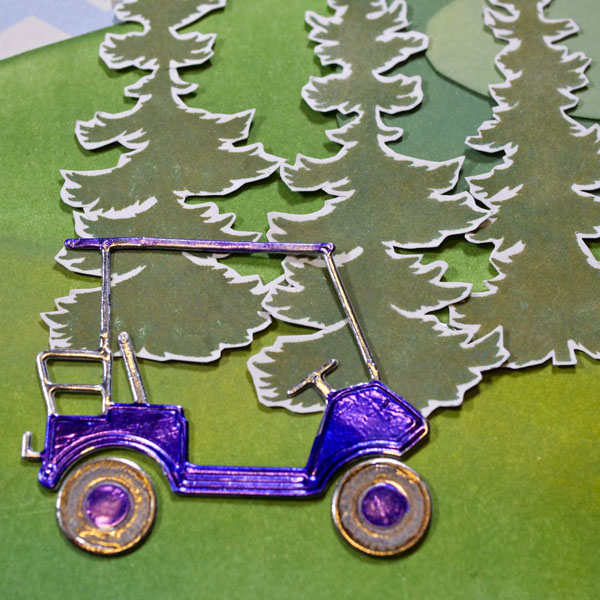
In the video above, I demonstrated how to cut and color the very delicate die cuts from Memory Box’s Mini Golf Carts die. These dies are easy to cut, but the challenge is how to color them. They can be very delicate and will not withstand much handling. It can be very frustrating when you create a beautiful image and damage it when trying to add color.
Choosing a Stronger or Altered Paper
One solution to this problem is to cut the image with stronger or altered paper. In the demonstration, I show you how to use tin tape on thin paper and Yupo to cut these images out. As these materials are stronger, it makes coloring them less of a challenge.
Choosing the Right Medium
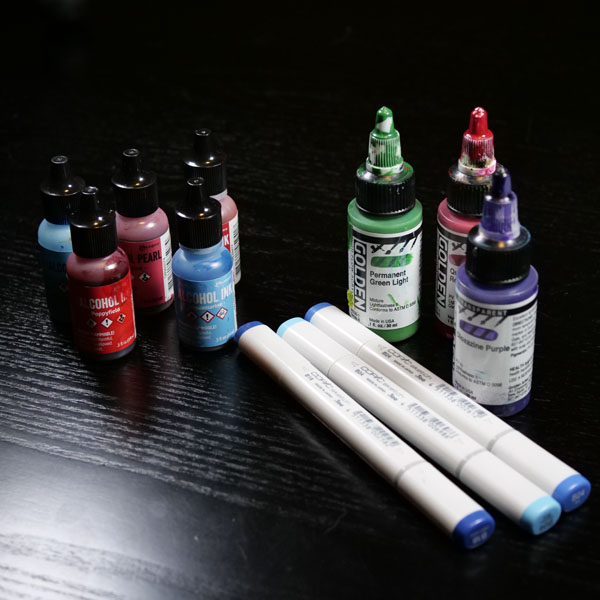
When using a stronger paper that has a slick surface, it is important to understand what mediums can be used to color them. There are many options including paint, alcohol inks and alcohol markers. In the demonstration, I use a brush and alcohol inks to color the images. As alcohol inks dry quickly on any surface, they are an ideal choice when working with delicate die cuts of altered paper.
What Do You Think?
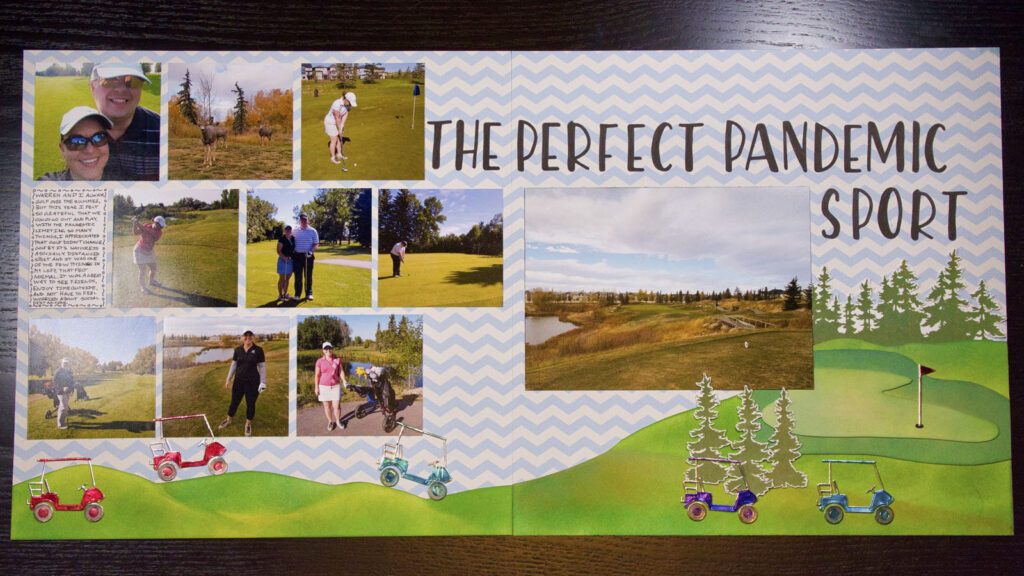
What do you think about my approach on how to cut and color intricate die cuts? I hope that this has provided you some insights on how to get consistent results with your die cuts.
Is this something that you have struggled with before? I would love to hear if you have had any frustrations or successes with cutting and coloring intricate die cuts. You can always leave a comment below or contact me directly.
I would also love to see your work! Please use hashtag #hopalongstudio when sharing your work on Instagram so that I can see your beautiful creations. I hope that you have time for creative self-care as we head into the weekend!
Project Supply List
- Sizzix Vagabond II Die Cutting Machine
- Sizzix Vagabond II Cutting Platform & Plates
- Memory Box Mini Golf Cart Die
- Surfaces: Leigon Yupo, White Cardstock
- Ranger Alcohol Ink: Gunmetal, Aquamarine, Tranquil, Deception, Crimson, Mushroom
- Other Materials: Foil Tape, Size 0 Synthetic Paint Brush, 99% Alcohol, Paper towels


