Scrapbook Page Design Tips
Do you ever struggle with coming up with a strong design on a scrapbook page or art journal page? This week I will be sharing scrapbook page design tips that will help you create pleasing compositions with ease.
Creating a Strong Layout
Creating a strong layout seems simple. But it can feel like a struggle to get the photos, papers and mixed media elements work well together. Here are 3 tips that I use for creating a strong scrapbook page design:
Tip 1: Rule of Thirds
By using the rule of thirds when placing your photos and images, this will help create a stronger design. If you are not familiar with the rule of thirds, check out my article about How Grid Drawing Can Improve Composition.
To summarize, to use the rule of thirds, take your page and divide it into thirds both horizontally and vertically. When you do this, you create 4 intersecting points. These points are what are considered your “sweet spots” for composition.
If you subject is touching or close to one of these 4 points, this will create stronger compositions. For more examples and information about using the rule of thirds, click here.
Tip 2: Use Odd Groupings of Photos and Images
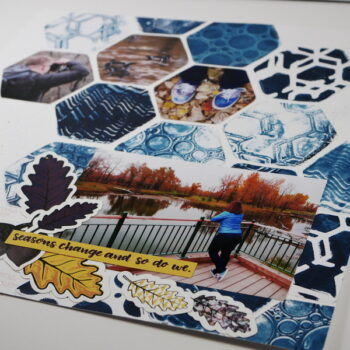
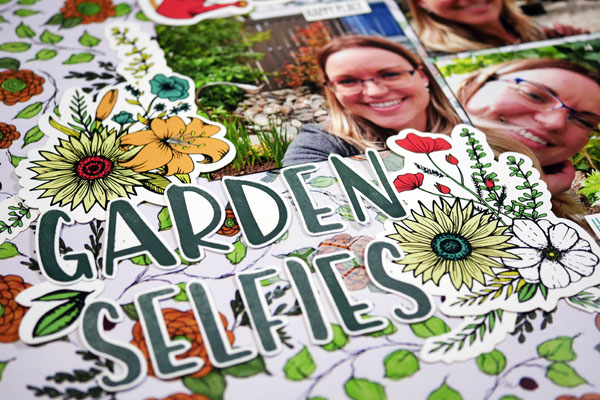
Try using odd groupings of photos and images. Groups of 3 or 5, or even a single item, makes for a more interesting design. Try it out for yourself. You will notice if you use a group of 2 items or 4 items look less interesting than odd groupings. In this layout, I purposely chose 3 photos to make an odd grouping. I also used embellishments in similar groupings.
Tip 3: Use Mixed Media Elements
One of my favorite techniques is using white paint to soften a background. When you soften a background, you do not want to lose the design of the paper. But this will allow the embellishments and photos to be the focal point of the page. I also love adding a black pen border around my photos. It is a small thing, but what a difference it makes to help the photos pop on the page.
The Scrapbook Project
In this week’s scrapbook project, I use all three of these scrapbook page design tips in my layout. Please view the video below or continue reading to see the written instructions for this layout.
Adding Paint to Scrapbook Paper
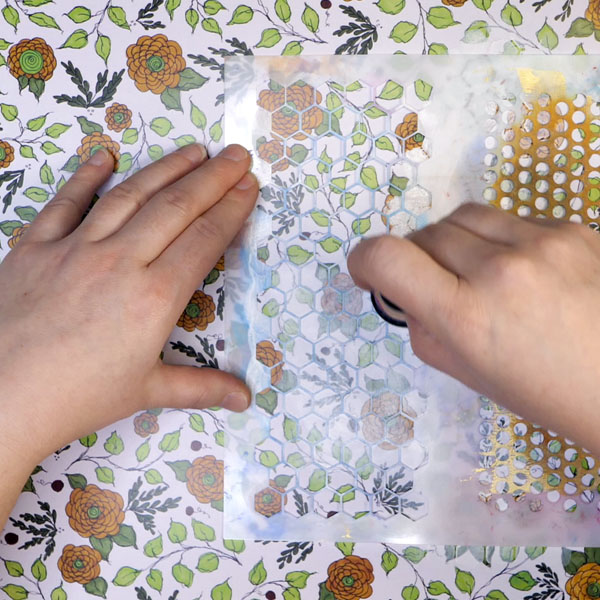
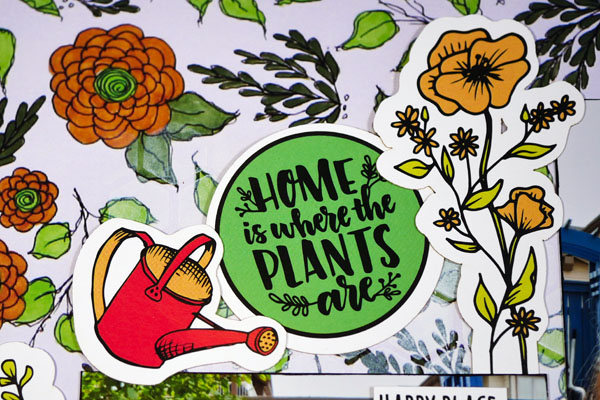
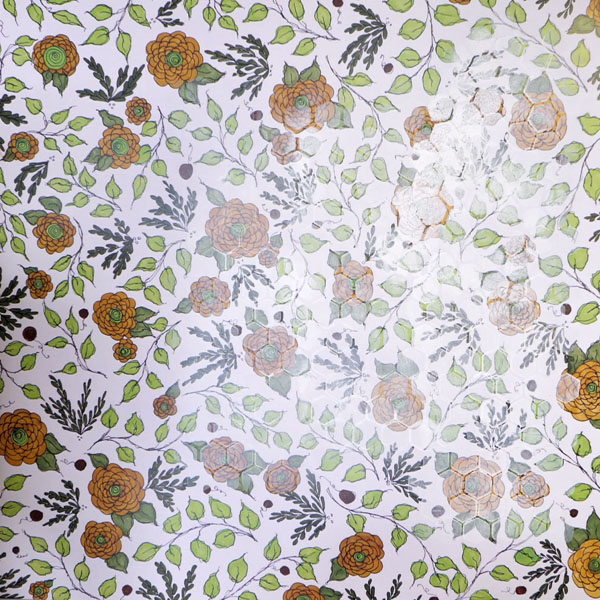
The bright paper of Wild Whisper Designs Pam Bray’s Carefree collection was a great match for this page about gardening. I love bright and busy papers, but they can sometimes overwhelm the photos. To mute the paper, add paint through a stencil using a blending tool and foam.
By varying the consistency of the paint, this makes some areas opaque while others you will still be able to see the floral design. Focus on adding paint to the areas that would have most of the photos and embellishments. By muting the paper, this keeps the photos and ephemera from being overwhelmed by the bright background paper.
Adding Pen to the Photos
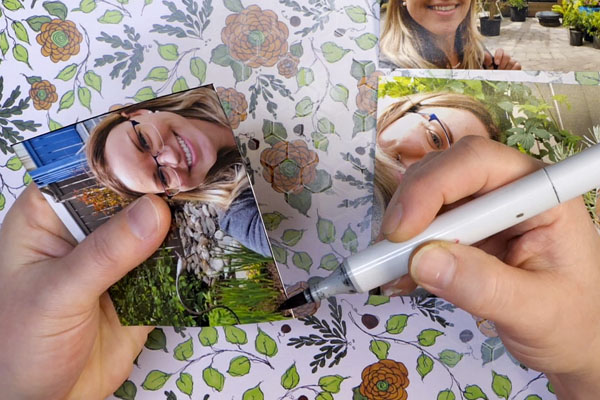
To help define the photos, add a very thin black border of pen around the photo. My preference is to use a Copic marker for this technique as the alcohol ink dries very quickly. Another option is to run the edges of the photo across a Jet Black Archival Ink Pad. If you choose this option, make sure to set the photos aside to dry completely before adding them to the page.
Stamping the Title
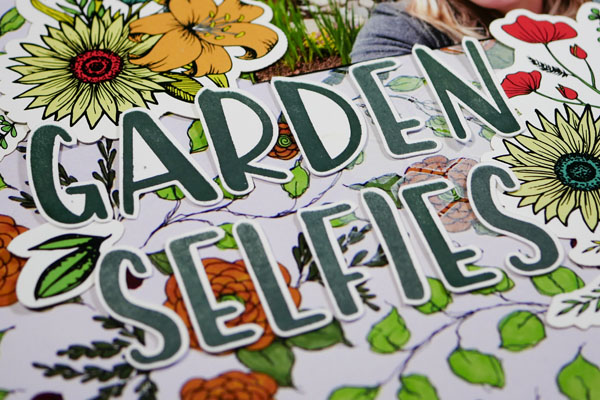
Using the Wild Whisper Designs Capital Letter stamps, stamp your title. If you plan to use a stamping platform for this step, I have provided a demonstration in this video. For this title, Colorbox Deep Green Chalk ink was used as it is a great match for the dark green leaves in the patterned paper.
Adding Ephemera
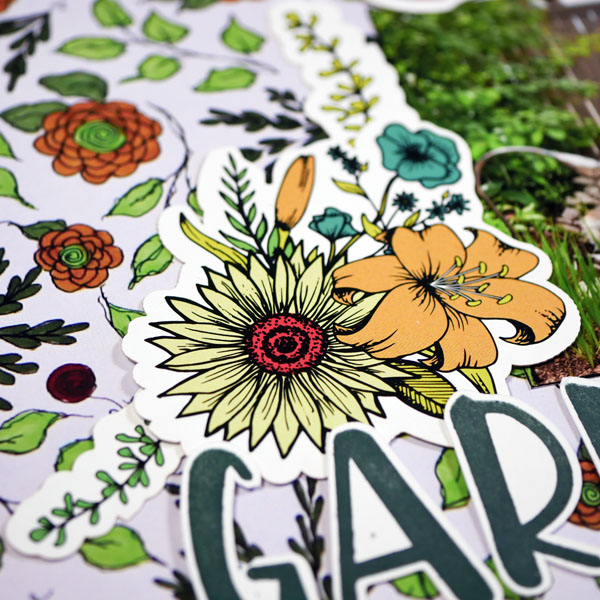
When adding ephemera, use odd grouping for the images and items. By tucking some of the images behind the photos and layering on top, this gives a sense of depth and layers to the layout. Once you are happy with the design, use your favorite adhesive to attach these to the layout. My preferred adhesive is the Thermoweb Zots. I also used adhesive foam squares to pop up some of the ephemera to add more dimension and depth to the page.
What do You Think?
What do you think of this project and the scrapbook layout design tips provided? Are these tips that you use in your layouts for scrapbooking and art journaling projects? I would love to hear what you think and if you found these tips useful to you. Please feel free to comment below or contact me directly.
If you liked the Wild Whisper Designs products used in this project, please visit www.wildwhisperdesigns.com and use code DTNADINE when ordering. This will give you a discount on your next order.
I hope that you have a great week and take some time for some creative self care.
Project Supply List
- Wild Whisper Designs Pam Bray Carefree Paper Pack
- Liquitex Gesso
- Joggles Stencil
- Ranger Mini Ink Blending Tool and Foams
- Wild Whisper Designs Capital Letter Stamps
- Colorbox Deep Green Chalk Ink
- Wild Whisper Designs Play in the Dirt – Garden – Ephemera Pack
- Themoweb Zots (Large, Medium and Small)
- Scotch Advanced Tape Glider
- Misti Stamping Platform
- Brother ScanNCut
- Copic Sketch Marker Black
- Canon Pro9000 Mark II Photo Printer
- Ilford Galerie Smooth Pearl Photo Paper
- Paper Trimmer