Texture Tips for Your Holiday Collage| Reflecting on the Season
Are you looking for ways to add texture to your holiday collage projects? There are so many ways to alter and add texture that will give your project that “wow” factor.
Today I’m sharing some alteration and texture techniques for you to try on your holiday collage projects. This is a great project to try during the holiday season. Perhaps you are busy preparing for Christmas or are busy with family, friends, and other commitments. This is a great opportunity to slow down, find intention during the Christmas season and have a time of creative self-expression. Join me as we create a seasonal collage project and talk about capturing our thoughts for the season.
Hop-A-Long Studio is reader-supported. When you buy through links on our site, we may earn an affiliate commission at no cost to you. Learn more.
Mixing Up Your Collage Process
I recently took a collage class with Gloria Gelo where I learned a brand new take on the collage process. If you’ve been following me a while, you know that I tend to seal my collage papers. But with her process, she tends to leave the papers unsealed, giving it a more organic feel.
There’s always so much you can learn from other artists. Today I’m sharing a different spin on the collage process that I hope you will enjoy!
Preparing Your Collage Papers
If you’ve been with me a while, you know how I tend to tear my collage papers. This adds interest and gives them a more organic feel. In today’s project, we’re going to stick with straight edges for our paper piecing. This will create a very different feel to your project.
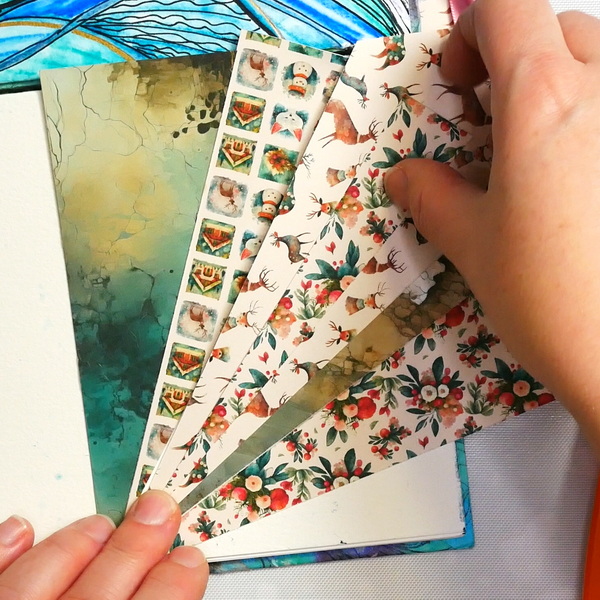
Creating a Fan of Symmetrical Collage Pieces
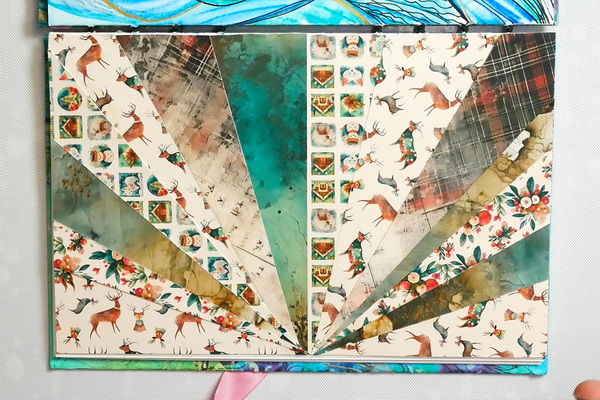
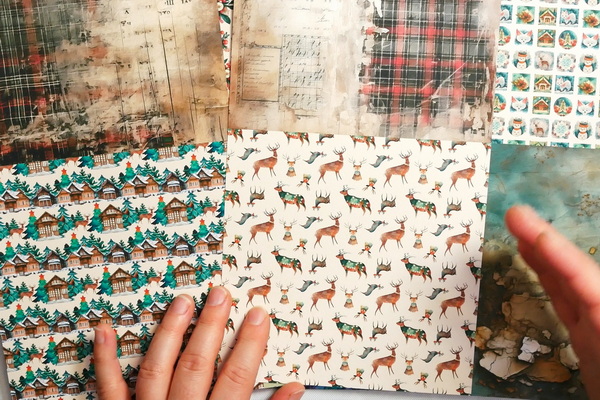
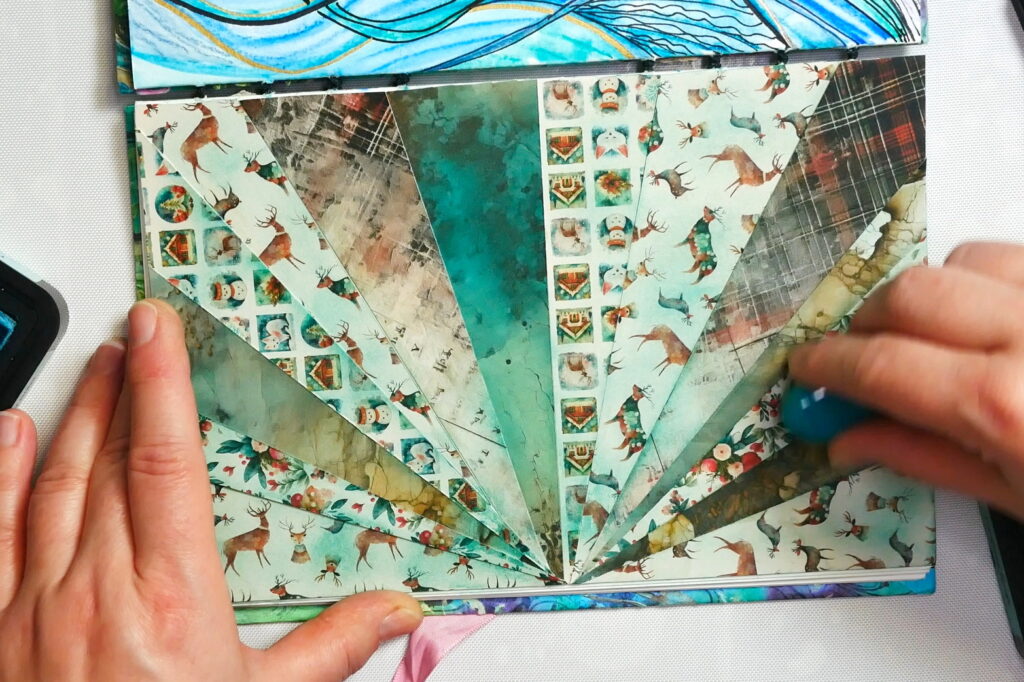
I’m creating a more symmetrical background to this holiday page. Using a pencil, mark the center of your art journal page. Using papers that I received in the Advent Calendar from Simply Stated Designs, I’m using a collection of 6 by 6 patterned paper sheets for this background. What I love about working with patterned paper that are part of a collection is that the themes all match and have similar colors which provides cohesion to my projects.
A paper crafting company designing and creating products that inspire and excite the creative community!
Use nadine15 at checkout to get 15% off of your first order!
Cutting Your Paper
There are 2 ways to cut your paper, using a Helix Circle and Angle Maker or free hand cutting using a Fiskars Paper Trimmer.
Using a Helix Circle and Angle Maker
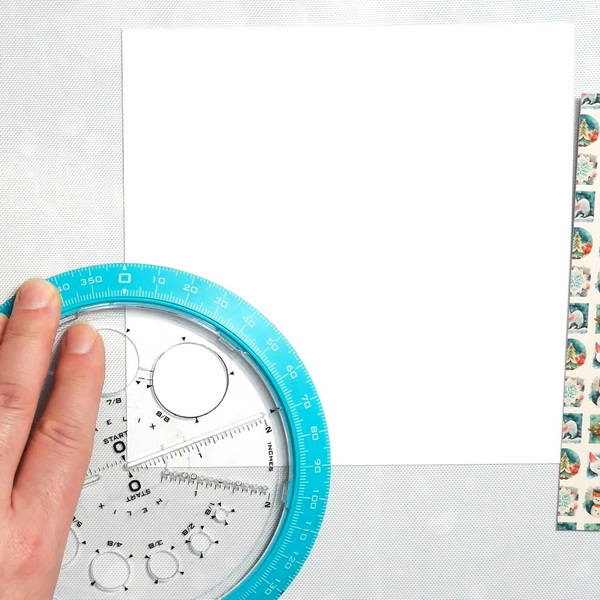
If you’re looking to add angles to your paper in this project, the circle and angle maker makes this extremely easy. Align the circle and angle maker so that the corner of your paper is at the zero mark in the center of the angle maker, and make sure that the outside rim is aligned to zero at the top.
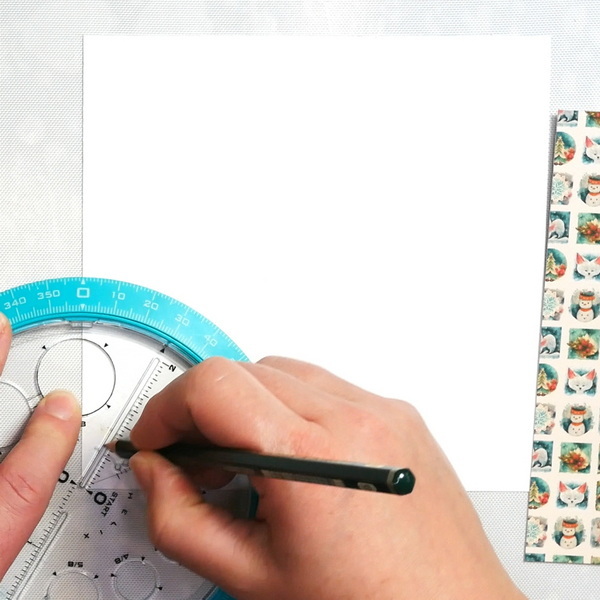
This will show you the 90 degrees of angle that you have to work with. From there, you can easily decide on the angles that you want to make on your paper. Draw the angles using the angle tool slot in the Helix Circle and Angle Maker.
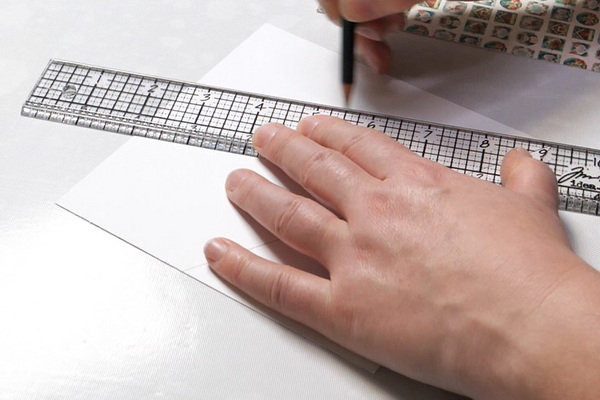
Once you’ve added in your angles, use a ruler to extend these lines to the end of the paper. Cut your pieces using a Fiskars Paper Trimmer for perfectly straight lines.
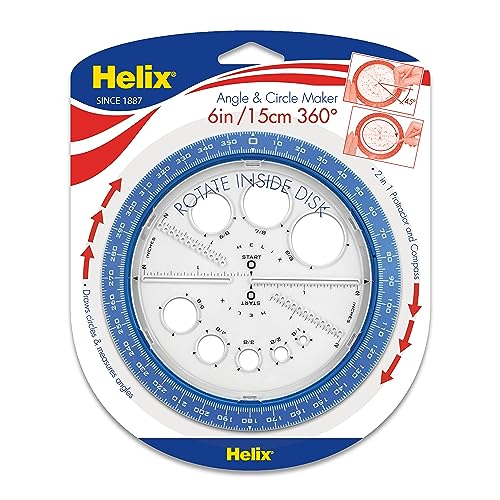
Three tools in one! The Helix Angle and Circle Maker is a 360° protractor, compass, and circle template that enables you to measure angles just as you would using a standard protractor.
Free Handing the Cutting
If you don’t have a Helix Circle and Angle Maker or just want to freehand your cuts, take your 6” by 6” patterned paper and freehand your cuts. I like to use my Fiskars Paper Trimmer for cutting as it ensures that I get very straight lines at any angle. Once you’ve come up with a bunch of papers that you like, test fit them onto your page.

Collaging Your Papers
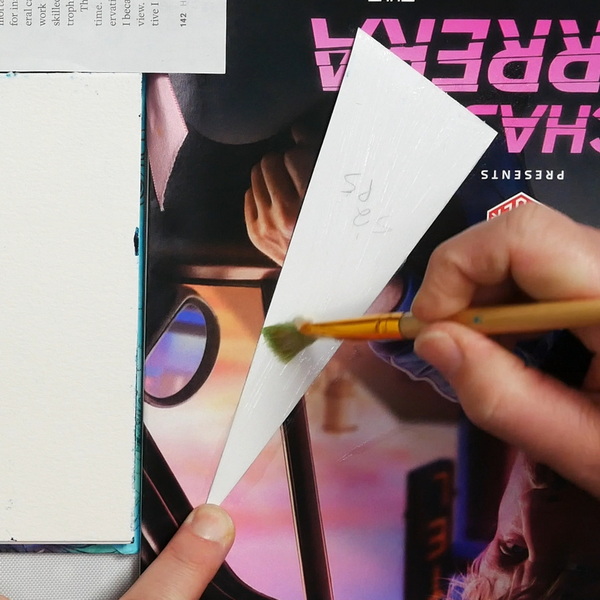
In my class from Gloria Gelo, I learned how to make a new glue mix that is easy to spread with a brush. This is a combination of Yes Paste and Golden Satin Glazing Liquid and is mixed in a container. This glue is thick but is easier to spread than the Yes Paste on it’s own. Visit my Collage Glue article to learn how to make this glue recipe.
The biggest benefit is that it is easily spreadable with brush. I also love this glue recipe because it’s thick enough that you won’t get any buckling or wrinkling with your papers.
Using an old magazine, brush the glue on the back of the paper covering all the corners (you’ll end with glue on the old magazine). Spread glue onto your journal surface in the area that you want to add the piece, then add your collage paper to your project. If you are careful, there should only be glue on the back of the paper, not on the front. This will give you a good adhesion.
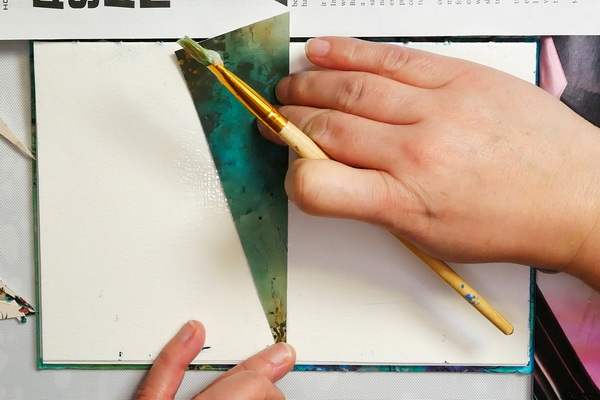
You might think that you want to skip adding the glue to the surface of your art journal page. Trust me, you’ll get a much better result if you add glue to the surface as well as on the back of your collage paper.
Adjusting the Color
I love this background, but it’s a bit too busy for my focal images. The colors and patterns are so bold, that they will compete with my focal images making for a busy and indistinct page. To adjust this, I’m adding in some of my favorite Tim Holtz Distress Inks.
Since we haven’t sealed the paper with matte medium, there is an absorbent surface that we can add color to. This means that we can add inks, and not just paints, to our collage surface. The ink will absorb into the paper, giving this project a beautiful and subtle color shift.
Start with the Tim Holtz Distress Ink Evergreen Bough and using your favorite large ink blending brush. Add color in a circular motion onto the bottom third of the project. You can decide if you want a very light layer of ink on the surface or if you want the color to be more intense. Add the ink layer by layer. The more ink layers you build up, the darker the surface will be.

Create wintry effects with Evergreen Bough Distress Ink by Tim Holtz and Ranger Ink. This soft teal-green hue is perfect for adding festive charm to Christmas cards, seasonal crafts, and mixed media designs.
For the top two thirds of the page, add in a Tim Holtz Distress Ink Tumbled Glass to the surface. This gentle blue color works well with the colors in the patterned paper. If you’d like some color variation, try adding in Tim Holtz Distress Ink Weathered Wood to create some beautiful blue blends onto your surface.
Create soft, vintage effects with the Tumbled Glass Distress Ink Pad from Tim Holtz for Ranger Ink. This light blue ink blends, stamps, and distresses paper, fibers, and photos beautifully. Use with water for stunning watercolor effects or apply directly for a delicate, timeworn look.

Create soft, rustic effects with the Weathered Wood Distress Ink Pad by Tim Holtz and Ranger Ink. This muted gray-blue shade is perfect for distressing, blending, and adding vintage charm to your papercraft projects. Ideal for winter-themed cards, aged wood textures, and mixed media designs.
Adding In Texture to a Collage
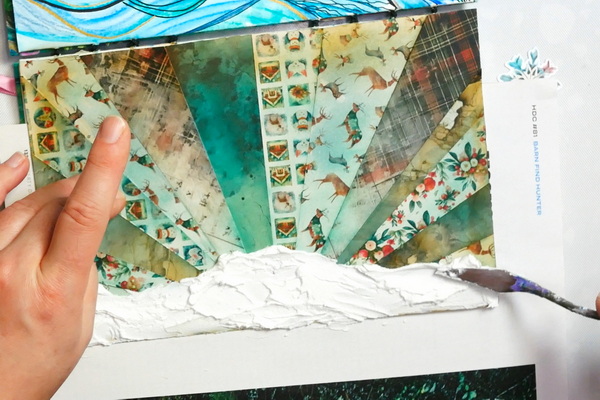
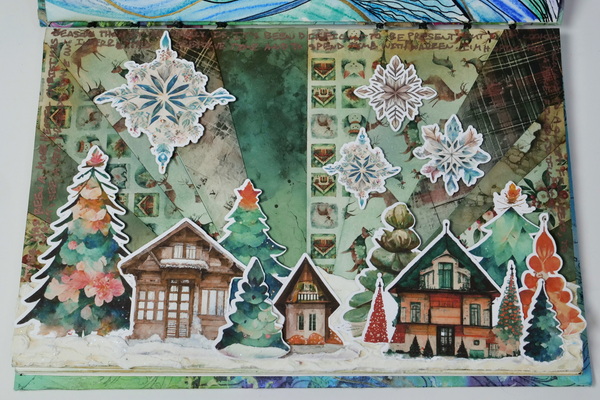
After figuring out what focal images I want to add to my page (a combination of houses and trees), I thought that this page could use some texture. What better way than to add glittery paste to the background to create a snowy effect?
When I was digging around in my studio, I find some Aleene’s Glitter Snow in my collection. This is a white paste with glitter added to it. You could get the same effect with mixing modeling paste or fiber paste with a bit of white paint and adding in glitter.

- Add a touch of sparkle to your holiday projects with Aleene's Glitter Snow!
- Fluffy white "frosting" can be spread onto almost any surface.
- Available in 4 oz jar
Using a palette knife, add the glitter snow to the bottom quarter or third of your layout. You could add it in a straight line. But I prefer to play around with the paste to create the idea of snowy hills in the background. Play around with your paste until you get the effect that you want. You can also use the side of the palette knife to create interesting textures and curves to the page.
Adding Your Focal Images
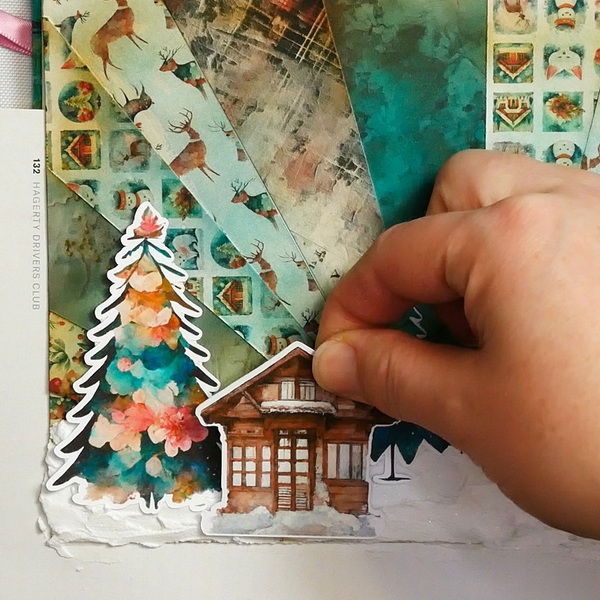
While the paste is still wet, start adding in your focal images onto your project. Any images that are touching the paste, just press the images gently into the surface. Once the paste sets, they will be very secure. If you have an area of the image that isn’t in the paste and you would like to adhere it onto the surface, use Scrapbook Adhesives Foam Circles and Thin Foam Squares. This will give you some different height choices. It will make sure that your Christmas village is secured onto the page.

Reflecting on the Season
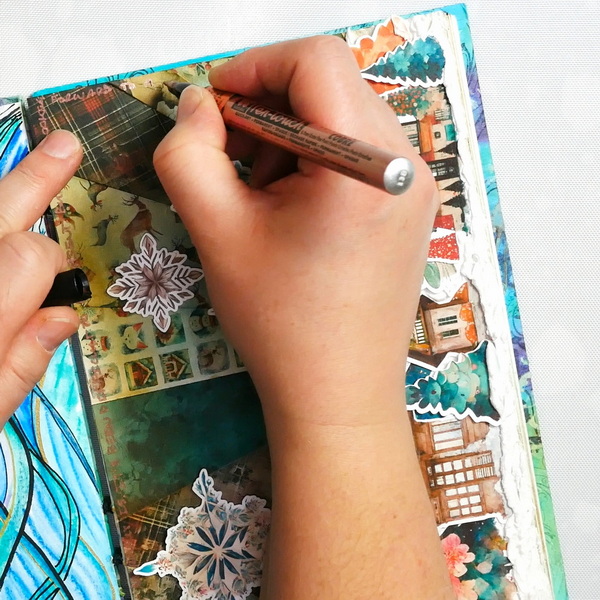
To finish off this page, I added in journaling with a Sakura Pen-Touch Copper Pen around the outside of the journal page. This is a great way of adding in journaling without taking away from the focal elements on your page.
What Emotions are You Feeling During This Season?
When I was adding my journaling, I asked myself the question:
“What emotions am I feeling this season? What is my hope for the holiday season?
We all have very different holiday seasons. For some of us, it might be a time with a lot of family, joy, and a bit of chaos. While for others, it may feel like a lonely and isolating time of year. Whatever your Christmas experience, processing your emotions and taking some time to reflect can help us have a much better Christmas experience.
For me, it’s been a whirlwind. I feel like it was just summer and now it’s 7 days until Christmas! It’s been a great season, but I overcommitted with teaching this fall along with other commitments. I also had to say goodbye to my sweet rabbit Mocha a month ago. It’s been a very emotional season, full of many ups and downs.
With all the busy, I haven’t had much time to reflect. A lot of my reflection in the season has been sitting in church. We’ve been talking a lot about peace, joy and how the birth of a child can change our world.
Whatever your beliefs, I wanted to focus this page on thinking about how we can find peace and joy in the busy. To be grateful and joyful for the things that we do have. It may be a hard Christmas for you, or the best year ever. But I challenge you to find the little things that bring peace and joy to your life. To reflect and write about them.
Any Questions?
I love this holiday collage and I hope that you’ve enjoyed the creative process. I hope that you can take some time this holiday season for some reflection, for quiet and an opportunity to create in a very meaningful way. If you have any questions or comments about this project, please leave a comment below!
Project Supply List
Three tools in one! The Helix Angle and Circle Maker is a 360° protractor, compass, and circle template that enables you to measure angles just as you would using a standard protractor.

Includes 1/2" spaced holes for centering, 1/16" outer edge marks and 1/8" grid with inch marks. The transparent ruler allows you to see your project under the ruler for accurate positioning and marking.

- Ideal for drawing students - artists and designers
- Superior leads made of finely ground graphite and clay
- Pure - premium quality pencils are smooth - never scratchy
- Ideal for sketching, drawing and writing

Ideal for cutting a wide variety of crafting materials including paper, photos, scrapbook pages or specialty materials. Cutter comes with a lifetime warranty.
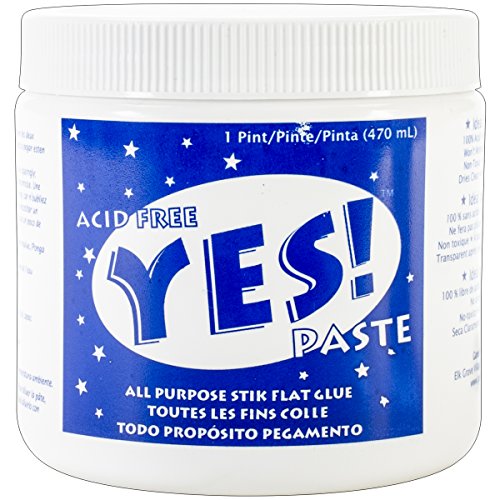
Acid-free glue that is slow setting, dries clear and cleans up with soap and water. A must have for any collage artist!

Golden Acrylic Glazing Liquid is great for glazing in fine art painting. It dries slowly, allowing artists extended periods of working time. This acrylic medium improves brushability and is useful for wet-in-wet blending.
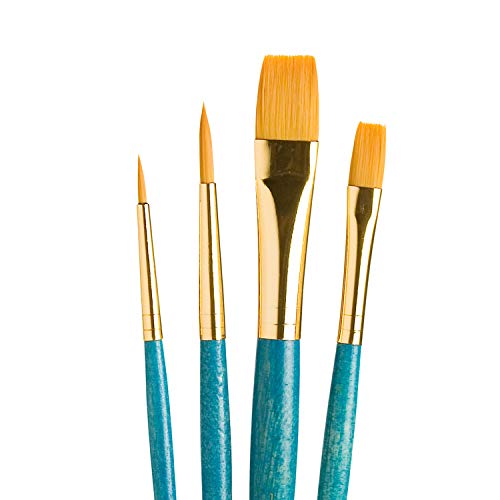
The Real Value art brushes are ideal for all types of art-making from acrylic and watercolor paintings to painting with oils and tempera.

You're going to feel just like an expert when you're cutting the smallest of details with the Cutter Bee Scissors by EK Success. These un"bee"lievable compact scissors will have you feeling like a queen bee when you swarm right into your fine detail or fussy cutting projects.
Application is easy, quick and finished product is perfect. 12 Colors Blending Brushes with strong handle and soft bristles.
Create wintry effects with Evergreen Bough Distress Ink by Tim Holtz and Ranger Ink. This soft teal-green hue is perfect for adding festive charm to Christmas cards, seasonal crafts, and mixed media designs.
Create soft, vintage effects with the Tumbled Glass Distress Ink Pad from Tim Holtz for Ranger Ink. This light blue ink blends, stamps, and distresses paper, fibers, and photos beautifully. Use with water for stunning watercolor effects or apply directly for a delicate, timeworn look.
Create soft, rustic effects with the Weathered Wood Distress Ink Pad by Tim Holtz and Ranger Ink. This muted gray-blue shade is perfect for distressing, blending, and adding vintage charm to your papercraft projects. Ideal for winter-themed cards, aged wood textures, and mixed media designs.

Give your projects a timeless, antique effect with the Vintage Photo Distress Ink Pad from Ranger Ink and Tim Holtz. This 2" x 2" warm brown ink pad is perfect for aging paper, enhancing mixed media, and distressing scrapbook layouts and cards with depth and rustic charm.

A 5-piece premium quality stainless steel artist palette knife set with sturdy comfort-grip wooden handles. Set includes the essential shapes and sizes needed for most types of palette knife techniques and painting applications.
- Add a touch of sparkle to your holiday projects with Aleene's Glitter Snow!
- Fluffy white "frosting" can be spread onto almost any surface.
- Available in 4 oz jar

Small Pre-Cut 3D Foam Squares add height and interest to the layers on your scrapbook pages, cards and mixed media projects.

Thin Pre-Cut 3D Foam Squares add height and interest to the layers on your scrapbook pages, cards and mixed media projects

Pen-Touch Paint Markers feature archival-quality ink that is chemically stable, waterproof, fade-resistant, low-odor, and xylene-free. Paint flows from the chamber directly to the tip of the marker. A quick shake before writing mixes the color.