Amazing Ink Techniques for Your Art Journal
Looking for creative ways to use ink techniques in your art journal? So often when we’re working in our art journal, we like to use acrylic mediums. But inks can also create amazing results in an art journal. The benefits of dye and archival inks is they are easily available, aren’t super messy, and have so much versatility as an art journal medium.
Earlier this week I was asked the question by a reader, “Can you use ink in a journal?” Yes, you absolutely can. Today we’ll look at several creative ink techniques for your art journal.
Hop-A-Long Studio is reader-supported. When you buy through links on our site, we may earn an affiliate commission at no cost to you. Learn more.
What Inks Can I Use?
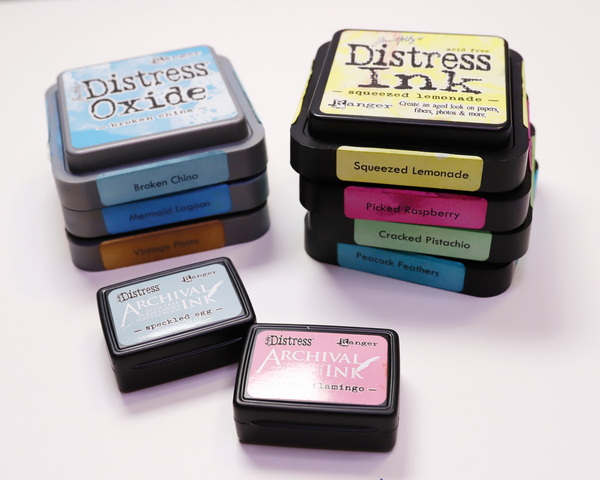
There are so many inks available, so it may be hard to know which inks will work in the art journal. Today I’ll focus on two of my favourite inks: dye inks and archival inks.
Dye Inks
I love using dye inks in my art journal because of the beautiful, translucent colors. They blend beautifully and can be layered in so many interesting ways. Dye inks will fade when exposed to light, which is why they are perfect for the art journal. The average journal doesn’t see much light, so these ink colors will look beautiful for years to come.
Dye inks are so versatile because they can be blended with water. This gives them a lot more versatility over permanent inks as they can be altered to run, bleed, and create washes in addition to creating beautiful smooth ink blends.
Dye inks are available by a variety of brands in their own range of colors. My favorites are the Tim Holtz Distress Inks as they come in a large range of colors, and most importantly, you can get re-inkers for each of the stamp pads.
Why I Purchase Re-inkers
Here’s my little rant about ink pads: You MUST get re-inkers when purchasing a ink pad! If you don’t purchase a re-inker, it’s the equivalent of purchasing a car with one tanks of gas and throwing out the car once the gas tank is empty. Re-inkers are like purchasing gas. Most of the ink pads that I’ve owned are 10-15 years old. Every time they get dry, I add a bit of re-inker to the top of the stamp pad to rewet them.
A stamp pad is not done because it is dry. It is done because it’s run out of ink. I recommend only purchasing a stamp pad that you can get a re-inker for at the same time. It can sometimes be difficult to purchase the re-inker years later as brands change colors or go out of business. One re-inker should last the life of your stamp pad.
Archival Inks
Archival inks are also a great option for the art journal. These are oil based rather than water-based inks, so they are permanent when dry. These can work very well in conjunction with the dye inks. In this project I’ll show you how to use these different inks together to create complementary effects.
Basic Ink Blending
The easiest way to add ink to your journal page is to use an ink blending brush. I use this technique for breaking up the white space on my journal background.
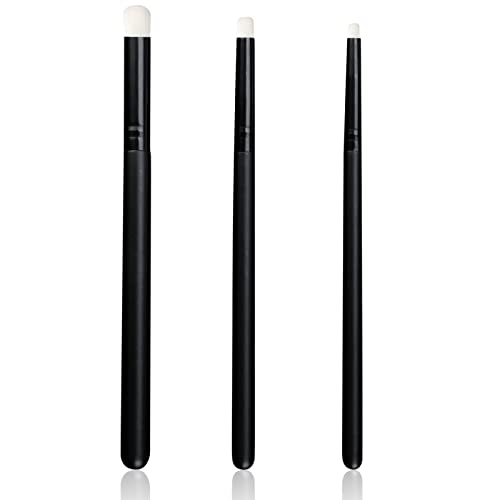
My Favorite Ink Blending Tool

My new favorite ink blending tool is the Yoseng Ink Blending Brushes from Amazon. These brushes have very fine synthetic hairs which hold the ink and help it blend beautifully onto your page. If you are new to ink blending, try these tools as they are a much more forgiving than most other blending tools. I use these brushes not only for inks, but also for Pan Pastel projects and other mediums.
How to Ink Blend
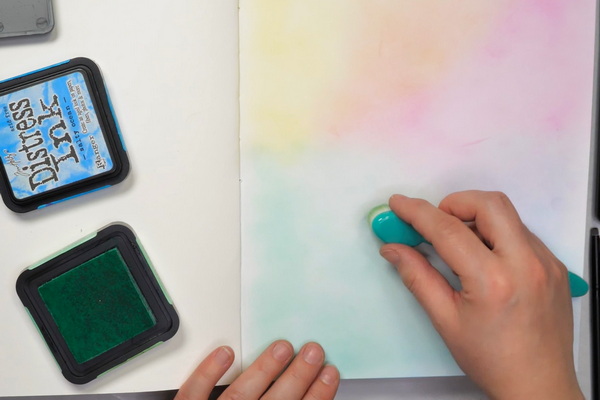
For basic ink blending, swipe the applicator gently across the ink pad to pick up color. Using a circular motion, gently apply the ink onto the surface of the paper. Repeat this as neededto create an even layer of color. They key with inks is to blend layers and layers of color onto the surface to get the intensity of color you like.
You can blend your initial colors with other colors onto the surface to make custom colors. Dye inks are translucent so you can mix colors right on the surface. But not all colors will work well together. Learning some basic color theory will go along way to prevent muddy colors.
As a basic rule, use colors next to each other on the color wheel. For example, blue and red make purple, red and yellow make orange, yellow and blue make green. If you use colors on the opposite side of the color wheel, like green and red, you will get a muddy brown color.
For this background I added Squeezed Lemonade Distress Ink next to Picked Raspberry Distress Ink. When these colors blend, this creates a beautiful peach tone. You can also create a unique green color by mixing Squeezed Lemonade and Cracked Pistachio Distress together. By understanding how colors work together, this gives you a variety of beautiful blends on your page and creates color harmony.
Adding Ink Through a Stencil
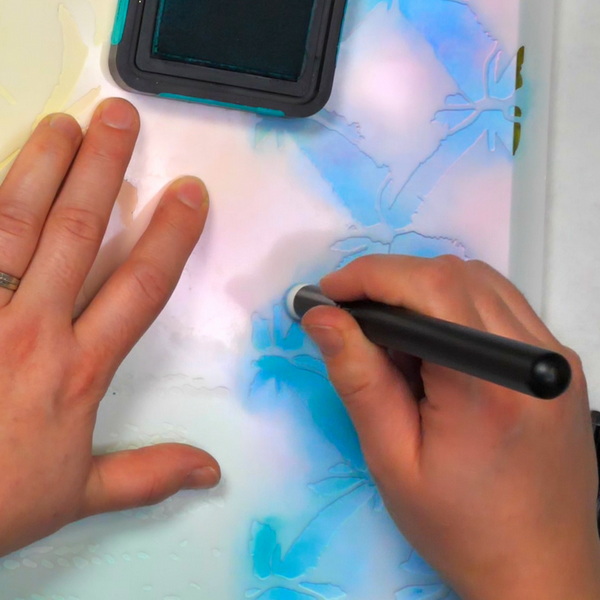
Adding stenciled images is a great ink technique for your art journal page. Place your stencil onto your page and add ink in a light circular motion through the stencil.
You can stick to one color or use a variety of colors for your stenciled image. By using a light layer of ink in one area and adding a heavier layer of ink to another, this can create a lot of variation in your stenciled design. Be aware that the stencil color will blend with the background color which also provides some interesting color when mixed.
Before adding stencils to your art journal page, you may want to consider scale. Is the stencil large with open spaces? Is it a very detailed stencil? I try to use several different scales of stencils on my page as this creates variation and contrast.
For this project I used a large stencil image along the right-hand side and used a smaller circular stencil on the left-hand side and along the bottom. This adds variation to the design and doesn’t make the page too fussy or busy. It’s a great way to enhance visual interest.
Adding Stamping with Archival Ink
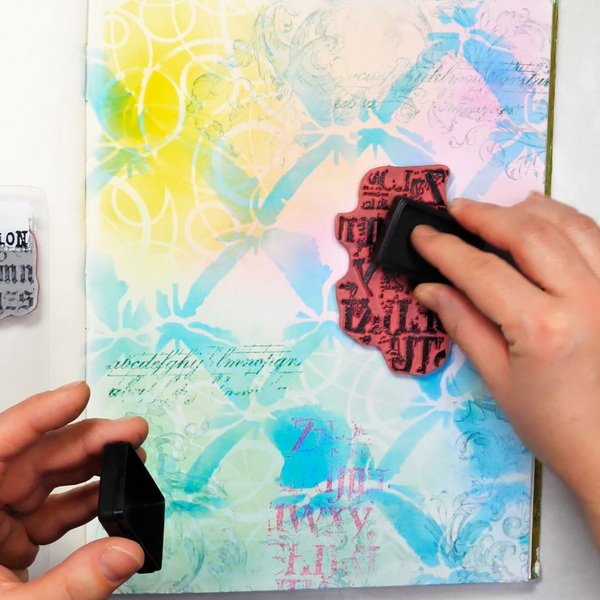
You can mix things up by adding stamping with archival ink to your art journal page. I recently purchased some colored Tim Holtz Distress Archival Inks so that I could play with permanent inks in colors other than black. The archival ink is great because it works so well for stamping and providing crisp images.
I wanted the archival ink to be permanent and stand out from the background, so I used Kitsch Flamingo archival ink. This complements the pink already on the page but provides contrast to the yellow and peach on the project.
Using the Fabulous Flourishes and Faded Type rubber stamps, add a variety of images using Speckled Egg and Evergreen Bough. The intention was to add small details in colors that were complementary to the background colors. This creates detail and color without overwhelming the project.
Adding Water to Inks
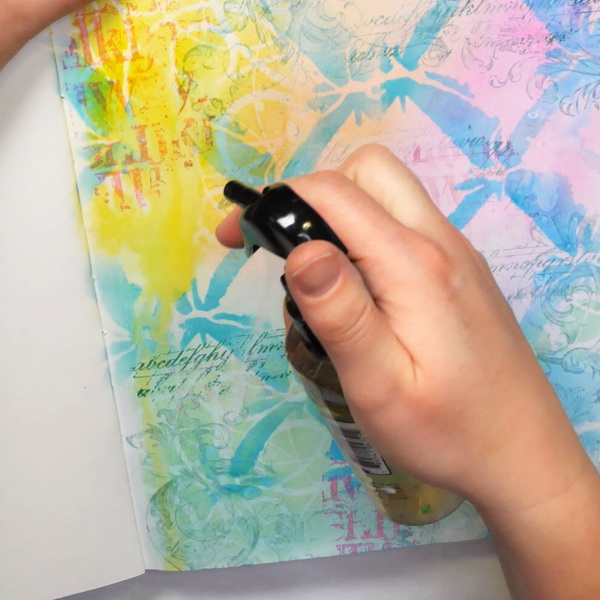
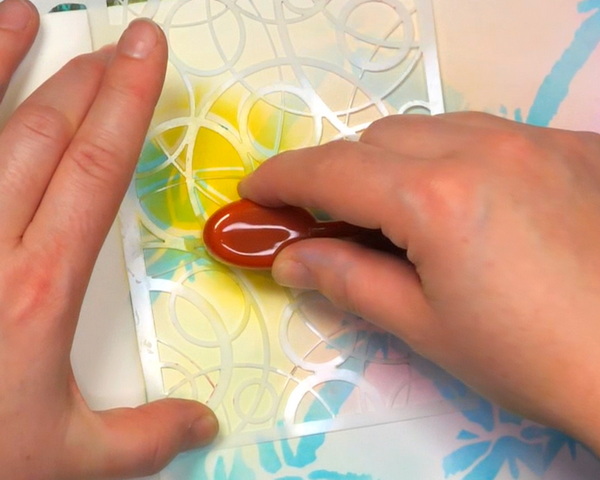
By adding water to an art journal page that has a combination of dye ink (which is water soluble) and archival ink (which is permanent) this can create unique results. Using a spray bottle, spritz water in a few places on the page. You’ll notice that the dye ink will react and soften with the water. You can use this to soften and dab off color or tip your book to have it run down the page.
While the dye ink runs, the archival ink will not move. This means that you can have areas that have extremely soft layers of blending and stenciling with stamped details that do not run. I tend to only spray water in small areas of the page. This allows you to create areas that are detailed contrasting with areas that have been softened by water.
If you would like to see another project about stamping to create soft effects, check out this article: Creative Stamping with Watercolor Markers
How to Seal Dye Inks
To prevent ink from running when water or wet mediums are added to the ink, you’ll need to seal your project. An easily available fixative that I use with my water-based mediums is Krylon Workable Fixative. This fixative is great because it is a spray sealant that dries quickly. But once sealed, you can continue to add layers of color and mediums on top.
In general, I don’t seal my inks unless I am worried that the next layers added will make the ink run. Otherwise, I’ll just add other layers on top and won’t bother to seal the project.
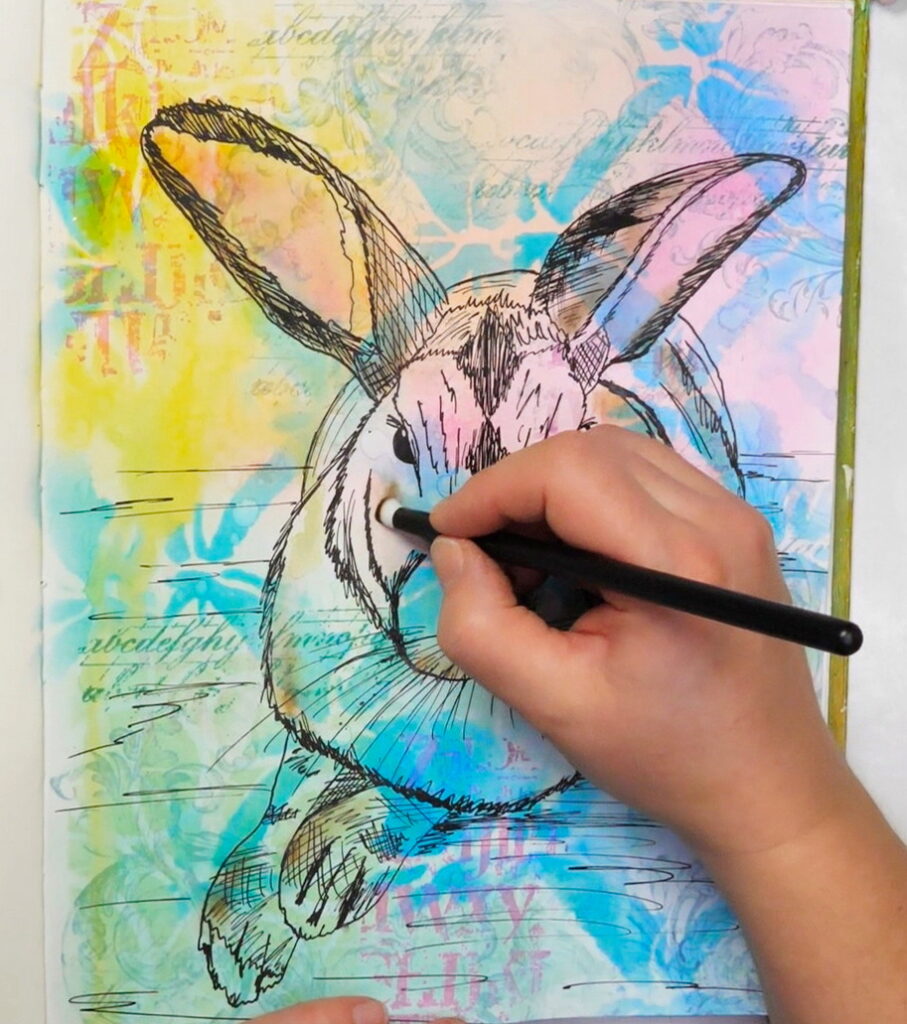
Adding a Focal Image

I always enjoy having strong focal images on my page. Sometimes I stamp images, but today I wanted to use one of my original drawings.
To do this, I tend to start with a drawing on a separate piece of paper. This allows me to work on the composition and use a grid to create the drawing. Once the drawing is inked and finished, I tend to trace these onto my art journal pages. If you’re not familiar with how to trace, check out this article: 3 Easy Ways to Trace Images onto Paper
For this project, I used my light pad to trace my image. It creates a bright enough image to see through the thick Strathmore 300 Bristol paper that had been inked. You may need to shut off all overhead lights to help you see the image better. Using a dip pen and waterproof Sumi Ink, I traced the image onto my page.
If you’re interested in learning how to use a dip pen, check out this article: How to Use a Dip Pen
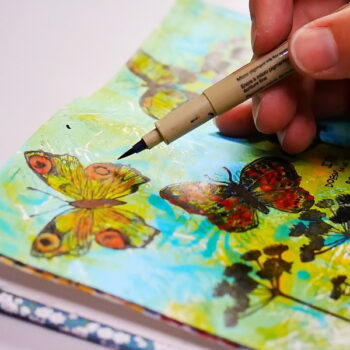
Adding More Ink Layers with Fine Tools
If you find that your focal image is falling to the background, you can always add in color and details with more ink. I recently purchased a set of UNIMEIX detailed ink blending brushes which work perfectly for this type of application. I would highly recommend getting a set of these brushes if you like adding details into small spaces on your projects.
By using a variety of brown inks, this can create beautiful color and add more dimension to your focal image. Check out the supply list below for the entire list of colors used.
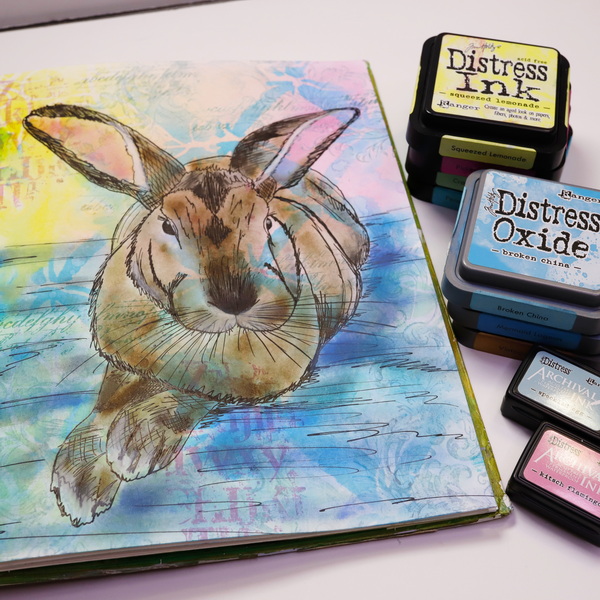
I started with lighter tones of ink including Vintage Photo and Walnut Stain to add in highlights to the rabbit image. For the darker areas I used a variety of darker browns, greys and blacks. These colors include Black Soot, Hickory Smoke and Ground Espresso to add shadows and darker fur.
The key wasn’t to cover up all the background color. I wanted areas of the color to shine through. By doing this it gives a very bright and fun mixed media feel to the journal page. By not adding in color to some of the areas of the rabbit, this also created additional highlights.
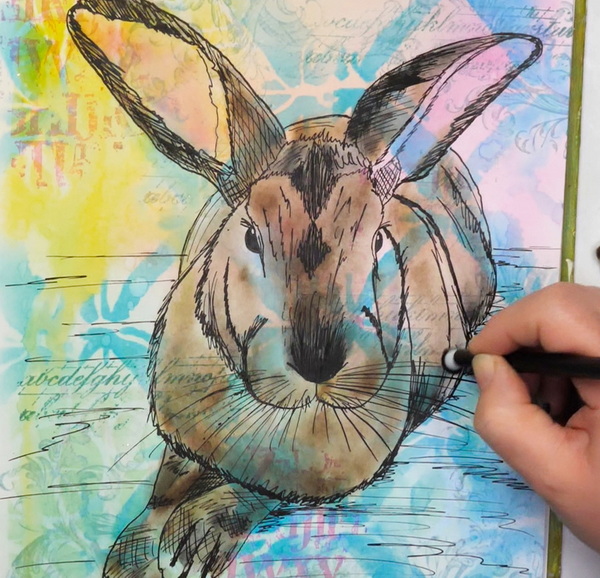
Like with the background, the darker areas had multiple layers of ink to intensify the color. The highlight areas only had a few lighter colored layers. By varying how much ink you use and how you apply it, you can create a variety of different values with limited colors.
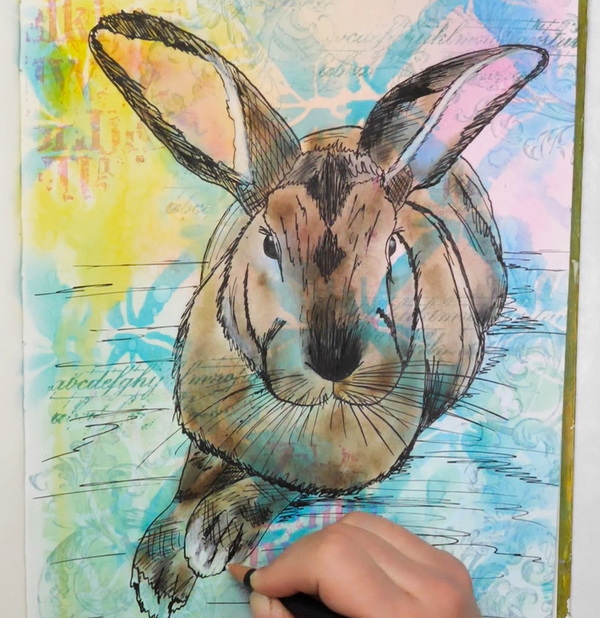
To finish off this piece, I added in a bit of Derwent White Charcoal Pencil as my white ink was not quite light enough. I used it to add the highlights to her eyes, nose, ears, and feet.
Why Art Journal About a Rabbit?
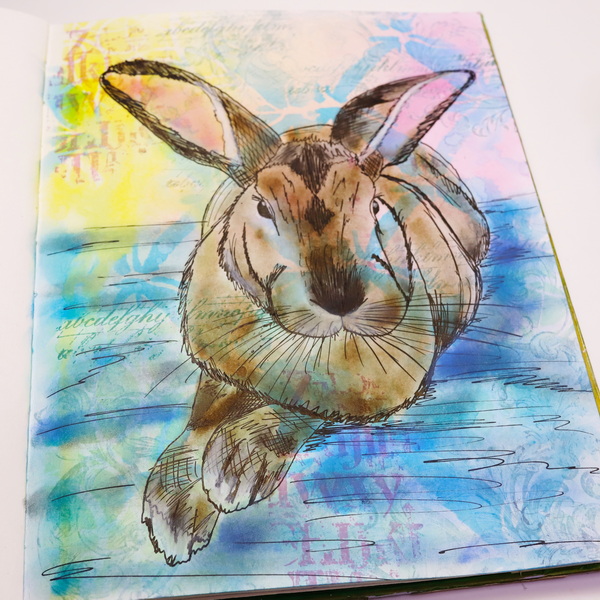
You may wonder why I chose a rabbit for my art journal focal image. I love animals and I think they can add so much to a project as a focal image. I often use birds, rabbits and other creatures in my art journal pages.
For this journal page, I was expressing my loss. This year did not have a great start. On January 2nd I found out that my 9 ½ year old rabbit Priscilla had a tumor in her chest. She was still doing ok so we had hoped to be able to extend her life by a few months through medication and good care. Two days later I went to check on her and she had passed away in the night.
This was so unexpected for me. I thought we still had lots of time. Instead, our time was cut so short. It’s been a very difficult time, and part of my grief process is to draw and journal about my dear Priscilla.
Priscilla has deeply impacted my life. She was always my reminder to stay brave, to keep trying, and to put myself and my creativity out in the world. Priscilla was a nervous rabbit but also so brave.
She was the inspiration for Hop-A-Long Studio. Like Priscilla, we hop along in our journey of life. Sometimes with confidence and bravery, sometimes more timidly. But we always explore, move forward, and grow.
What Do We Do with Grief?
Every time I experience a sense of loss, I ask myself, how am I going to deal with it? Do we deny it, or do we embrace it? How do we move forward through the grief into healing? One way that I’ve learned to cope is through creativity. It’s a way to remember the good moments, to accept the sadness, to chronicle them but also move past them.
I’ve challenged myself to remain open hearted, even though my emotions feel raw. We all go through sorrow in our lives. It might not be a pet, but it might be a loss of something else important. Perhaps we lose a job, a relationship, or a dream. There is so many different types of loss. Grief is a difficult thing, but we always get to choose what we will do with it. My challenge to you, and to myself, it to stay open hearted even when it hurts.
Any Questions?
Have you experienced a loss of a pet or loved one who has impacted your life? Have you used creativity to express your feelings and to work through the process? If so, I’d love to hear about your experience. If you have any questions about these ink techniques for the art journal, just leave a comment below. I’d love to answer any questions you might have!
I hope that you take time for creative self-care this week.
Project Supply List
Krylon Workable Fixative – 11 oz, Matte, Spray Can
from: Blick Art Materials
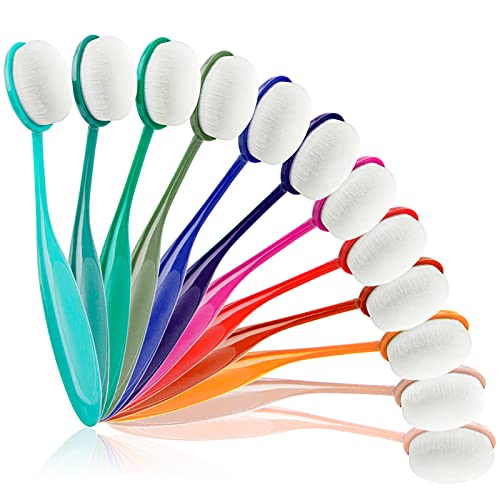
Application is easy, quick and finished product is perfect. 12 Colors Blending Brushes with strong handle and soft bristles.
Made of dense, semi-rigid and slightly domed synthetic bristles, the professional dry brush with a well-crafted wooden handle is durable and not deformable, and it's easy to achieve a variety of painting effects.
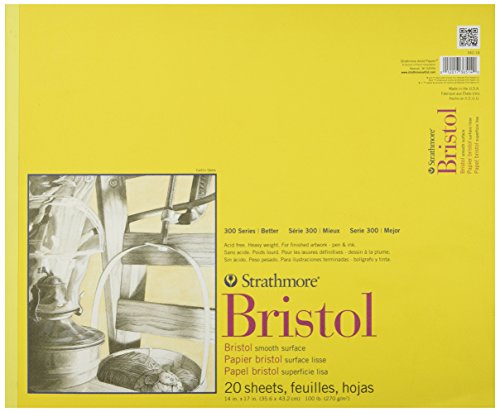
- Stiff, heavyweight sheets for final artwork
- Available in Smooth and Vellum surfaces
- 100 lb / 270 gsm
- Acid-free

Tim Holtz Distress® Ink Pad Picked Raspberry
from: Ranger Ink Industries
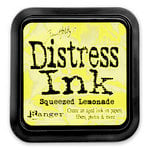
Ranger Ink – Tim Holtz – Distress Ink Pads – Squeezed Lemonade
from: Scrapbook.com

Tim Holtz Distress Ink Pads – Mustard Seed
from: Scrapbook.com
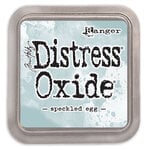
Ranger Ink – Tim Holtz – Distress Oxide Ink Pads – Speckled Egg
from: Scrapbook.com
Ranger Ink – Tim Holtz – Distress Oxides Ink Pads – Hickory Smoke
from: Scrapbook.com

Ranger Ink – Tim Holtz – Distress Ink Pads – Cracked Pistachio
from: Scrapbook.com

Ranger Ink – Tim Holtz – Distress Ink Pads – Mini – Salty Ocean
from: Scrapbook.com
Ranger Ink – Tim Holtz – Distress Ink Pads – Peacock Feathers
from: Scrapbook.com
Ranger Ink – Tim Holtz – Distress Ink Pads – Mermaid Lagoon
from: Scrapbook.com

Tim Holtz Distress Ink Pads – Vintage Photo
from: Scrapbook.com
Tim Holtz Distress Ink Pads – Walnut Stain
from: Scrapbook.com

Tim Holtz Distress Ink Pads – Black Soot
from: Scrapbook.com
Ranger Ink – Tim Holtz – Distress Oxides Ink Pads – Broken China
from: Scrapbook.com
Ranger Ink – Tim Holtz – Distress Oxides Ink Pads – Mermaid Lagoon
from: Scrapbook.com

Ranger Ink – Tim Holtz – Distress Oxides Ink Pads – Blueprint Sketch
from: Scrapbook.com
Add a distressed look to your projects with the Distress Sprayer by Tim Holtz for Ranger Ink. This distress tool is used to spray water over Distress Ink, Paint, Stain, and more to create a water-droplet look on your projects.

Brause Steno Calligraphy Nib – 0.7 mm Tip
from: Blick Art Materials

Speedball Standard Pen Holders – Black
from: Blick Art Materials

Yasutomo Liquid Sumi Ink – 2 oz, Black, Water Resistant
from: Blick Art Materials


A quick and easy way to melt embossing powder this heating tool was specifically design for speed quiet and convenience. It can also be used to heat set or dry ink. It won't overheat and burn projects.