3 Easy Ways to Trace Images onto Paper
Have you ever struggled with tracing images onto different surfaces? In today’s tutorial I will share 3 ways to trace images onto paper that I use in my own art practice.
Tracing is a great way to quickly transfer images but depending on the surface it can be challenging. Today I will show you how to use a light table, graphite paper and tracing paper with Contè crayon to add images to your paper or canvas surfaces.
Hop-A-Long Studio is reader-supported. When you buy through links on our site, we may earn an affiliate commission at no cost to you. Learn more.
So Why Trace Images?
So why trace images? For many of us who may struggle with composition or general art skills it’s a great way to get an image onto your surface to start creating. You may be looking to add basic shapes, or you may be interested in doing a detailed tracing.
If you are intimidated by drawing, transferring images is a great way to start getting familiar with the shapes and strokes of drawing. When learning how to draw with perspective, tracing an image can give you a better understanding of what you are trying to draw. You will help train your eye to see some of the nuances required when drawing in perspective.
Tracing is also a great way of using your personal photographs in a different and unique way. By using them as a base for your tracing, you can create a new and unique piece of art from one of your own images. It is also a way of using a favorite drawing or image to create something new.
How Tracing Images Saves Time
Tracing images can save a lot of time, especially if you are trying to get an idea down quickly. As I have shared in another video about using grid drawing for composition, it is important to start with correct perspective and alignment of your images. If you are working on a small piece or in a book, tracing an image, saves time and is easy to scale to your surface.

3 Ways to Trace Images onto Paper
There are 3 ways that I usually trace images onto paper, but these techniques can also be applied to many different surfaces, like canvas or boards.
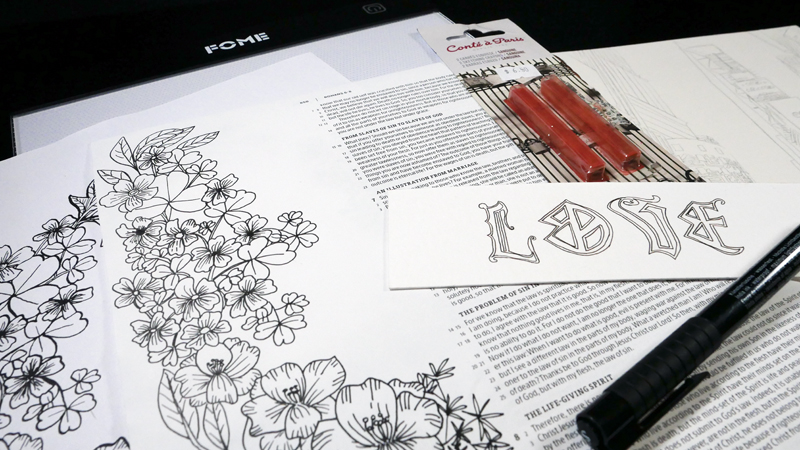
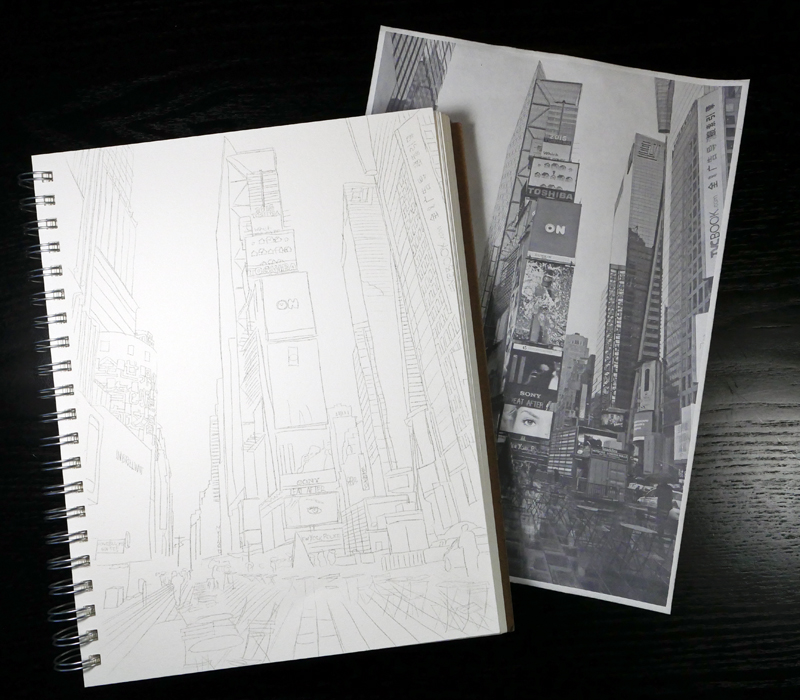
Using a Light Pad to Trace Images
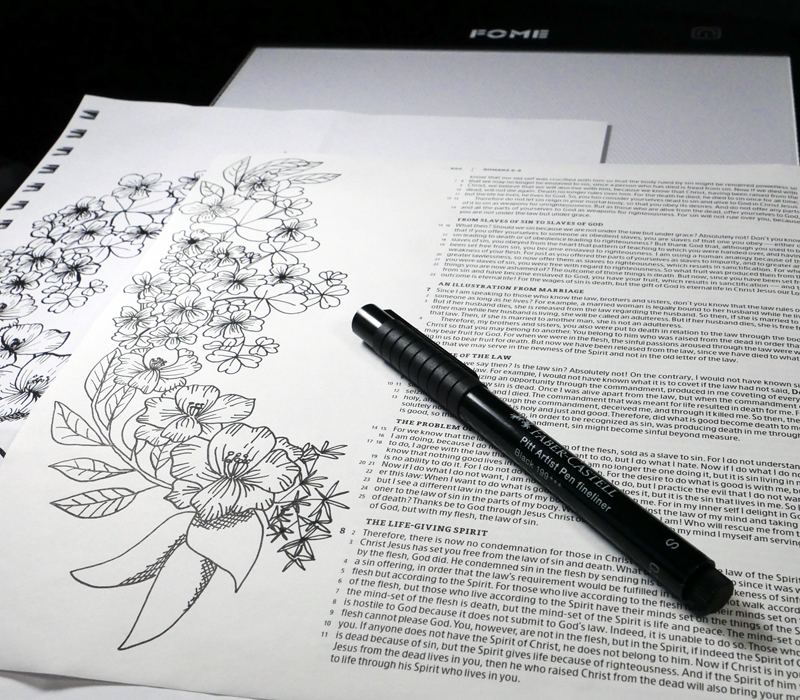
To use a light pad to trace an image, put the light pad on a stable surface, such as a table. Add the image that you would like to trace on top of the light pad. Lastly, add the paper that you will trace onto on top of the image. You should be able to see a faint outline of the image that you will be able to trace onto your piece of paper. This works best with thin or translucent grounds.
When using vellum or paper, a light pad can be very helpful when tracing images. It helps define the image and shows the detail of the image more clearly. Tracing can be done without a light pad in a bright room, but by using a light pad to back light the image, it makes it easier to trace. It can also allow you to trace through heavier paper.
The weight of the paper will affect how much detail you will be able to see. If you are using a light paper, this will make it easy to trace all the details of an image. On a heavier paper, you may only be able to distinguish the outline of the image.

The diamond painting light board A3 brightness up to 5000 LUX, can easily write through 300g thickness of paper. Because of the selection of advanced light guide materials, the product is lit without dots and shadows, so it is suitable for almost all lighting scenes.
Using Graphite Paper to Trace Images
Using graphite paper to trace images is a great way of getting a clear image, especially if you are transferring onto a canvas or very opaque surface. The conventional way of using graphite paper is to lay the canvas or paper that you are transferring the image to on a flat surface. On top of your paper or canvas, lay your graphite paper to cover the surface. Take a copy of the image that you are tracing and put it on top.
Using a hard pencil or a stylus, trace around the image that you will transfer. The pressure that you put on the graphite paper will transfer the graphite onto the canvas or paper beneath it.

WHITE LINES FOR DARK SURFACES: Copying patterns on darker or colored surfaces like blackboards, wood, colored or printed fabrics, and more, as our copy paper produces white graphite lines unlike regular dark transfer paper

Trace cleanly onto almost anything — canvas, paper, wood, glass, metal, ceramic, and more. Great for transferring sketches, drawings, and photographs onto other surfaces, every detail, no matter how fine, shows up well.

- Highly durable pencils in a range of hardness degrees
- Travel tin offers protective storage while in transit
Includes a metal tin containing six pencils, one each of 8B, 6B, 4B, 2B, B, and HB.
There is also printable inkjet graphite paper available that saves a step with this process. The printable graphite paper has a white side and a graphite side. By printing your image on the white side of the paper, you can add your image directly to the graphite paper. This means that during tracing you do not have to worry about having one of the layers slipping as you transfer the image.
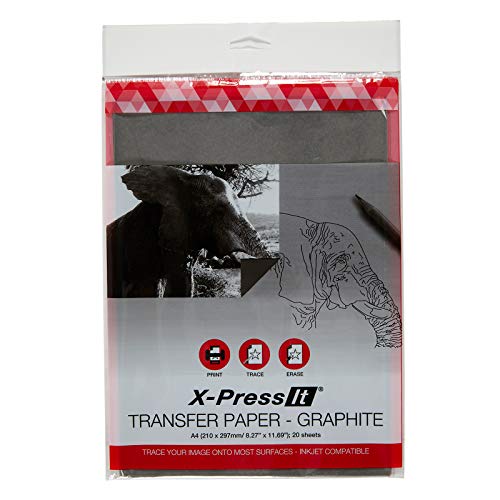
Inkjet compatible transfer paper makes it easy for you to print and trace your images. These acid-free sheets are non-smudging, wax-free, can be easily erased, and wash out of fabric.
If you are tracing your image and you lose your place, you can very gently lift the graphite paper to check and see how your image has transferred. Make sure to hold down or tape down part of the graphite paper image so that it does not move.
Tracing Paper and Contè Crayon
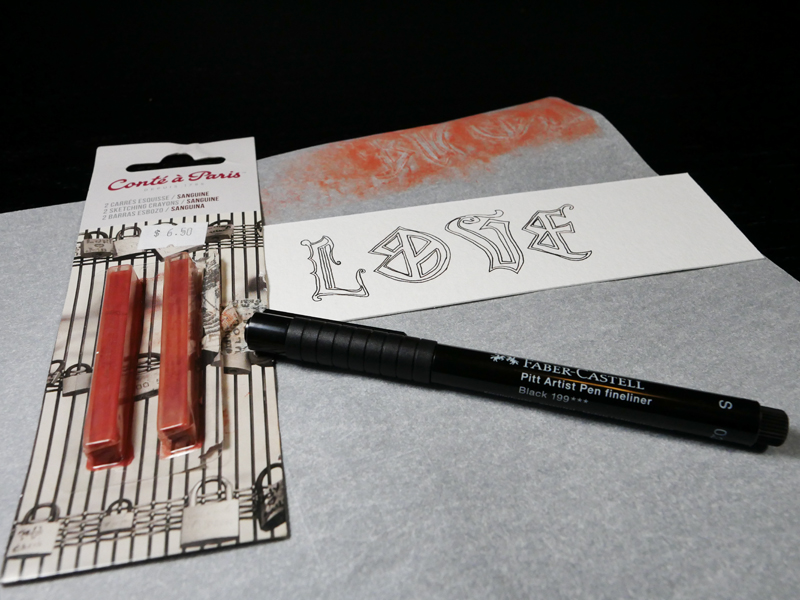
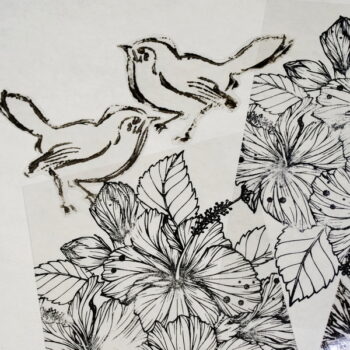
Another way to trace images is with tracing paper and Contè crayon. Contè crayons are a blend of natural pigments, kaolin clay, and graphite. This makes them ideal for using with tracing paper for this technique. Lay the tracing paper over the image to be traced and with a hard pencil, copy the image onto the paper. Flip the tracing paper over and rub Contè crayon over the surface. Flip the paper back to the right side and using a pencil, trace the image onto your surface.
Once you have traced the image, you should have a Contè crayon image on your surface. Using a pen, draw the image onto the surface following the lines of the Contè crayon. Once completed, use a kneaded eraser, roll the eraser across the image removing any remaining Contè crayon.
This technique is great for images that you want to have a very clean, white surface after the transfer. Unlike a graphite pencil, that can smudge and leave residue, the Contè crayon is easier to clean up and erase.

- Traditional square-format drawing crayons
- Natural pigments, kaolin clay, and binder
- Firm, dry texture
- Ideal for high-rendering applications

- Includes 100 sheets translucent tracing papers, enough for you to use multiple times
- Our tracing paper is soft and thin paper material, high-definition transparent, fine and lightweight texture, clear and smooth writing, and will not scatter ink.

Excellent for erasing and highlighting with pencils, colored pencils, charcoal, and pastels, the Faber-Castell Kneaded Eraser is the perfect artist's erasing tool.

Similar to a technical pen, the Faber-Castell Pitt Artist pens are designed for precise and detailed work. They are ideal for sketching, studying, and inking.
Made with waterproof pigmented India ink, artwork won’t fade or bleed.
What Do You Think?
What do you think about tracing images and do you use it in your work? I would love to hear how you trace images and what works for you. You can contact me directly or provide a comment below. I hope that this gives you some ideas on how tracing can help you with your creative practice this week!

Supply List
Every time you purchase from the affiliate links below, this supports my website (at no additional cost to you) and lets me bring you new content every week. Thank you for your support!
The diamond painting light board A3 brightness up to 5000 LUX, can easily write through 300g thickness of paper. Because of the selection of advanced light guide materials, the product is lit without dots and shadows, so it is suitable for almost all lighting scenes.
WHITE LINES FOR DARK SURFACES: Copying patterns on darker or colored surfaces like blackboards, wood, colored or printed fabrics, and more, as our copy paper produces white graphite lines unlike regular dark transfer paper
Trace cleanly onto almost anything — canvas, paper, wood, glass, metal, ceramic, and more. Great for transferring sketches, drawings, and photographs onto other surfaces, every detail, no matter how fine, shows up well.
Inkjet compatible transfer paper makes it easy for you to print and trace your images. These acid-free sheets are non-smudging, wax-free, can be easily erased, and wash out of fabric.
- Traditional square-format drawing crayons
- Natural pigments, kaolin clay, and binder
- Firm, dry texture
- Ideal for high-rendering applications
- Includes 100 sheets translucent tracing papers, enough for you to use multiple times
- Our tracing paper is soft and thin paper material, high-definition transparent, fine and lightweight texture, clear and smooth writing, and will not scatter ink.
Excellent for erasing and highlighting with pencils, colored pencils, charcoal, and pastels, the Faber-Castell Kneaded Eraser is the perfect artist's erasing tool.
- Highly durable pencils in a range of hardness degrees
- Travel tin offers protective storage while in transit
Includes a metal tin containing six pencils, one each of 8B, 6B, 4B, 2B, B, and HB.
Similar to a technical pen, the Faber-Castell Pitt Artist pens are designed for precise and detailed work. They are ideal for sketching, studying, and inking.
Made with waterproof pigmented India ink, artwork won’t fade or bleed.

- Nature sketch drawing book
- Made in the USA
- Can be used for wet or dry media
- Acid free with 25-percent cotton sheets

- Acid-free
- Made in the USA
- Cold Press 140lb paperweight