How to Press and Preserve Fall Leaves
Fall is one of my favorite times of year. It’s the perfect time for pressing and preserving fall leaves to add to your journal and creative projects. There are so many beautiful colors and shapes from fall leaves, they add a beautiful, organic touch to any project!
The Problem
The problem with fall leaves is how to prevent them from cracking, crumbling, and disintegrating on your project. It’s discouraging to create a beautiful project with leaves and have the leaves crumble and crack off your page.
Using these simple techniques below will help you press and preserve your fall leaves. These techniques are easy, require very little materials and will give you good results every time!
Hop-A-Long Studio is reader-supported. When you buy through links on our site, we may earn an affiliate commission at no cost to you. Learn more.
Pressing Fall Leaves
Collecting Leaves
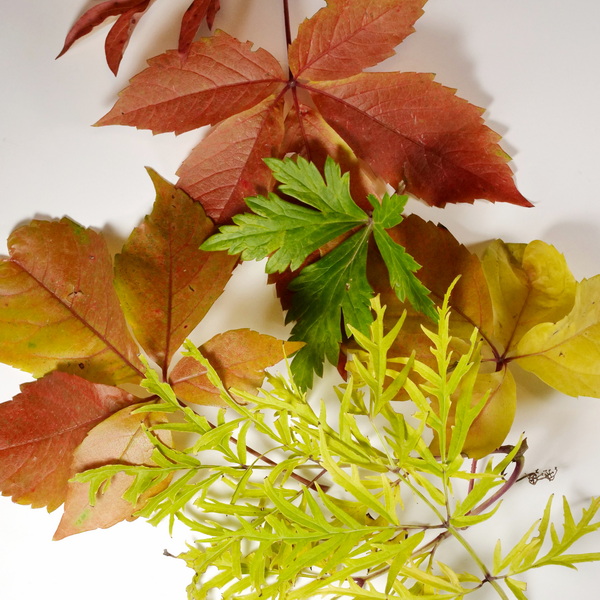
There are so many places to collect leaves. I love taking leaves from my garden and as I walk in parks around Calgary. I also love taking leaves from the trees at the Calgary Zoo. They have some out of zone and uncommon trees, so in the fall I make a point of visiting the zoo to collect a few leaves.
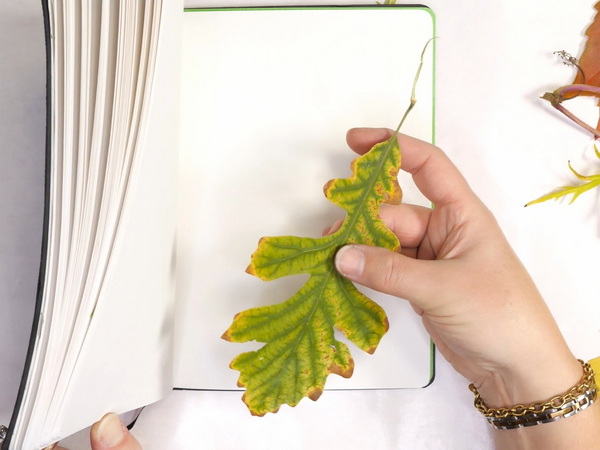
When collecting leaves, make sure that the leaf is still pliable and bendy. If it’s already starting to crack, it’s not going to be a good choice for drying. I try to find the fresh leaves that have just fallen off a tree. If you want to pick a few leaves off a tree, select leaves that come off easily in your hand. You want to make sure that you are gentle so that you don’t damage the tree.
Pressing Fall Leaves

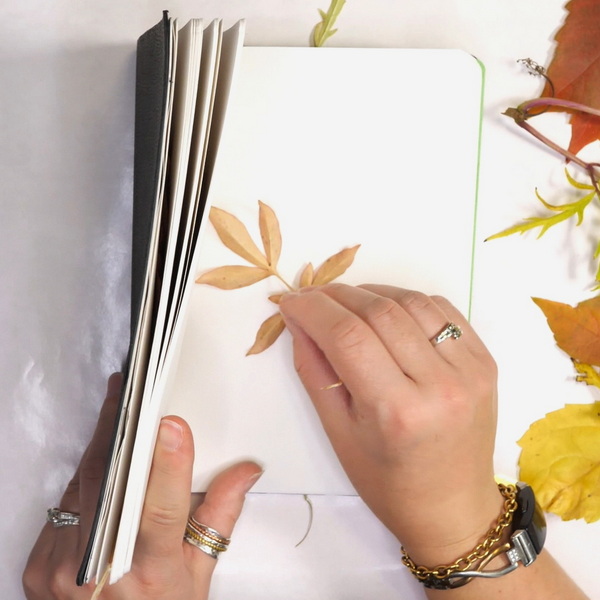
The easiest ways to press fall leaves is in the pages of a sketch book or art journal. I generally carry a sketchbook with me in the fall when I’m walking. When I come across a beautiful leaf, I slip it in between the pages of my book. As the books I tend to use are case-bound journals, they will keep the leaves in place easily and help them to be pressed flat.
When you get home, if you feel like the book isn’t pressing the leaves enough, add another book on top to add weight. I tend to forget that I’ve slipped leaves into the pages of my book, so when I go to create, I often have a happy surprise of pressed leaves to use in my next project.

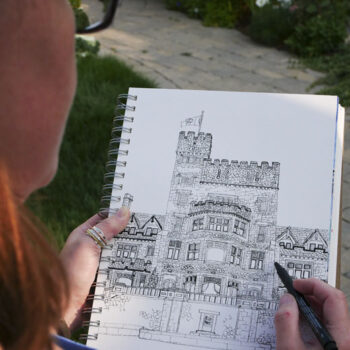
Choosing the Right Book
The key to make this work is making sure that you’re using a journal with heavy weight journaling paper and a case-bound (stitched and glued) book. If you tried this with a spiral notebook, you may find that the leaves will move around more and could possibly fall out of the book.

Small Sketchbook for Drawing with Acid-Free Art Paper - Each art book in these art notebooks will withstand the test of time on paper built to last. Heavyweight Sketch Paper - Weighing in at 118 lb/175 gsm, this paper is good for finished art work in most media.
You can also just add leaves between 2 sheets of paper and add a book on top to add weight while they dry. I like using sketchbooks as my space is limited and I don’t have the space to leave out pressed leaves for weeks to let them dry.
Another option is to use a book press. This is a great way to layer the leaves with paper and secure them so that they can dry but still be moved out of the way.

Versatile and portable book press for book binding. Also excellent for storing your drying leaves on your next project!
Are the Leaves Dry?
You want to make sure that the leaves are fully dry and pressed. You can tell when they are fully dry because they are thin, fragile and won’t bend at all. They will have no more moisture in the leaves.
As I live in a semi-arid climate with low humidity, this usually only takes a few weeks. The humidity in your environment will directly affect how long the leaves take to dry.
Sealing and Preserving Fall Leaves

The easiest way to preserve your dried leaves is to use matte medium. Matte medium is a liquid acrylic medium that dries clear which makes it perfect for delicate leaves.

Creates a matte, non-reflecting finish when added to acrylic colors. Lightweight, non-toxic; Opaque when wet, translucent when dry.
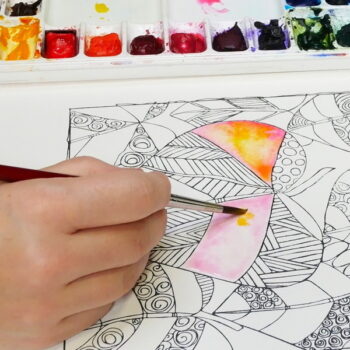
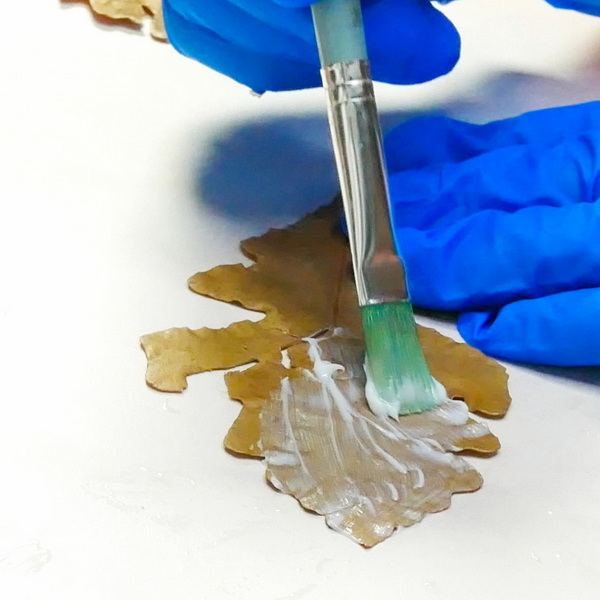
Using a ½” brush, add matte medium gently to the surface of the leaf in an even layer. You will notice that it will follow the bumps and textures of the leaf. So not only does it protect the leaves, but it also keeps the texture of the leaf including all the high and low points from the stems and veins.
Add a thin layer of matte medium to the leaf. Once it’s dry, turn it over and coat the other side of the leaf. If you want it to be stronger, continue to add additional thin layers of matte medium until the leaf is as strong as you want it. You should be able to easily bend the leaf without it cracking.
These leaves will stay their natural color for a long time. I have leaves that I have sealed many years ago that have not color shifted over time. When you use professional mediums, like Liquitex, it will help maintain the color integrity.

Other Mediums for Preserving Leaves
You can also try using a Golden Regular Gel Medium Semi-Gloss or Modge Podge on your leaves, but you do need to be extremely gentle. Any delicate and thin leaves will tend to break due to the thickness of the gel. Regular gel medium will leave obvious brush strokes and because of the thickness of the medium, it will cover up some of the leaf texture.

Gel mediums are ideal for extending colors, altering sheen, changing body, increasing translucency, adhering collages, and increasing film integrity.
The gel medium will preserve the color and it won’t change over time. When using Modge Podge, expect yellowing over time, especially if exposed to directly light.
I prefer using matte medium as it is more liquid and easier to work with. Adding several thin layers will prevent damaging the leaves and will give a smoother coat of medium to the surface.
Creative Ideas for Leaves
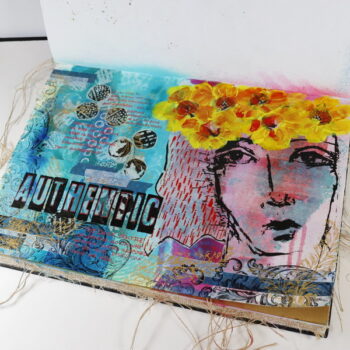
There’s so many ways you can use leaves in your projects. My favorite use for these is working them in to mixed media art, journal pages or cards. Because the leaves can be bent, they can also be added to dimensional objects such as vases or candle holders.
If you’re looking for more inspiration, take a look at the projects below! I used dried leaves as part of the design and they have aged fabulously!
- How to Collage with Dried Leaves in Your Journal
- Altered Photo Techniques for Your Journal
- Transforming Pumpkins with Decoupage
If you have any questions about preserving fall leaves or have tips that you use for drying and sealing leaves, leave a comment below!
Project Supply List
Versatile and portable book press for book binding. Also excellent for storing your drying leaves on your next project!

Synthetic bristles, short handle, aluminum ferrule. For use with acrylics and multi-media.
Creates a matte, non-reflecting finish when added to acrylic colors. Lightweight, non-toxic; Opaque when wet, translucent when dry.
Gel mediums are ideal for extending colors, altering sheen, changing body, increasing translucency, adhering collages, and increasing film integrity.

Mod Podge serves as an all-in-one glue, sealer, and finish, eliminating the need for multiple products and making it a staple in any crafter's toolkit.
Small Sketchbook for Drawing with Acid-Free Art Paper - Each art book in these art notebooks will withstand the test of time on paper built to last. Heavyweight Sketch Paper - Weighing in at 118 lb/175 gsm, this paper is good for finished art work in most media.