How to use Pan Pastels
Today I wanted to show you how to use Pan Pastels. Pan Pastels are a new addition to my mixed media work, and I have enjoyed using them to enhance my art. If you have never heard of Pan Pastels, these are a fun and versatile medium.
So what are Pan Pastels?
Pan Pastels are a soft, highly pigmented pastel that is in a pan form. These are not oil based but instead have a chalk-like feel. One of the benefits of using pan pastels is that you can apply color quickly and easily. They blend well, are highly pigmented and are created to produce very little dust. I enjoy these pastels because of the texture and softness that they provide to my projects. This makes them a great addition to mixed media work.

Here are genuine artists’ quality pastels — the softest in the world — uniquely packaged in stacking and interlocking jars. The packaging protects the colors, thus reducing damage and waste. PanPastels were specially developed so that artists could lift, apply, and control pastel color, just like true painting.
How to Apply Pan Pastels
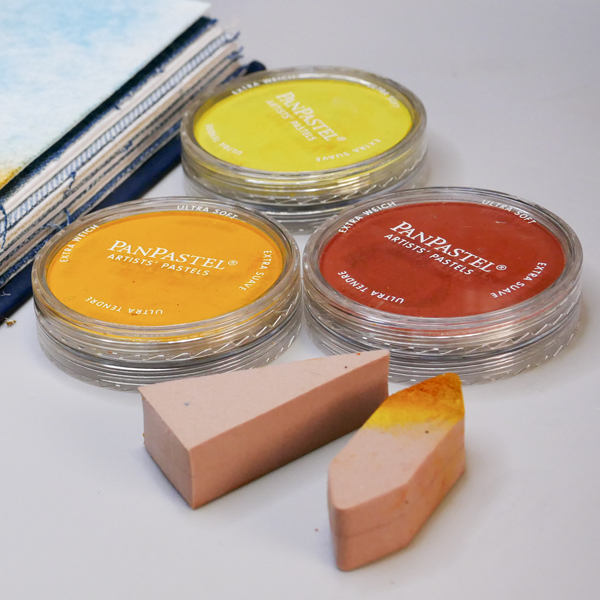
The Pan Pastels can be used with their own Sofft tools, which are sponge tools in different shapes and sizes. They can be cleaned and re-used but it’s important to treat them gently so that they last a long time. These sponges have a texture and stiffness that works well with the Pan Pastels.

For use with PanPastels and waterbased media, this set includes seven Sofft tools, including a No. 3 oval knife, five No. 3 oval covers, a sponge bar, and an angle slice round.
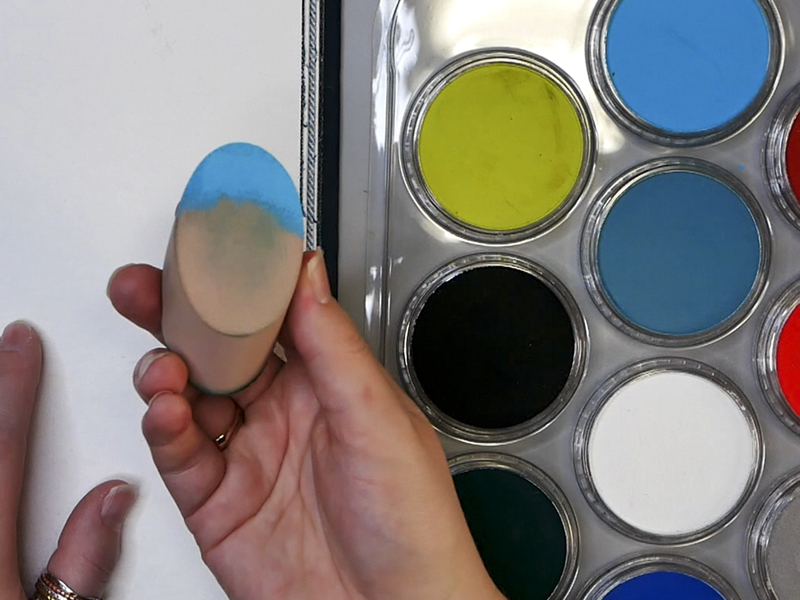
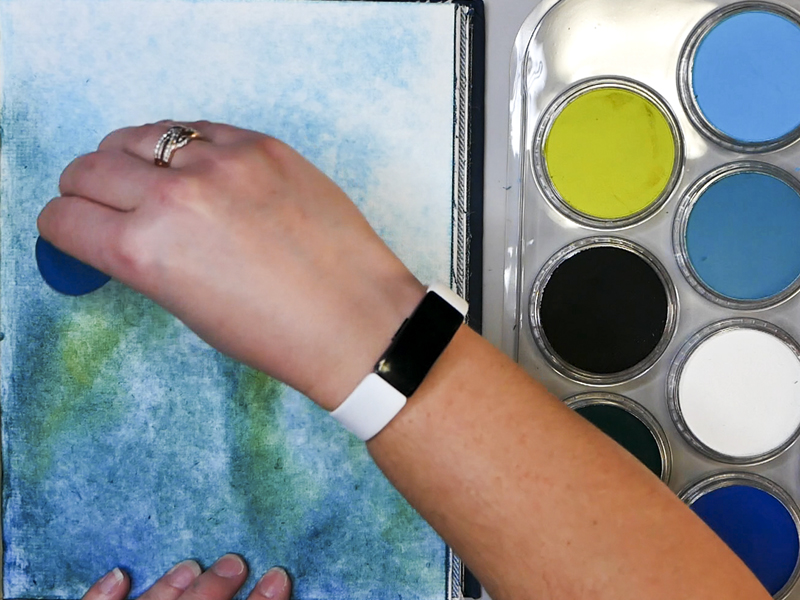
To apply the pastels, gently pick up color with your sponge and add it to your surface. Please note that these are not meant to be mixed with water in the pan but are intended to be used dry. If you are interested in creating a pastel wash, take pastel out of the pan, and mix it with alcohol to create a wash.

Workable Fixative and Pan Pastels
I would definitely recommend using a workable fixative as you apply your Pan Pastels. I never used to work with pastels because I was afraid of smudging my work. Then I discovered workable fixative and my fear went away.
Once you have added and blended the pan pastels onto your surface and are happy with the result, use workable fixative to seal the layer. Workable fixative is a quick drying spray, but make sure to use it in a well ventilated area. Once it is dry, you can continue to add additional layers of Pan Pastels or other mediums to your project, right over the fixative.
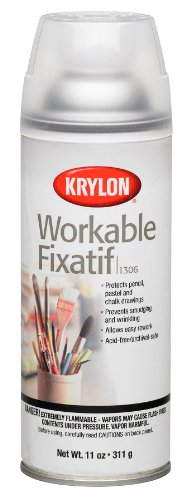
This clear, matte fixative is easy to work with, dries quickly, and doesn't wrinkle, smudge, or smear. Krylon Workable Matte Fixatif gives lasting protection to pencil, charcoal, and chalk, yet erases easily. The fixative is touch dry in 30 minutes and handle dry in 1 hour.

This is the fixative you've been waiting for!
Non-toxic, workable, and fully archival, SpectraFix is a casein-based fixative that utilizes milk protein and grain alcohol to hold and protect your media without dulling or darkening colors. Because it's all-natural and odor-free , you can spray your project indoors while you work — no more odors, unhealthy fumes, or long waits outdoors!
Please note that workable fixative is different than varnish. It is not meant to fully seal or protect your work from UV. Once your work is completed, if there is concern about UV protection and sealing your work, use a varnish or other sealant to protect your work. Once you have added a varnish, you will not be able to add any additional layers to your work unless you remove the varnish from your project.
Art Journal Project with Pan Pastels
As an introduction to Pan Pastels, I have created this art journal project that will show you several ways to use Pan Pastels. This includes adding color to a surface, blending color and adding Pan Pastels to modeling paste. This project was inspired by the work of Donna Downey, one of my favorite mixed media artists.
Adding Pan Pastels with a Sofft Sponge
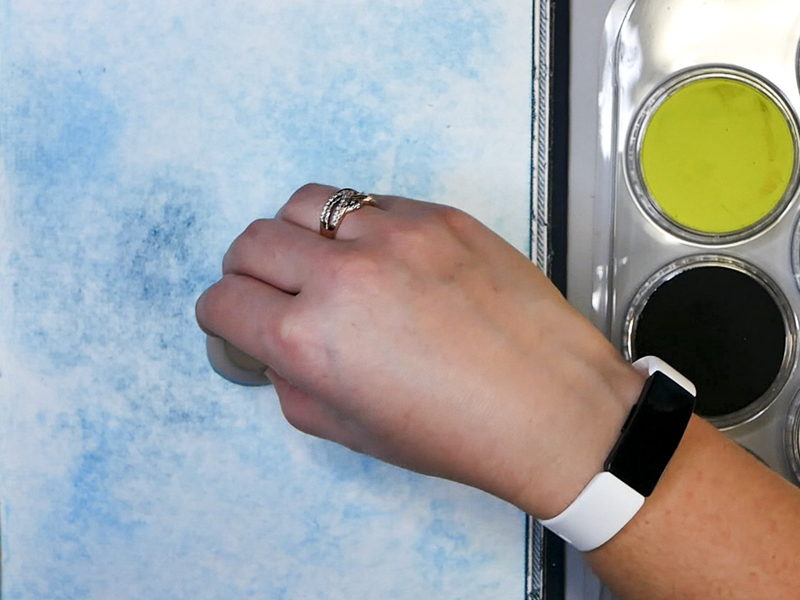
Start by picking up Turquoise Pan Pastel with your Sofft Sponge and gently apply to your project. I like moving in a circular motion when adding color to my project. The intent is to cover the entire page with soft blues. Use Turquoise Shade and Ultramarine Blue to add depth and variation to the blue background.
Add in Green Pan Pastels to the Background
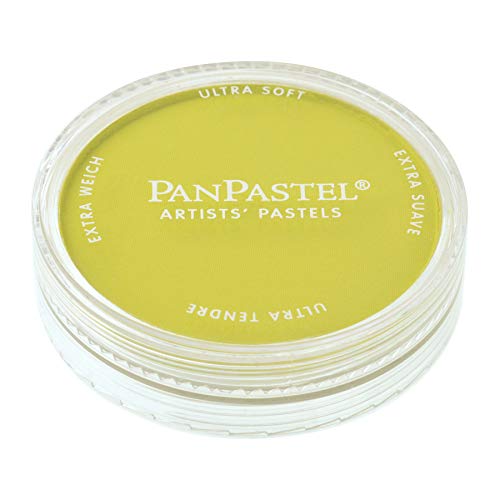
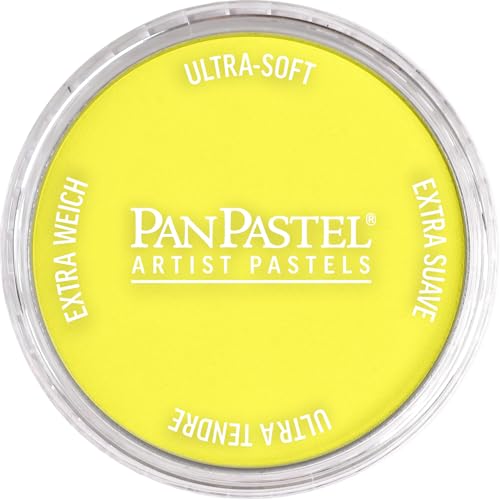
Along the bottom of the page and up the left hand side, add in Pthalo Green Extra Dark and Bright Yellow Green Pan Pastels to the background. The intent is to create a soft green, grassy background. Start by adding the Extra Dark Green in layers and add in highlights with the Bright Yellow Green.
Spray with Workable Fixative
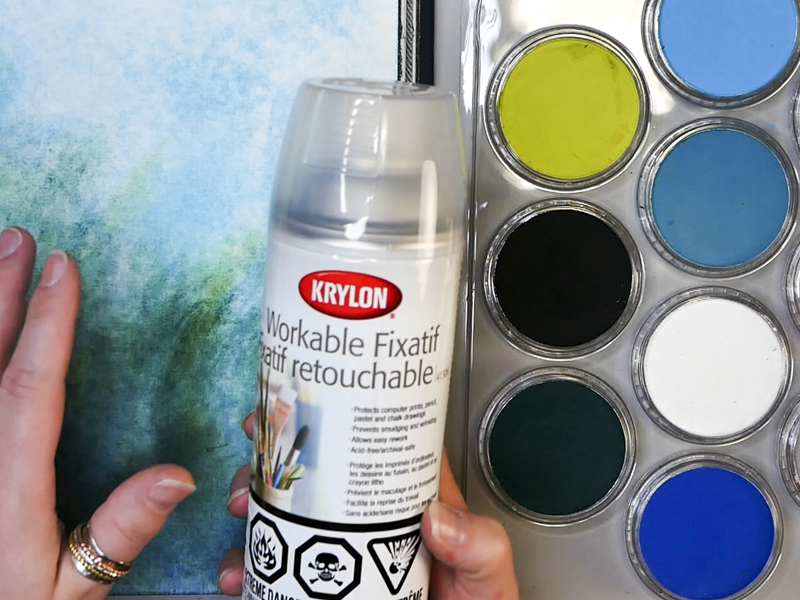
Once you are happy with the blending of the background, spray with workable fixative to seal in the Pan Pastel to the page. You may notice a slight change in the colors on the page. If the look is not what you expect, add in additional Pan Pastel colors to get the highlights and depth that you want in your page.
Add Modeling Paste through a Stencil
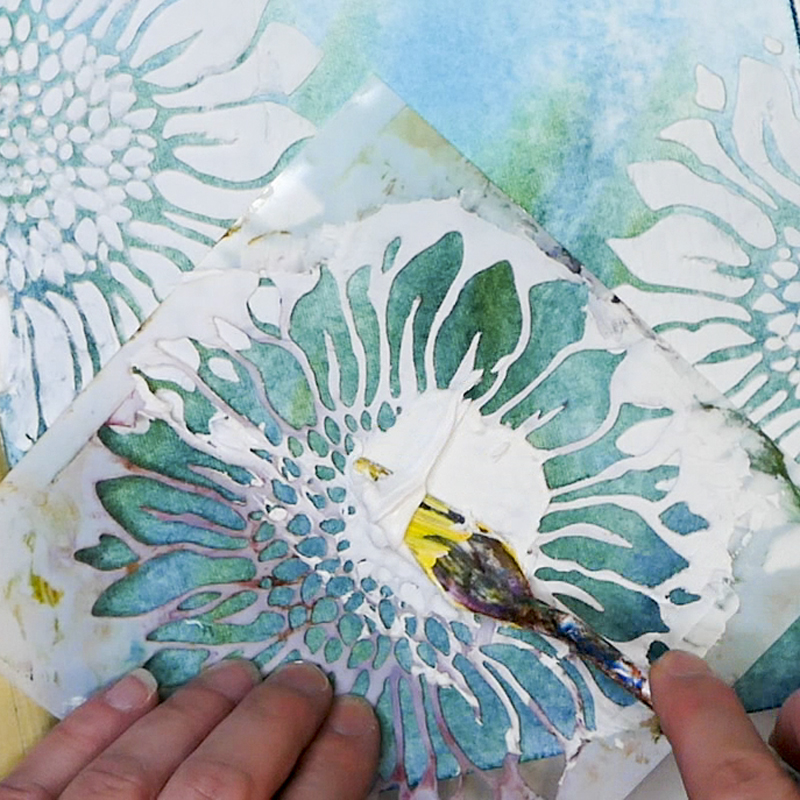
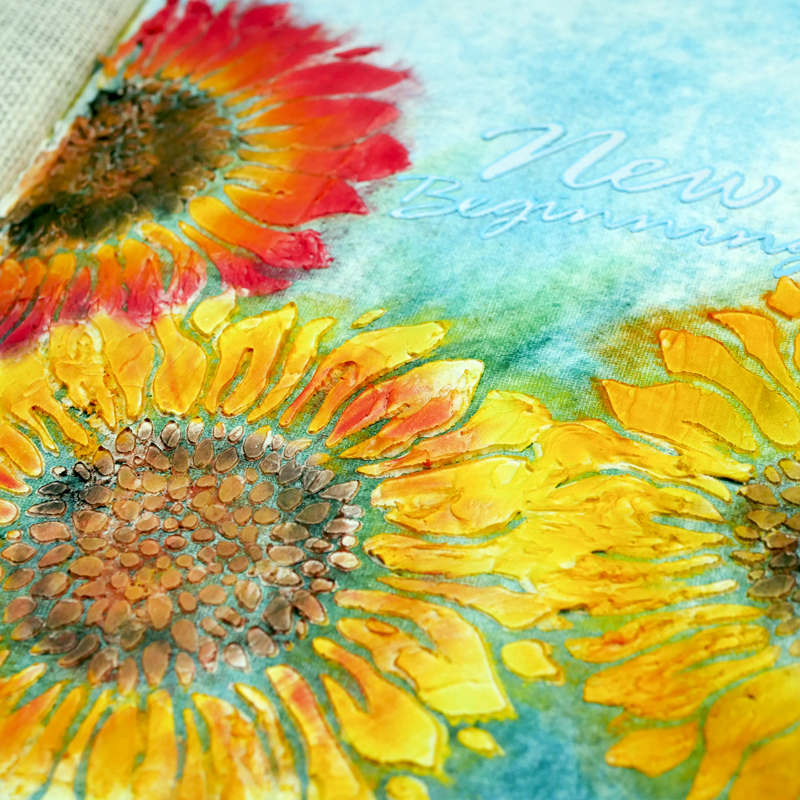
The next step is to add your focal images using a stencil. I used a sunflower stencil for the focal image. Place it on the surface of your project and apply modeling paste evenly through the stencil.
If you do not have modeling paste, there are a variety of other pastes that would also work. These include crackle paste, fibre paste or moulding paste. You can apply more than one image through the stencil onto your piece. Be very careful when overlapping not to disturb the media you have already applied. Let this dry fully. It may take several hours or overnight depending on humidity and other variables.
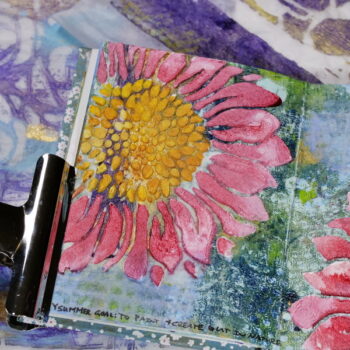
Adding Pan Pastels to Focal Image
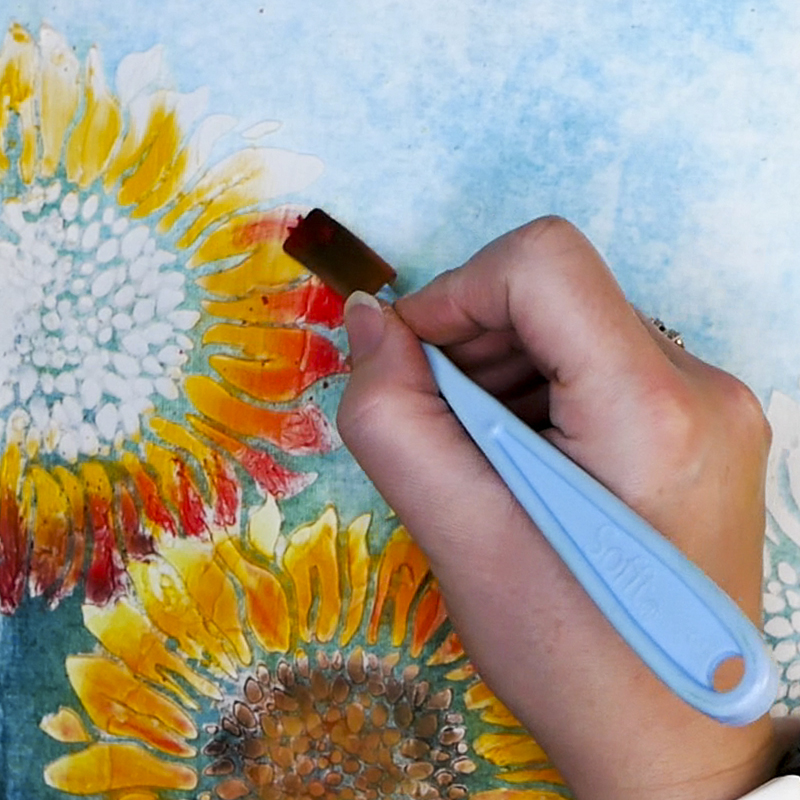
Once the modeling paste is fully dry, add pan pastels to the focal image. By using a variety of the Sofft tools you can get very precise application or a looser application depending on the desired look. Start with lighter colors first and move to darker colors. It is harder to lighten the pan pastels than it is to add more color and darken them. When coloring and blending is completed, spray with Workable Fixative.
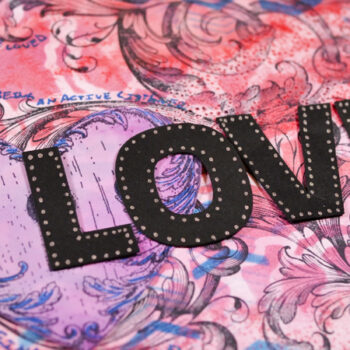
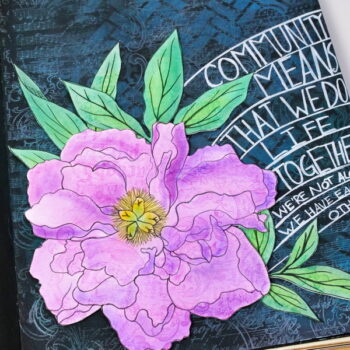
Add in Sentiment and Journaling
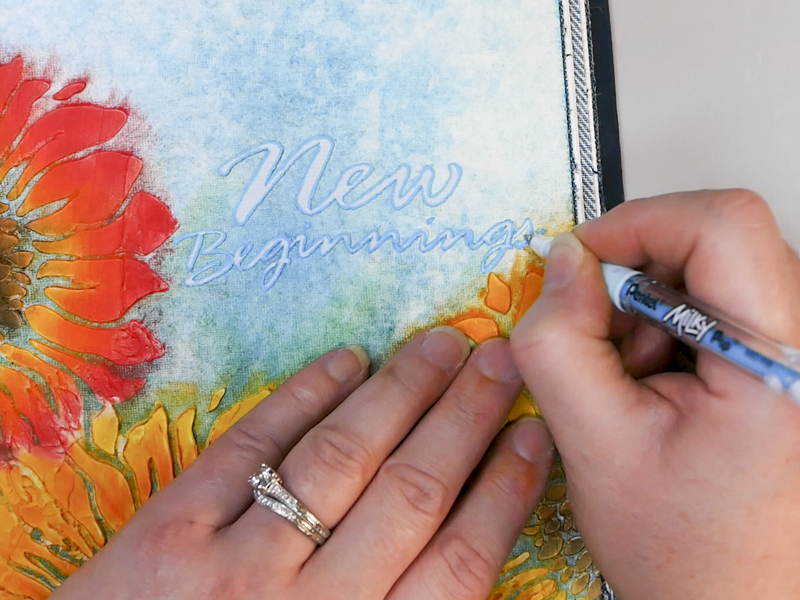
The last step is to add in a phrase and journaling. I used the phrase “New Beginnings” in honor of New Year’s Day. Using a Sakura Gelli pen, I will write my goals in the blue pace at the top of my project. I suggest using a ball point Gelli pen on top of the Pan Pastels. Other styles of pens with absorbent tips often clog on this type of surface.
New Beginnings and New Year’s Resolutions
As it is January 1st I have been working on my goal planning for this next year. I do not believe that New Year’s Resolutions are terrible helpful. But using January 1st to set aside some time to set goals for the year is a great idea. If you are looking for some guidance for setting goals, please see my articles about setting SMART goals and habit trackers . These tools can help you set and maintain your goals throughout the year.
Looking Back to Look Forward
I love looking back at the past year, even this year of pandemic. It’s not been an easy time, but there have been many unexpected positive things that have come out of it. By looking back at the year, I can evaluate and make changes. By entering 2021 with a plan, I can be focused and optimistic about what this year will bring.
How About You?
Have you tried using Pan Pastels before? What are your thoughts on this project and what you think about Pan Pastels? I would also love to hear if you have done some goal planning for the next year. Have a fantastic New Year’s Day and I hope that that the days and months ahead bring many good things to your life!
Project Supply List

PanPastel Artists’ Pastels are pigment-rich, professional-grade soft pastels in a stackable pan format. Each contains 0.3 oz—about 35% more material than the average pastel stick—giving you easy access to intense, ultra-soft color that’s easy to lift, blend, layer without overfilling your surface’s tooth.

PanPastel Artists’ Pastels are pigment-rich, professional-grade soft pastels in a stackable pan format. Each contains 0.3 oz—about 35% more material than the average pastel stick—giving you easy access to intense, ultra-soft color that’s easy to lift, blend, layer without overfilling your surface’s tooth.

PanPastel Artists’ Pastels are pigment-rich, professional-grade soft pastels in a stackable pan format. Each contains 0.3 oz—about 35% more material than the average pastel stick—giving you easy access to intense, ultra-soft color that’s easy to lift, blend, layer without overfilling your surface’s tooth.

PanPastel Artists’ Pastels are pigment-rich, professional-grade soft pastels in a stackable pan format. Each contains 0.3 oz—about 35% more material than the average pastel stick—giving you easy access to intense, ultra-soft color that’s easy to lift, blend, layer without overfilling your surface’s tooth.
PanPastel Artists’ Pastels are pigment-rich, professional-grade soft pastels in a stackable pan format. Each contains 0.3 oz—about 35% more material than the average pastel stick—giving you easy access to intense, ultra-soft color that’s easy to lift, blend, layer without overfilling your surface’s tooth.

PanPastel Artists’ Pastels are pigment-rich, professional-grade soft pastels in a stackable pan format. Each contains 0.3 oz—about 35% more material than the average pastel stick—giving you easy access to intense, ultra-soft color that’s easy to lift, blend, layer without overfilling your surface’s tooth.

PanPastel Artists’ Pastels are pigment-rich, professional-grade soft pastels in a stackable pan format. Each contains 0.3 oz—about 35% more material than the average pastel stick—giving you easy access to intense, ultra-soft color that’s easy to lift, blend, layer without overfilling your surface’s tooth.

PanPastel Artists’ Pastels are pigment-rich, professional-grade soft pastels in a stackable pan format. Each contains 0.3 oz—about 35% more material than the average pastel stick—giving you easy access to intense, ultra-soft color that’s easy to lift, blend, layer without overfilling your surface’s tooth.

PanPastel Artists’ Pastels are pigment-rich, professional-grade soft pastels in a stackable pan format. Each contains 0.3 oz—about 35% more material than the average pastel stick—giving you easy access to intense, ultra-soft color that’s easy to lift, blend, layer without overfilling your surface’s tooth.

PanPastel Artists’ Pastels are pigment-rich, professional-grade soft pastels in a stackable pan format. Each contains 0.3 oz—about 35% more material than the average pastel stick—giving you easy access to intense, ultra-soft color that’s easy to lift, blend, layer without overfilling your surface’s tooth.
PanPastel Artists’ Pastels are pigment-rich, professional-grade soft pastels in a stackable pan format. Each contains 0.3 oz—about 35% more material than the average pastel stick—giving you easy access to intense, ultra-soft color that’s easy to lift, blend, layer without overfilling your surface’s tooth.
For use with PanPastels and waterbased media, this set includes seven Sofft tools, including a No. 3 oval knife, five No. 3 oval covers, a sponge bar, and an angle slice round.

Liquitex Modeling Paste is a thick, clay-like putty formulated with an acrylic polymer base and marble dust. Use alone or combine with acrylic colors to build forms and structures on rigid substrates.

Collection of sunflower stencils for any of your art journaling and crafting projects. The stencils are made of durable and flexible PET plastic, ensuring their longevity and enabling multiple uses for your crafting projects.

A 5-piece premium quality stainless steel artist palette knife set with sturdy comfort-grip wooden handles. Set includes the essential shapes and sizes needed for most types of palette knife techniques and painting applications.
This clear, matte fixative is easy to work with, dries quickly, and doesn't wrinkle, smudge, or smear. Krylon Workable Matte Fixatif gives lasting protection to pencil, charcoal, and chalk, yet erases easily. The fixative is touch dry in 30 minutes and handle dry in 1 hour.
This is the fixative you've been waiting for!
Non-toxic, workable, and fully archival, SpectraFix is a casein-based fixative that utilizes milk protein and grain alcohol to hold and protect your media without dulling or darkening colors. Because it's all-natural and odor-free , you can spray your project indoors while you work — no more odors, unhealthy fumes, or long waits outdoors!

This is an industrial strength, non-toxic, and water-based adhesive designed for glitter and paper applications. This adhesive is also strong enough to bond items such as cardboard, metal, wood, canvas, plastic, glass, and more. This glue is acid free and safe to use for any of your paper crafting projects.
Add a pop of color with Pentel Milky Pop Pens. These vivid pastel gel inks show up especially well on dark papers. Milky Pop Pens have medium points (0.8 mm) and extra-long, balanced barrels for effortless writing and control.