How to get the Best Results with Acrylic Pastes and Stencils
Do you ever use acrylic pastes with your stencils? Acrylic pastes can create beautiful dimension and crisp images in your art journal, if you know how to apply them. Here are some tips and techniques for how to get fantastic results with acrylic pastes and stencils.
Hop-A-Long Studio is reader-supported. When you buy through links on our site, we may earn an affiliate commission at no cost to you. Learn more.
Types of Acrylic Pastes
Acrylic pastes are beautiful, but they can be a little overwhelming at first. There’s so many brands and types of pastes to choose from. As I’ve been teaching online and in-person, I’ve realized that most of my students have not used acrylic pastes with stencils in their art journals before.
Craft Pastes
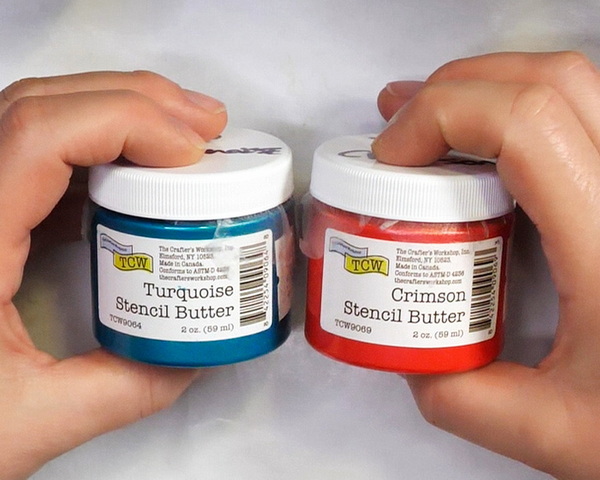
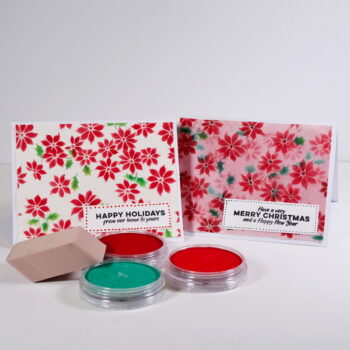
Pastes come in a lot of names and brands. Craft pastes usually come in smaller containers and a variety of colors. Popular brands are Nuvo Glacier Pastes, Tim Holtz Texture Paste, Simon Hurley Lunar Pastes, and The Crafter’s Workshop Stencil Butters. These come in smaller quantities than art paste and often have glitter and mediums added to them. They are ready to use out of the jar.
Artist Pastes

Artist pastes come in white, with the expectation that you will use your own paints and inks to tint the paste. There is a large variety of pastes including modeling paste, fiber paste, crackle paste to name a few.
Each of these pastes have different properties and will give you a different result. Modeling paste has marble dust in it which makes it strong and heavy. Modeling paste can be found in a flexible version which is perfect for the art journal as it will bend and not crack on the pages.
Fiber paste has paper fiber in it, so it gives an interesting texture that absorbs watercolor and acrylic paints and inks. There is also crackle paste that once will crack as it dry, which gives a beautiful texture that you can paint or draw on top of.
Tools for Applying Paste
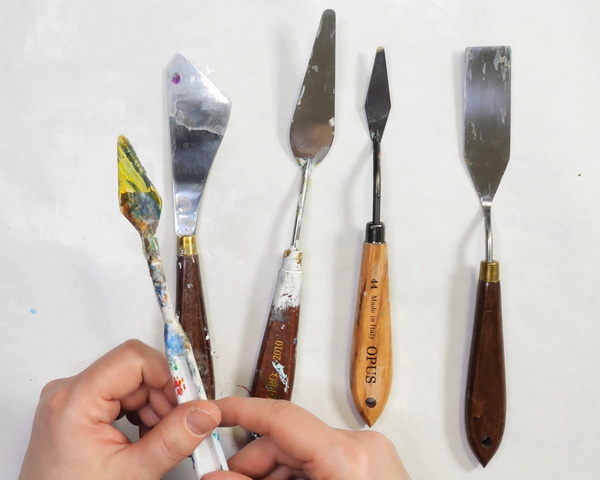
There are a variety of tools that you can use to apply paste through a stencil. I prefer a metal palette knife, but you could use anything stiff and flat like an old gift card or craft scraper.
My favorite palette knife for adding paste through a stencil is a long, wedged palette knife made of metal. I prefer metal palette knives over plastic knives. The plastic knives are thicker, and I find them harder to manipulate the paste. The metal palette knives are thin and strong, so it’s much easier to control how much paste you’re adding through the stencil.
Both plastic and metal palette knives are created with bend in the design. This makes it easier to glide paste over the surface without damaging the stencil.
Choosing a Stencil
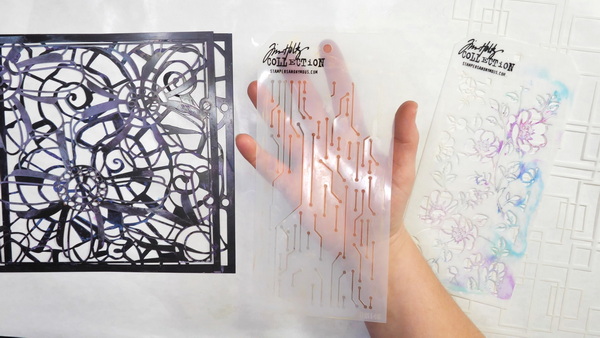
Choose a hardy stencil when adding acrylic paste to your project. Most store bought stencils will work very well as they are designed for multiple uses. I do cut my own stencils from cardstock or shelf liner to put my paste through, but they require more practice to get good results.
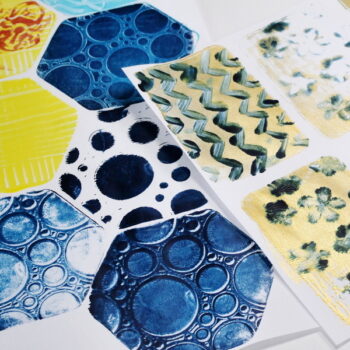
If you use a stencil with a lot of fine detail, be careful not to damage or bend the stencil when adding paste. Shapes like circles and squares with thick borders are easier to add pastes to, especially if you are new to this technique. But as you gain practice, you should be able to add paste through any stencil.
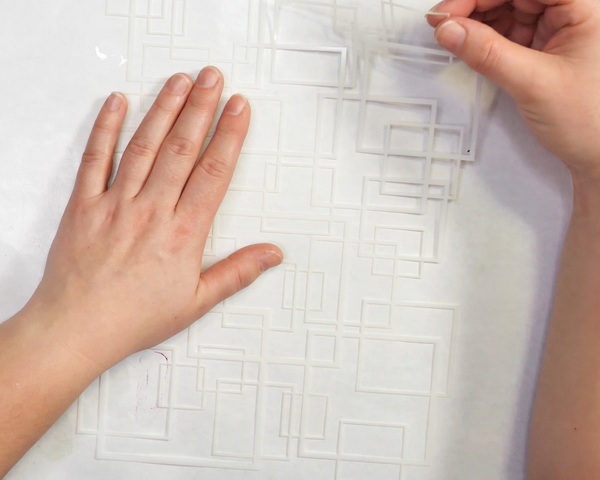
Choosing the Right Side of the Stencil
Most stencils are created with a very slight bevel when cut. If the bevel is angled so the that the thicker part of the bevel is sitting on the paper, this keeps paste from getting underneath the stencil. It can be challenging to see, but it does make stenciling easier.
I use both sides of the stencil, but there is usually one side that will be easier to add paste to and you will get a more detailed image.
Adding Paste Through a Stencil
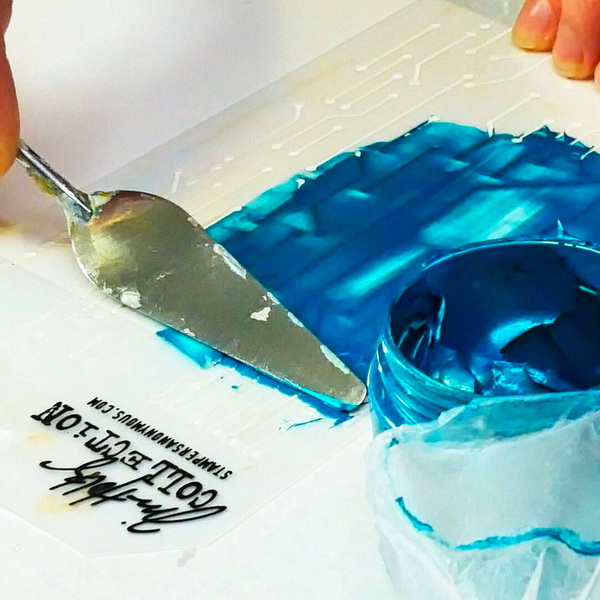
When adding acrylic paste through a stencil, pick up medium from the jar using the back side of your palette knife. Check the consistency of your paste, it should smooth and easy to move. It should have a consistency like frosting, depending on the medium.
What Happens if the Paste is Too Dry?
If you’ve had your paste a while, some of the moisture may have evaporated from the medium. If it feels thick and hard to move, add the paste to a palette and spritz with water. Mix the medium until it has a soft consistency and then add it through the stencil.
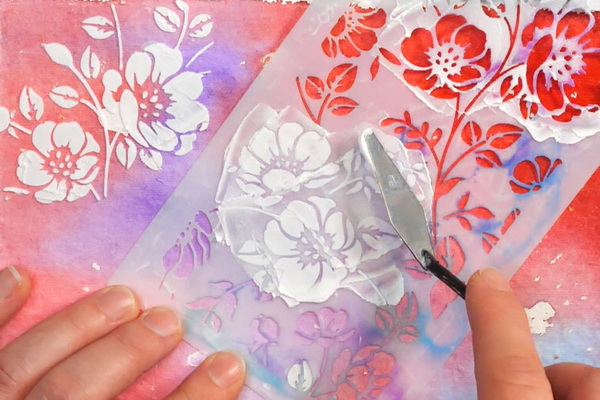
How to Apply the Acrylic Paste
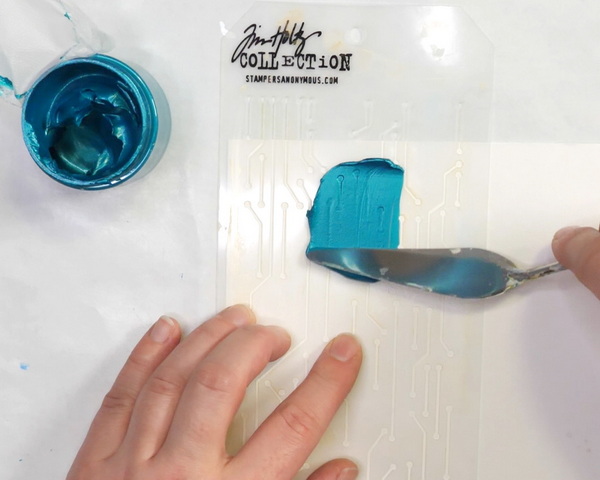
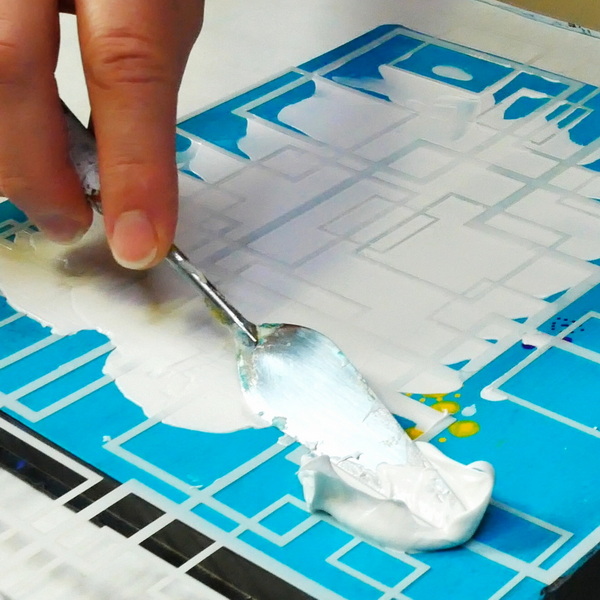
Be gentle when adding paste through the stencil. Think of it like icing a cake. You don’t need to push hard to get a good result. I like to add a decent amount of medium to my surface in the first stroke. This helps keep the stencil in place and lets me move the acrylic paste around without the stencil shifting. You want to work in longer strokes adding the paste down the stencil. I tend to work from top to bottom on the image. If you overwork it too much and in too many directions, the paste will end up under the stencil and the image won’t be crisp.
How Thick do I Apply the Paste?
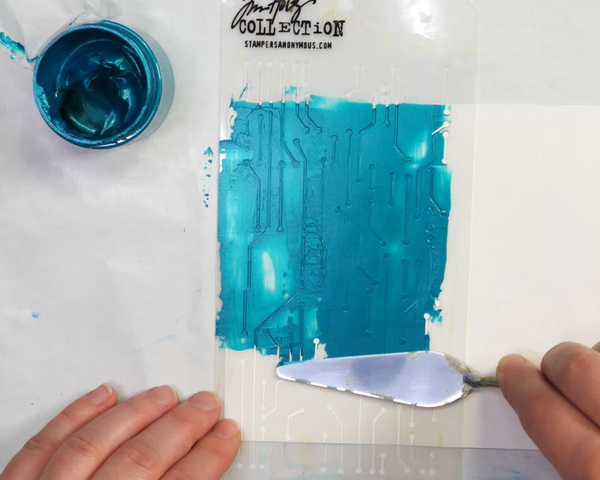
Try to have a layer of paste that is that same thickness or a tiny bit thicker than the stencil. If you end up with a thick and heavy layer of paste, when you pull up the stencil, it will smudge your image and the paste will take much longer to dry.
At the same time, don’t scrape too much medium off. If you dig into the image when adding your stencil, you’ll end up with thin, inconsistent layers that won’t look great. It takes practice to figure out the right thickness of each paste, but it’s such a fun way to add dimension to your projects.
Tips for Using Multiple Images
If you want to add multiple stencil images to your page while the paste is wet, you can do so very carefully. If you are right-handed, start at the top left corner and work your way across and down the page adding images.
Be aware of the edges of the stencil so that you don’t smudge and image you just created. Make sure the images are far enough apart so that it doesn’t touch the wet images. If you want the images to overlap, apply paste and let it dry. Then add in your next image with your paste and palette knife.
You should be able to add image after image without cleaning the stencil. If the paste hasn’t been pushed under the stencil, you should be able to add multiple images cleanly.
Working with Fine Detailed Stencils
When working with fine detailed stencils, you may need to scrape off any extra paste that may be still sitting on the stencil. Too much paste on top of the stencils after you’ve added the image may affect the next image that you apply. Generally, as you add images, scrape off any extra medium back into the jar. This not only saves your paste, but you also will get a better image.
Any Questions?
Any questions about how to get good results with acrylic pastes and stencils? This is a straightforward technique but understanding a few techniques will help you get good results every time. Do you use pastes with your art journal or creative projects? I’d love to hear all about it! Leave a comment below and I’d love to start a conversation with you!
Project Supply List
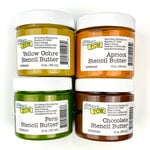
The Crafter’s Workshop – Stencil Butter – Forest Pack
from: Scrapbook.com
Ranger Ink – Simon Hurley – Lunar Paste – Bee Sting
from: Scrapbook.com

Liquitex Modeling Paste is a thick, clay-like putty formulated with an acrylic polymer base and marble dust. Use alone or combine with acrylic colors to build forms and structures on rigid substrates.
Golden Crackle Paste – 8 oz jar
from: Blick Art Materials
Golden Molding Paste Medium – Fiber, 8 oz jar
from: Blick Art Materials
Stampers Anonymous – Tim Holtz – Layering Stencil – Floral
from: Scrapbook.com
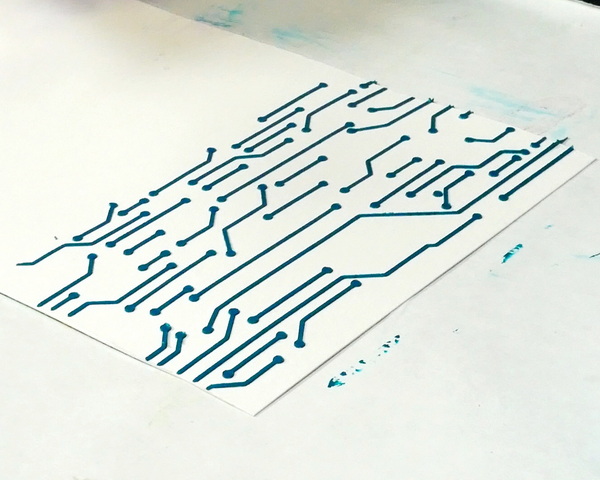
Stampers Anonymous – Tim Holtz – Layering Stencil – Circuit
from: Scrapbook.com

A 5-piece premium quality stainless steel artist palette knife set with sturdy comfort-grip wooden handles. Set includes the essential shapes and sizes needed for most types of palette knife techniques and painting applications.

- Acid-free
- Made in the USA
- Cold Press 140lb paperweight
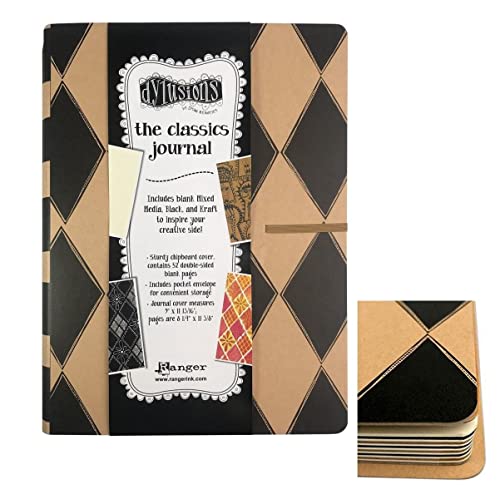
When you need somewhere to create and preserve your artwork, look no further than this Dylusions Classics Journal from Ranger Ink, designed by Dyan Reaveley. This journal includes 52 double-sided pages, 28 mixed media, 12 black and 12 Kraft pages, all waiting for your inspiration.

Dylusions square black creative journal- 48 unlined pages are heavyweight black cardstock, ideal for the application of paint, doodling, collaging and other art journaling techniques.