Creative Stamping with Watercolor Markers
Stamping with watercolor markers is a great way of customizing your stamping designs in your art journal or creative projects. I love watercolor markers because they can be used in so many different ways. Not just as writing or drawing pens, but also used with stamps and other mark making tools.
Stamping with watercolor markers is a less conventional way of using these markers in your creative projects. Today I will be sharing some of my favorite techniques and how I use watercolor markers to customize my stamped images.
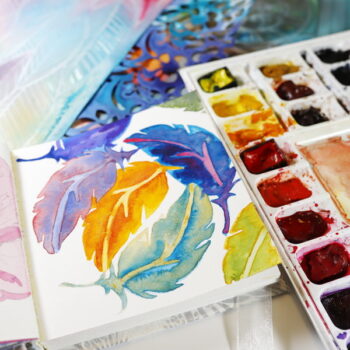
Watercolor Markers
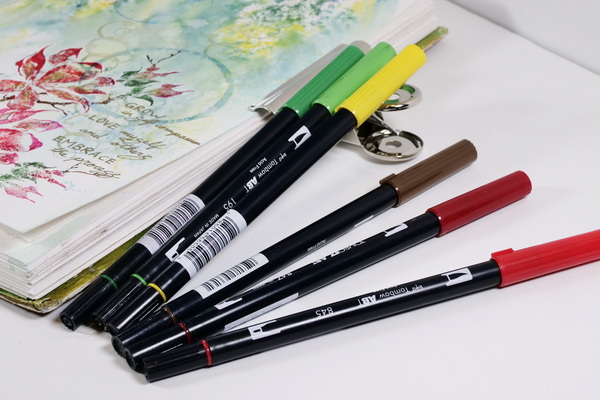
There are a variety of watercolor markers available, but I prefer watercolor markers that have both a writing and brush nib in one marker. The two brands that I tend to use in my creative practice are Tombow Dual Brush markers and Marabu Graphix Aqua Pen watercolor markers. Stay tuned for an upcoming tutorial where I compare these markers and the benefits of each of these brands.
When using markers for this project, make sure you are using watercolor markers with water soluble ink. I have experienced disappointing moments with my art journal when I have accidentally mixed up my watercolor and permanent pens.
To check if your pen is water soluble, draw on a piece of paper. Then add water with a brush over top of the ink. If the ink bleeds easily, it is water soluble. If it does not bleed, it is a permanent pen. Often the pen itself will have markings on the barrel indicating if it is permanent or water soluble, but I always like to check before adding pen to my creative projects.
Stamping with Watercolor Markers
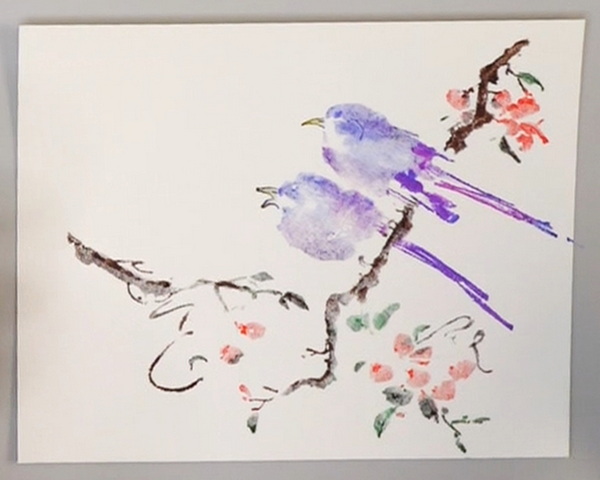
Stamping with watercolor markers is a great way of customizing your stamped images. Instead of using a stamp pad where it is difficult to add color in specific areas, using a watercolor marker produces vibrant color that you can place very specifically onto an image.
I tend to use rubber stamps for this technique as the watercolor marker sticks better to the rubber than to clear stamps.
How to Color a Stamp with Watercolor Markers

To color a stamp with watercolor markers, place your stamp face up. Using the brush end of the watercolor marker, add color to the stamp. You can add areas of a specific color or layer colors on top of each other to create color values on the stamp.
Glossy or Watercolor Paper?
When adding marker onto your stamp, this can take a few minutes to complete if you are adding in a lot of details and layers. To get a good stamp impression, the ink will need additional moisture.
If you are working on glossy paper or cardstock, huff on the stamp with your breath. The moisture from your breath is enough to rewet the ink and ensure that you get a good stamped image.
If you are using watercolor paper, additional water will need to be added. Watercolor paper is designed to absorb water so huffing with your breath will not be enough moisture. I like to spritz a fine mist of water onto the surface with my water bottle before stamping onto watercolor paper.
If you want a softer, less precise image, just add more water before stamping. Another option is to wet the watercolor paper, then add in the marker image. This takes a bit of experimentation to get the right amount of water to get a clear image.
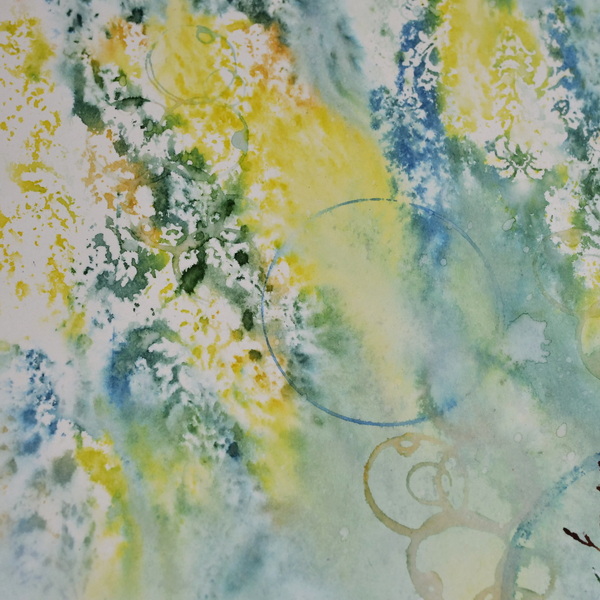
Adding Water to Stamped Images
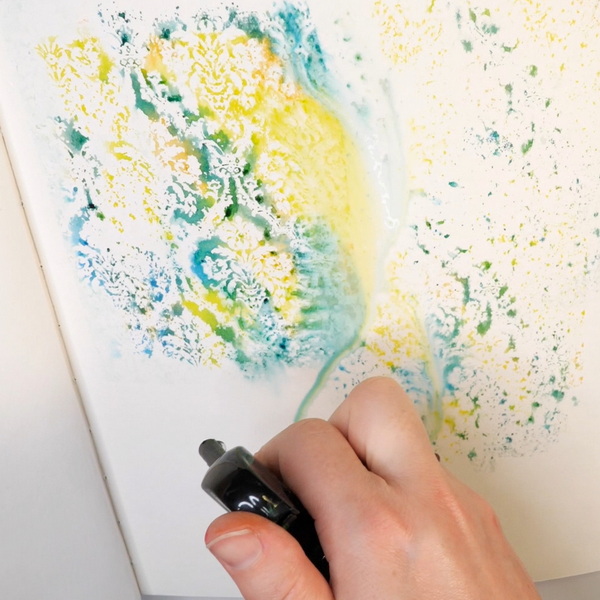
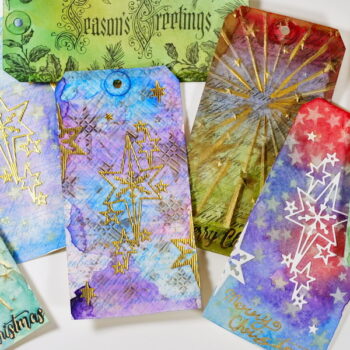
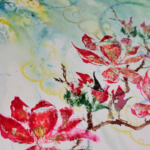
Once you have stamped images onto watercolor paper, you can soften the images even more by spritzing with water or using a water brush. When creating backgrounds, I like adding additional water and letting it drip down the page.
What is so fun about watercolor markers and stamped images is that there is so much room for creative play. You can create everything from a very clear, crisp image to a very soft, watercolor image.
Stamping and Mark Making with Found Objects
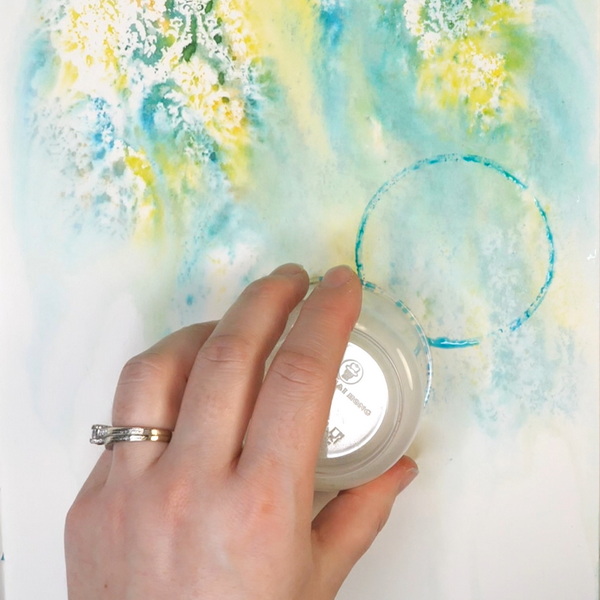
If you don’t own stamps or if you would prefer to use found objects, almost any object can be a stamp. You can use bottle tops, marker caps, or containers. Just make sure that the surface is slick and not absorbent. If the found object is absorbent, it will absorb the marker and not transfer the ink to the page.
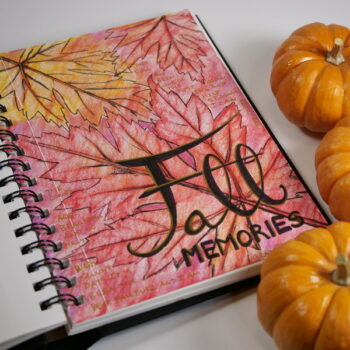
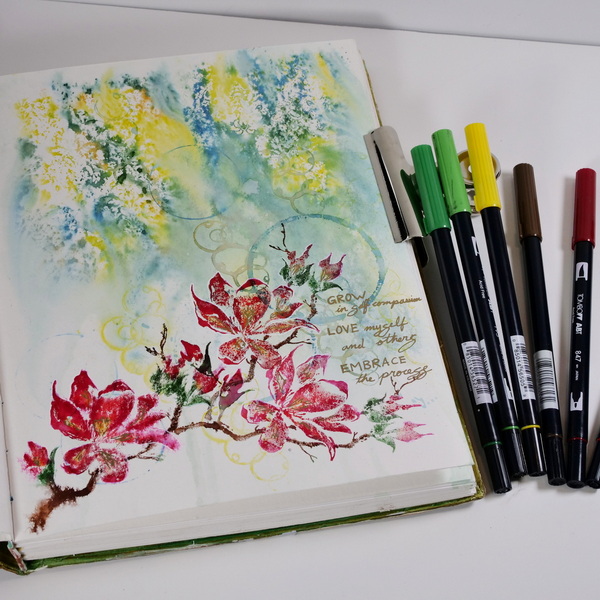
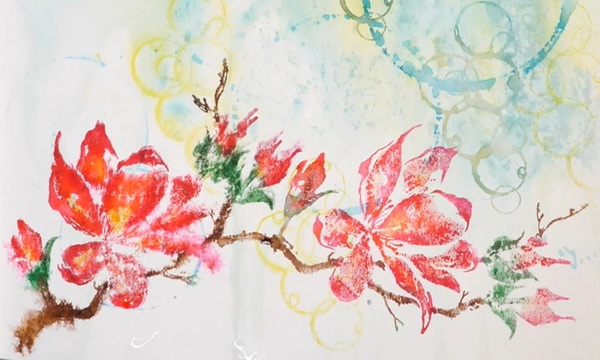
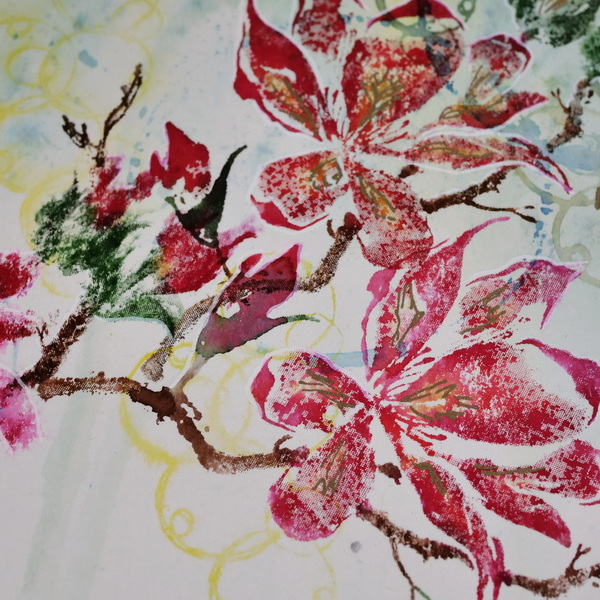
Stamping with Watercolor Markers in an Art Journal Page
These stamping techniques can be used together to make multiple layers in an art journal page or creative project. As the techniques are fun, loose, and very forgiving, it makes them perfect for the art journal page. As Valentine’s Day is around the corner, I was thinking about the idea of how art and creativity can be a way that we can show ourselves a bit of love.
Staying out of Perfectionism
We can often get wrapped up in perfectionism with our art journal pages or our creative practice in general. What I love about watercolor markers and these techniques is that it is an easy way of loosening up. Loosening up our images with water to make them more smudged or laying down color quickly are several ways to help us move away from perfectionism.
We can fall into habits of being critical of the art that we do or comparing our art to others. Whether we are just starting our creative journey or have been doing it for years, we need to show love to ourselves. Instead of judging our work, we can accept the effort that we put in at this moment as part of our journey.
It can be so hard to stay out of comparison or perfectionism. My hope is that this week’s tutorial will give you permission to be less perfect. Try a looser technique and see what the result might be. We all need to find a way to love where we are in our process. It is good to acknowledge that in a month or a year from now we may look back and see how much we have grown.
That doesn’t make what we created right now less valuable. If anything, it’s more valuable because it shows us a progression from where we were to where we are now.
Questions?
Do you have any questions about the techniques that I shared today? My hope is that this has given you a few new ideas on how to use your watercolor markers in your creative projects. If you have any questions or comments on this project, please leave your comments below or fill out my contact form. I always love to hear from you!
Project Supply List
- Art Journal with Strathmore 200 Watercolor Paper
- Ranger Gloss Paper
- Tombow Dual Brush Markers: 847, 685, 725, 055, 993, 195, 245, 526, 493, 856, 845, 696, 947
- Floral Rubber Stamp
- Paper Artsy Rubber Stamp
- Tim Holtz Stampers Anonymous CMS126 Wallpaper and Wood
- Mark Making Objects
- Ranger Tim Holtz Distress Sprayer
- Stamping Block
- Sakura Pen-touch Gold Pen 2.0mm
- Posca White Paint Pen PC-1MR Fine Tip