Stamping Tips and Techniques
Do you use stamped images in your creative projects? Today we will be covering stamping tips and techniques using ink and paint that will help you get consistent results.
Stamping is a huge part of my creative practice. If you find yourself stuck with a project and not sure where to go, try using stamps. The process of stamping is very therapeutic. You may start with not having an idea, but the more use you stamps, you may discover a project waiting to be uncovered.
Stamping can be frustrating if you get mixed results. We are going to cover stamping tips and techniques that will help you work with a variety of stamps on different surfaces.
Types of Stamps
Before we get into stamping itself, we will talk about common types of stamps that are used for stamping.
Rubber Stamps
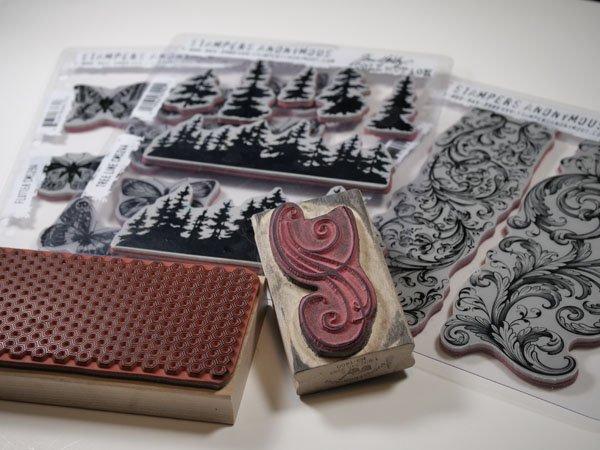
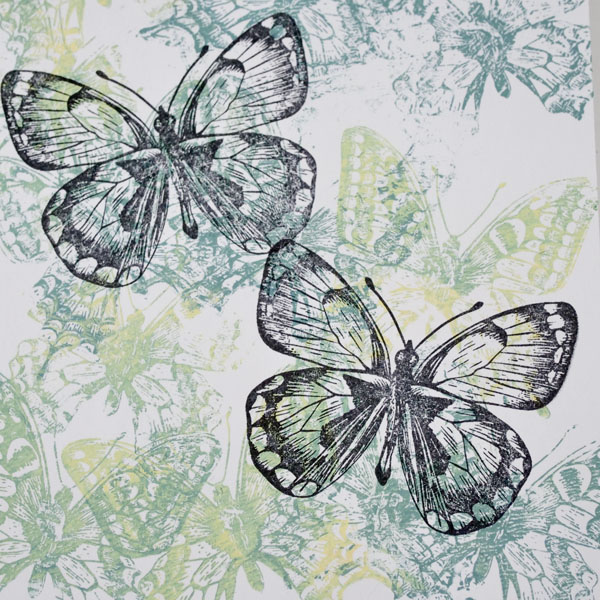
Rubber stamps are made from rubber and are very durable. They stamp with great detail, withstand heat and are designed to last a long time.
You can get them either mounted to a wooden block or unmounted. If they are not mounted to a wooden block, you will need a stamping block to be able to use these stamps on your projects.
Clear Stamps
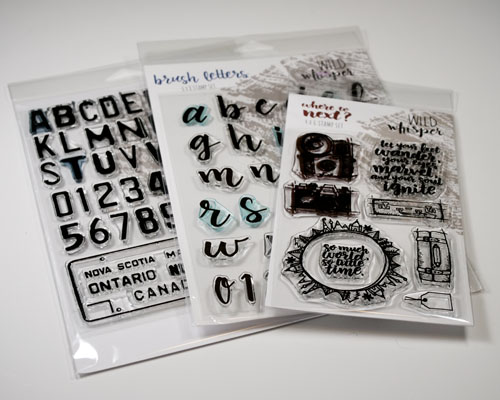
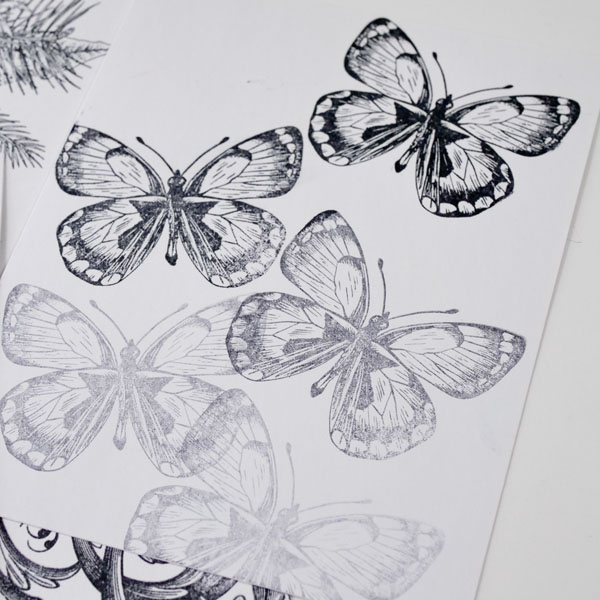
Clear stamps are made of vinyl or photo polymer and are widely available. They are usually less expensive than rubber stamps but are generally less durable. As they are clear, this can make it easier to stamp your image as you can see the placement on the page more easily. Clear stamps are generally less detailed images than rubber stamps due to the materials they are made of.
Foam Stamps
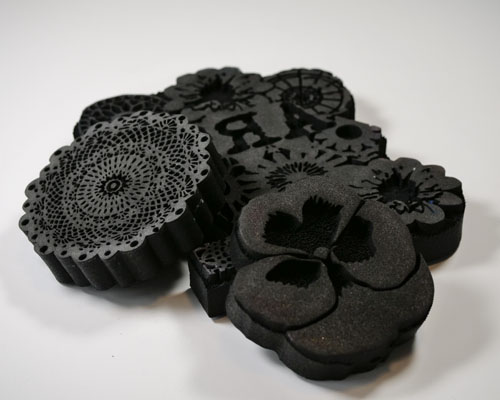
Foam stamps are also fun to work with, but they do not provide as crisp an image as either clear or rubber stamps. Being made of foam, they are a great addition to your creative practice. They are an easy way to create quick, textured backgrounds. Especially if you are looking to add larger, blockier images to your design.
Found Objects
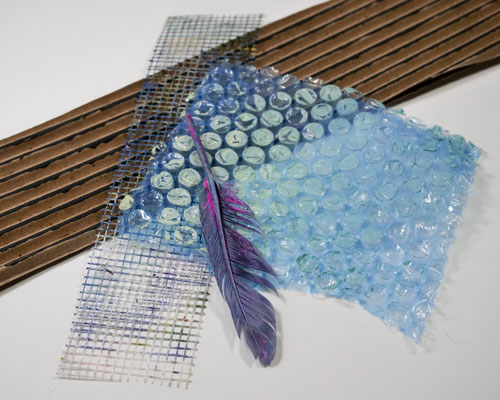
You can use almost any found object as a stamp. This includes bubble wrap, vegetables, and toilet paper rolls. The possibilities for what you can use for stamping are endless.
How to Stamp
Stamping with a Block
Stamping with a block is one of the easiest ways to stamp. Stick your clear or rubber stamp to a stamping block. The material they are made of will naturally stick to the block without the use of an adhesive or other product.
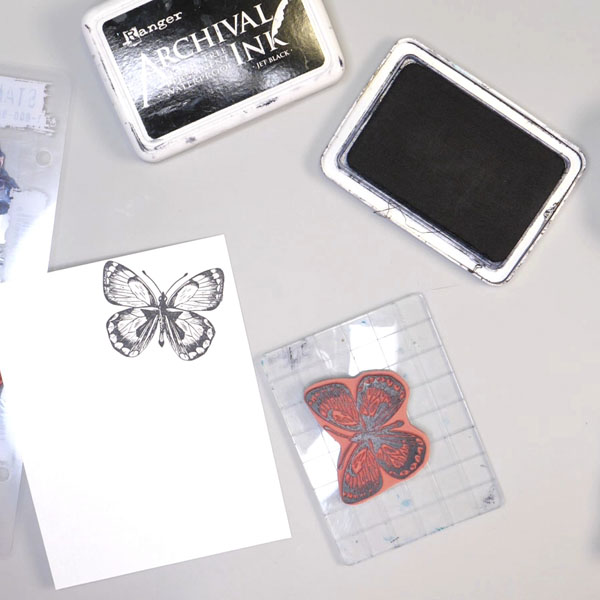
Turn your ink pad upside down to add ink to your image. By inking your stamp this way you will be able to see where the ink has been applied to the stamp. Inking in this manner will also give you a more detailed image.
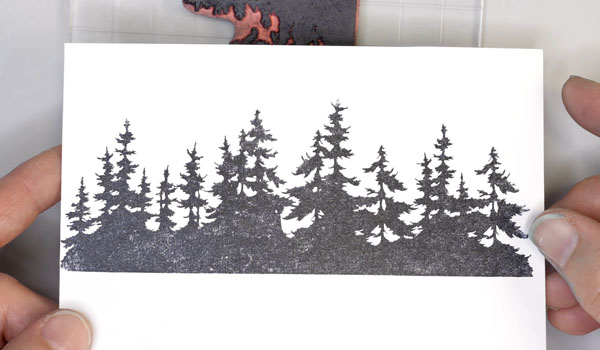
When ink is applied, turn the stamp over and stamp onto a piece of paper. I prefer a fairly smooth cardstock for stamping applications. Make sure to provide even pressure when stamping to get a clear image.
Stamping with a Stamping Platform
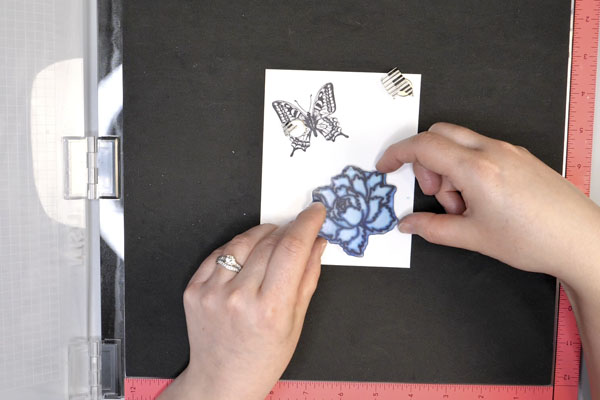
A stamping platform is an invaluable tool for getting consistent stamped images. The stamping platform works similarly to the block, the difference being that the stamping platform is a hinged block. This allows you to stamp the image more than once in the exact same spot. The stamping platform works well for applications such as layered stamping and adding additional layers of ink to the same image.
Stamping Tips and Techniques
Stamps are generally very easy to use, but there are some stamping tips and techniques that will help with getting consistent images every time.
Large Detail Stamps
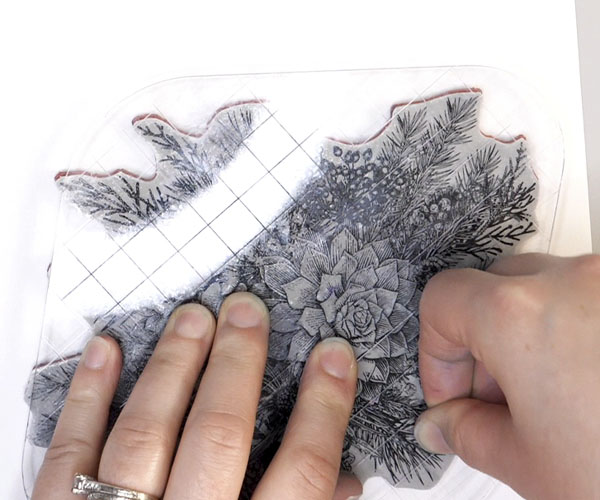
With large detail stamps, it can be challenging to always get a consistent image. Sometimes there are areas of the image that do not stamp at all or the final image is inconsistent.
To solve this problem, use a stamping platform where you can stamp repeatedly in the same spot. This way if the image is not consistent, you are able to add more ink and stamp the image in the exact same spot.
Or if you are using a stamping block, you may need to add additional pressure onto your stamp. Not just in the center, but also around the edges. The surface may seem even, but it might not be the case. By adding additional pressure gently with your fingers, you can ensure that you get a clean image.
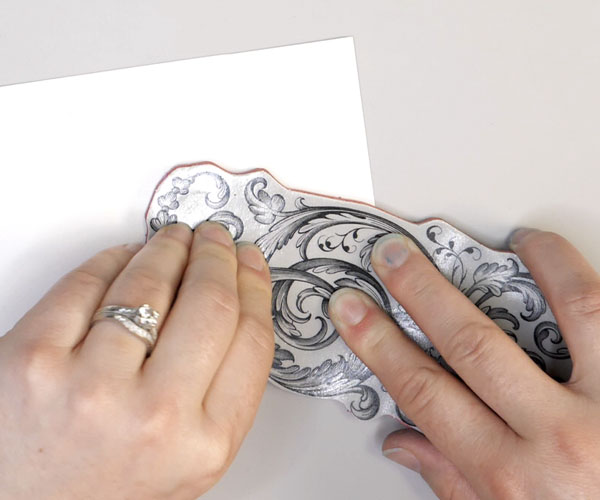
Stamps with Solid Areas
When using stamps with solid areas, it can be difficult to get a consistent layer of ink on the image. This has to do with the surface tension between the stamp, ink, and paper.
To solve the inconsistent color in the solid areas, use a stamping platform to stamp several times until a consistent ink saturation is achieved. If you do not have a stamping platform, use a brush and the same ink color, or a marker to add in color to these areas.
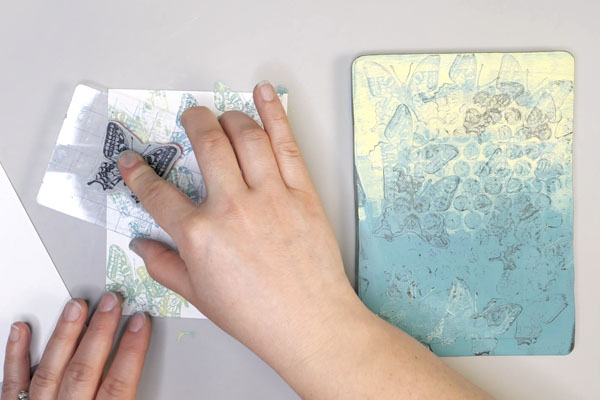
Stamping Uneven Surfaces
When stamping on uneven surfaces, such as in a journal, on decoupage or on acrylic paint, it can be challenging to get a consistent image. Try removing the stamp from the block, adding ink and press the stamp directly to the surface. Use your fingers to press the stamp firmly onto the uneven surface.
By doing this you should be able to transfer your entire stamped image to your page. It will not be as crisp as using a stamping block, but it will help to ensure that the image is transferred.
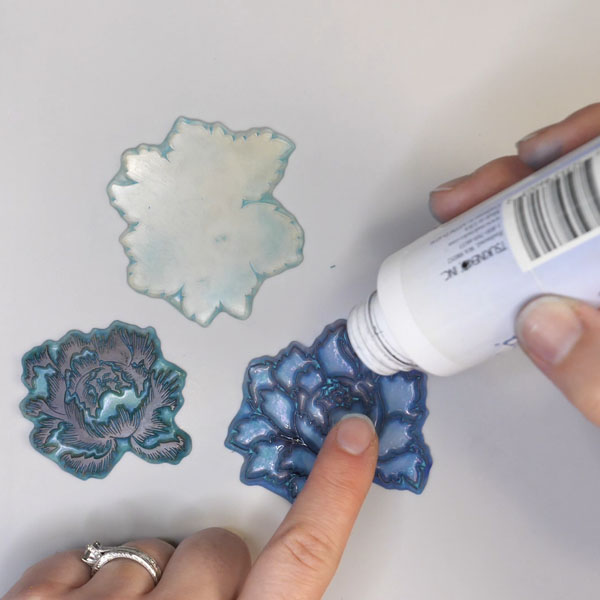
Stamping with Paint
Stamping with paint requires some very specific techniques. My favorite tool for adding paint to stamps is the Gelli printing plate.
Start by adding paint to the Gelli plate and spread it out with your brayer into a thin layer. If you do not have a Gelli plate, use a non-stick surface such a silicone mat or parchment paper for this step. It is important to use a surface that will not absorb the paint.
Using your Gelli plate as a stamp pad, press your stamp into the surface of the Gelli plate. Now stamp your image onto your paper. By doing this you will leave an impression in the Gelli Plate. Complete your stamping and take a clean piece of paper to press on top of your Gelli plate. Take a print with your leftover paint to use on a different project. To see more about Gelli printing, visit this link.
Clean both your stamp and Gelli plate immediately after stamping. Use water to remove the paint. If it has started to dry, use hand sanitizer or rubbing alcohol to remove the paint.
Cleaning Stamps
Cleaning stamps is not always necessary but is a good habit to be in when stamping. When you have finished stamping with ink, use a baby wipe to clean the surface of your stamp.
If you are using paint, make sure to wash the stamp thoroughly after using to prevent permanent damage to the stamp.
Over time your stamps might not come clean, even if you consistently clean with a baby wipe. Use an all-purpose stamp cleaner to clean your stamps. Apply the stamp cleaner and use a paper towel to wipe off the residue. Rinse with water to ensure that no cleaning solution or old ink is still on the stamp.
Questions?
Do you have any questions about these stamping tips and tricks? Have you learned something new today? I would love to hear your questions and comments on today’s post. I would be happy to answer any questions you may have. You can comment below or contact me directly.
I hope that you give stamping a try. It is a gateway to so many beautiful images and techniques that can be a fun addition to your creative practice.