How to Design a Scrapbook Page
Do you ever struggle with how to design a scrapbook page? As it is National Scrapbooking Day, we will be talking about techniques for creating stronger layouts.
If you have never tried scrapbooking as a creative practice, give it a try! It is a great medium that gives you an opportunity to reflect on memories and journal about your experiences. Looking back through scrapbooks is also a fun way to remember the amazing experiences of our lives.
Designing a Scrapbook Page
When learning how to design a scrapbook page, there are 3 things that help in the creative process.
Tip 1: Using Coordinating Papers

Start with coordinating papers to make creating your design easier. The papers in collections are created as a series, so they are meant to complement each other. This can take some of the complexity out of trying to match papers for your layout.
Tip 2: Using Strong Composition
When learning how to design a scrapbook page, using strong composition makes the process easier. My favorite technique is using the rule of thirds.
To use the rule of thirds, simply divide your page in thirds both vertically and horizontally. The places where the line intersect are the sweet spots for composition. By having your photos and focal images fall into and around these sweet spots, it makes for a stronger composition on your layout. If you want more information on composition, read this article How Grid Drawing Can Improve Composition.
Tip 3: Using Scrapbooking Sketches
Scrapbooking sketches are a great starting point when designing a scrapbooking page. A scrapbooking sketch is a basic layout showing where titles, ephemera or photos are to be arranged on a page. You can follow them exactly or deviate from them to create your own unique layout. They are meant to give you a starting point, to inspire and give you ideas on how to design a scrapbook page.
Blog Hop
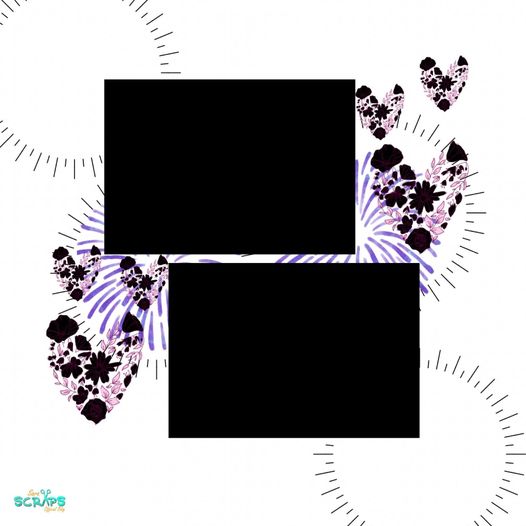
For this page, I started with a sketch from Sara Scraps. This article is part of a blog hop for Wild Whisper Designs where we all used the same sketch and shared our design.
I would encourage you to view the projects from other members of the Wild Whisper Design Team and see how one sketch can be used in a variety of different ways. Click on the links below to view these projects.
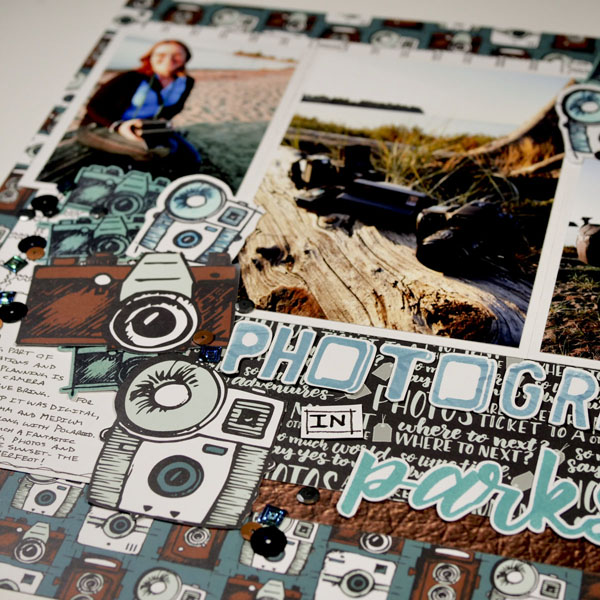
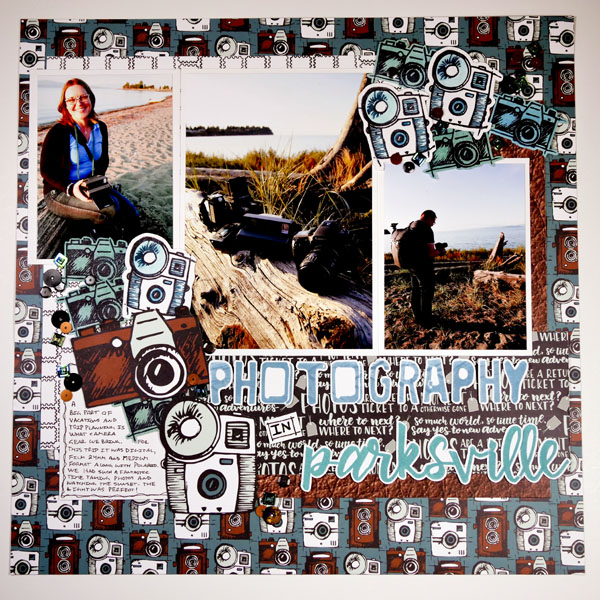
Photography in Parksville Scrapbook Page
To illustrate how to design a scrapbooking page I created this project titled Photography in Parksville. I used a variety of Wild Whisper Designs products in this project including the Where to Next collection.
Step 1: Choosing Photos and Composition
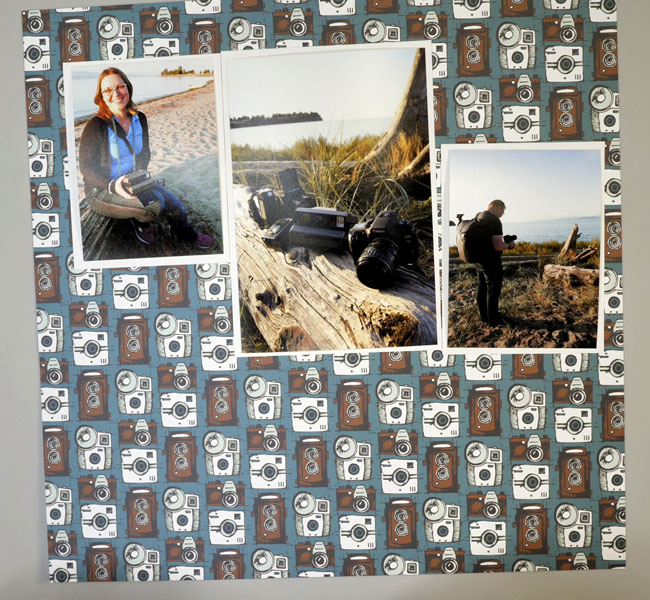
Start by choosing your photos for this page. I chose to use portrait instead of landscape photos for this project. As I wanted to try to capture the same flow and feel to as the sketch, I arranged my photos so that they covered a similar footprint.
The sketch is very symmetrical, the photos are in the center of the page and slightly staggered. As I wanted to follow the rule of thirds for this layout, I pushed the photos up a bit to fall onto one of the third lines of the page.
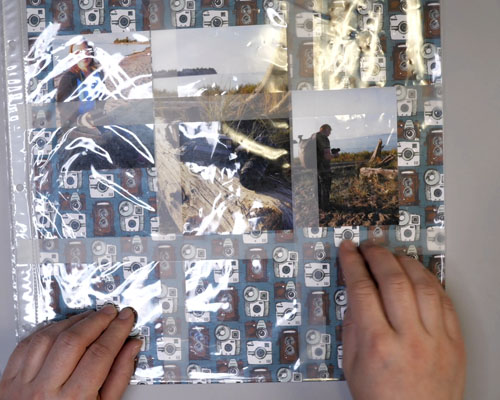
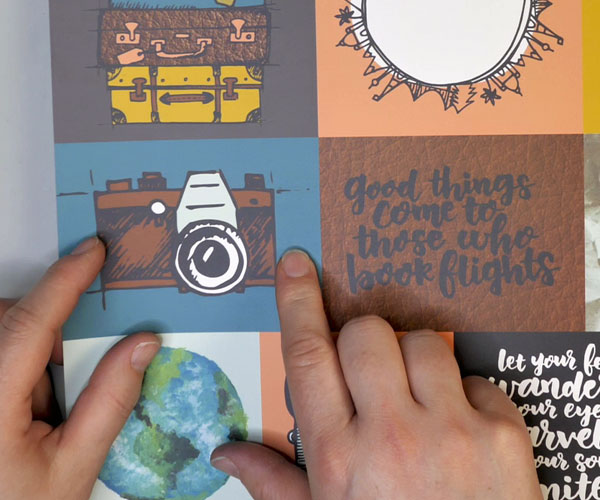
Step 2: Selecting and Cutting Paper
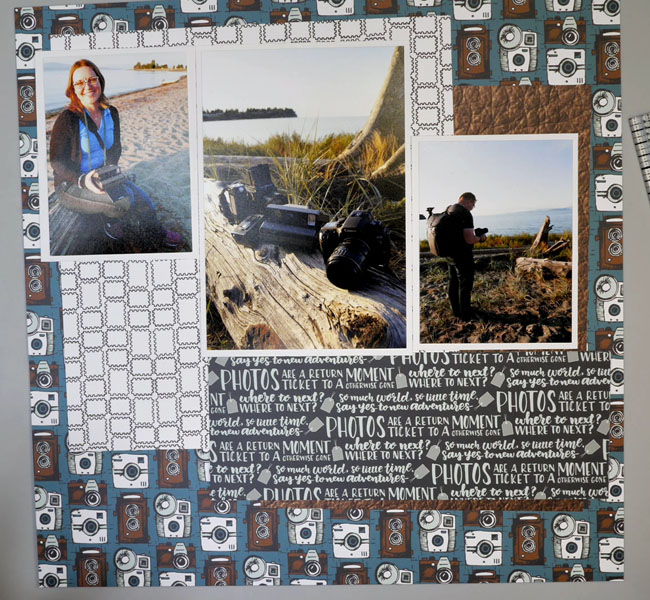
Using the Where to Next collection, I based this layout on the camera paper included in this paper pack. To add layers to this page, use the brown leather, white and black stamps, and quote paper from the collection. Cut the white and black stamps paper to 8” by 8.5”, the brown leather paper to 6.5” by 8.5” and the quotes paper to 3” by 8”.
Cut white photo mats for your photos to frame them. For the 4×6” photos use a photo mat 4.25” by 6.25”. For the 3×4” photos, use a photo mat 3.25” by 4.25”. Adhere all these papers to the camera paper.
Step 3: Stamping the Title
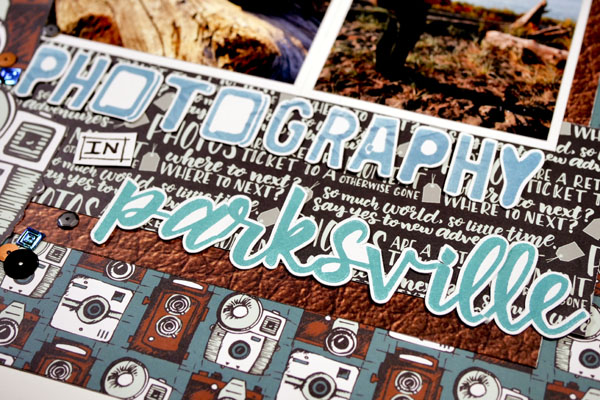
For creating the title, use Wild Whisper Designs Road Trip stamp set with Prussian Blue Colorbox Chalk Ink to stamp the word “Photography”. To stamp the word “Parksville” use the Wild Whisper Designs Brush Script stamp set and Turquoise Colorbox Pigment Ink. When using the brush letters, stamp each letter individually and overlap slightly to create one cursive word.
The words can be fussy cut out, or you can use an electronic cutting machine like the Brother ScanNCut to quickly cut out the words. Affix the words to the layout using Thermoweb Zots or your favorite adhesive.
For the word “IN”, write the word with a pen, draw a sketchy box around the word and fussy cut it out.
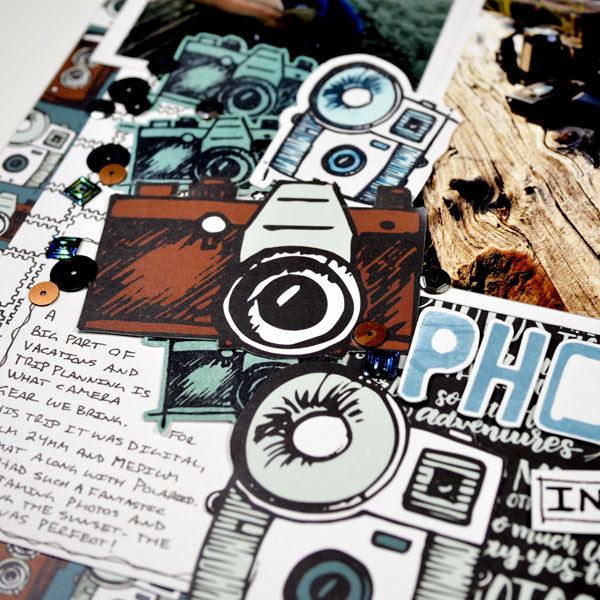
Step 4: Creating the Camera Embellishments
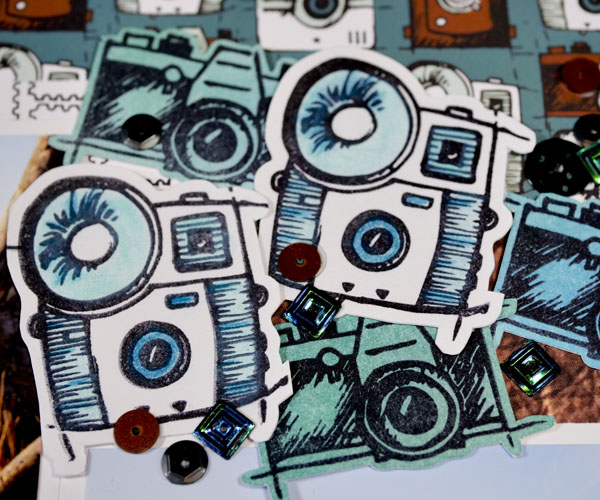
To create the camera embellishments, use the Where to Next stamp set to stamp both camera designs with Ranger Jet Black Archival Ink.
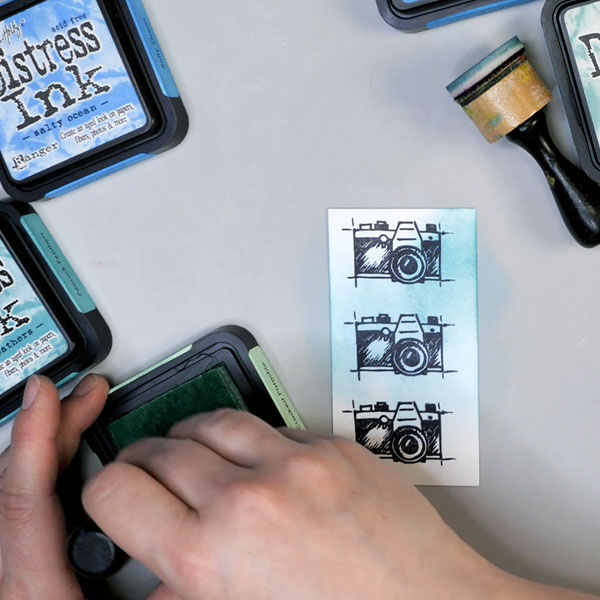
Using Tim Holtz Distress Ink, apply ink to the cameras with a blending tool. Start with adding Cracked Pistachio in areas, then add Mermaid Lagoon and Peacock Feathers in other areas of the paper. Add Salty Ocean in places to blend and add additional layers of color to the surface. Add a layer of Evergreen Bough to the entire surface to harmonize the blend. For more instruction on specifics on how to blend ink, click here.
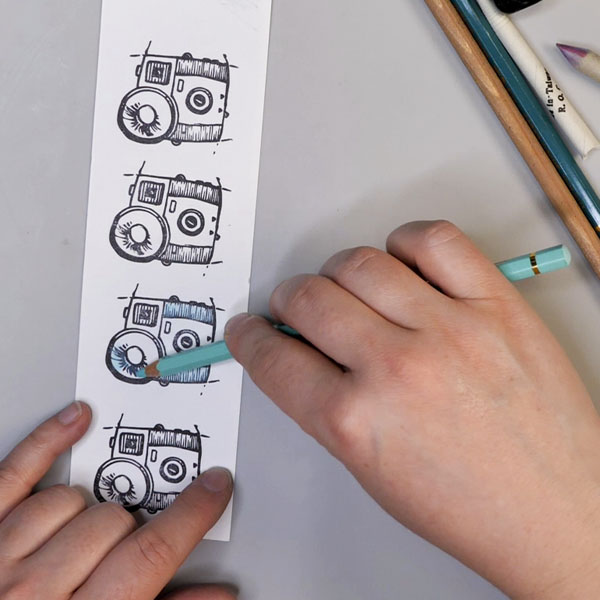
Color some of the other camera images using pencil crayons. Use similar colors that are in the camera paper. Rub a paper blending stump or blender pencil over the surface of the paper to give the pencil crayons a smooth blend.
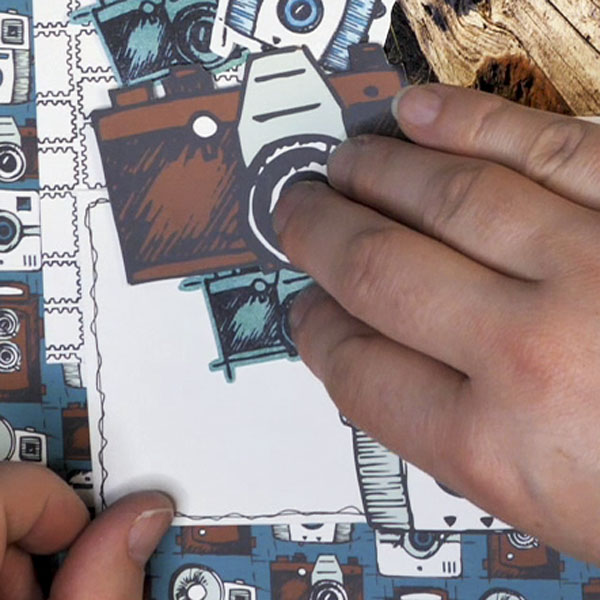
Step 5: Cutting out Focal Cameras
Fussy cut two of the large camera images from the Where to Next paper collection. These will act as focal images for the scrapbooking page.
Step 6: Arrange the Camera Ephemera
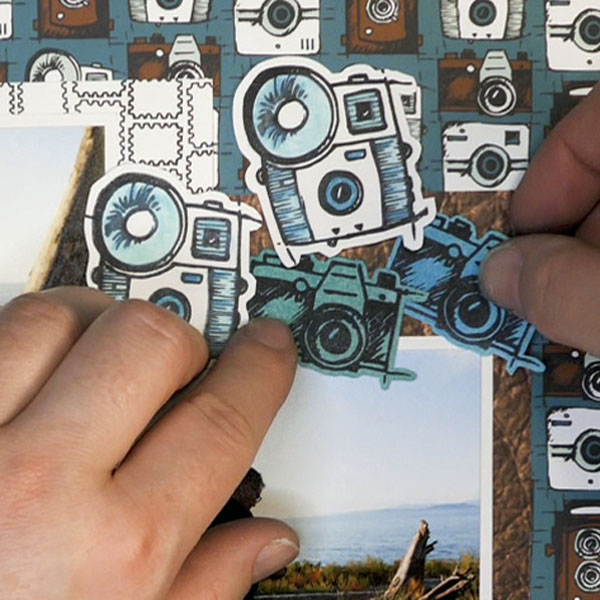
Arrange the camera ephemera into layers along the page. Follow the sketch by adding the ephemera to the top right hand and bottom left-hand corners. By using both the white and blue cameras, this adds variety and texture to the page. Affix the large cameras near the title to bring the eye down and across the page.
Step 7: Add the Journaling Block
Add a Journaling block to your page by cutting out a 3” by 2.5” piece of white cardstock. Draw a square box close to the edge to of the journaling block using a Faber Castell Black Pitt Pen. Add a second line, overlapping the first square in places. Tuck it under the camera ephemera and add your journaling.
Step 8: Add Sequins
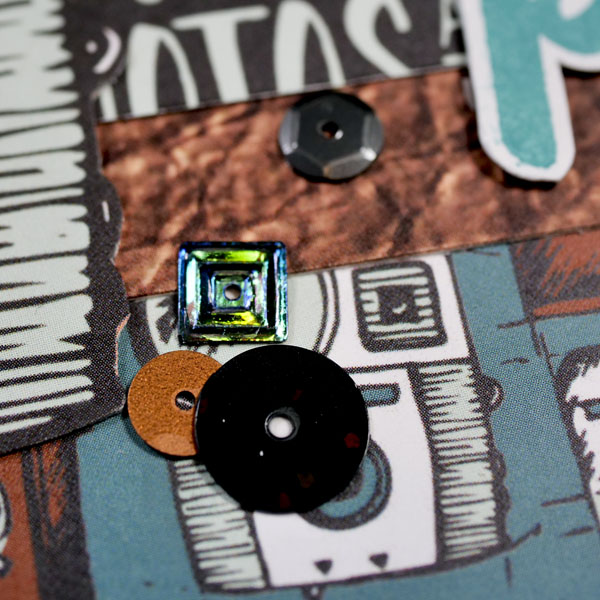
Using clear glue, put small dots of glue on your page and stick the Wild Whisper Designs Masculine sequins to the glue. Add sequins around and on top of the camera ephemera to add more texture.
Questions?
Do you have any questions on how to design a scrapbook page? I hope that you have found these design tips useful and that you will try them in your own scrapbook designs. If you have any questions or comments, please comment below, or contact me directly.
I would love to see your work! Use the hashtag #hopalongstudio on Instagram so that I can view and comment on your projects. I hope that you take some time for creativity and self-care on National Scrapbooking Day!
Project Supply List
If you are interested in any of the Wild Whisper Designs products, use code DTNADINE at checkout to get 10% off your next order.
- Photos: Cannon Pro9000 Mark II Photo Printer and Ilford Galerie Prestige Smooth Pearl Photo Paper
- Paper Collection: Wild Whisper Designs Where to Next
- Staples 100lb White Cardstock
- Stamp Sets: Wild Whisper Designs Where to Next, Road Trip, Brush Script
- Adhesives: Thermoweb Zots, Scotch Advanced Tape Glider, USAArtQuest PPA Glue
- Inks: Prussian Blue Colorbox Chalk Ink, Turquoise Colorbox Pigment, Ranger Jet Black Archival Ink
- Tim Holtz Distress Inks: Cracked Pistachio, Mermaid Lagoon, Peacock Feathers, Salty Ocean, Evergreen Bough
- Caran d’Ache Pencil Crayons and Blending Stump
- Wild Whisper Designs Masculine Sequins
- Brother ScanNCut
- Faber-Castell Pitt Pen Black
- Scissors


4 Comments
Nadine Ballantyne
I love all of the cameras! I don’t think I’ve seen this WW paper before. Also, I love that you went back to basics here. So much good information about composition. Thanks for posting!
Nadine Milton
Thank you Nadine! The WWD Where to Next collections is one of my favorites, even if we can’t travel right now! I’m glad that you enjoyed the information- composition is one of my favorite things to talk about!
Lindsy C.
Wow – I loved all the page building tips and reminders. How easily we forget. Great idea to use pencil crayons to add colour to the cameras. Love the finished layout!
Nadine Milton
Thank you! I’m glad that you enjoyed the design tips!