How to Create a Traveler’s Notebook
There are so many fun Traveler’s Notebooks available for sale, but have you ever tried creating your own Traveler’s Notebook? Today I will be demonstrating how to create a Traveler’s Notebook using a stitched binding.
Why Make a Traveler’s Notebook
I have shared about how to use a Traveler’s Notebook in a previous post. In that post I share some of my ideas on how to use a Traveler’s Notebook in a variety of ways.
Traveler’s Notebooks are not only fun to use but are also quite easy to make. The process of cutting the paper, sewing the binding, and assembling a book can be a great self-care activity. It is not time intensive, and the result is a beautiful book to use to record your thoughts and memories.
Personalizing Your Traveler’s Notebook
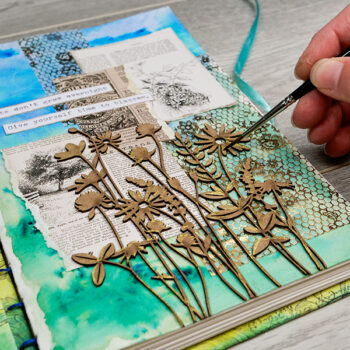
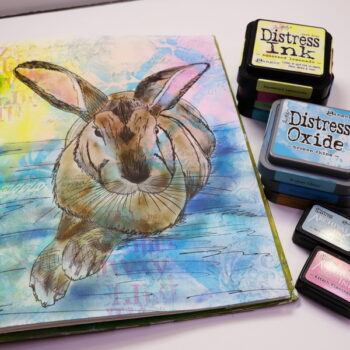
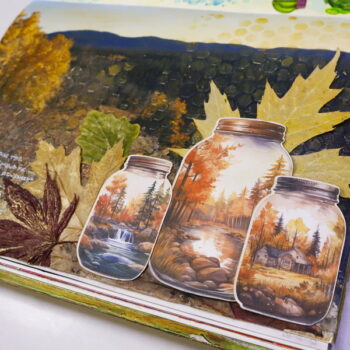
When we create our own Traveler’s Notebook, this leaves room for personalization. Choosing beautiful paper for the cover is just the start. The interior pages of the book can be a variety of materials including copy paper, smooth writing paper, patterned paper, or watercolor paper as a few examples. There is no end to the different ways to personalize your Traveler’s Notebook. You can also add charms, embellishments, and other items to add personalization to your book.
How to Create a Traveler’s Notebook
In the video below I provide a full tutorial on how to create a Traveler’s Notebook. The instructions below also include the measurements referenced in the video.
Step 1: Paper Selection
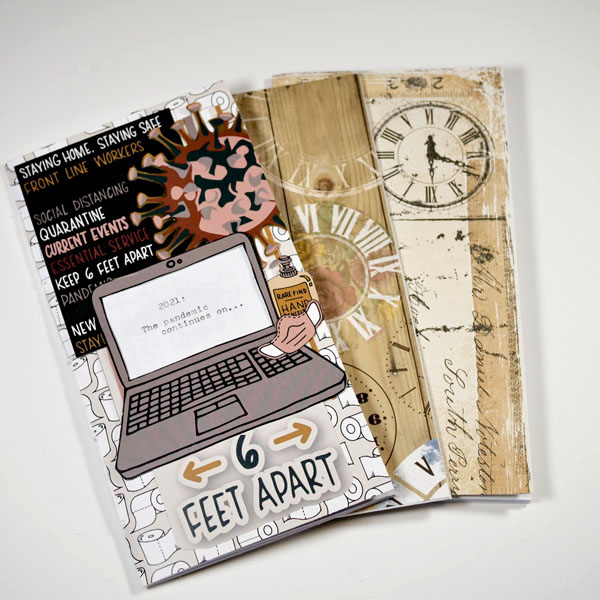
Paper selection is the first step in creating a Traveler’s Notebook. Most Traveler’s Notebooks are created with a heavier paper cover and lighter weight paper inside the notebook. For this Traveler’s Notebook I chose to use Wild Whisper Designs Six Feet Apart paper collection for the paper cover. This paper is smooth and thick, which makes it perfect for using as a cover for our Traveler’s Notebook.
For the interior paper, I used 32lb super smooth writing paper. I chose this paper specifically because it works well with fountain pens. It also does not have much bleed through with markers and can handle small amounts of paint on the surface. You can use a simple copy paper for the interior of your book, or customize it by adding in patterned paper, vellum, or any other paper inside your notebook.
Step 2: Cutting the Paper to Size
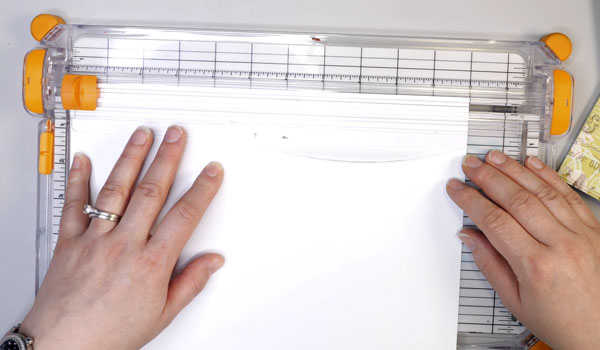
We need to determine the size of the notebook we will create. There are a variety of sizes, but today we will be creating a more common sized traveler’s notebook, which has dimensions of 8.25” by 4.33”.
Using a paper cutter, cut the paper to 8 ¼” to 8 5/8”. Use these dimensions to cut one cover sheet and five pieces of interior paper.
Additional interior sheets can be cut but be aware that this may limit what we can add inside. For Traveler’s Notebooks that are only being used for writing, I recommend 10 sheets of notebook paper. For a Traveler’s Notebook that will have additional layers of paper or photos added to it, use 5 sheets of paper.
Step 3: Folding the Paper
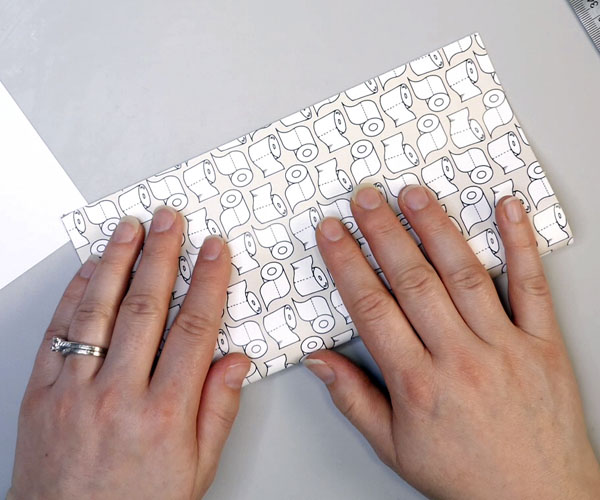
Take the cut sheets of paper and fold them in half to create a folded paper with dimensions of 8.25” by 4.33”. Take the time to measure before folding to ensure the paper is folded correctly. When creating this more common sized Traveler’s Notebook, the dimensions are fairly close, so it can be easy to fold the pages the wrong way accidentally.
Step 4: Piercing the Paper
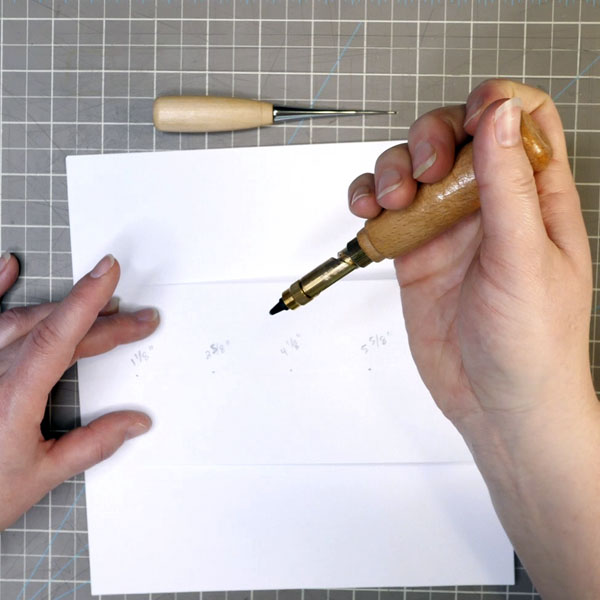
Using a scrap piece of paper, cut a piece of paper 8.25” by 3.5”. Fold this piece of paper in half, measure and mark with a pencil the following spacing: 1 1/8”, 2 5/8”, 4 1/8”, 5 5/8”, 7 1/8”.
Place this paper along the fold of each folded paper and line it up with the edges. Using a sharp needle, awl, or screw punch, pierce each piece of paper with five holes. Pierce holes in each of the 5 interior papers as well as the cover paper.
Step 5: Creating the Signatures
To create the signature, stack the papers on top of each other. Start with the cover sheet and add the interior papers on top. Stack them in a way that the pierced holes align making a notebook, also known as a signature.
Step 6: Binding the Signature
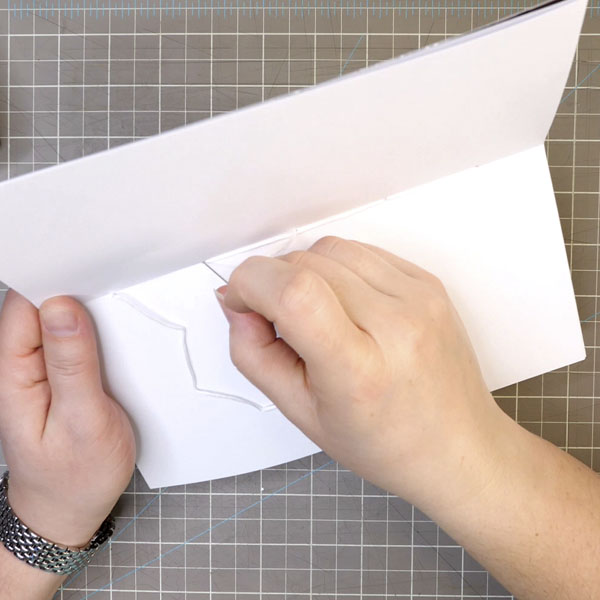
Bind the signature using your favorite thread. My personal preference is to use embroidery floss as it is strong, lays flat in the notebook, and adds color to my bindings. Use whatever strong thread that you have available for sewing the binding.
Thread the needle with the embroidery floss and follow the pattern below to stitch this binding.
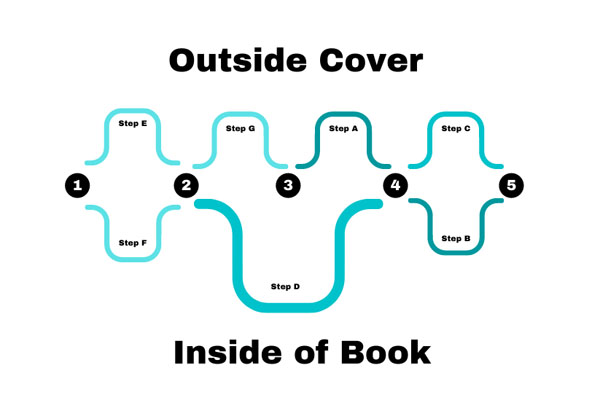
This binding was originally part of a pamphlet book that I saw on the website Design Sponge. The black markers are the holes that you have pierced in your book paper; we will call these stations. Start from inside of book at Station 3, leaving a 2-inch tail.
Step A: From Station 3, sew to the outside of the book coming through Station 4 to go inside the book.
Step B: Sew to outside of the book through Station 5.
Step C: Sew to inside of the book through Station 4.
Step D: Sew to outside of the book through Station 2.
Step E: Sew to inside of the book through Station 1.
Step F: Sew to outside of the book through Station 2.
Step G: Sew to inside of the book through Station 3.
Tie a knot to secure the two tails of the thread and cut. We have now created a hand sewn binding.
Step 7: Trimming the Notebook Edge
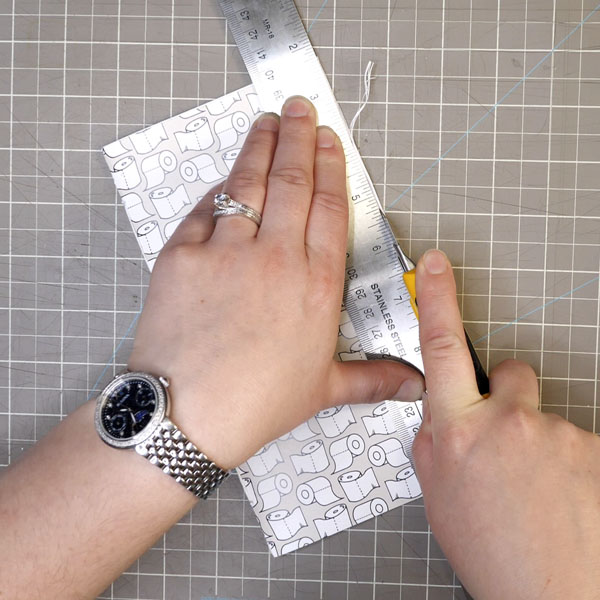
Now that the binding has been created, the edges of the interior pages are now past the cover of the Traveler’s Notebook. To fix this, we take a knife and a steel ruler to cut off the excess paper. Be very careful when using the steel ruler and knife not to cut yourself when trimming the paper.
Step 8: Decorating the Cover
Decorating the cover of the Traveler’s Notebook is a personal preference. It can be completed when your notebook has been filled or before you start working in it. Be aware that if we add a lot of bulk to the front page, this will affect how we will be able to write, stamp and work in our notebook.
Cutting Out Ephemera
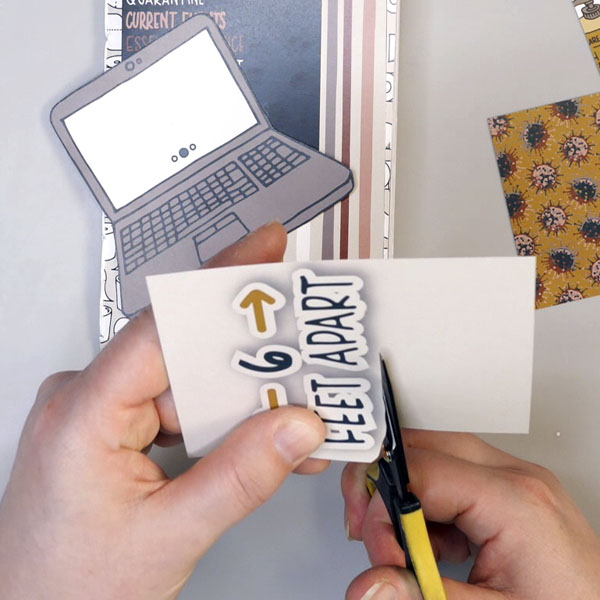
For this cover I used a variety of thin paper ephemera to create the cover design. Using the 6 Feet Apart Collection from Wild Whisper Designs, I cut out the laptop, virus, hand sanitizer and mask from the paper and cards in the collection. I also trimmed the 6 Feet Apart card so that it fit better with my design.
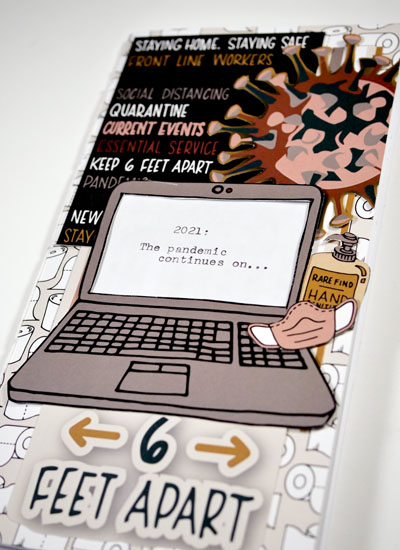
Altering Ephemera
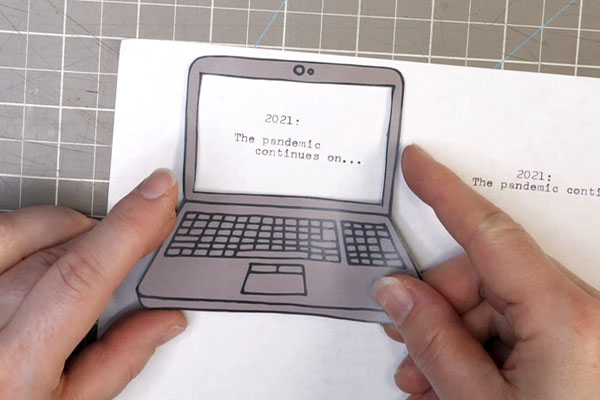
To add words to the laptop image, I cut out the white center. Using my mechanical typewriter and copy paper, l typed “2021: The pandemic continues on…. I taped the laptop to the paper to make centering the image easier and cut around it.
I arranged and adhered the layers of paper and ephemera to the page using Thermoweb Zots. The paper elements are thin enough they will not affect our ability to write or stamp in the book.
Questions?

Do you have any questions on how to create a Traveler’s Notebook? I would love to see what you make and answer any questions that you may have. You can comment below or contact me directly. I hope that you enjoyed this project and will give it a try!
Project Supply List
If you are interested in any of the Wild Whisper Designs products, use DTNADINE at checkout to get 10% off your next order.
- HP Printer Paper Premium 32lb 8.5” x 11”
- Wild Whisper Designs Paper Pack
- Fiskars Paper Cutter
- Cutting Mat
- Bone Folder
- Box Cutter
- Screw Punch or Awl
- DMC Embroidery Floss White
- Cross Stitch Needle
- Wild Whisper Designs Card Pack
- Thermoweb Zots
- Royal Manual Typewriter
- Scissors