Working in a Series with Gelli Prints
Have you ever used your gelli prints to work in a series? Using gelli prints to create a series of work can be a fun and creative way to use your prints in project. Today we’ll be creating a calendar project using a series of gelli prints and stamps to bring cohesion to our series.
Hop-A-Long Studio is reader-supported. When you buy through links on our site, we may earn an affiliate commission at no cost to you. Learn more.
What is Working in a Series
Working in a series is a term often used by artists when they use one subject, set of colors or techniques to make multiple works of art. Series aren’t identical pieces. But the artist will use a similar color palette, subject, or idea that is carried through the series of work that are variations of a theme.
Working in a Series with Gelli Prints
When working in a series with gelli prints, you could tackle it several ways. You can use similar imagery or the same focal image in each piece. You could also use the same color palette through each work. Another option is to use other mediums on top of the gelli prints to create harmony in the set of prints.
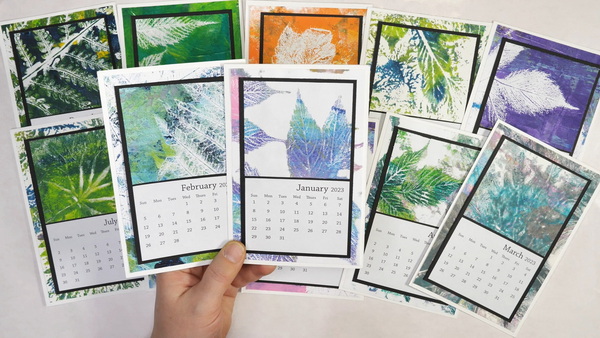
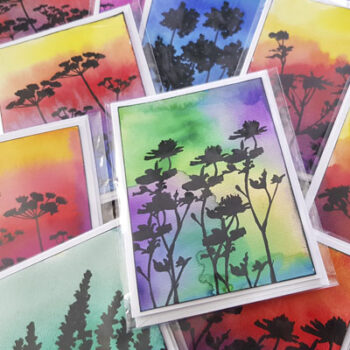
In the picture above, I used prints from my video Gelli Printing with Leaves to create a calendar project. The harmonizing factor for this series was the leaves in each of the calendar pages. The colors from piece to piece changed, but the leaves made the calendar work as a series.
Choosing Your Gelli Prints
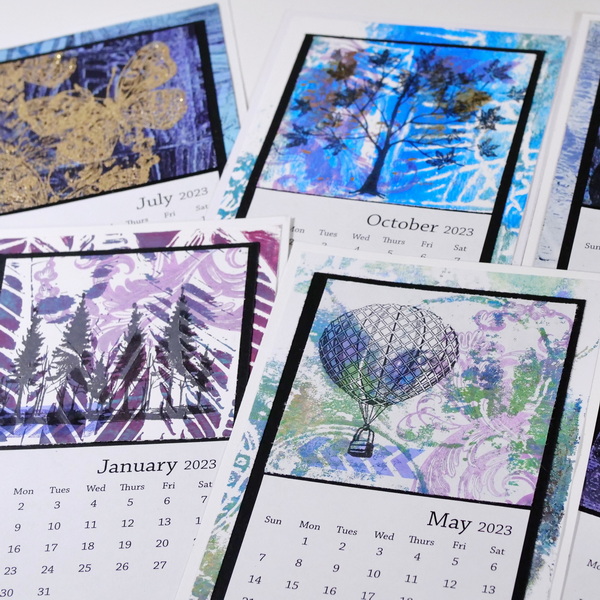
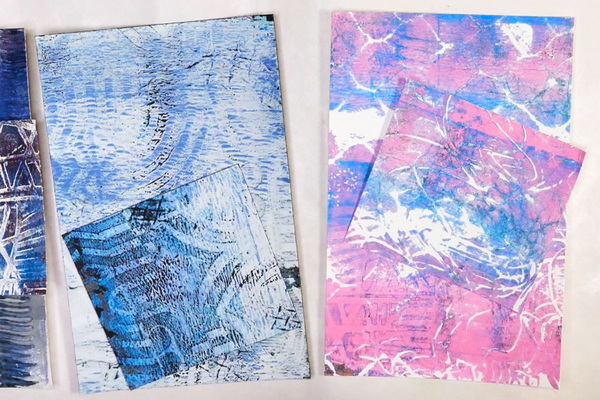
When working in a series with gelli prints, we need a matching set of gel prints for each calendar page. When choosing gelli prints for this project, try to choose prints that will go together. They may be on the same side of the color wheel or there is something in the design that creates harmony. When I was looking through my prints, I selected mostly purple and blue prints for this calendar.
When choosing the areas of the print to cut, I would look for the most interesting part of the print for the focal image. I would use another part of the same print for the background border. This creates more harmony in each piece. If you end up with a lot of gel print scraps, don’t’ worry. These can easily be used as collage papers for another project.
Measurements for Gelli Prints
For the background border piece, cut the gel print to 5 ¾ inches by 3 ¾ inches. Take the most interesting part of the gel print for the focal image. Cut to 2 ¾ inches by 3 inches. Cut 12 gelli prints for a full set of papers for your calendar project.
Creating a Calendar Project with Gelli Prints
Now that we’ve cut our prints, you may notice that there is quite a variety in the prints. To create harmony and cohesion to make this feel like a series, we’ll be adding a few layers onto each of these gelli prints.
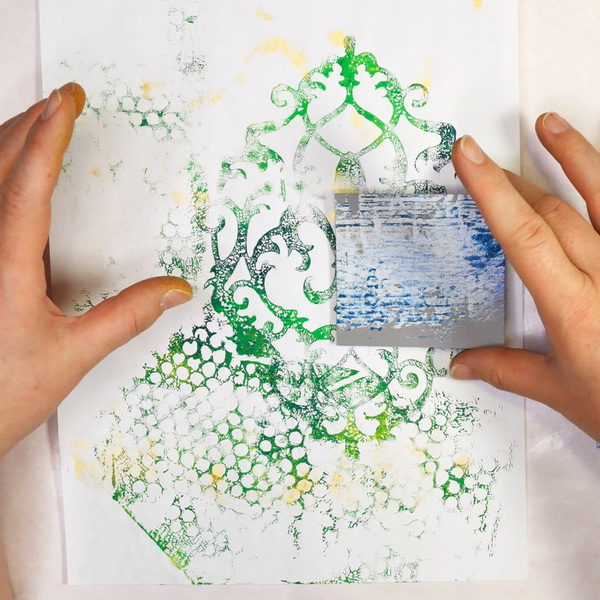
Adding Stamping
To create more harmony, stamp several of your favorite stamps onto the gelli print focal pieces. I used a chevron stamp and the Stamper’s Anonymous Baroque stamp to add purple and blue chalk ink to each of the prints.
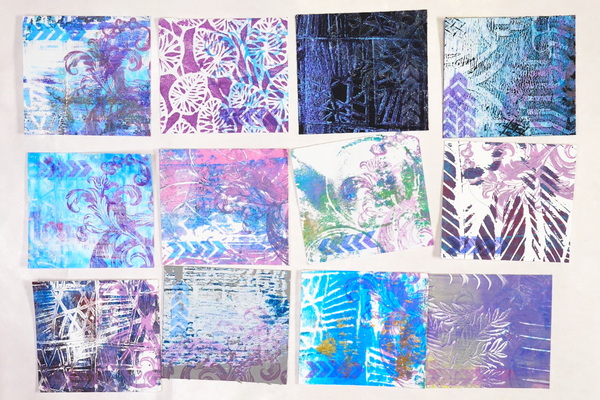
Look at each print and evaluate where you can create the most harmony and contrast to make these papers feel like part of a series. This means that some images will be stamped in the darker or lighter areas of the print in either purple or blue. This will enhance the harmony of the series.
Adding Focal Images
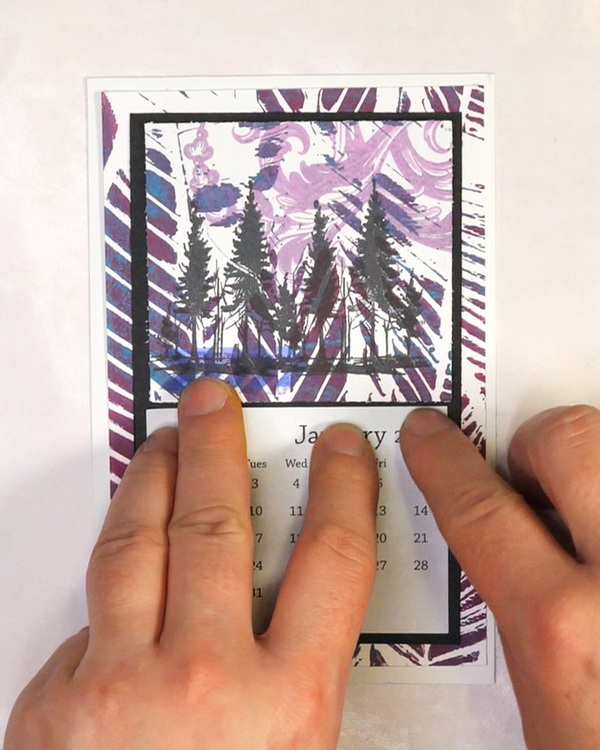
Because we are creating a calendar, we want a variation of stamped focal images for each month. To create harmony, each image was stamped with Jet Black Archival Ink. This helps them feel like they are part of a series instead of individual pieces.
Using the black archival ink, I chose a variety of my favourite stamps to add focal images to the calendar images.
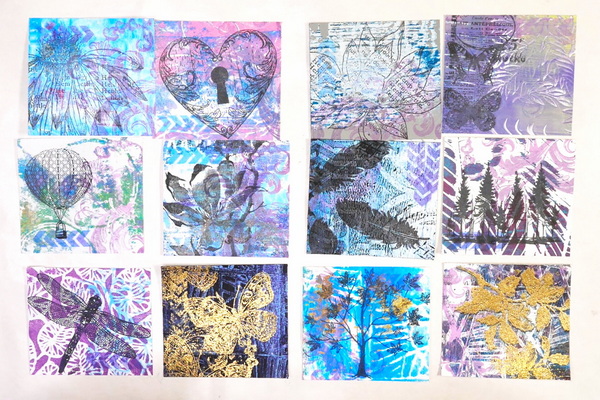
For the darker pieces, I noticed that the black ink wasn’t showing up well on the background. The images were not clear and were hard to distinguish. Using Ranger Gold Tinsel embossing power, I added embossing powder to the image and heat set. Another option is to use white paint on your stamps to get a contrasting image.
Generally, you want to stick to one color of ink or paint, but in this case I felt like I was still able to create a sense of harmony even though the colors weren’t exactly the same.
Building the Calendar
After adding the stamping, the gelli prints feel like a cohesive project instead of individual prints. These individual prints will feel more like a series once you build the calendar.
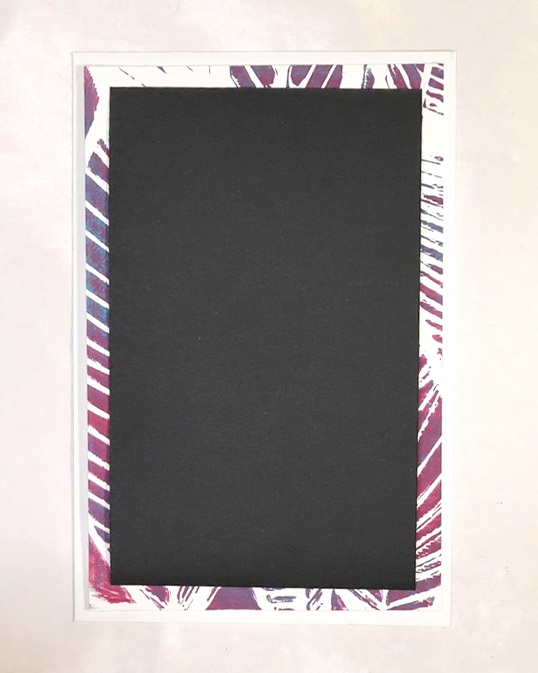
The base for each calendar page is made by cutting white cardstock down to 4 inches by 6 inches. For the black cardstock frame, cut a piece of black cardstock 5 ¼ inches by 3 ¼ inches.
Add the background gelli print to the white paper using your favorite adhesive. I would suggest a dry adhesive like Scrapbook Adhesives Tape Runner. Unless you are using very heavy cardstock, wet glue will make the calendar buckle. Once adhered, there should be a 1/8 inch border around the gelli print.
Attach the black cardstock on top of the gelli print, when adhered, there should be a ¼ inch gelli print border.
For this project, I used Taylored Expressions 2023 Mini Tear-Off Calendar, which had dimensions of 2 ¼ by 3 inches. If you don’t have access to a pre-printed calendar, it is very easy to make your own.
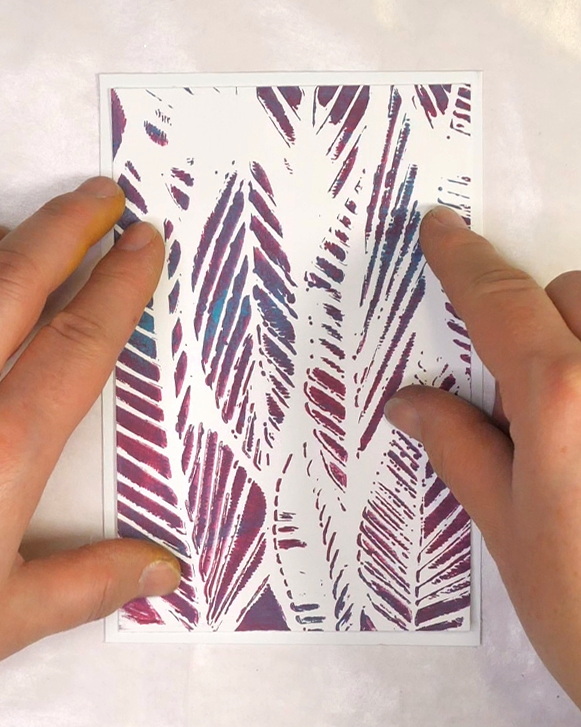
Attach the calendar and the focal gelli print. I make sure that there is an even border around the edge. This means that the space between the print and the calendar is a bit smaller, but I prefer a smaller space vertically instead of having an uneven border around the calendar.
You now have one calendar page built. Build the rest of the calendar pages for the year.
How to Display the Calendar
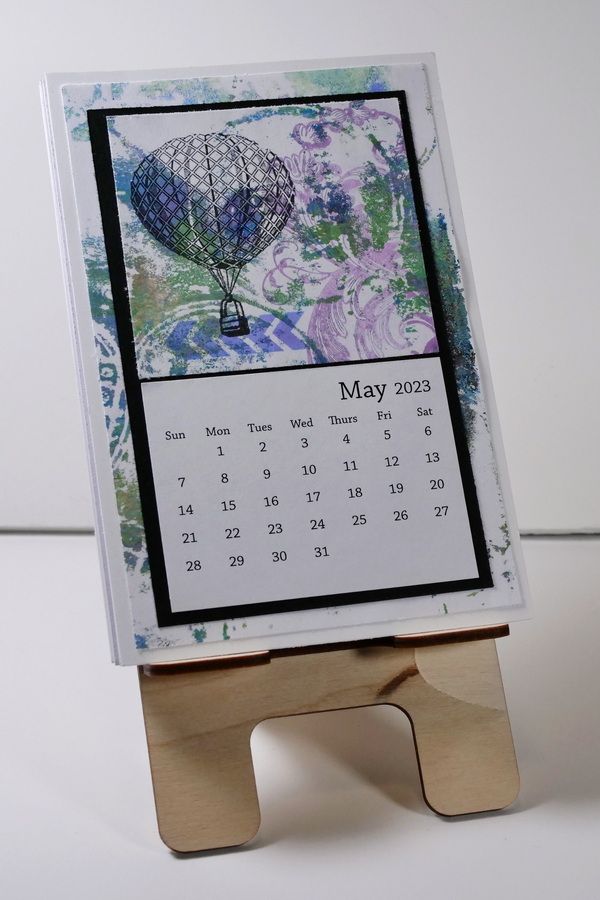
You can pin up the individual cards to make a calendar, or you can use a phone stand to display them. I have a wooden phone stand that I’m using to display my calendar on my desk.
As you can see, once you have the full calendar built, the details from the stamps and colors of the ink help this calendar feel like a unified series.
Any Questions?
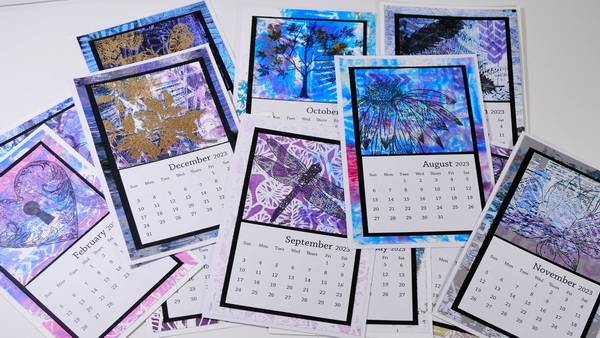
Any questions about creating in a series or how to make this calendar project? This project was a bit of a stretch of creating in a series as the imagery and colors weren’t the same. But the key was to show you how you can create cohesion in a project so that individual prints can feel more like a series or a set of images.
I would love to answer any questions that you might have about creating in a series or how to use gelli prints in your projects. Please leave a comment below and I’d love to start a conversation with you!
Project Supply List
- Gelli Prints
- Rubber Stamps
- Taylored Expressions 2023 Mini Tear-Off Calendar

Ideal for cutting a wide variety of crafting materials including paper, photos, scrapbook pages or specialty materials. Cutter comes with a lifetime warranty.

Hammermill 8.5” x 11” Colored Cardstock 110lb Paper is a premium thick cardstock designed for print and copy use on copiers and printers. It’s heavy cardstock that’s ideal for heavy duty projects.

Versatile 110lb black cardstock is a perfect weight for cardmaking and mixed media projects.

Create breathtaking DIY projects with the Baroque Cling Mounted Rubber Stamp Set designed by Tim Holtz for Stampers Anonymous. The set includes 2 cling rubber stamps that can be used with your favorite inks and an acrylic block (sold separately).
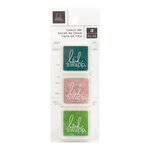
Heidi Swapp – Art Walk Collection – Mini Chalk Ink Stamp Pads
from: Scrapbook.com

The Jet Black Archival Ink Pad by Ranger Ink is acid-free, non-toxic, water-resistant, and fade-resistant, and provides lasting results. This ink will not deteriorate paper and does not bleed when inks, paints, or markers are used over it.

Includes 4 ink pads with colors Crackling Campfire, Crushed Olive, Salvaged Patina and Villianous Potion. These ink pads are waterproof, acid free dye inks that are permanent on many surfaces.


Art Glitter Glue is permanent and dries clear and adheres to a variety of surfaces. It's water based and acid free. Make sure to close lid to avoid drying of glitter glue. Bundle comes with one bottle of 8oz, one bottle of 2 oz and a metal tip for easy application.

Scrapbook Adhesives EZ Runner glue applicator roller is the perfect specialized roller for your paper craft projects. The easy to use scrapbook strips are zero waste, refillable, stick fast, and recyclable! Get a 49ft EZ Runner Permanent Adhesive Dispenser with a 3 pack refill & exclusive E-book!


You May Also Like
How to Paint Watercolor Backgrounds
February 14, 2020
Use Your Scraps to Make Stunning Holiday Cards
December 8, 2025