In A Rush? 3 Beautiful Holiday Tag Designs for Last Minute Gifts
Do you ever forget that you need holiday tags for your gifts? Often a few days before Christmas when I’m wrapping presents, I realize that I need to make holiday tags. These holiday tag designs can be very complex or extremely simple depending on how many layers you add to your holiday tags.
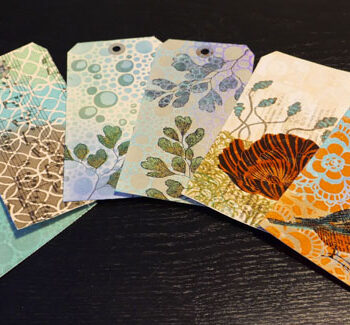
Today I’m sharing 3 holiday tag designs with different amounts of layering. This way you can make a tag in a few minutes or add a few more layers to make a more complex but beautiful holiday tag.
Holiday tags can also make fantastic Christmas cards. You can mount them onto a card back or you can write your Christmas message on the back of the tag and attach to a present. Tags are so versatile and with just a few materials you can create unique tags, even if you don’t have much time!
Hop-A-Long Studio is reader-supported. When you buy through links on our site, we may earn an affiliate commission at no cost to you. Learn more.
Easy Holiday Tags
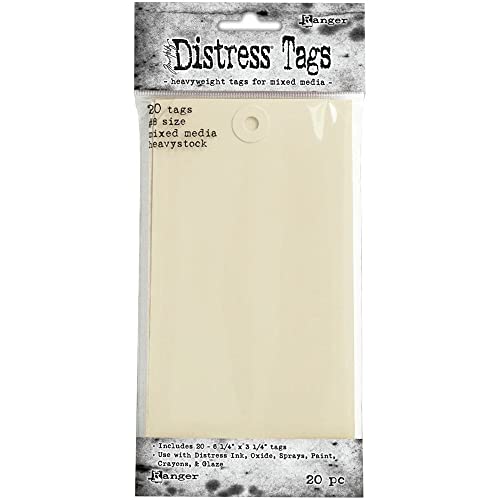
You can use any size of tag for these holiday tag designs, but today I’ll be using the Ranger Mixed Media Tags that measure 6 ¼ by 3 ¼ inches. These techniques can easily be scaled down to use on a smaller tag.
Adding a Layer of Color
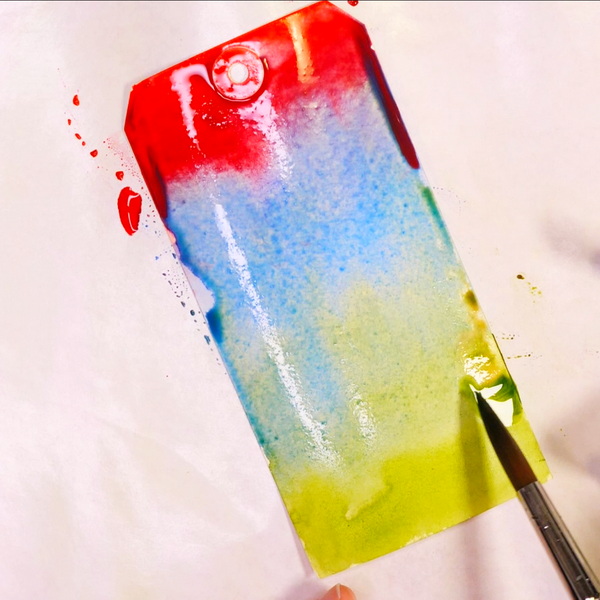
With each of these holiday tag designs, I’m starting with a layer of color on the tag. You can add color with ink, paint, watercolors, or markers. For these tags I’m using Winsor & Newton Cotman watercolor paints.
Apply watercolor paint loosely onto the tag using a lot of water so that the colors blend. For the first tag I blended Turquoise and Purple Lake watercolor paint.
For the second tag I wanted to have a mix of different greens. Using Viridian Green, Sap Green, Lemon Yellow, and New Gamboge, this created a variety of greens on my tag.
For the last tag I wanted to use Christmas colors, but red and green mixed together will make a muddy brown. To prevent this from happening, I added in Permanent Red to the top of the tag, Cobalt Blue watercolor to the center of the tag and Sap Green to the bottom of the tag. The green and red watercolor mixed with the blue, so I was able to get a variety of beautiful tones without creating a muddy color.
Adding Mica Spray
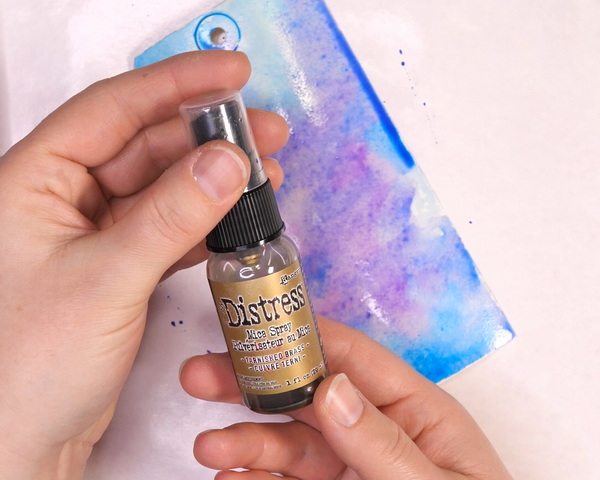
I love to add shine to my projects. Using the Tim Holtz Distress Mica Spray in Tarnished Brass, I spritzed a layer of shimmer onto the tags while they were still wet. Set the tags aside to dry fully or use a heat tool to speed up the drying process.
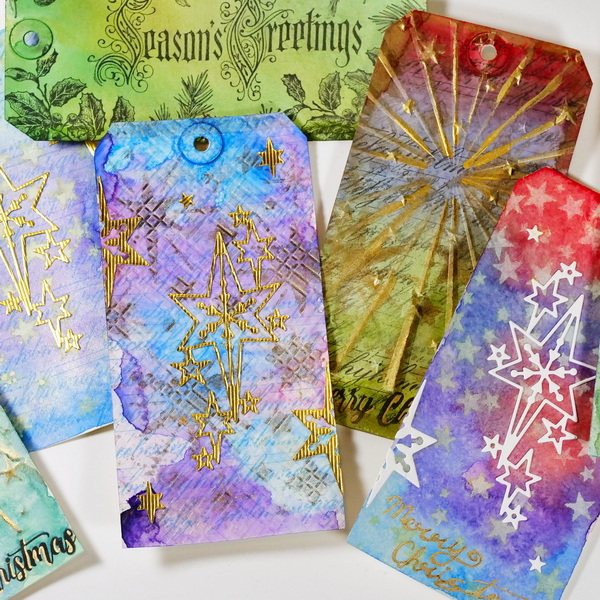
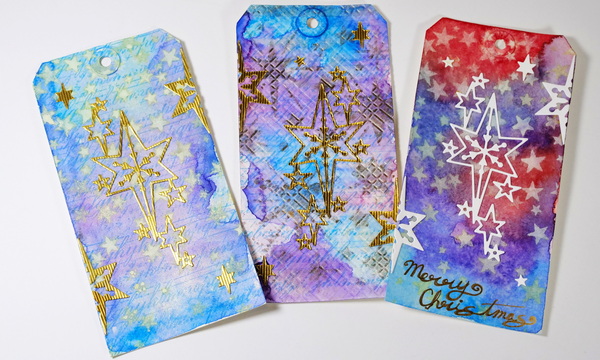
Tag 1: Stamping
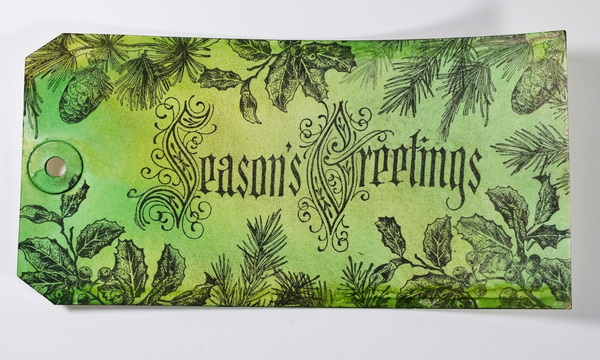
For a very simple but beautiful holiday tag, add stamping with black archival ink to the tag. You can add word stamps such as I did with the Seasons Greetings stamp from Stamper’s Anonymous.
You can leave the tag with just a greeting, or you can add other stamped images onto your project. I used a variety of pine and holly stamps to add a border around the tag. You could also use snowflakes or other images that tie into the background colors of your holiday tag.
If you don’t have stamps, you can add a holiday message in your own writing and add your own drawing and doodles to embellish the tag. If you don’t feel confident drawing, you can always use images from photos or the internet to trace onto your tag. To learn how to trace, check out this article: 3 Easy Ways to Trace Images onto Paper.
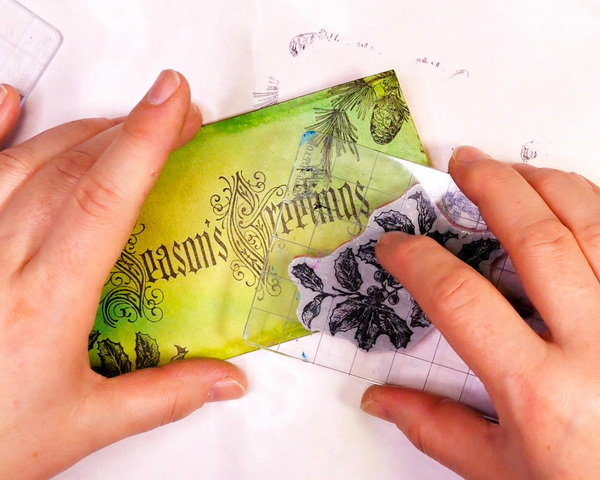
Tag 2: Stamping, Sprays & Dies
To add more variation to your background, you can add both stamping and ink sprays to your holiday tag.
If you’d like to have bold stamping, use Jet Black Archival ink, but for this tag I wanted the color to blend in more with the background color. Using Colorbox Blue Lagoon chalk ink, I stamped cursive writing across the entire tag.
To add spray inks, choose your favorite stencil and spray ink. Add the stencil to the surface and spray through it using the distress spray ink. I used the Tim Holtz Falling Stars stencil and Squeezed Lemonade Distress Oxide spray ink to add stars to my background.
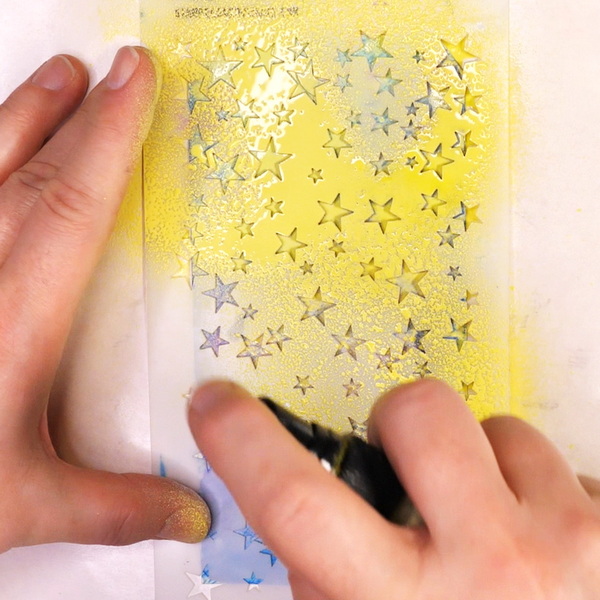
Depending on the look you want for your tag, you can reverse the order of what layer comes first, whether it’s the spray ink or the stamping.
To finish off this tag, use images cut out with die cuts from gold foil. Use your favorite clear glue to adhere these die cuts to your tag.
Tag 3: Stamping, Sprays, and Embossing
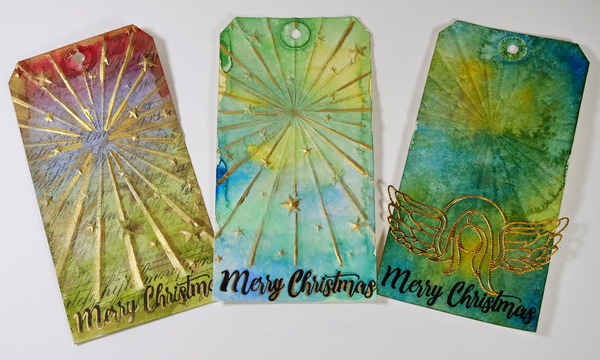
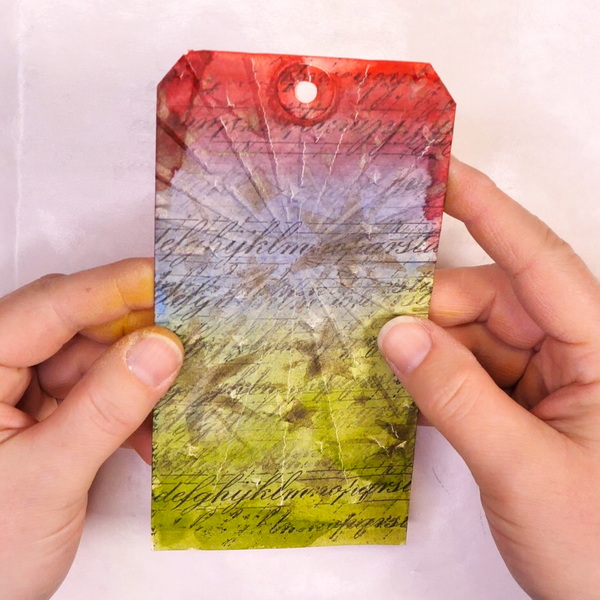
For the last tag, I added the same cursive stamp using black ink, but stamped using the first, second and third values. If you need more explanation on this technique, please visit my article Stamping Tips and Techniques.
For the next layer instead of using opaque spray ink, I used translucent mica spray. This gives a bit of color and a lot of shimmer to the design.
To add raised texture to the tag, add the tag inside of an embossing folder and run it through an embossing machine. This will create a raised image to the tag.
As the tag is slightly longer than the embossing folder, the area at the bottom I stamped a Merry Christmas sentiment to fill the space.
Bonus Holiday Tag Technique
You can leave this holiday tag design at 4 layers, but if you’d like to add a fifth layer, try adding Tim Holtz Foundry Wax to the tag.
How to Use Foundry Wax
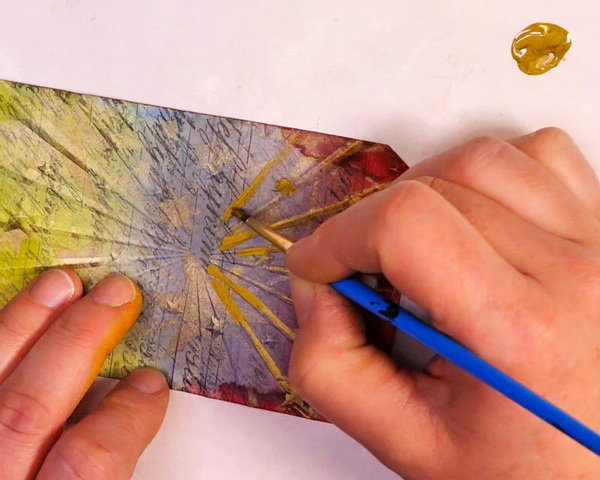
Make sure that you shake the bottle of Foundry Wax well to make sure it is fully mixed. Add a bit of the wax to a non-stick craft sheet. Using a brush, quickly apply it to the raised embossed areas. You need to add it quickly as it will dry out. If it does dry out, it becomes very sandy, and you won’t be able to apply it to the tag.
Once you’ve added the Foundry Wax to your tag, use an embossing tool to heat set the wax. The color of the wax will change from a dull gold to a very shiny gold color.
Any Questions?
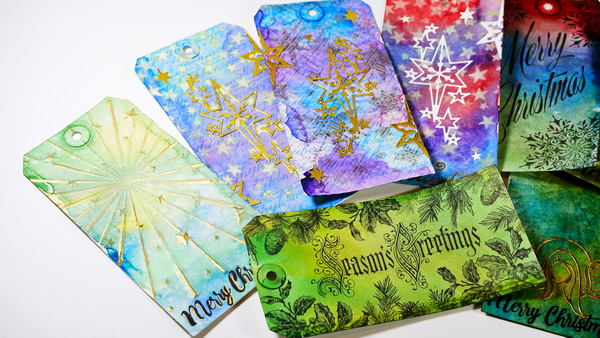
Any questions about the holiday tag designs that I’ve shared today? You can see by using tags and adding in a few layers, this can create beautiful little works of art. They don’t have to be complex to be beautiful, but each layer can add something unique to the finished piece
If you have any questions or comments about these holiday tag designs, leave a comment below. I’d love to have a discussion with you or help you through any questions that you may have about these holiday tag techniques!
I hope that over this Christmas season that you take some time for self-care and creativity! Merry Christmas and Happy New Year!
Project Supply List

- Quality student-grade range
- Strong tint strength
- Reliable transparency and lightfastness


Color is handmade by first mixing carefully selected pigments with premium mediums and dispersants and then ground to the finest consistency.


- Professional quality
- Maximum pigment loads and pure gum arabic
- Highest possible lightfastness and permanence

Ranger Ink – Tim Holtz – Distress Mica Sprays – 3 Pack
from: Scrapbook.com


•Professional quality
• Pure pigments, gum arabic, and honey
• No artificial humectants or preservatives
• Strong, true colors


You'll quickly love creating mixed media projects with Tim Holtz's Faded Type Cling Mounted Rubber Stamp Set by Stampers Anonymous. Included in the package are 6 cling rubber stamps that can be used with your favorite inks and an acrylic block (sold separately).

The Jet Black Archival Ink Pad by Ranger Ink is acid-free, non-toxic, water-resistant, and fade-resistant, and provides lasting results. This ink will not deteriorate paper and does not bleed when inks, paints, or markers are used over it.

Heidi Swapp – Art Walk Collection – Mini Chalk Ink Stamp Pads
from: Scrapbook.com
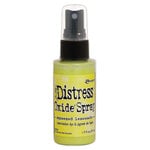
Ranger Ink – Tim Holtz – Distress Oxides Spray – Squeezed Lemonade
from: Scrapbook.com

Keep your eyes to the sky and your mixed media projects or holiday greetings this Christmas with the Falling Stars Layering Stencil by Tim Holtz for Stampers Anonymous. The package includes one layering stencil measuring 4.12" x 8.5".

Art Glitter Glue is permanent and dries clear and adheres to a variety of surfaces. It's water based and acid free. Make sure to close lid to avoid drying of glitter glue. Bundle comes with one bottle of 8oz, one bottle of 2 oz and a metal tip for easy application.


A quick and easy way to melt embossing powder this heating tool was specifically design for speed quiet and convenience. It can also be used to heat set or dry ink. It won't overheat and burn projects.

Sakura marker pens write on glass, wood, porcelain, plastic, paper, and metal. Archival Quality: Pen paint is waterproof, fade resistant, and chemically stable when dry.