Struggling with Contrast when Gelli Printing? Here’s How to Fix It
Are you struggling with contrast when gelli printing? This is a common challenge when monoprinting with a gel plate. There is always experimentation when playing with monoprinting. You won’t always be able to control the result. But here are a few tips and ideas to help you get great results when creating contrasting gelli prints.
Hop-A-Long Studio is reader-supported. When you buy through links on our site, we may earn an affiliate commission at no cost to you. Learn more.
Leaving Objects on the Gelli Plate when Printing
You may be struggling with contrast with your gelli prints because you don’t have enough contrast between the elements. Start by adding a layer of your favorite acrylic paint to the gel plate with a brayer.
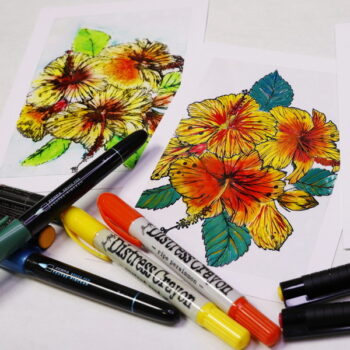
My favorite paint for gelli printing is the Amsterdam acrylics paint. This paint has a smooth and creamy texture that works beautifully for these techniques.

Proudly crafted in the Netherlands, these acrylic paints are value priced and easy to use, making them an excellent choice for the beginning or intermediate artist.
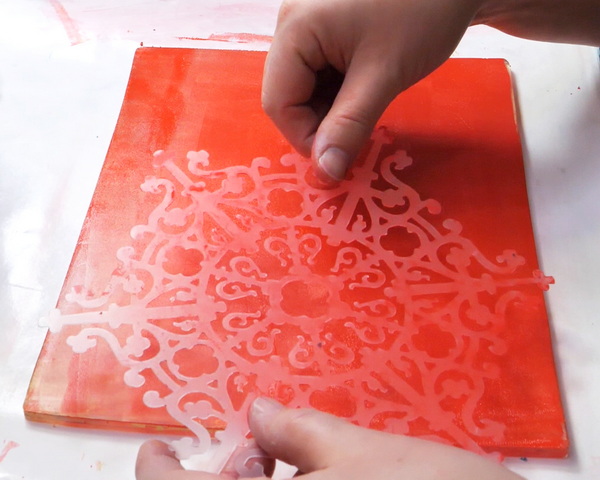
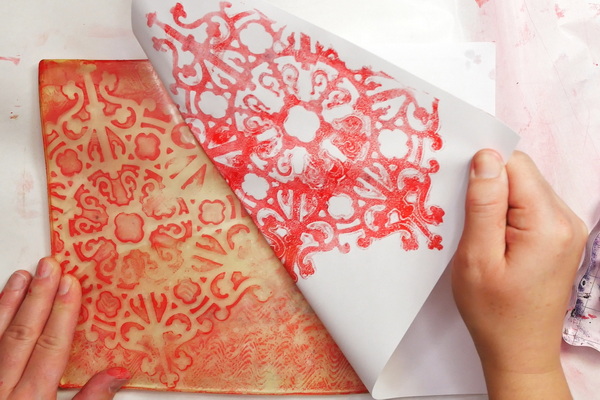
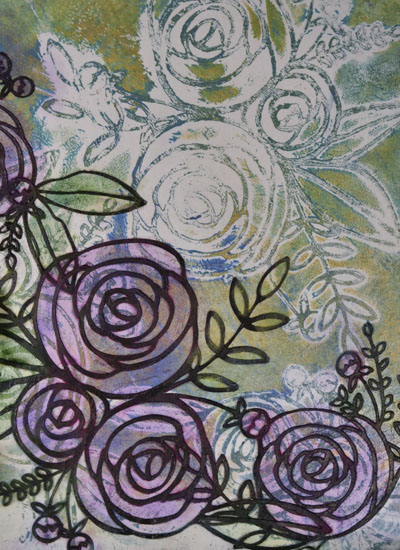
Add in objects onto the surface and leave them there when taking the print. These objects can be anything from stencils, leaves, found objects or die cut images. By leaving objects on the surface, these areas will create stark contrast as the objects are covering up the paint.
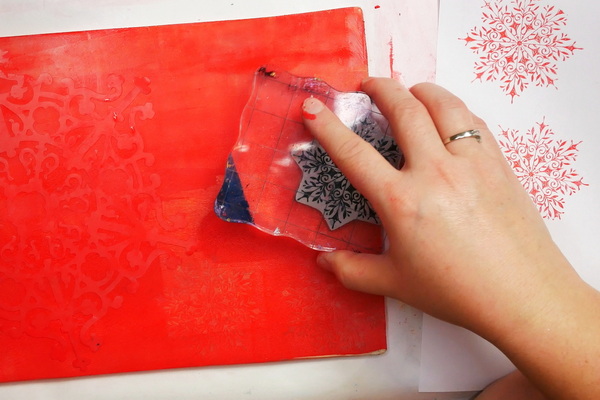
Add in additional texture with stamps or other mark making tools. To get the best impressions with stamps, after you stamp into the plate, stamp off onto a piece of paper. This will remove the excess paint from the stamp. The next stamp into your plate will be clearer, because there isn’t paint on the surface of the rubber.
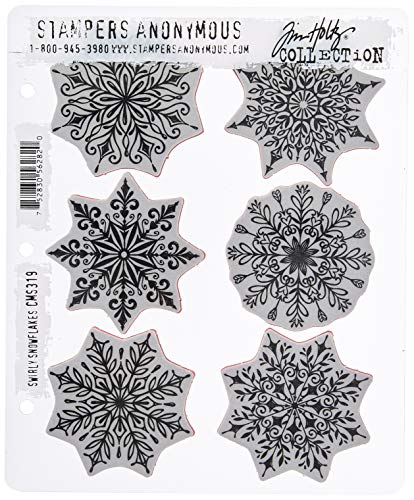
These red rubber stamps come mounted on cling foam so you can use them with any acrylic block (sold separately).
When taking a print, make sure to rub firmly around the edges of the objects set into the paint. This will help create a clean and crisp edge to your print. It’s better to use objects with larger open spaces. This way you can pick up the details within the object (for example, the intricate areas within the snowflake). Once you pull your print, you should have a contrasting print with white space that still has a lot of detail.
Pulling the Positive Image
After you pull your first print and remove your objects, you’ll be left with the outline of your image on the gel plate. If the paint is still wet, you will be able to pull another print easily. If the paint is dry, then add another layer of paint to the gel plate and then take the print. This way you can use both the positive and negative prints of the same image.
A Variation of this Technique
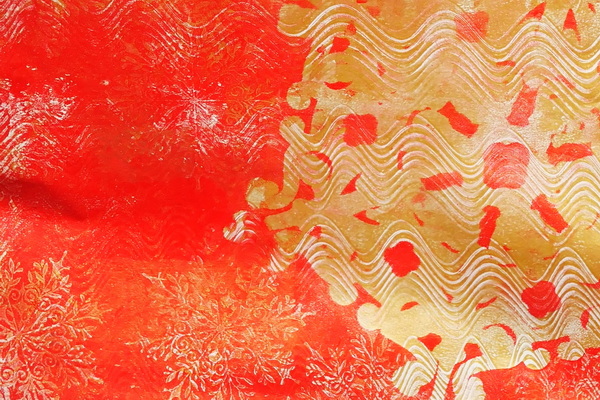
If you’re looking for a variation of this technique, instead of using a plain piece of paper for printing, start with a simple textured monoprint. This creates a contrasting and dramatic piece, but instead of having large areas of white paper, you’ll have the monoprint texture poking through.
What if You Don’t Like Your Print?
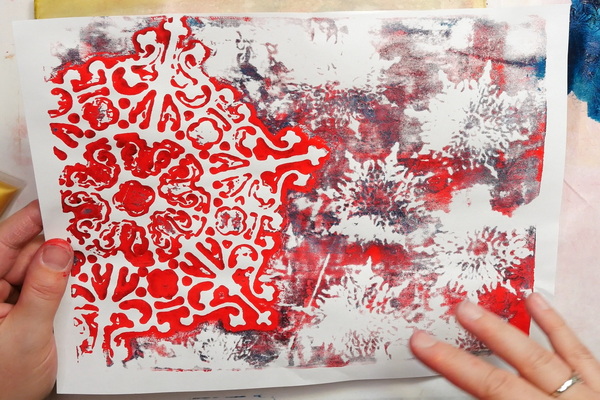
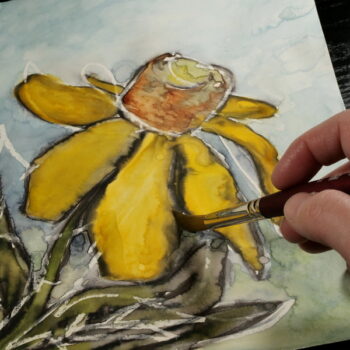
What if you create a contrasting print but don’t like the direction that it’s gone? I was playing around with some deeper tones and created this print. I like it, but I find it too dark. Because I didn’t want to add more pattern to it, I added a thin layer of Golden Acrylics Gold Fine paint and Amsterdam Sky Blue Light acrylic paint to the surface. I made sure that it was a very thin layer so that it would tone down the color but not obliterate the print.
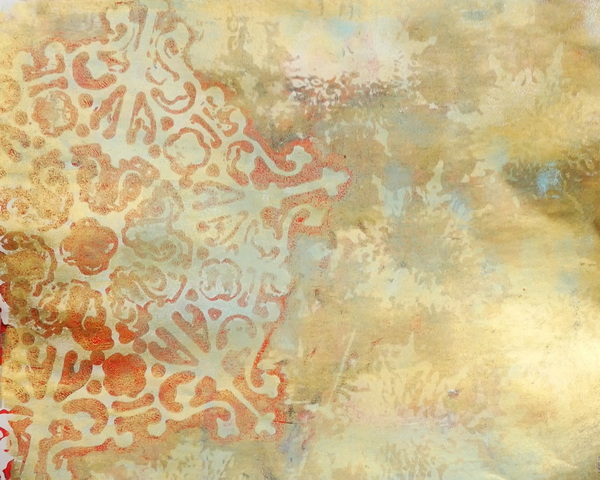
Add the print that you want to alter to the gelli plate and take a print. It’s interesting to see the effects that you can create. This print ended up a bit more opaque than I hoped, but it made for a very interesting print.
The Alternative
An alternative to this is to set aside your printing plate and brush on a layer of acrylic paint as a wash. You could also choose to blend some dye or pigment inks onto the surface. There are so many ways to alter prints to give them the look that you want.

Tips for Getting Great Gelli Prints
When working with the gelli plate, here’s a few tips that will give you great results every time.
Applying Acrylic Paint
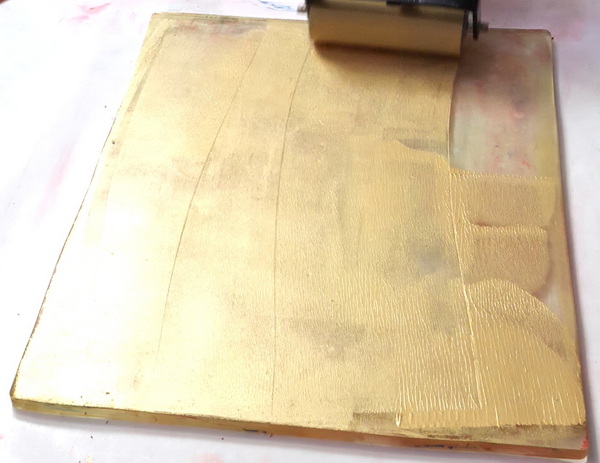
When applying acrylic paint, make sure that you apply a thin layer of paint. If you use too much paint, you won’t get a crisp print. Alternatively, depending on your climate and the humidity, if you add too little paint, the paint might dry before you get your design completed and printed. It takes practice to understand the right amount of paint needed for your print.
Applying Paint off the Gelli Plate Surface
I tend to use two different methods for adding paint to the gel plate. Sometimes I’ll add paint straight to the gelli plate and then use the brayer as a spreading tool.
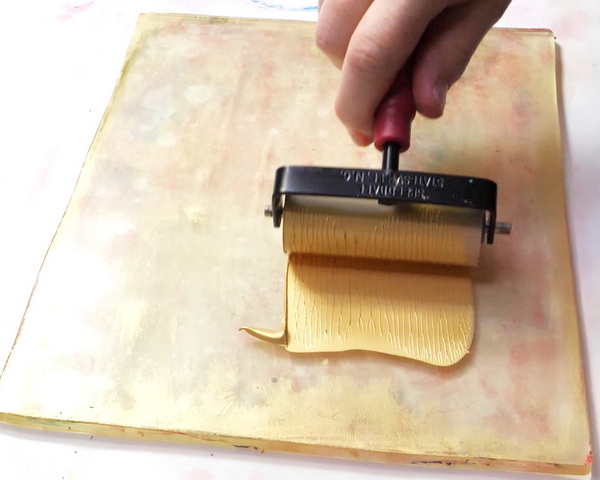
Other times I’ll add paint to my palette, spread it evenly onto my brayer and then add it to the gel plate.
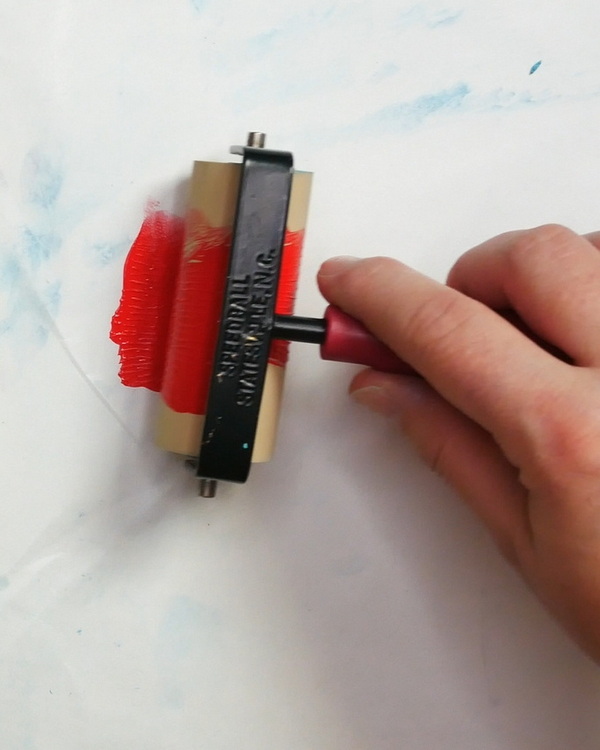
The key is to make sure not to have too much paint on the surface at once. If you feel you can do that easily with adding paint directly to the surface, then go for it. But sometimes, I struggle with that, which is why I use a palette.
Maintenance of the Gelli Plate
If you find that your gelli plate is having trouble coming clean, use a bit of soap and water to clean off the paint that won’t come off. If you find that your plate is getting sticky, or the prints aren’t coming off easily, spread a thin layer of baby oil onto your plate and let it sit. These plates need to be cleaned and conditioned periodically to get the best results.
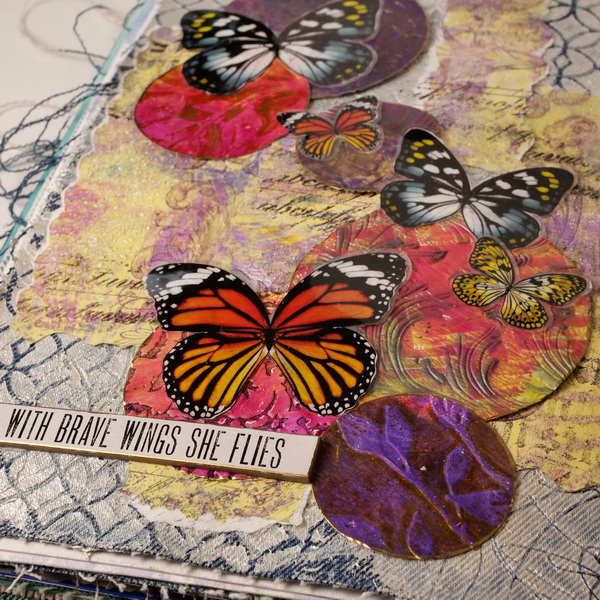
Fun Ways to Use your Gelli Prints
There are a lot of fun ways to use your gelli prints on your projects. You can make cards, add them to art journal projects, use them as collage papers or incorporate them in your paintings. I’ve shared in the past about how to use your gelli prints in projects. Here’s a couple of my favorites:
Creating Art Journal Textures with Gelli Prints
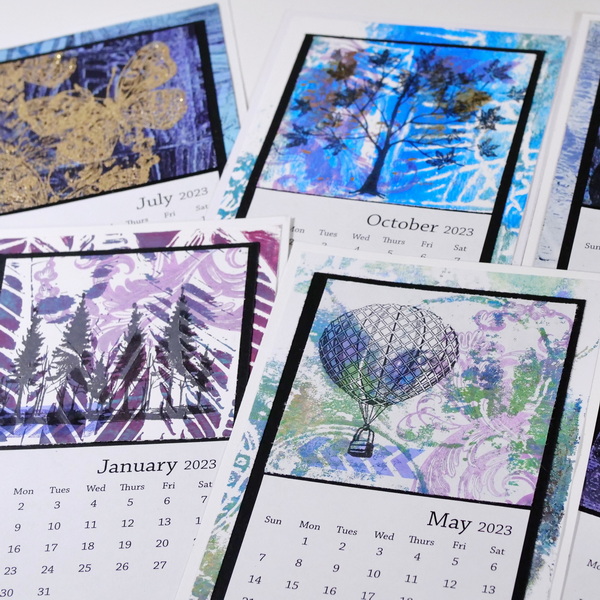
Working in a Series with Gelli Prints
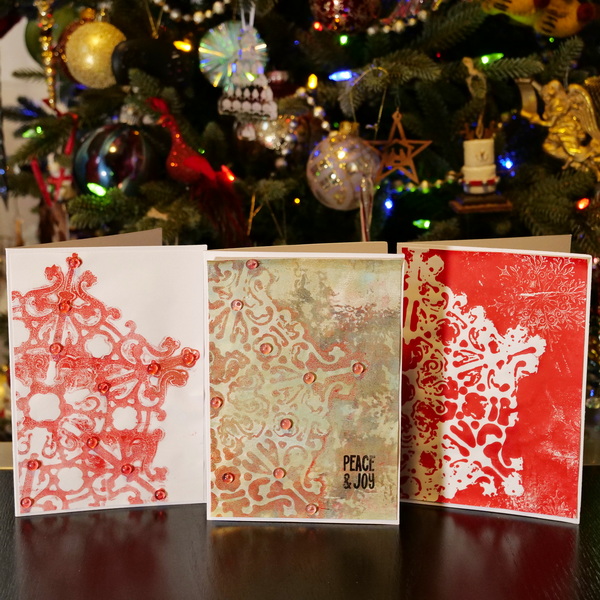
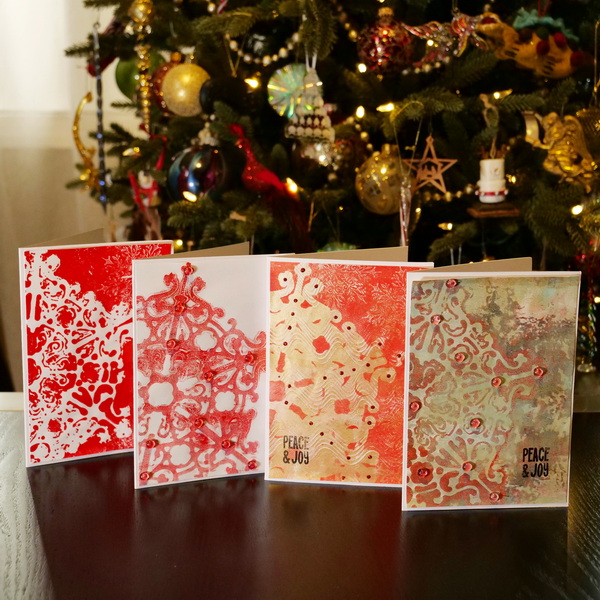
Making Gel Print Christmas Cards
Today I wanted to show you how to can easily turn your gelli prints into beautiful Christmas cards. Because we’ve started with contrasting images, it’ll be very easy to turn these into a completed project.
Cutting the Prints Down to Size
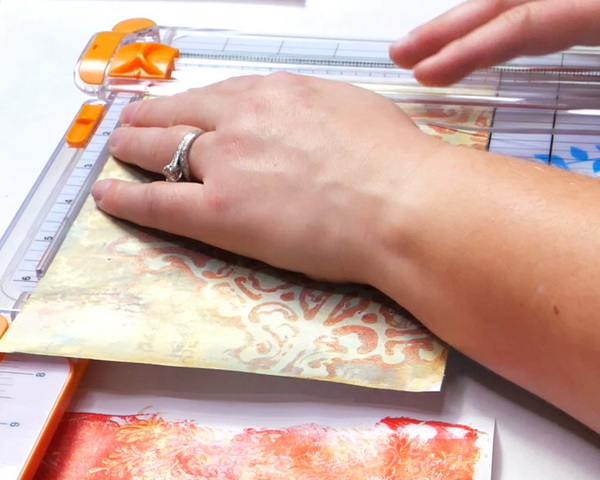
Start by cutting the gelli prints down to the size of the card that you want to create. As I like to leave a border around the prints, I tend to cut the paper ¼” smaller than the card back. For these cards I’m creating a 5 x 7” card so I’ll be cutting my papers to 4 ¾” by 6 ¾”.
Since I’ve been using copy paper for my prints, they are thin, which is why I like to add them to a sturdy A7 size card. My favorite brand of A7 5 x 7” blank cards and envelopes are made by Ohuhu.
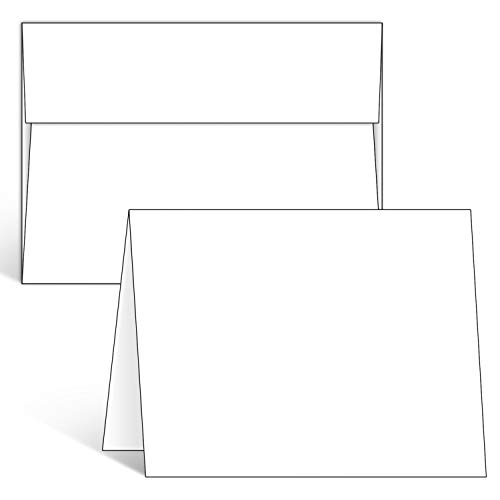
Each pack consists of 100 pieces of 10 x 7 scored cardstock (5 x 7 when folded) and 100 A7 self-seal envelopes, perfect for DIY greeting cards.
Choosing the Right Adhesive
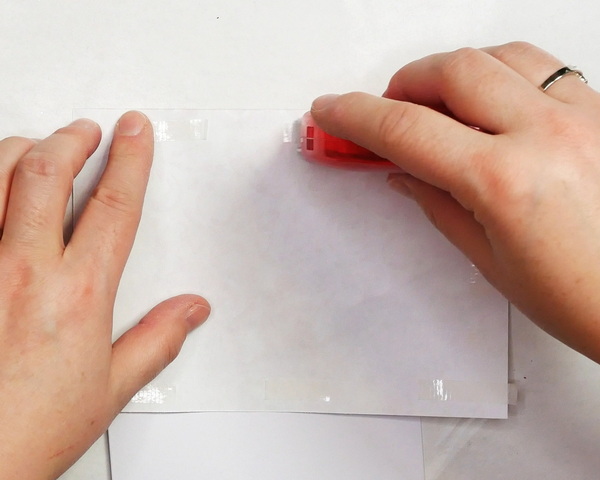
There’s a lot of adhesives out there that can be used for attaching the copy paper to blank cards. You can use a simple Uhu glue stick, but I generally like using a stronger dry adhesive like Scrapbooking Adhesives EZ Runner or Sookwang Tape. I tend to use Sookwang tape if I’m printing on heavier papers, but for most copy paper, I use a lighter dry adhesive.
If you plan to use a wet adhesive with copy paper, I suggest Yes Stick Flat glue. I find that my usual wet adhesives will cause the thin paper to buckle.

Adding in Final Details
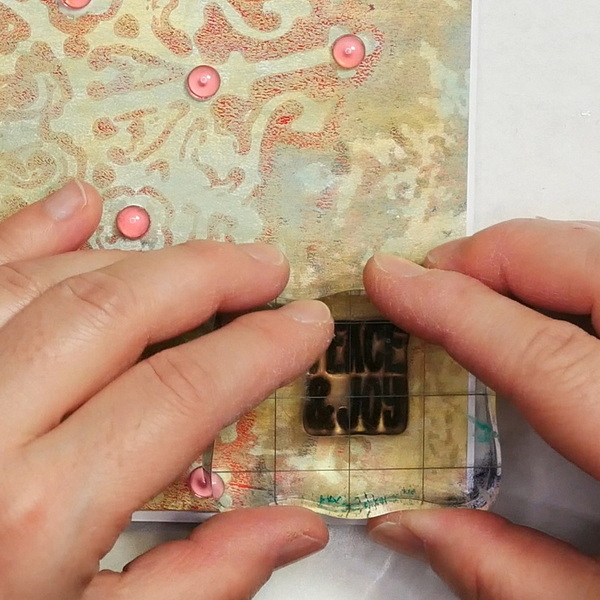
Sometime the prints have so much presence that they don’t need much help. But if you want to add more details, there’s lot of different mediums that you can use. If the card is mostly completed, but I want to add in a holiday message, I’ll use a favorite Christmas sentiment stamp with Jet Black Archival Ink.

If you want to add some shine and bling to the card, try using sequins, jewels, or Robin’s Nest Dew Drops. Some of these may already come with sticky backs. If they don’t, use a dab of Art Glitter Glue to attach them to your project.
You can also choose to add additional touches with gold, white or black paint pens or add doodling to your images. The possibilities are endless!
Questions?
I hope that this helps if you are struggling with contrast when gelli printing. Just remember, gelli printing is a process of trial and error. The more you do it, the better you’ll get! Let me know if you have any questions about this technique or the card project shared today. I hope that during this busy season you’ll take time for creative self-care!
Project Supply List


1 ream (500 sheets total) of 8.5 x 11 inch white copier and printer paper. Acid-free to prevent yellowing. Smooth 20 pound weight paper for consistent ink and toner distribution; dries quickly and resists paper jams.
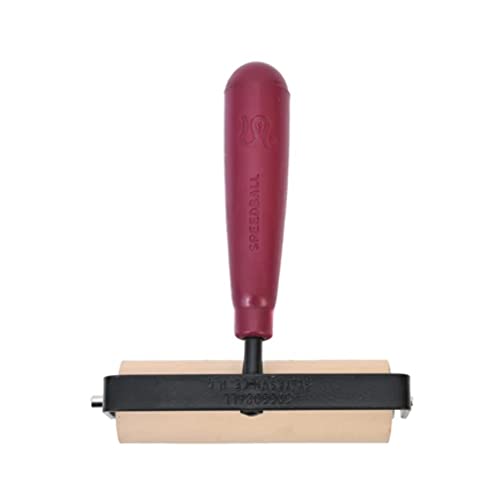
My recommended brayer for gel plate printing. 4" brayer provides even ink distribution and maximum coverage. Allows for consistent prints on a variety of surfaces.
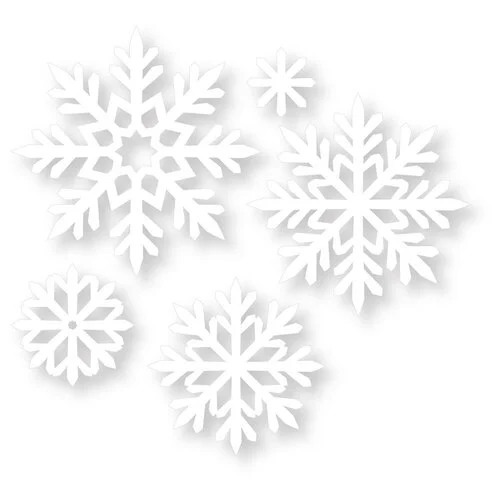
Bring a winter wonderland to your crafting projects with our Snowflake Mask set! This 5 piece stencil set makes papercrafting a breeze and adds a unique snowflake design to any surface.

Proudly crafted in the Netherlands, these acrylic paints are value priced and easy to use, making them an excellent choice for the beginning or intermediate artist. They can be mixed with water or mediums, and clean up requires only soap and water.
These red rubber stamps come mounted on cling foam so you can use them with any acrylic block (sold separately).

Stamping block tools with grid and grip, 8mm thickness, assorted sizes.

Golden Interference and Iridescent Heavy Body Acrylics add an exciting range of options to your creative repertoire. Used alone or mixed with other acrylic paints, they enable you to achieve color effects that are truly spectacular.

Not quite a brush. Not quite a palette knife. Princeton Catalyst Blades and Mini-Blades are crafted from flexible silicone to give artists exciting new tools for expression. Mounted on artist brush handles, they offer a unique blend of tradition and innovation.

Proudly crafted in the Netherlands, these acrylic paints are value priced and easy to use, making them an excellent choice for the beginning or intermediate artist. They can be mixed with water or mediums, and clean up requires only soap and water.

Proudly crafted in the Netherlands, these acrylic paints are value priced and easy to use, making them an excellent choice for the beginning or intermediate artist. They can be mixed with water or mediums, and clean up requires only soap and water.

Ideal for cutting a wide variety of crafting materials including paper, photos, scrapbook pages or specialty materials. Cutter comes with a lifetime warranty.
Each pack consists of 100 pieces of 10 x 7 scored cardstock (5 x 7 when folded) and 100 A7 self-seal envelopes, perfect for DIY greeting cards.

Scrapbook Adhesives EZ Runner glue applicator roller is the perfect specialized roller for your paper craft projects. The easy to use scrapbook strips are zero waste, refillable, stick fast, and recyclable! Get a 49ft EZ Runner Permanent Adhesive Dispenser with a 3 pack refill & exclusive E-book!
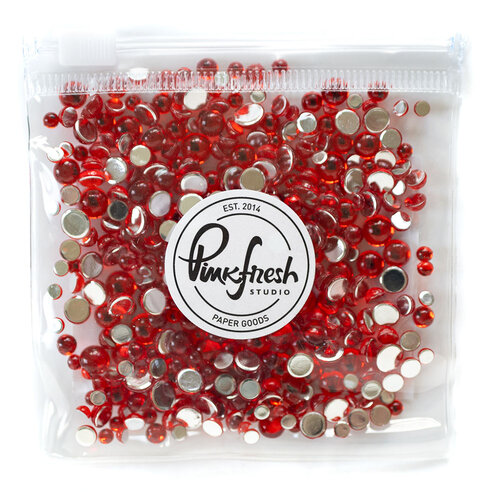
This package of Clear Drops embellishments, Scarlet, is part of the Essentials Collection from Pinkfresh Studios. These embellishments have a flat back for easy placement on your projects. These embellishments come in four sizes, 3 mm, 4 mm, 5 mm, and 6 mm.

This is an industrial strength, non-toxic, and water-based adhesive designed for glitter and paper applications. This adhesive is also strong enough to bond items such as cardboard, metal, wood, canvas, plastic, glass, and more. This glue is acid free and safe to use for any of your paper crafting projects.
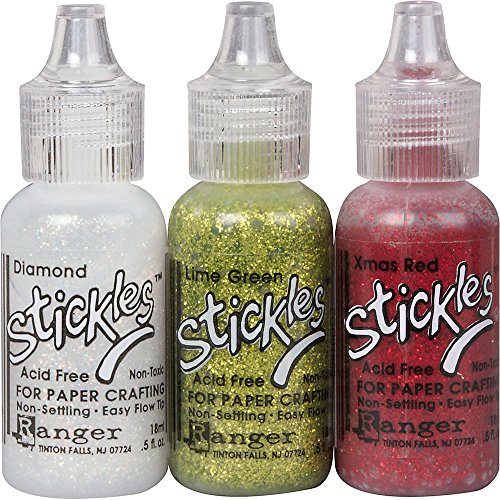
Who couldn't use a little more sparkle in their life? Stickles Glitter Glue by Ranger Ink enhances greeting cards, envelopes, holiday decorations, letters, and more. The glue is acid-free, non-toxic, and non-settling, and comes in a 0.5 oz. bottle with an easy flow tip.

The Jet Black Archival Ink Pad by Ranger Ink is acid-free, non-toxic, water-resistant, and fade-resistant, and provides lasting results. This ink will not deteriorate paper and does not bleed when inks, paints, or markers are used over it.

These silicone clear stamps are printed with assorted Christmas greeting words, including Wonderful Blessing, Miracle of Christmas and Christmas and more.


2 Comments
Jo Flynn
Enjoyed the video.
Maybe you could talk a bit slower for us older generation.
But love your work.
Nadine Milton
Thank you and thanks for the feedback. I try to talk slower, but I tend to get nervous. It’s something I’m working on!