Easy Brusho Christmas Card
As Christmas is only a few days away and the pace of the season can get a little hectic, I wanted to share this easy Brusho Christmas Card. This card does not take long to make, but the simplicity of the design makes for a very effective card. My hope is that this easy Christmas card project will give you an opportunity for creative self-care.
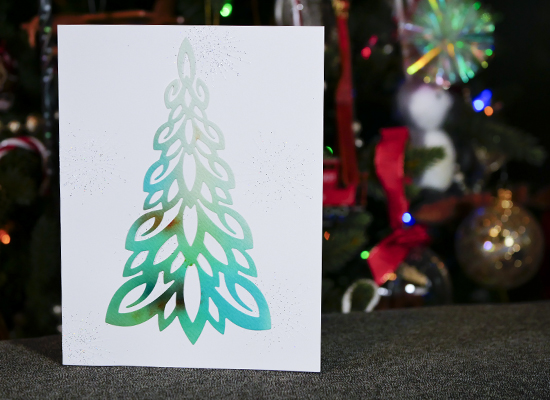
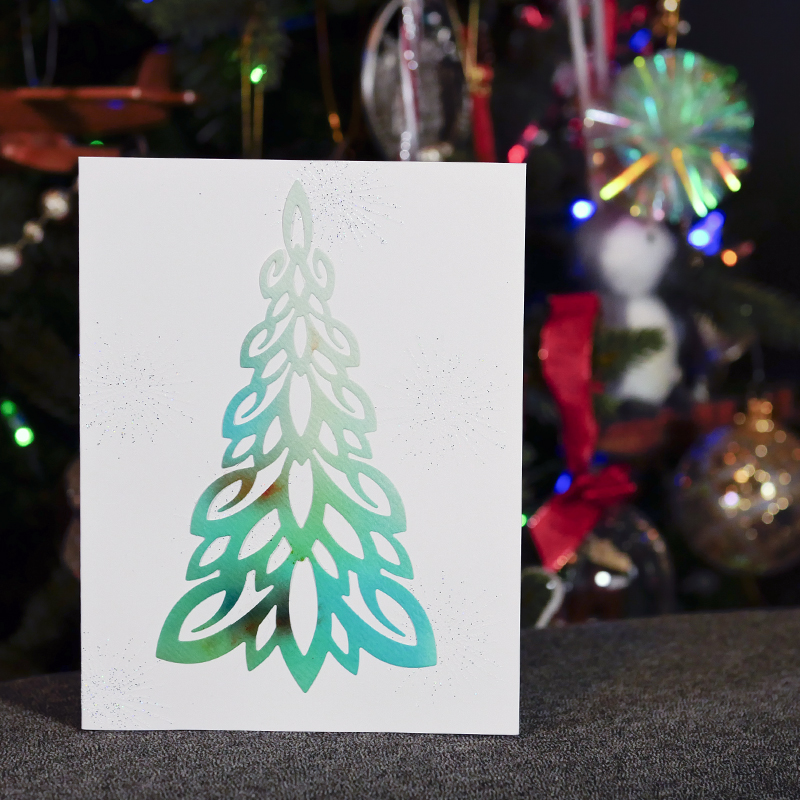
Easy Brusho Christmas Card
Creating the Brusho Paper
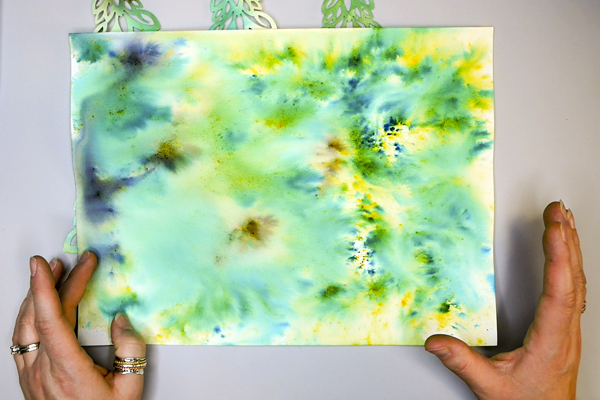
The first step of this easy Brusho Christmas Card is to color the paper to be used for the Christmas tree shape. Using 90lb watercolor paper I spritz water onto the surface, tap out the Brusho powders on to the paper, and spritz with more water to get the pigment flowing. If you are interested in seeing the step-by-step process of using Brusho Crystal Colours, please view the video below.
I love the Brusho effect for this type of project, it gives the cards a beautiful watercolor effect. If you would prefer to use patterned paper or watercolor paint to make a soft focal image, these options are also available.
Die Cutting the Christmas Trees
Once the Brusho is dry, I use Krylon Workable Fixative to seal the color onto the paper. As Brushos can be re-wetted, this is a precaution to ensure that the adhesive that I use later in this project does not make the Brusho powder rewet.
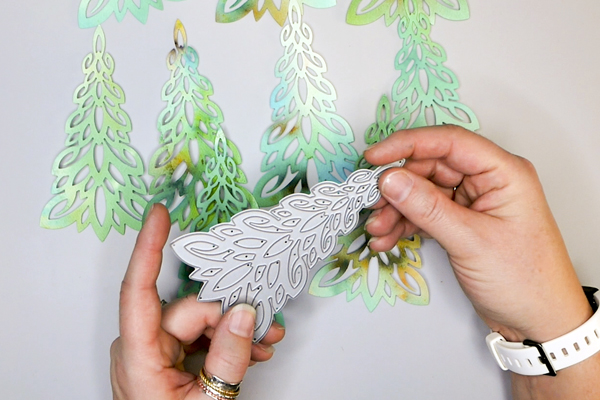
I am using a Memory Box tree die for this project, but you can use any shape that you have available to you. Cut the Brusho watercolor paper into squares, add a piece of paper onto the Christmas tree die and run it through your die cutting machine (I used a Tim Holtz Vagabond 2). This will create the Christmas tree image for your card.
Add Embossed Stars to the Card
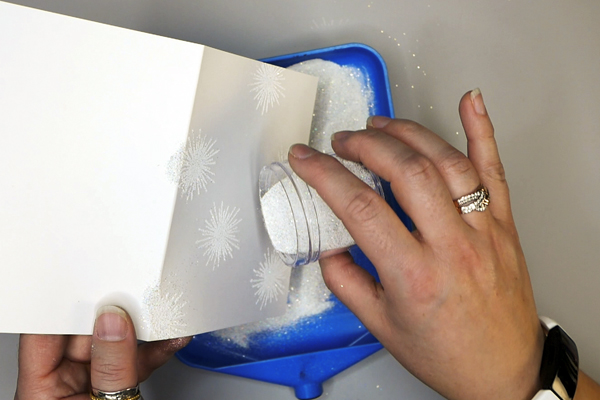
Adding fun details and a bit of sparkle to the card can really make it pop. For this easy Brusho Christmas Card I decided to stamp and emboss star images as part of the background. Using Top Boss embossing powder and an Impress star stamp, I stamped the star image randomly on the page. While the ink was still wet, I added on Judi Kins White Diamond embossing powder and then heat set it with an embossing gun.
If you have never embossed an image before, please check out the video HERE where I provide a step-by-step demonstration on how to heat set embossing powder.
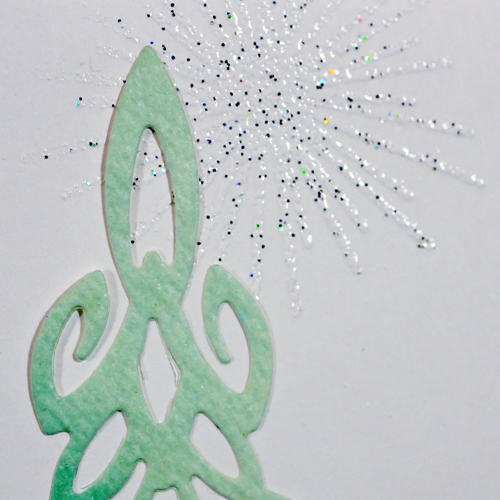
I used a sparkly white embossing powder because it gives a bit of sparkle to the card. It also adds texture to the background without overwhelming the tree image. If you wanted an even more subtle effect, instead of using embossing powder, you could stamp the image with a watermark stamp pad.
Adding the Christmas Tree Die Cut
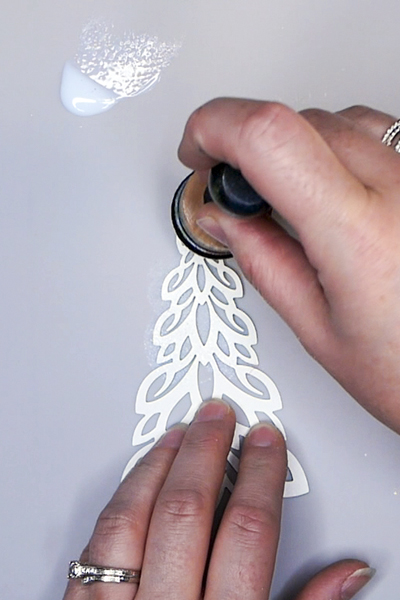
Finish off this project by adding the Christmas tree die cut to the card. I like using USArtQuest PPA Matte adhesive because it is easy to use and dries clear. Because this die cut is intricate, I used a foam and blending tool to evenly distribute the glue. (Just make sure that you rinse out the foam after use.)
Apply the glue to the Christmas Tree and glue the tree to the card. Please be aware that you may need to use a bit more glue on the spots with the embossed stars to help the tree stick.
What Do You Think?
What do you think about this easy Brusho Christmas card? I hope that you have enjoyed the process and that you find some time for creative self-care this holiday season. I would love to see your work or answer any questions that you may have. You can comment below or contact me directly. You can also tag your work with #hopalongstudio on Instagram and I will be able to see your work.
I hope that you have a great time in these next few days leading up to Christmas and that you have time for quiet moments and creativity.
Project Supply List
- 90lb Watercolor Paper
- Distress Sprayer
- Krylon Workable Fixative
- Memory Box Tree Die Cut
- Tim Holtz Vagabond 2 Die Cutting Machine
- Impress Star Stamp
- Top Boss Clear Embossing Stamp Pad
- Embossing Tray
- Judi Kins White Diamond Embossing Powder
- Martha Stewart Embossing Tool
- USArtquest PPA Glue
- Ranger Blending Tool and Foam