How to Make a Simple Christmas Card
As Christmas is drawing near, I wanted to share with you how to make a simple Christmas Card using stamps. It is easy to get wrapped up in completing elaborate projects around Christmastime, but sometimes our intentions and our available time do not align. Today I want to share a simple Christmas Card that can be completed under 10 minutes.
Card Making for Self Care
Card making is an essential part of my seasonal self care. It presents an opportunity to sit down for a few minutes and make something simple and creative. We often get so busy that we do not take time to pause, to rest and regroup. I know that I have been struggling with that very problem lately and I have found card making an excellent opportunity to give myself that self-care time.
I enjoy making cards over the holiday season. With the pandemic and delays in mail service, I have started creating cards earlier than I usually do. Due to the pandemic, where we are encouraged to stay home and not to gather in groups, card making is more important than ever. By being able to share your cards with others and bless them during this isolating time can bring so much joy to someone’s life.
An important part of self-care is not overcommitting. This means keeping card making as an activity for self-care and not another stressor. My solution to this is to choose simple and easily repeatable designs for cards to give away. It give us an opportunity to carve out a bit of time for restorative creativity and to bless others.
A Simple Stamped Card
The Christmas Card project that I am sharing with you today is a simple stamped card. I purposely chose only 3 colors of ink, one embossing powder and 2 stamps to create this card. When making simple Christmas cards you do not need a lot of materials. I often find that by simplifying the design and using repetition, it usually creates a stronger card design.
I have shared this tutorial in two ways, the text and photos below and also in this video tutorial.
How to Create a Simple Christmas Card
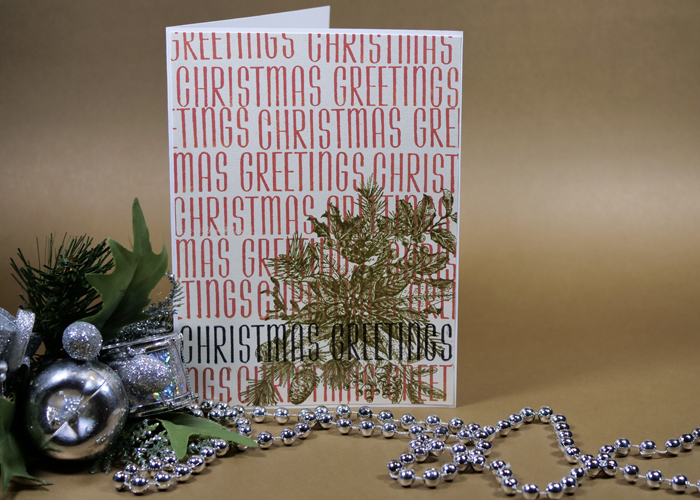
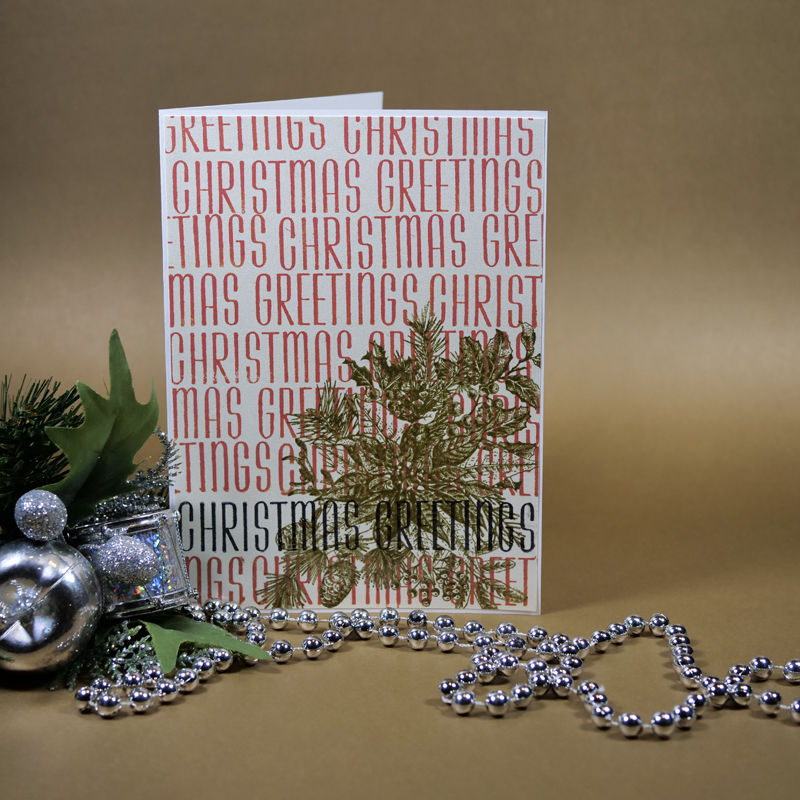
To create this simple Christmas Card, start with a 5” by 7” piece of paper. In my case, I had some metallic writing paper in champagne that I used for this card. I would suggest if you have a metallic cardstock, use it instead of metallic writing paper. It is a better choice for this project as it will take stamps better and be sturdier for stamping.
Stamping and Heat Emboss the Focal Image
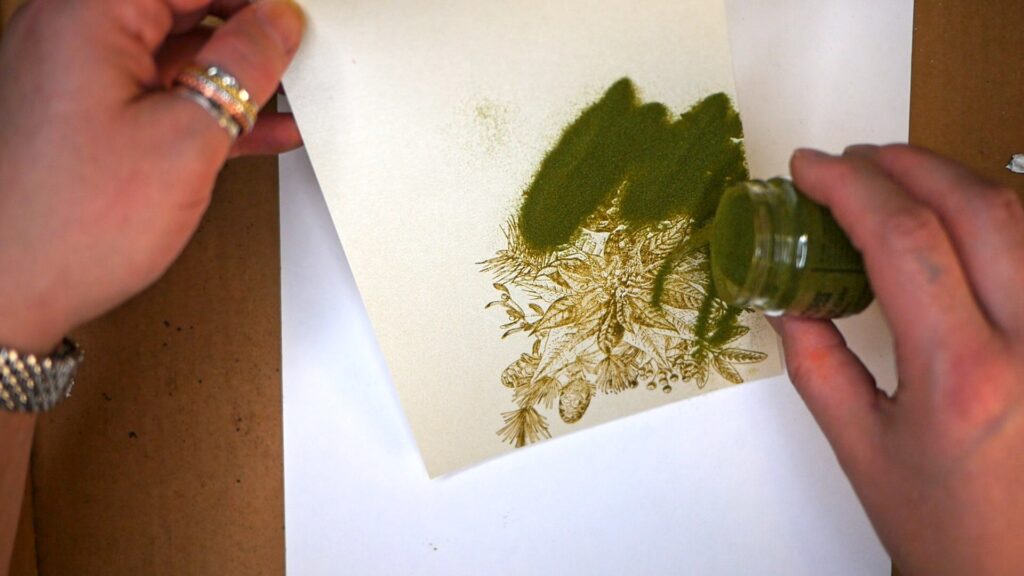
I started by stamping the large holly stamp from Tim Holtz Stampers Anonymous Yuletide Gathering using Forest Moss Distress Oxide Ink. While the ink was still wet, I covered the image with Peeled Paint Embossing Glaze, tapping off any excess powder. Using my embossing tool, I heat set the embossing powder. If you have not used embossing powder before, I have a step by step video where I show the tips and tricks for getting a great embossed image.
Adding the Christmas Greeting
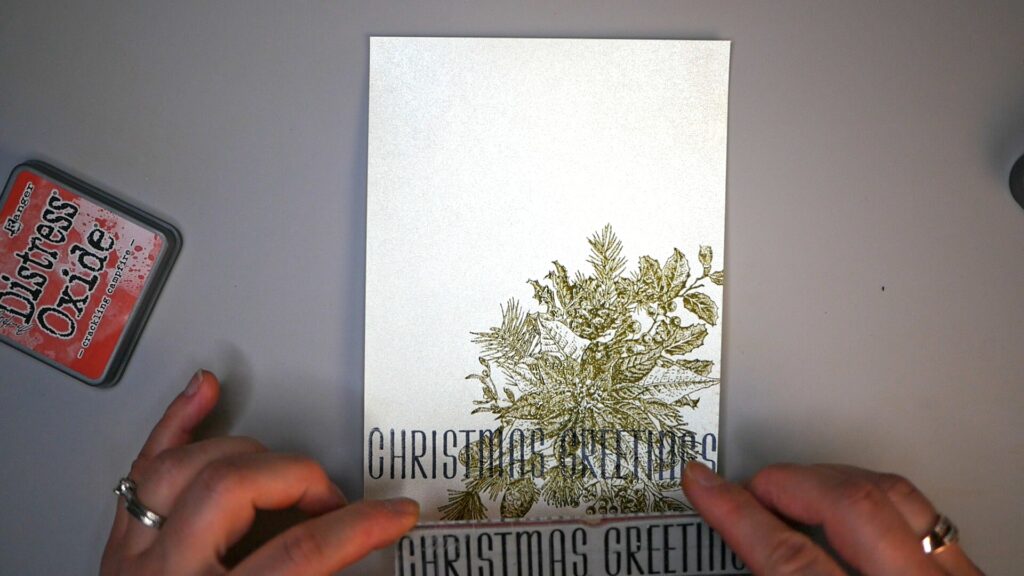
Once the embossed image has cooled stamp the text image onto your project. I used Jet Black Archival Ink and the “Christmas Greetings” stamp from Tim Holtz Christmastime stamp set. Make sure to stamp the image about 2/3 down the card. By doing this, you will have a stronger design. Ensure that you use an Archival Ink for this step so that it will stamp and dry on the embossed image.
As a rule, heat embossed images will resist anything that is put onto them, but in the case of an Archival Ink you will be able to stamp on top of the embossed image and have the image fully dry.
Adding the Christmas Greeting as a Pattern
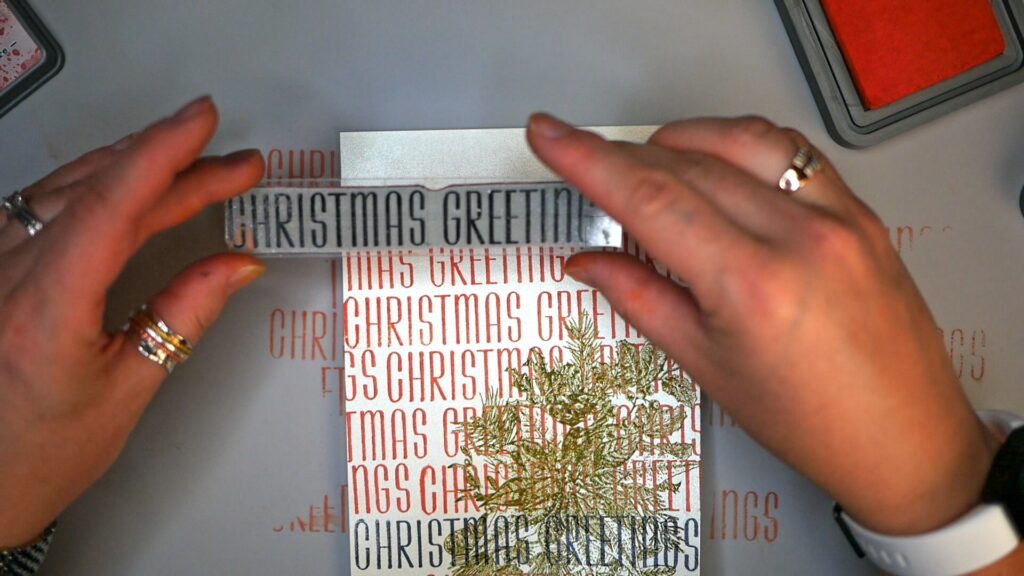
Once you have stamped your main image, use the Christmas Greeting Stamp to create a pattern across the rest of the card with Tim Holtz Distress Oxide Crackling Campfire Ink. To make the design more interesting, I stagger the image so that part of the greeting is off the page.
You can either estimate the spacing and stamp freehand or if you have a stamping platform, use this for stamping your image. If you are new to stamping, using a tool that will help you stamp straight may be helpful while learning. This comes down to personal preference and how picky you are about spacing. As this is a self-care activity, I like to freehand my stamping and whatever result I get, I am happy with.
Leave the Card to Dry
If you are using metallic paper, make sure to use a heat tool to set the ink or to give your card time to air dry. As the paper I used was less porous that I hoped, I used Krylon Workable Fixative to seal in the card. If you run into problems where you used the incorrect ink for the surface, using a fixative or a sealer can help prevent the ink from smudging.
Mount Image to a Card Back
I usually cut my paper slightly smaller than the card back, this way I end up with a clean white border around the card. I feel like it helps frame the image and gives it a great finished look.
What Do You Think?
What do you think about how to make a Simple Christmas Card? Have you made any simple Christmas cards this year? If you have, I would love to see them! If you have any questions about the technique or how to stamp, please feel free to contact me directly or leave a comment below. I hope that you take some time this week for self-care, including making cards.
Project Supply List
- Paper: wausasuPaper Champagne Pearl 32lb
- Tim Holtz Stampers Anonymous Stamp Sets: Yuletide Gathering CMS390 and Christmastime CMS352
- Inks: Ranger Archival Jet Black Ink, Tim Holtz Distress Oxide Crackling Campfire and Forest Moss
- Tim Holtz Embossing Glaze Shabby Shutters
- Other Materials: Stamping Block, Martha Stewart Embossing Tool