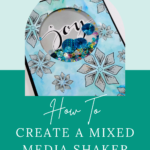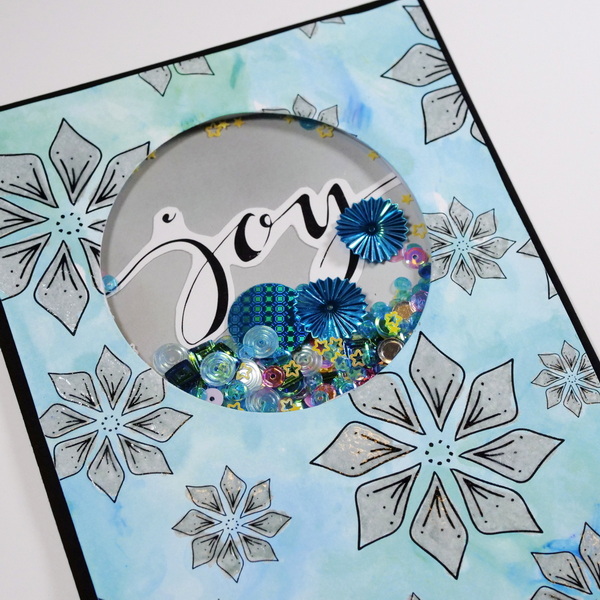
How to Create a Mixed Media Shaker Card
With Christmas just around the corner I wanted to show you how to create an easy mixed media shaker card. I love making cards around Christmastime. It is one of my favorite Christmas traditions! The process of coming up with unique designs, writing messages to my friends and family and sending them through the mail brings me great joy.
I remember as a child my parents getting dozens and dozens of Christmas cards with family updates and kind messages inside. The practice of giving and receiving cards is not as popular as it used to be. But I believe it makes giving or receiving a handmade card so much more special.
Today I wanted to share with you a fun and unique handmade card using shaker bits and mixed media elements. As much as it looks complex, it is quite easy to make. This technique can be used on a variety of cards, not just for Christmas but could also be used for other seasonal cards.
Mixed Media Shaker Card
Cutting the Card Window
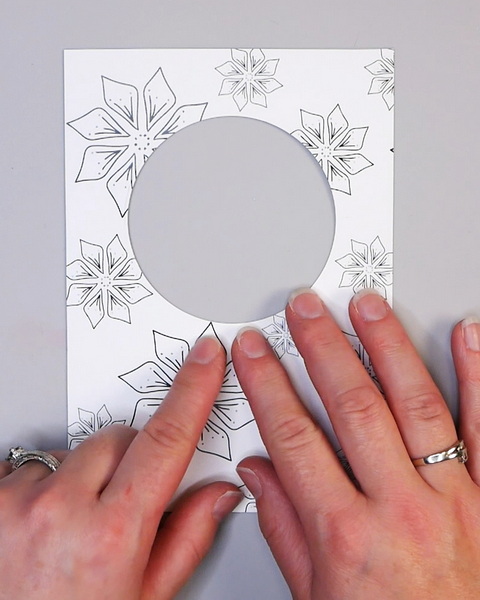
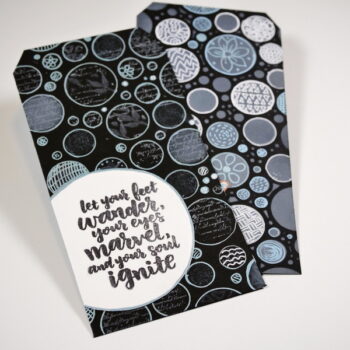
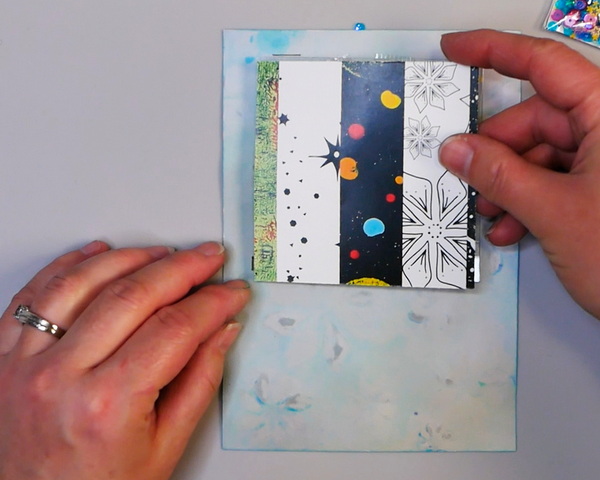
The finished size of this card will be 5” x 7”. To start, cut a piece of black and white patterned paper to 4.75” by 6.75”. For this project I used the Nicole Wright Designs Baubles and Bows collection that has a variety of black and white paper designs. You could also use a piece of white paper and stamp images in black to get a similar effect.
Using a circle die, cut a 3” circle into the center of the patterned paper. This doesn’t have to be perfectly centered but try to get close. For my circle I was approximately ¾ of an inch from the top and sides. If you don’t have a die cutting machine, use a glass or another shape that you would like to trace onto the card and cut it out using a craft knife and cutting mat. You don’t have to stick to a circle shape. A square, star or any other shape will work also.
Embossing the Snowflakes
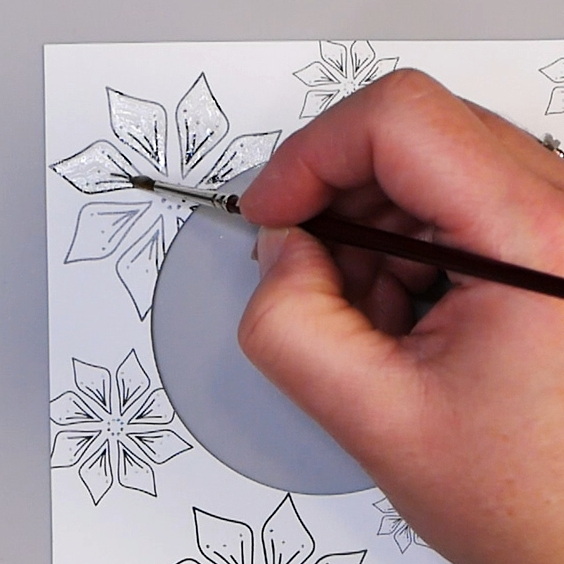
Add embossing ink to the snowflakes with a paintbrush or a Tim Holtz Distress embossing pen. As the Wild Whisper Designs paper absorbs quite a bit of the ink, I chose to use a paintbrush and embossing ink to apply to the background. This also keeps the embossing ink wet longer to be able to add embossing powder.
Once you have added the embossing ink, add the Weathered Wood Distress Glaze embossing powder. As the Distress Glaze is translucent, this will allow you to add color, shine, and dimension without losing the details underneath. Heat set the embossing powder with a heat gun.
Make sure to work in small areas when adding the embossing ink and powder. You don’t want the embossing ink to dry out, so work in smaller areas adding the ink, embossing powder, and heat setting as you go.
Creating a Watercolor Background
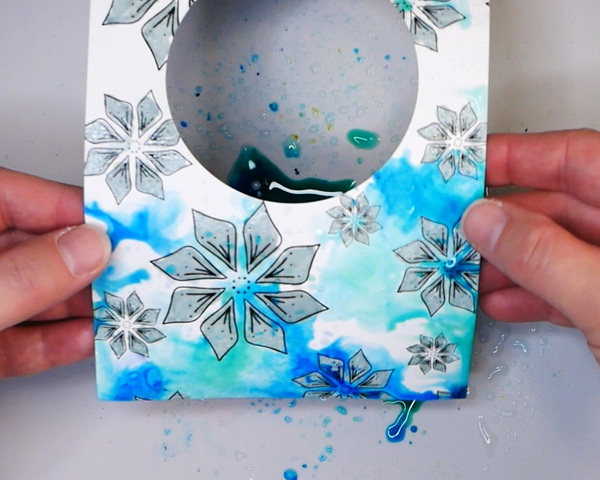
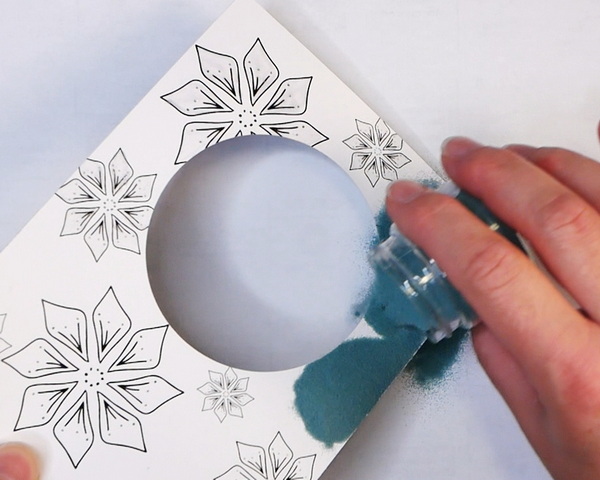
Once the snowflakes are fully heated and set, add some Brusho Crystal Colours to a non-stick craft mat. For this project I used Sea Green and Cobalt Blue. Spritz the Brushos with water to blend the color. Dab and drag the patterned paper through the Brushos to cover the background. This will give you a soft watercolor effect.
You will notice that as you add the Brushos to the surface, any areas without embossing powder will soak up the color. The embossing powder will resist the water and any watercolor medium will bead on top of the embossing powder. Wipe off any Brushos that are on top of the embossed areas. Set the card aside to air dry.
If you don’t own Brusho Crystal Colours, you can use Distress Ink, watercolor paint, Tombow dual brush markers with water or any other water based medium to add color to the background.
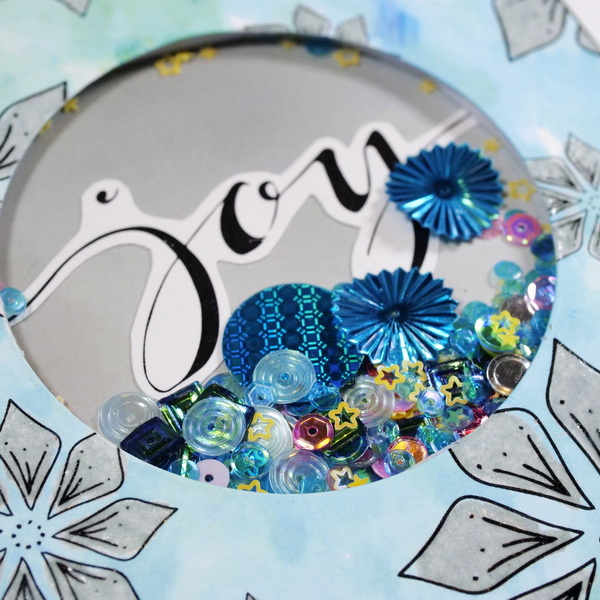
Choosing a Sentiment
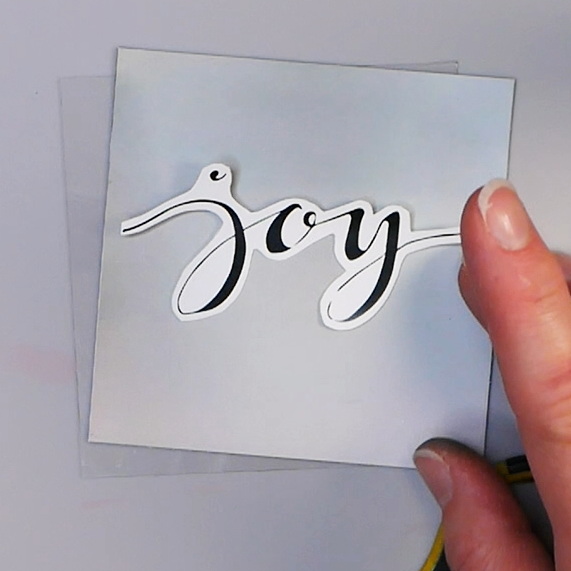
Choose a sentiment for your shaker window. Using patterned cardstock, I cut out the sentiment “joy” that was part of the piece of patterned paper. I cut out the sentiment and glued it to a piece of 3.5” by 3.5” paper. Make sure that you glue the sentiment firmly to the paper as any gaps may cause your shaker elements to get stuck.
Making the Shaker Window
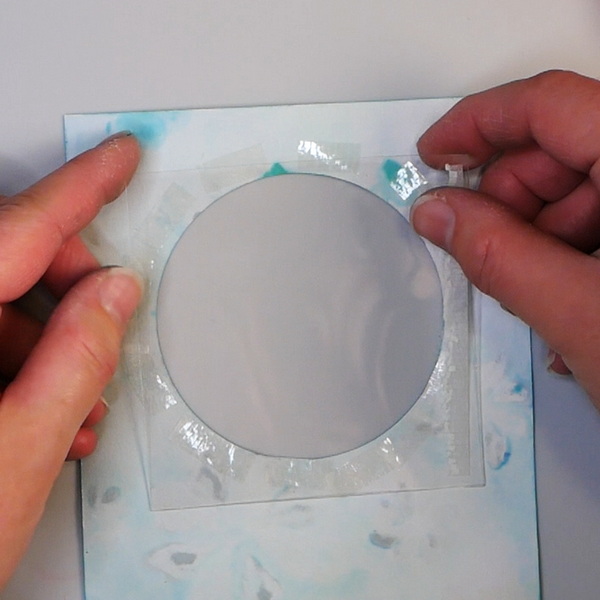
Once the snowflake paper has dried, flip the card over and add adhesive around the circle. Cut a piece of acetate to 3.5” by 3.5” and place it on top of the adhesive. When you flip the card over you will have a slightly recessed window in your card.
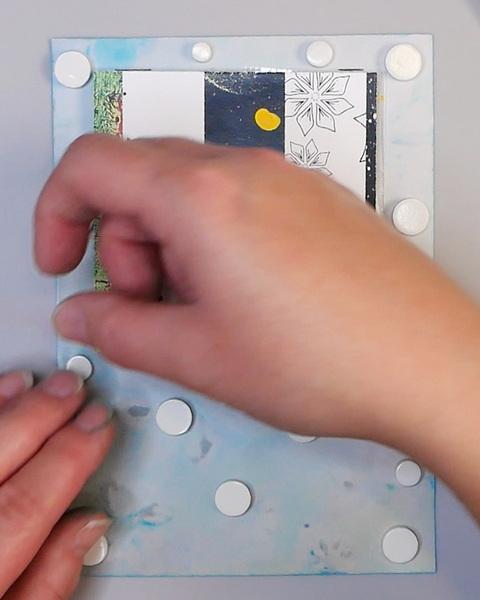
Adding Foam to the Shaker Window
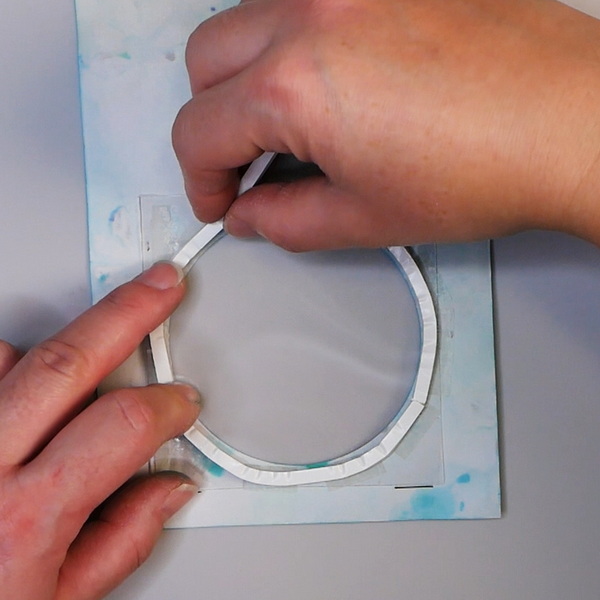
Add adhesive foam to the back of your shaker card around the circle. Make sure when you are adding the adhesive there are no gaps in the circle. This foam circle will contain your shaker items, so it needs to have a tight fit. I prefer using the adhesive foam for this step as the top and bottom of the foam has sticky adhesive but not the sides. This will allow the shaker elements to move around the inside of the window without sticking to the foam adhesive.
Adding in Shaker Elements
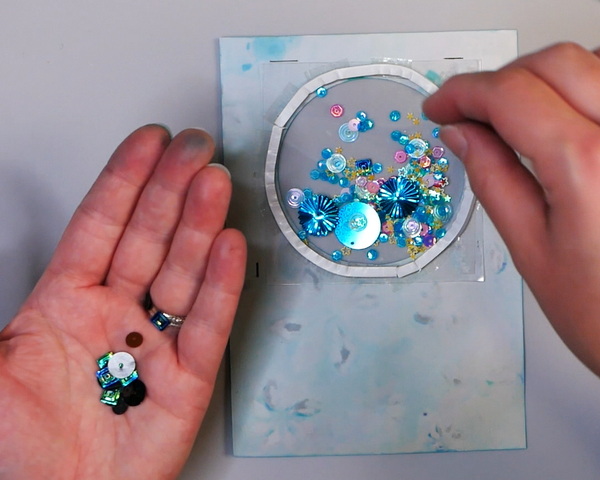
Add in shaker elements to the card. I used a variety of sequins and shapes available from Wild Whisper Designs. You could use chunky glitter, glass beads or a variety of other materials for your shaker card.
Adding Sentiment to Shaker Window
Push all your shaker elements to the inside of the circle. Remove the backing of the foam adhesive and add the sentiment to the shaker window. Make sure that you get a firm seal as this will keep your shaker elements from falling out of your card. If you are concerned that the sentiment might not be straight, before adding the shaker elements test the placement of the sentiment in the window and mark with a pen.
Finishing off the Mixed Media Shaker Card
To adhere this to a card back, add foam adhesive on the back of your card. Once it is fully covered, attach to the 5” by 7” card back.
What Do You Think?
What do you think of this mixed media shaker card? You can personalize your cards by adding different mediums, like embossing powder and Brushos to patterned paper. Creating shaker cards is not difficult, it just requires a few steps to make sure that you get a great result. I would love to hear your comments and let me know if you have any questions. You can contact me directly or comment below. I hope that you give this card a try and have fun creating cards this holiday season!
Project Supply List
- Staples 90lb Black cardstock
- Wild Whisper Designs Nicole Wright Designs Baubles & Bows Patterned Paper
- Circle Die
- Sizzix Vagabond Machine and Die Cutting Plates
- Tim Holtz Weathered Wood Distress Glaze
- Ranger Embossing Ink Dauber
- Embossing tool
- Non-Stick Craft Mat
- Paintbrush Size 0
- Pouncing Pouch
- Brusho Crystal Colours Cobalt Blue and Sea Green
- Water Mister
- Scissors
- Wild Whisper Designs Sequins: Masculine, Feel the Beat, Cotton Candy
- Foam Tape
- Art Glitter Designer Dries Clear Adhesive
- Clear Acetate
- Paper Cutter
- Craft Knife and Cutting Mat
- Ruler
If you are interested in any of the Wild Whisper Designs Products, www.wildwhisperdesigns.com, please use DTNADINE at checkout to get 10% off your order.