Gel Print Collage Techniques You’ll Love
Gel printing is fun… until you realize you’ve made more gel prints than you know what to do with! Don’t worry—we’ve all been there. The good news? There’s no wrong way to start using these gel prints in your next collage.
Today we’ll walk through simple and creative ways to use your gel prints in a collage project. I’ll be sharing my favorite tips and techniques to design and create an effective collage page.
Hop-A-Long Studio is reader-supported. When you buy through links on our site, we may earn an affiliate commission at no cost to you. Learn more.
The Overwhelm of Gel Prints

It happens to all of us. We start creating gel prints and we may have trouble stopping! There’s so many unique materials and techniques that we use for making gel prints. But then after a while, we have piles and piles of prints with no projects in mind.
At some point, we have so many that we need to start doing things with them. But what if you have some favorites that you can’t bring yourself to cut up?
Photographing or Scanning Your Gel Prints
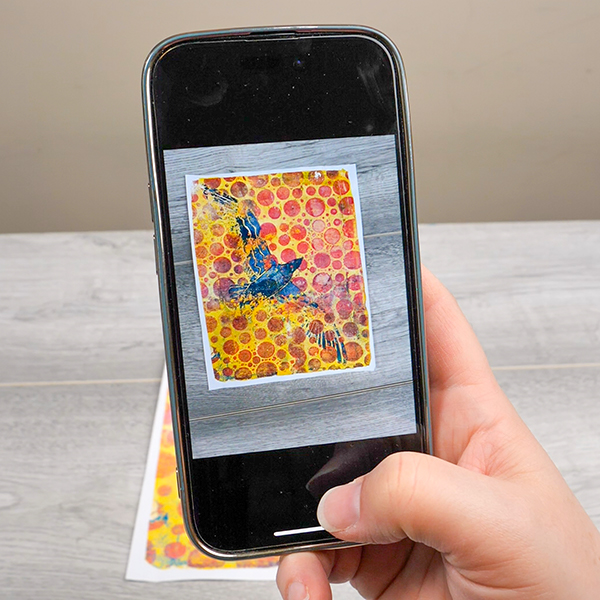
This is where your phone, a good camera or a scanner come in handy. All my favorite gel prints get scanned on this flat bed scanner.
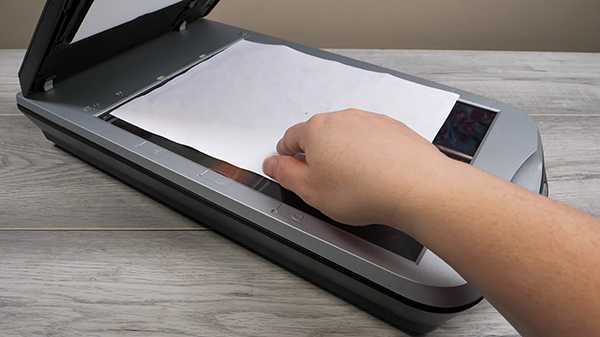
This is a photo scanner I purchased more than 10 years ago and it’s an important tool for my creativity. I use it to create high resolution images of my gel prints. This way I never have to worry about hoarding them, I can always reprint another copy!

Easily scan photos, artwork, illustrations, books, documents, and more with this compact and lightweight scanner.
How to Start Using Your Gel Prints
When choosing the gel prints for your collage project, you may be inspired by the colors, the designs or something that peaks your creative interest. But this can be overwhelming. Here’s a few things to consider before you start.
1. Background or Focal Image?
Is the gel print part of a large background piece where larger imagery and design are required? Or are you looking for small textures and specific colors for a focal image?
2. Size of Your Canvas
How big is the piece that you’re creating on? Is it a small piece that needs smaller details, like a 4”x 4” piece or are you working on a larger canvas such as a 11” by 14” piece? What you’ll select for gel prints will vary depending on the size of canvas you are working with.
3. Color Choice
The colors that you choose will influence the gel prints that will work with your piece. Do you want to create with muted, natural colors? Do you want to create with pieces that are of similar hues (analogous colors) or something opposite on the color wheel that will create contrast (complementary colors)?
The colors you choose will give a certain feel to your final piece, so I always suggest using the colors that you love and are drawn to.

Designing the Page
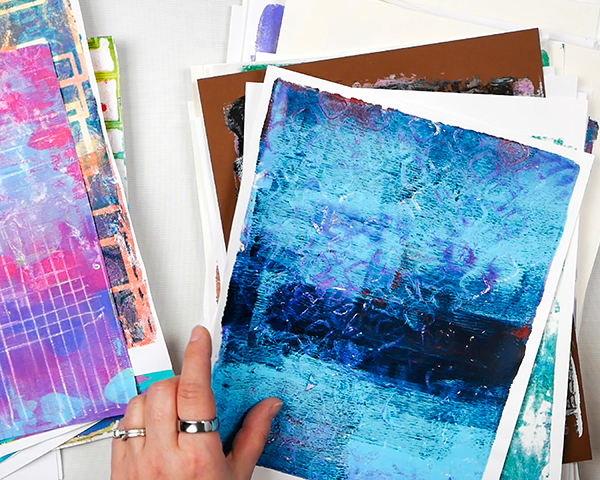
With these ideas in mind, when choosing my gel prints for collage I pull out the ones that catch my eye first. I’m looking for detailed textures, not a lot of large white space, because I want a lot of color to my images.
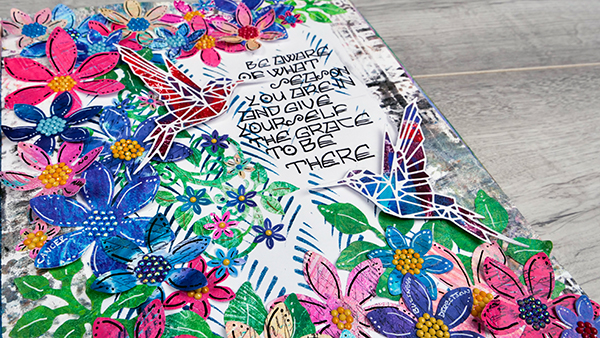
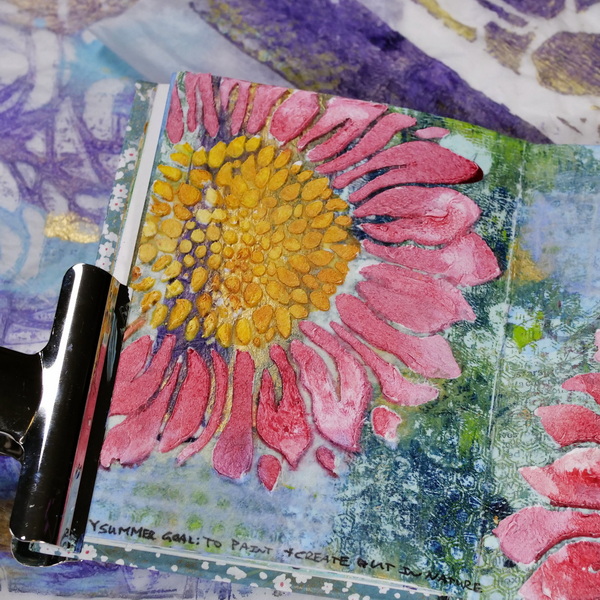
Now that the summer is here, I’m focusing on bright and joyful colors for my page. I’ve been thinking about the seasons of our lives. With the flowers blooming and the trees fully green, this is the imagery I want to include in this art journal page.
To Tear or Not to Tear?
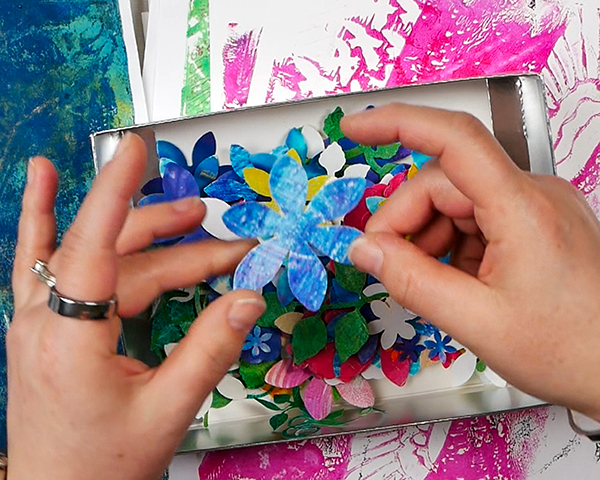
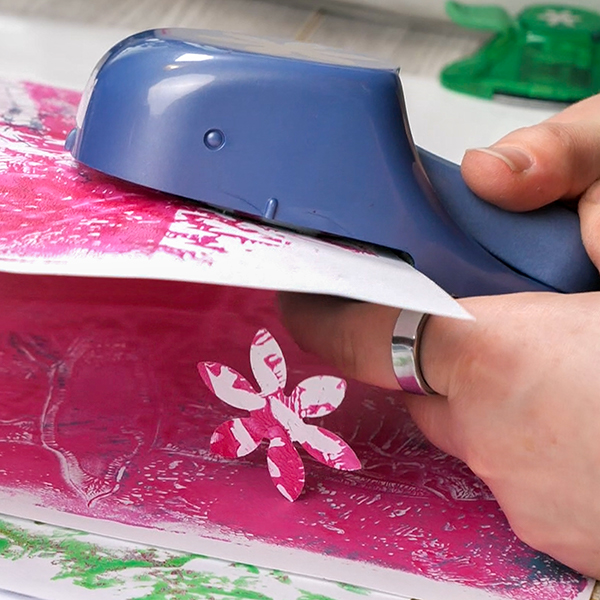
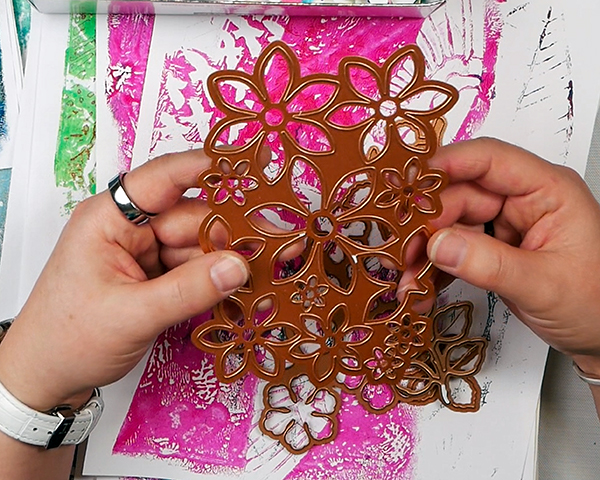
I love intuitive collage and being able to tear my paper. But for today’s gel print collage, I’m going in a different direction. I have a couple of old flower punches that are going to be perfect for making flowers quickly and easily.
You can also choose to use a die cutting machine and steel dies to cut out your images. Or try tracing images from a stencil, or draw your own images to cut out. There’s lots of choices.
If you want larger flowers, you can also piece together your flowers with torn pieces of paper. This will give the project a very different and more organic look.

Assembling the Gel Print Collage
Creating the Background
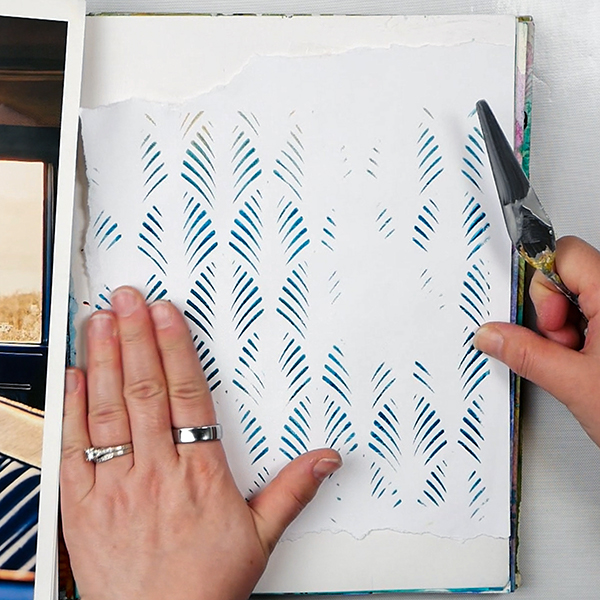
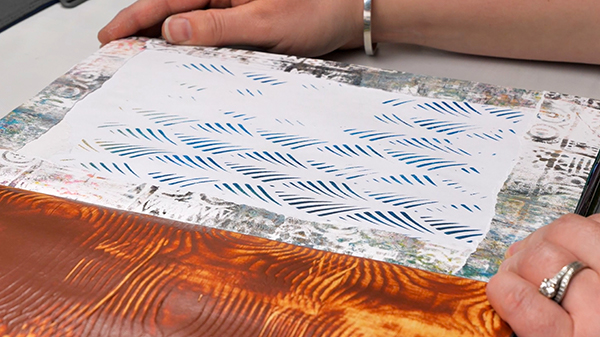
I found a piece of gel printed paper that was meant to be a throw away sheet for a stencil print. Because it has very subtle texture on it, it was perfect for today’s project.
I was originally planning on having no color on the background, but this was the perfect piece for this project. It’s a way to add color and texture without detracting from the other imagery, while still providing contrast.
Using Yes Paste and a palette knife, I added Yes paste to both the book page and the back of the paper, then glued the page into the book. I like the Yes Paste because it doesn’t have a lot of moisture in the glue, which prevents the light copy paper from buckling.
Acid-free glue that is slow setting, dries clear and cleans up with soap and water. A must have for any collage artist!
Adding a Border
A border can be a great addition to a gel print collage project, as it gives a strong outline and will help draw the eye into the center of the page.
Tearing 4 strips from a gel print, create a border. I didn’t have quite enough paper for an even border, but because it already has an organic tear, it doesn’t have to be perfectly even. I’ll be adding in other flowers and images later that will cover up those spots.
Use your favorite glue to adhere the page in place. I’m using Art Glitter glue today because it’s fast to apply and gives you a bit of working time. If I was going to use this on a canvas, I’d probably use a gel medium or Yes Paste to attach it to the canvas as they are slightly stronger glues.
Adding in Flowers
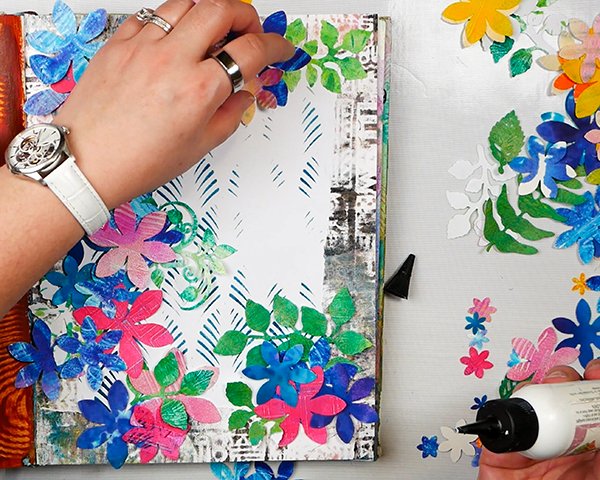
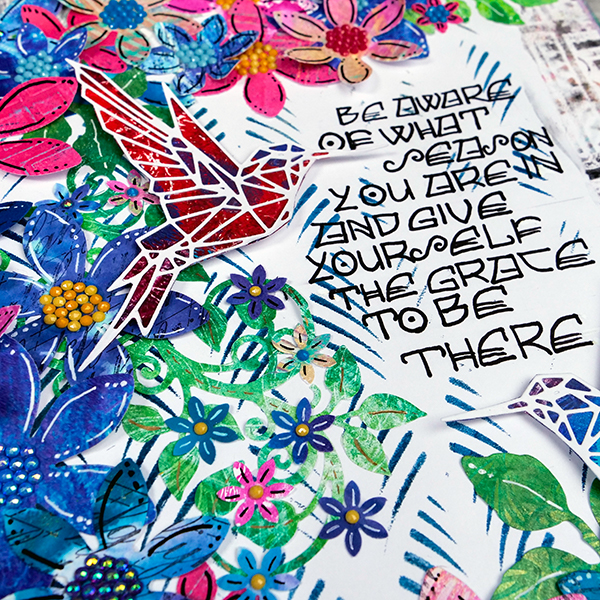
The key to the colors and variation of this gel print collage was to use the color wheel for a fun color combination. In this case I’m using mostly pinks, blues and purples for the flowers, creating an analogous scheme for this page.
This is something to keep in mind when you’re gel plate printing. If you have a project in mind that needs multiple gel prints of similar colors, make sure to create several unique pieces using the same color of acrylic paints. This will give you a lot of different designs to work with.
Using Art Glitter Glue, add leaves and flowers to the page. The flowers in the bottom layer are completely glued down. On the top layers, try adding glue only to the center of the flowers. This creates more dimension while also allowing an opportunity to tuck other petals and leaves under the flowers.
Adding a Focal Image

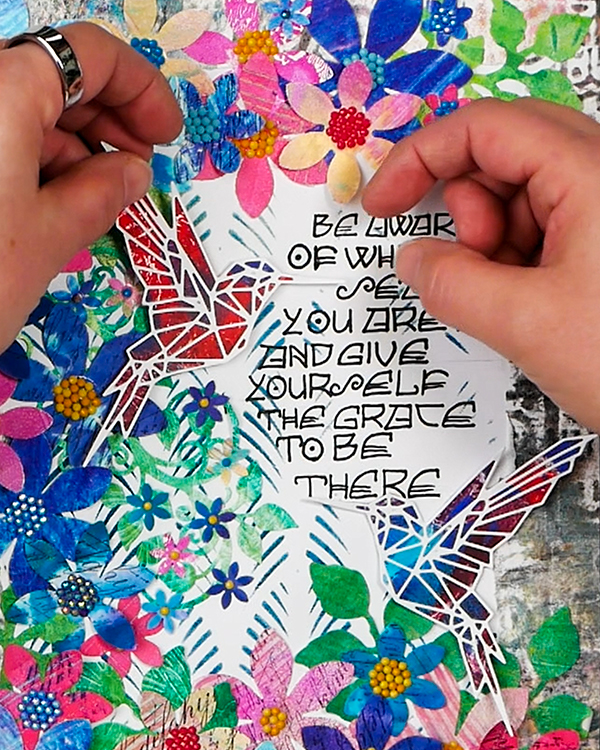
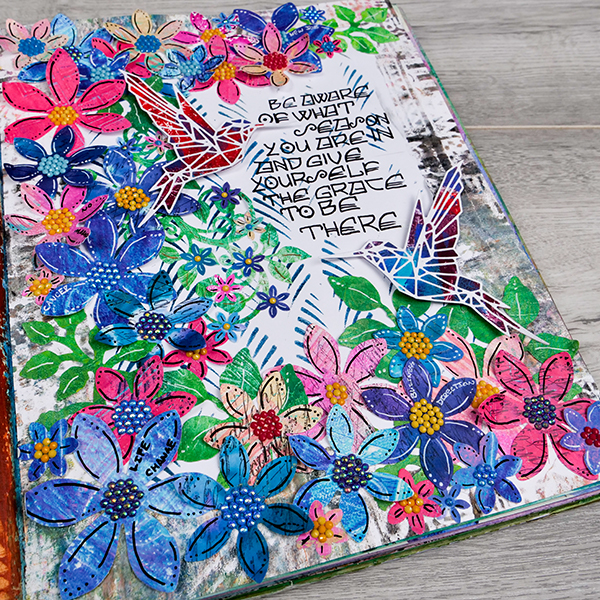
I was originally going to sketch a bird for this gel print collage, but I found an old hummingbird die from the Tim Holtz Sizzix Springtime Geo set.
Looking online, hummingbirds can be very muted or very colorful. But I didn’t want them to blend into the flowers. Instead of making them perfectly realistic I took some creative license and make them bright blue and red. This way they still have contrast while working well with the flower colors.
I glued the die cuts onto the gel print, let it dry, and cut around it. I like this technique because we have a strong border but still see the beautiful gel prints.
Adding in Journaling
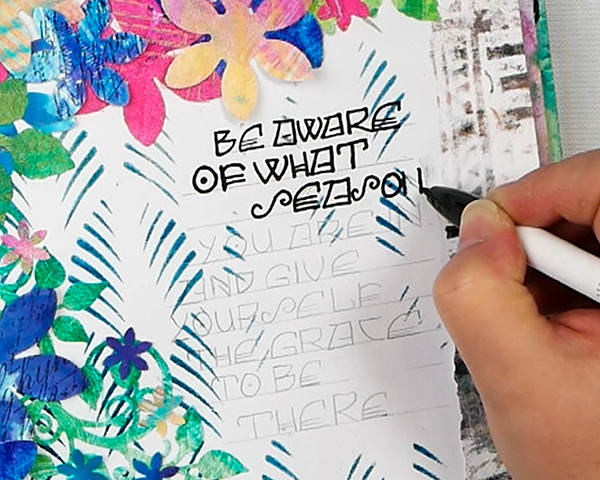
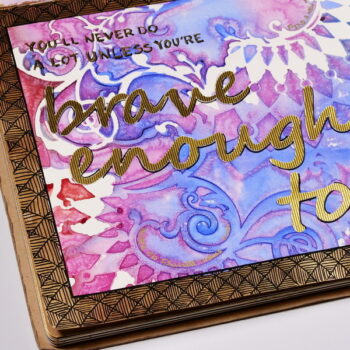
I tend to add my journaling last. But today I’m adding it before the birds and other finishing touches. When my journaling is front and center, I like to add my quote in pencil, then going over it with a Zebra Click Art Black pen. Then you can erase the pencil after the ink dries.
The one mistake I made was I didn’t give the pen enough time to dry before erasing. If this happens to you, add a little white paint pen over the area and the mistake won’t be noticeable.
What Should I Journal?
Every page usually starts with a thought that’s been on my mind. Over the last couple of months my family has gone through a lot of transition and some serious health concerns. It’s been a very overwhelming time.
But now that things are becoming calmer, I feel that we are shifting into another season. Hopefully one that is going to be quieter, more purposeful, and much more peaceful.
It hasn’t been easy, but I did want to make sure to add journaling that talked about the shifting of the seasons. Recognizing what we’ve been through while still looking forward in hope.
This is why I chose this quote from Kristen Dalton:
Be aware of what season you are in and give yourself the grace to be there.
Kristen Dalton
Once the journaling is completed, add in the hummingbirds. To create more dimension and to separate them from the back ground, use foam tape to create lift.
Add in the Finishing Touches
If you want to be a purist with your collage, you can leave it here. But as a mixed media artist, I always feel that these pages can use a bit more to make them shine.
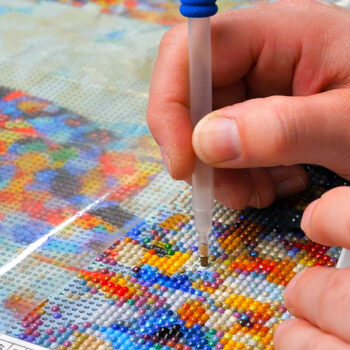
Adding in Diamonds
If you haven’t seen my article where I explored Diamond Painting, it was a fun experiment to try a different type of craft. But I ended up with hundreds of extra diamonds!
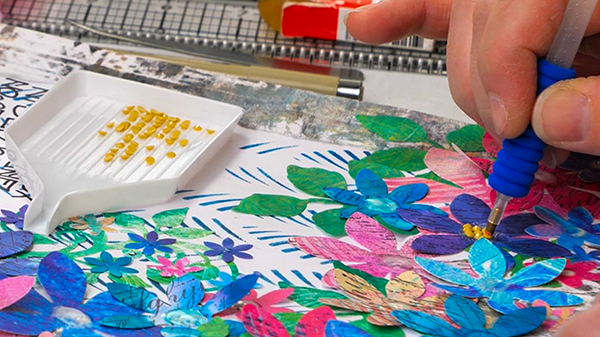
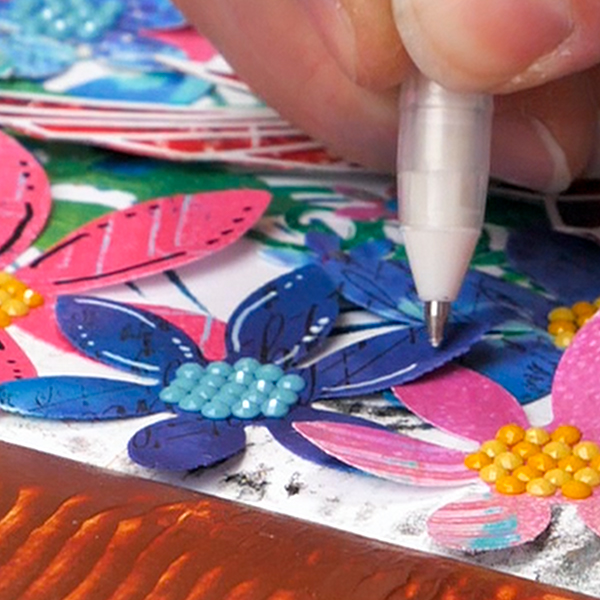
I’m determined to put them to use in my mixed media projects. Using Tombow Mono glue, which is a glue that stays sticky when dry, I added glue to the centers of my flowers.
Once it started to get tacky, using my diamond tool, I added the diamonds to the centers of the flowers. The key is to make sure that the glue is tacky enough for the diamonds to stick to it. It was a great way to add the diamonds quickly.
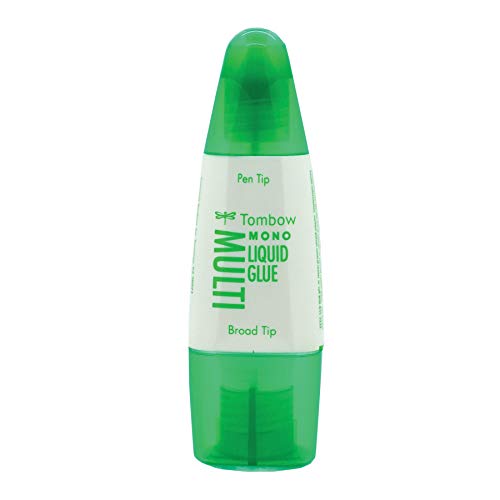
This multipurpose glue creates a repositionable bond when wet or a strong ultra-permanent bond when dry.
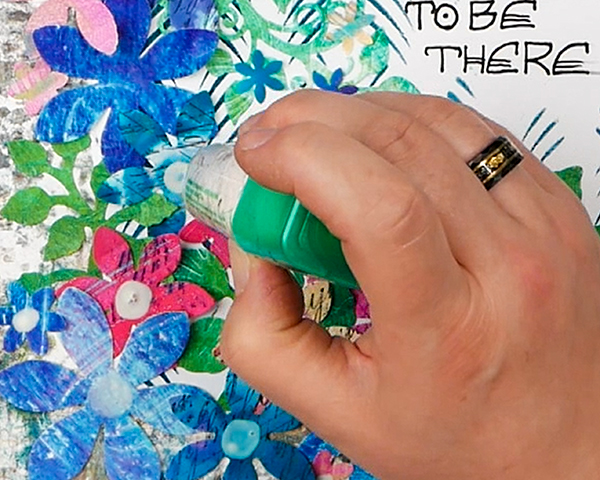
Adding White and Black Pen
My final touch on this project was adding in the white and black pen to the flowers and leaves. This is a way to add in dots and lines to turn these flowers from basic shapes into something a bit more expressive.
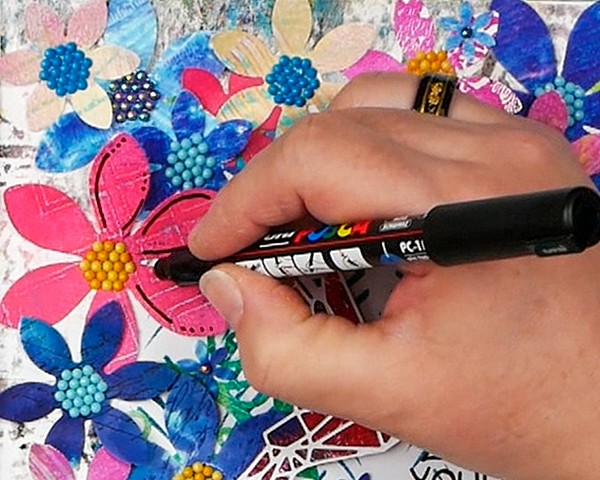
If you look closely on the page, you’ll see that on some of the flowers I also added journaling. Words that talked about some of the challenges from the last few months. Journaling can be added in unique ways in your piece. You can make them part of the art instead of having a journaling block.
Looking for More Inspiration?
This is one way that you can use your gel prints in a project. I hope that you’ve enjoyed the process and it’s given you tips and techniques to get the most out of your gel prints.
Check out these projects below where I’ve shared other ways that you can use your gel plate prints in a project.
Unique Collage Techniques with Tissue Paper Gel Prints
How to Use Gel Prints in Your Art Journal
Project Supplies
Easily scan photos, artwork, illustrations, books, documents, and more with this compact and lightweight scanner.
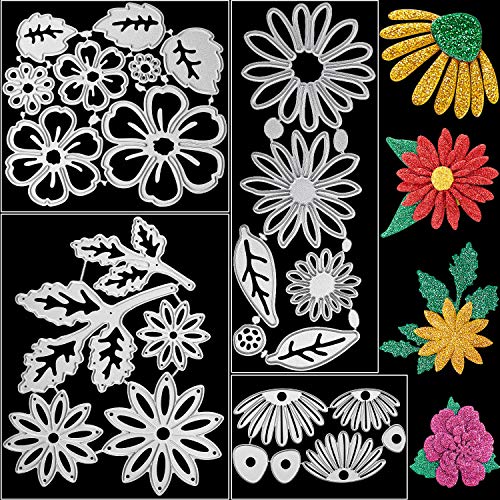
This 23 piece flower and leaves metal cutting die set will give you many creative options for your projects. 4 sets of metal dies including 14 flower dies, 7 leaf dies and 2 flower heart dies.

- Punch-Out Dimension: 1" (2.54 cm).
- Punch measures: 3" x 2" x 1 7/8".
- Compact & easy to use for paper crafting projects, school, home, scrapbooks, cards, decorations and any paper craft.

- Punch-Out Dimension: 3/8".
- Punch measures: 2” x 1 3/8” x 1 1/2”, package dimensions: 3 7/8” x 2 1/2” x 1 5/8”.
- Compact & easy to use for paper crafting projects.

The Big Shot Switch Plus in White from Sizzix features electric cutting, auto-reverse, and a 9" platform - all wrapped in a sleek, modern design. Includes dies, an embossing folder, and cutting pads to get you started. Compatible in the US and Canada only.

Ideal for cutting a wide variety of crafting materials including paper, photos, scrapbook pages or specialty materials. Cutter comes with a lifetime warranty.
Acid-free glue that is slow setting, dries clear and cleans up with soap and water. A must have for any collage artist!

This is an industrial strength, non-toxic, and water-based adhesive designed for glitter and paper applications. This adhesive is also strong enough to bond items such as cardboard, metal, wood, canvas, plastic, glass, and more. This glue is acid free and safe to use for any of your paper crafting projects.

A 5-piece premium quality stainless steel artist palette knife set with sturdy comfort-grip wooden handles. Set includes the essential shapes and sizes needed for most types of palette knife techniques and painting applications.

Bird Dies including hummingbird, lily flower and leaves patterns.

Hammermill 8.5” x 11” Colored Cardstock 110lb Paper is a premium thick cardstock designed for print and copy use on copiers and printers. It’s heavy cardstock that’s ideal for heavy duty projects.

No more missing caps! Never worry about ink drying out with the new Zebra ClickArt marker pen. Featuring a capless design and new ink technology that absorbs the moisture in the air and keeps the ink flowing. Perfect for journaling, color coding, dawing, and everything writing.

Includes one each of size 01 (0.25 mm), 03 (0.35 mm), 05 (0.45 mm), 08 (0.50 mm), 10 (0.60 mm), and 12 (0.70 mm) in Black ink.
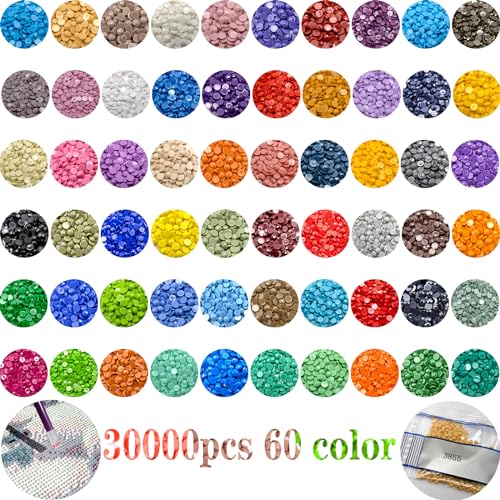
Flat bottom, round resin rhinestones for diamond art painting.

Diamond painting tools includes 4 different types of diamond painting pen, 4 pieces pen grip (random color), 1 piece big plastic tray, and 6 pieces of clay.

The best way to adhere embellishments like beads, buttons, flowers, and chipboard is to use Zots from Therm O Web. Many adhesives aren't strong enough, hot glue is potentially dangerous, and liquid glue is messy. Zots are clear adhesive permanent glue dots.
This multipurpose glue creates a repositionable bond when wet or a strong ultra-permanent bond when dry.
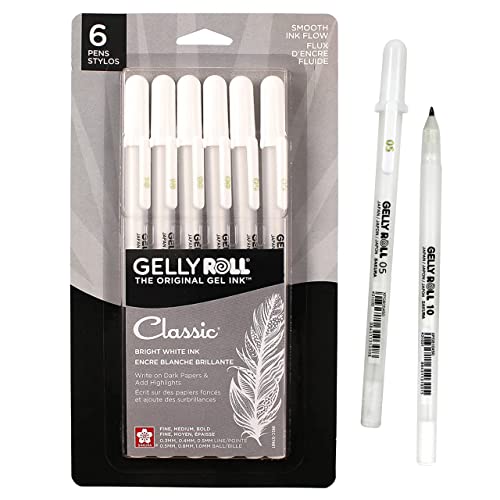
Bright, Opaque White Ink: Sakura Gelly Roll pens have vibrant white ink that flows creamy smooth onto paper.

Introducing the ultimate tool for unleashing your creative potential - the Posca Paint Marker. Elevate your artistic endeavors with a marker that combines innovation, versatility, and top-notch quality, all in one package.


You May Also Like
How to Use Watercolor Backgrounds in an Art Journal