Art Journaling Project “How did I end up here?”
After posting the article last week “How did I end up here?” Finding Awareness in our Everyday Lives, I was working in my art journal to find a way to express my feelings about awareness and my journey into awareness in artistic form. I’d like to share this project with you in hopes that you find some inspiration through it.
My Design Process
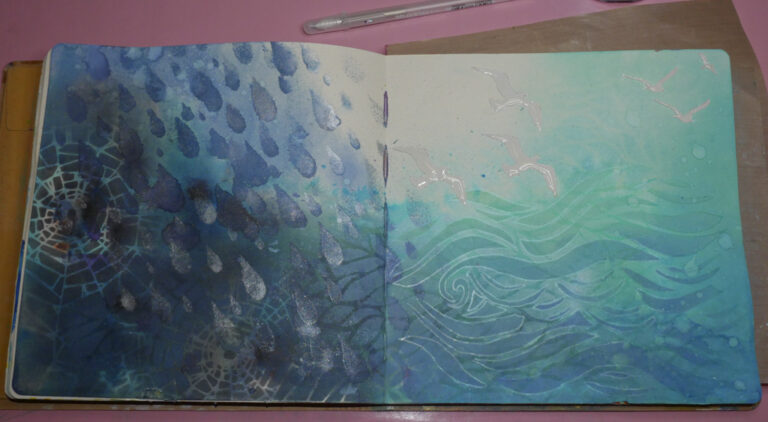
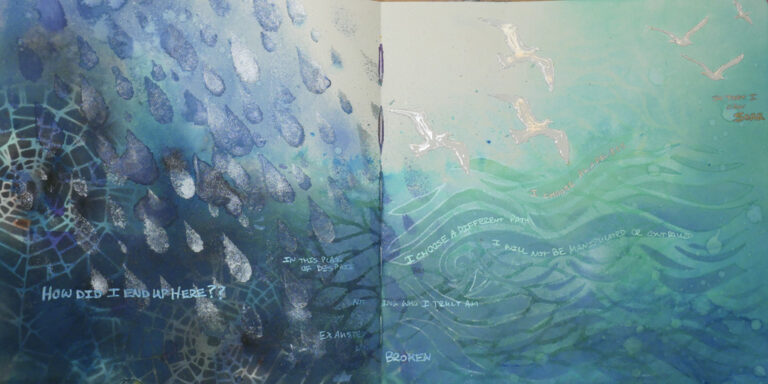
My intention with this piece was to convey the emotions of feeling confused and conflicted to becoming aware. The darkness on the left hand side is to represent the darkness I felt in my spirit, the feelings of being trapped, confused and feelings of despair. The raindrops are to represent tears and the web represented the feeling of being trapped. I like the idea of moving from dark to light, to the representation of ocean and birds. I find the beach and the ocean reminds me of space and openness, of calm and contemplation. The birds represent freedom: freedom to choose, to be free from expectation, to be able to be oneself again. To be able to fly and to soar.
Supply List
- Ranger Dylusions 8×8 Creative Journal
- Brusho Crystal Colors: black, white, grey, sea green, ultramarine, turquoise, cobalt blue
- Ranger Tim Holtz Distress Sprayer
- Dylusions White Linen Ink Spray
- Stencils: Southern Ridge Trading Co “Spring Showers”, Stamper Anonymous Tim Holtz Collection “Shatter”, Dina Wakley Media “Big Leafy” and “Mighty Wave”,
- Tim Holtz Distress Inks: Black Soot, Hickory Smoke
- Tim Holtz Distress Oxide Inks: Mermaid Lagoon, Cracked Pistachio, Broken China, Faded Jeans
- Ranger Mini Ink Blending Tool and Round Foam Applicators
- Sakura Pens: Glaze Turquoise, Gelli Clear Star, Metallic Green, Metallic Blue, Gold Star Blue
- Die Cut Machine: Sizzix Vagabond 2
- Birds in Flight Die Cut Plate
- Adhesives: Perfect Paper Adhesive Matte, Ranger Glossy Accents
- Ranger Heat It Craft Tool
Project Tutorial
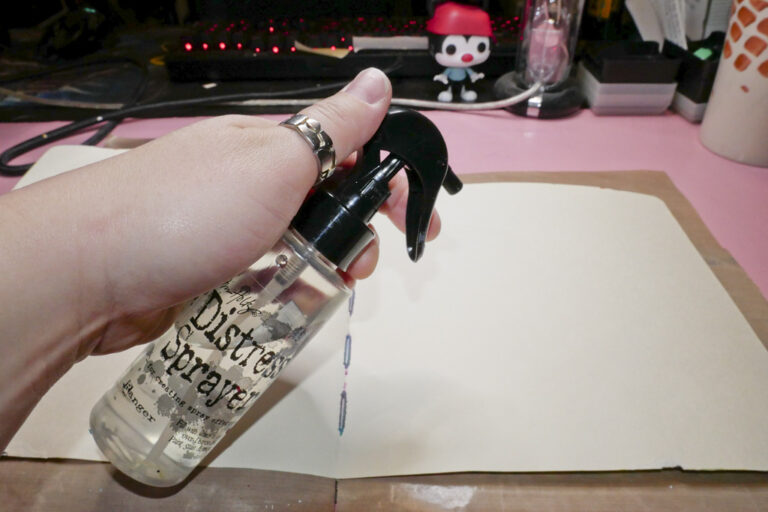
Step 1: Spray art journal with a light mist of water using Distress Sprayer.
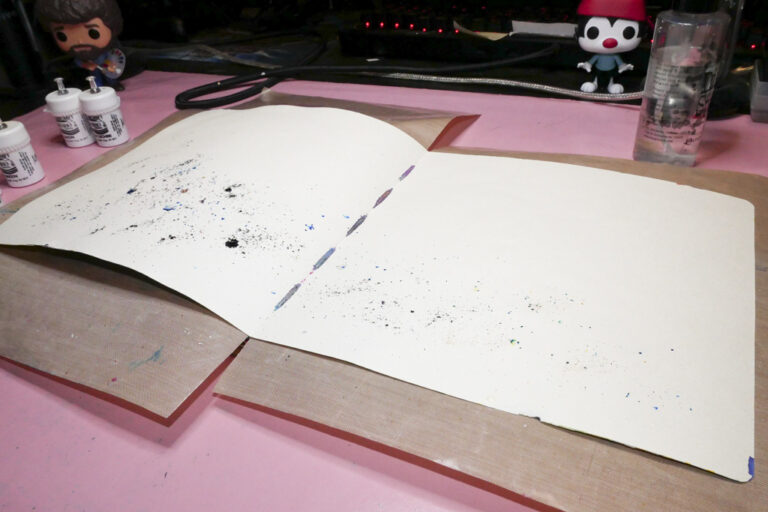
Step 2: Sprinkle Brushos powdered pigment across page. Sprinkle lightly as it is a very concentrated pigment and a little goes a long way. I used a combination of black, white, grey, sea green, ultramarine, turquoise, and cobalt blue powders. You can cover the entire page or leave white space like I did.
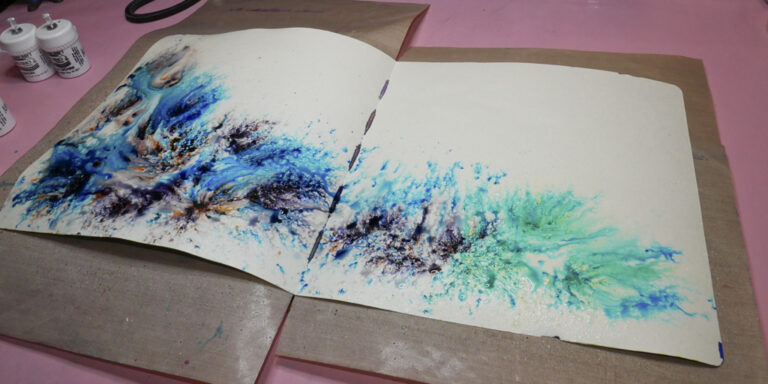
Step 3: Add additional water to your page- a little bit of water mized with the Brusho powder will make a more galaxy-like effect.
Step 4: Adding more water at this point will give you a softer, more watercolor effect. If you add too much (like I did) you will find that it will pool on the page.
Step 5: I sprayed the right page with a small amount of Dylusions White Linen ink spray as it reacts in an interesting manner with the Brusho pigment.
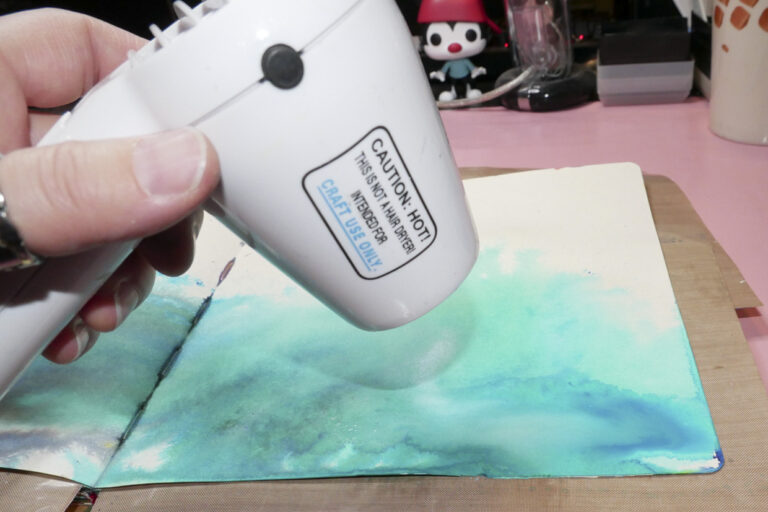
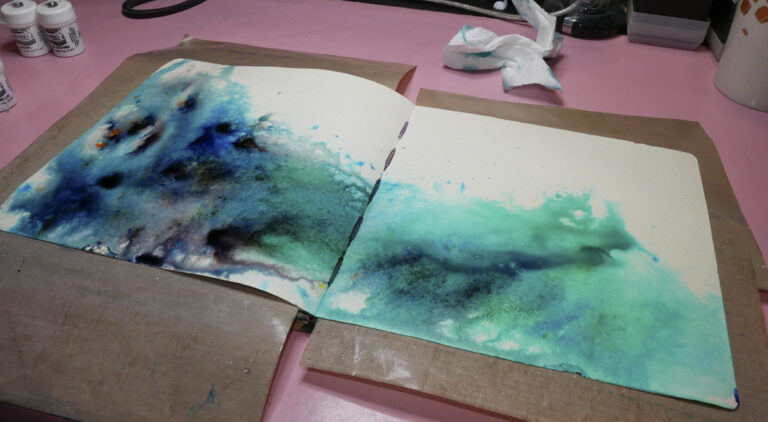
Step 6: Make sure that your project is fully dry before moving on to the next step. You can choose to air dry or use a heat gun to dry.
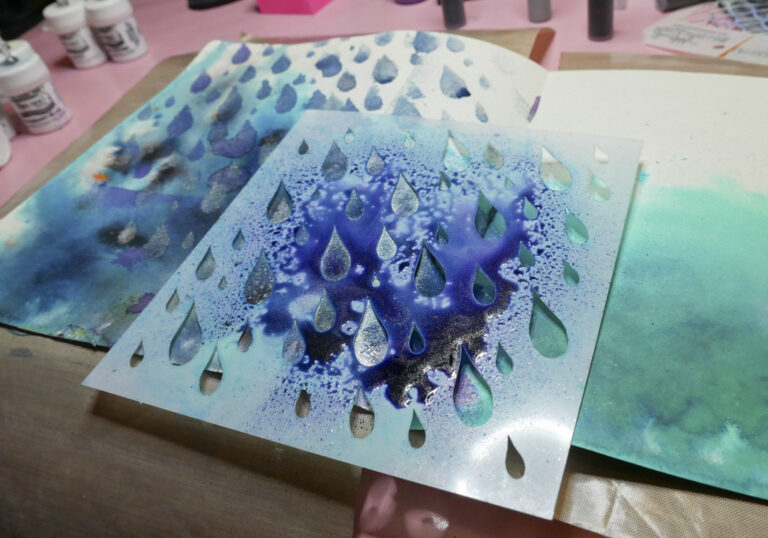
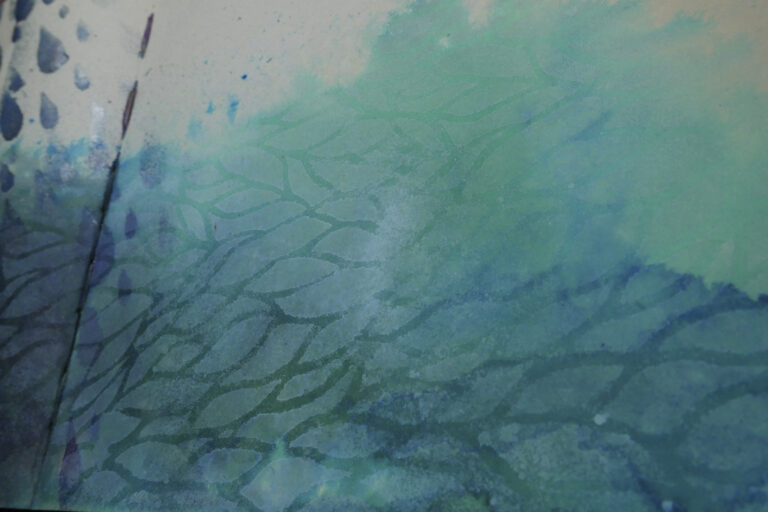
Step 7: Use ink spray to mist color through a stencil- keep the mist away from the edges of the stencil to prevent hard edges and lines. This color was a custom mix of distress re-inkers, perfect pearls mica powder and water. Repeat several times in different areas of the page to add layers and interest.
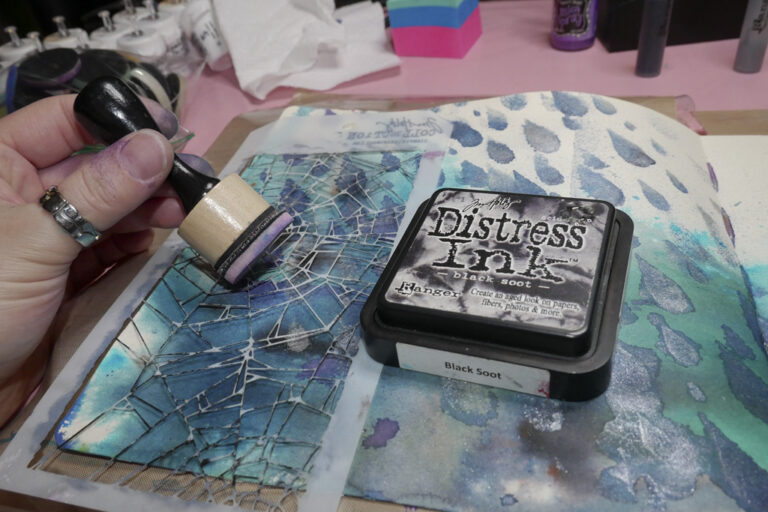
Step 8: Once fully dry place Tim Holtz Shattered stencil in left hand corner and secure with washi tape. Washi tape will prevent the stencil from moving when applying ink, is easy to remove and will not leave residue on your project or rip the paper. Apply black soot distress ink through the stencil. Blend out from the middle of the stencil and do not go all the way to the corners to avoid a hard line at the edge. Do the same with Hickory Smoke Distress Ink and Distress Oxide Mermaid Lagoon Ink. Use this stencil in several other places on the left hand page to create additional layers.
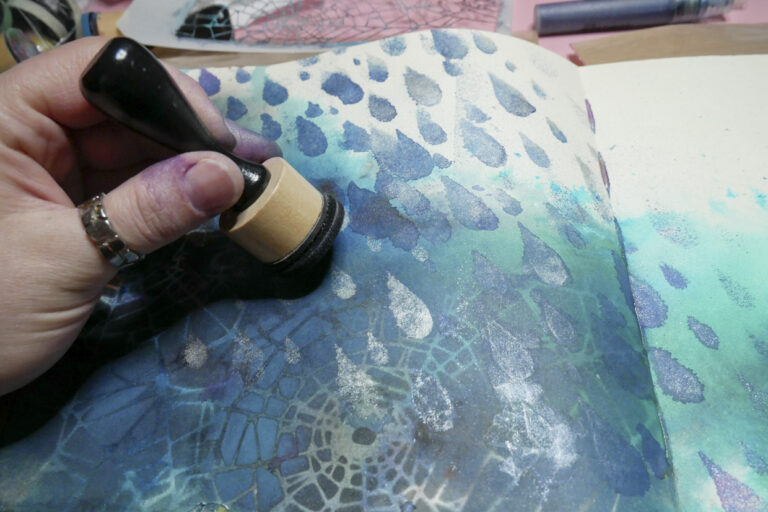
Step 9: After removing the stencil, add ink directly to the surface with a foam applicator to soften the transition between the stencil and the background.
Step 10: Using Dina Wakley Big Leafy Stencil apply Cracked Pistachio Distress Oxide Ink through the stencil.
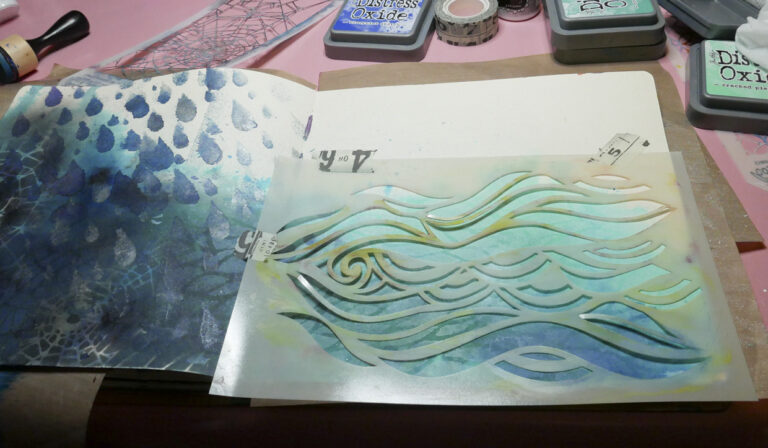
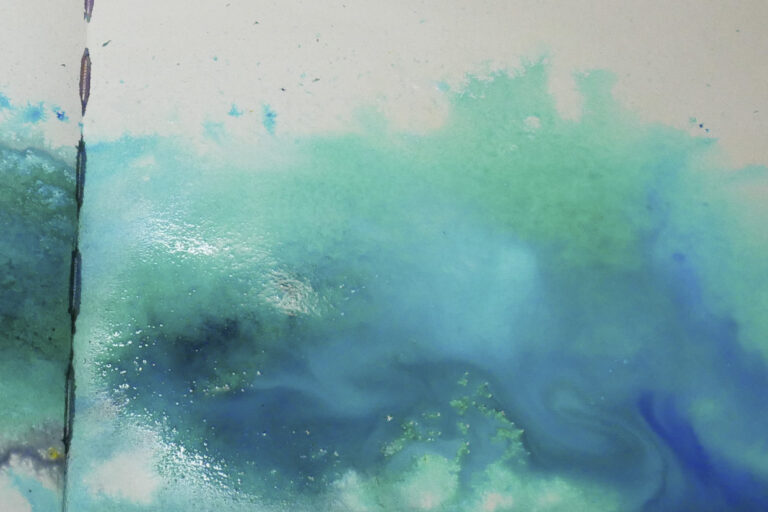
Step 11: Use Dina Wakley Mighty Wave stencil to add wave images to the right hand journaling page. Using Distress Oxide Inks Broken China, Cracked Pistachio and Faded Jeans apply ink through the stencil. Do a lighter colored layer first, move the stencil down the page and add some darker ink colors.
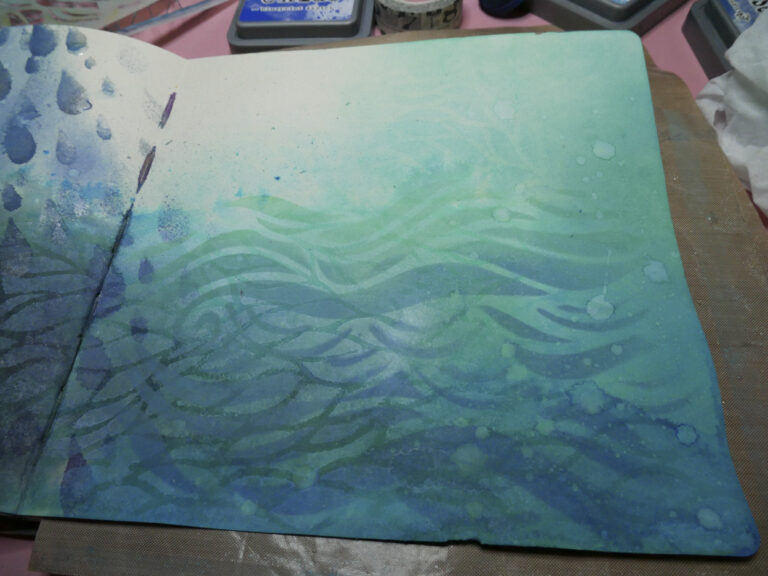
Step 12: Add water droplets and lightly spray the right page. The Distress Ink reacts with water which adds an interesting water drop affect to the page.
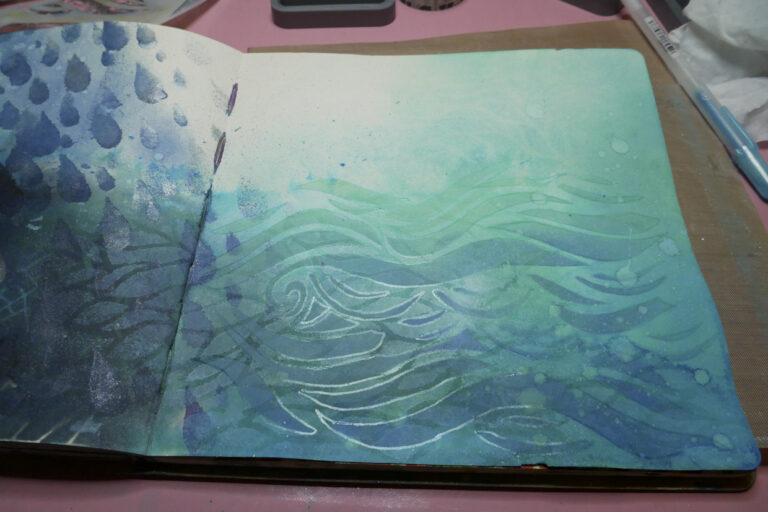
Step 13: Using Sakura Glaze Pen Turquoise, outline some of the wave shapes to make them pop from the background.
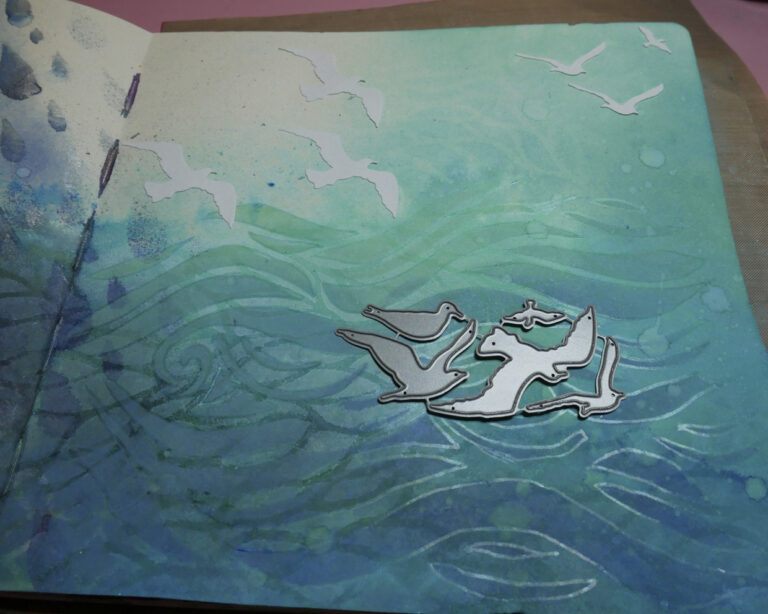
Step 14: Using the Sizzix Vagabond 2, cut out 2 sets of the bird die using plain white paper. Attach the birds to the page using clear liquid glue- I chose 2 types of birds, giving a sense of distance by having the smaller birds on the right hand side.
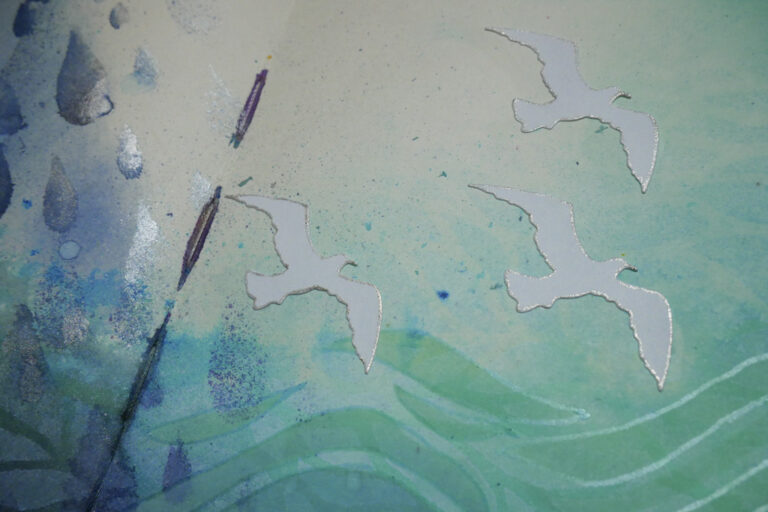
Step 15: When glue is dry, use Skaura Gelli Pen Clear Star to outline the birds.
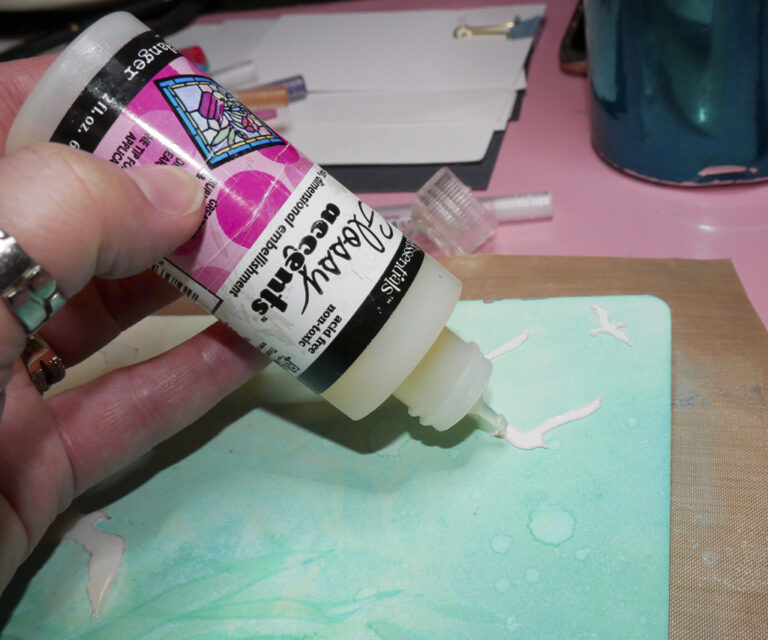
Step 16: Use Ranger Glossy accents to fill in on top of every bird image. This gives a more dimensional look to the birds as well as sealing in the gel pen added to the image. Make sure to let this dry completely before moving on.
Step 17: Take a look at the overall page- determine if you’d like to add any more details to the waves, birds, or additional layers before adding journaling.
Step 18: Add in journaling- I chose to use multiple Sakura Gelly Roll colors to ensure that text was readable. I used Metallic Green and Blue, as well as Gold Shadow Blue. I wanted the journaling to come across the page, so I started on the left hand side and followed the images and the waves by adding the text around them. You can either have the text be part of the art, be in the foreground or the background, depending on the look you want.
What do You Think?
I would love to see what your take is on this project and what you are learning about awareness. Please feel free to contact me directly or use the comments section below to ask any questions you may have on the technique that I have shared.
I hope that you are able to take some time for self-care through creative restoration.