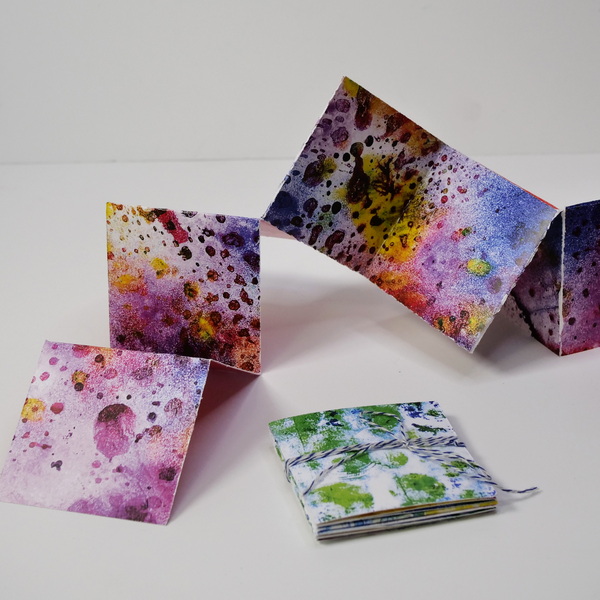
Create this Easy Snake Book with 1 Sheet of Paper
Have you ever tried creating your own book? Making a book might feel intimidating, but this easy snake book is a great place to start! I love these snake books because they are simple to make and work perfectly as gifts. I like to use mine for art journaling and for a place to write down my favorite quotes. These also make great gratitude journals!
Hop-A-Long Studio is reader-supported. When you buy through links on our site, we may earn an affiliate commission at no cost to you. Learn more.
What is a Snake Book?
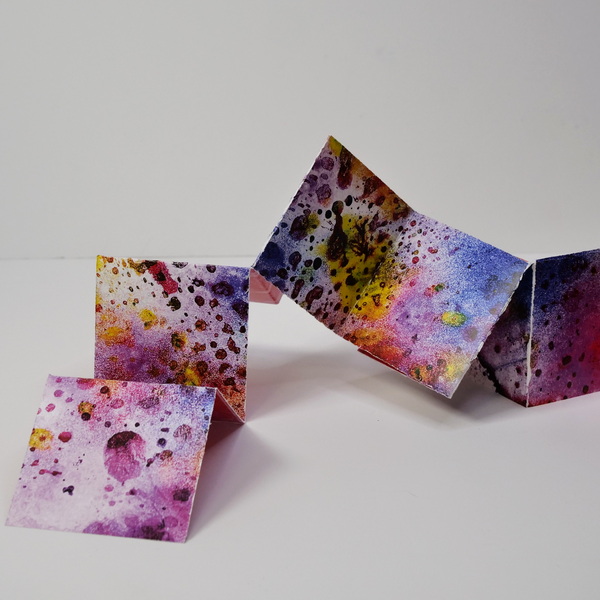
A snake book is a simple folded book made from one piece of paper. The size of the book will depend on the size of the paper you choose to use. You can use any piece of paper to make a snake book, but I’ve made these books using copy paper, scrapbook paper and watercolor paper. If you want a paper that can take a lot of paint and other mediums, I suggest a 90lb or 140 lb watercolor paper. If you plan to use dry mediums on the paper, like pens and markers, the weight of the paper doesn’t matter as much.
For this example, I’ll be using scrapbook paper as it will be easier to see the folds. If you use white watercolor paper, you can add color to the paper before you fold it. But I like making every page of the book unique by coloring with a variety of mediums.
Book Dimensions
For a snake book, you’ll be folding your paper to create squares. To size this book up or down is a matter of doing the math. Decide on the size of your square and take the size times 4 for the width of your piece of paper, and the size times 3 for the height of your paper.
Here are the 3 sizes of books that I’ve created:
- 2 1/2” Square Book: 7 1/2” by 10”
- 2 3/4” Square Book: 8 ¼” by 11”
- 4 ¼” Square Book: 12 3/4” by 17”
Creating a Snake Book
For the sake of this demonstration, I’ll be using an 8 ¼ by 11-inch piece of paper to create a 2 3/4” square book. To try to provide clarity, I will be using the terms “mountain fold” and “valley fold”. Mountain fold means that the fold makes a peak, like a mountain would. Valley fold means that the fold is the deepest point in the paper, thus a “valley” has been made.
Fold the Paper in Half
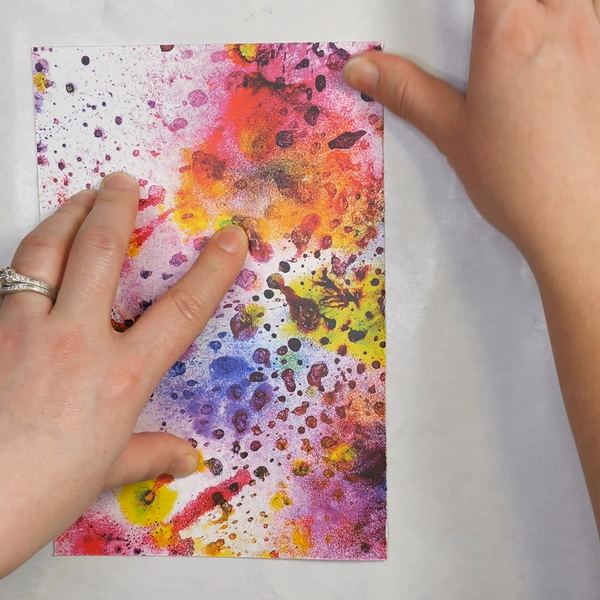
Place the piece of paper in a landscape orientation (long side towards you). Fold the paper in half by bringing the right side over to the left. When folded you will have an 8 ¼ by 5 ½ inch piece of paper. Open it up and lay flat.
Fold Paper to Center Horizontally
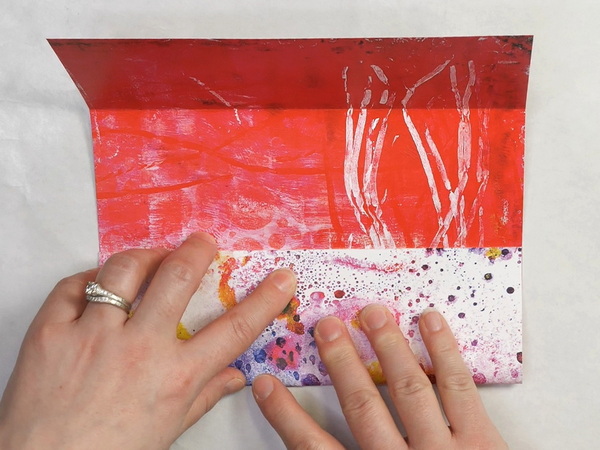
Turn the paper so that it’s in a portrait orientation (short edge towards you) and that the center fold is a valley fold. Take the bottom edge of the paper and fold it into the center line. Then fold out it out to lay it flat.
Fold the top section of the paper to the middle fold. Unfold and lay flat.
You should how have 4 folds along the paper horizontally that are 2 3/4” apart.
Mark the Paper
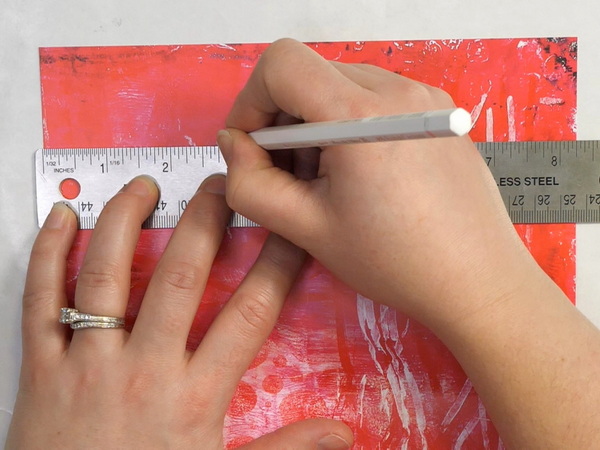
Put the paper in a portrait orientation and mark the paper with a pencil at 2 3/4 inches from the left edge of the paper. Make this mark in 3 places down the left side of the paper, each mark being 2 3/4 inches in from the left edge of the paper.
Folding Vertical Lines
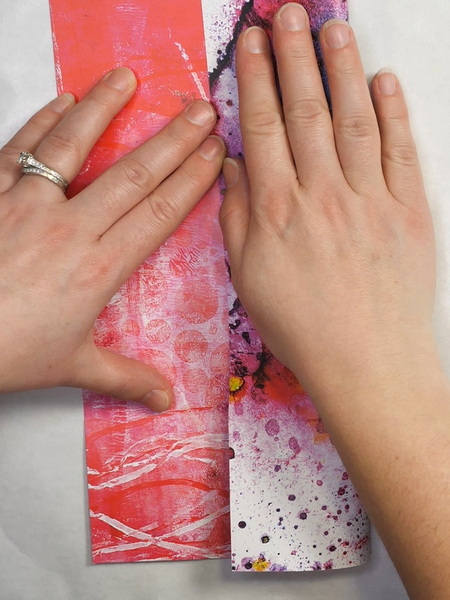
Take the right-hand side of the paper (still in portrait orientation) and fold to the 3 pencil marks. Unfold the paper.
Take the left-hand side of the paper and fold to the line you just created. This should leave you with 3 folds that are each 2 3/4” apart. You will now have a paper with a grid of 12 squares.
Marking and Cutting the Paper
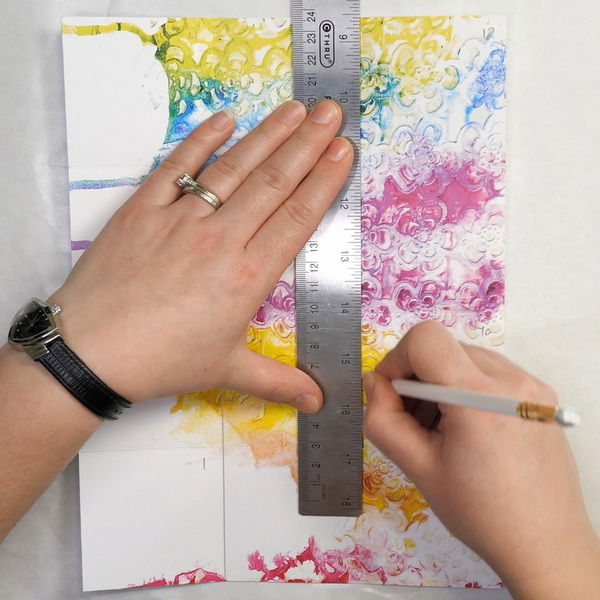
Put the paper in a portrait orientation and number each of the squares. Start at the bottom left corner and number the squares 1-4, mark the top middle square as 5, the second middle square at 6 and continue down the page to 8. Mark the bottom right hand square at 9 and up to 12. The top right hand square will be 12.
Mark a line between squares 1 and 8, 2 and 7, 3 and 6 following the fold using a pencil. Mark another line between squares 5 and 12, 6 and 11, 7 and 10. Using a set of sharp scissors or using a paper cutter, cut along the penciled lines.
Fold The Book
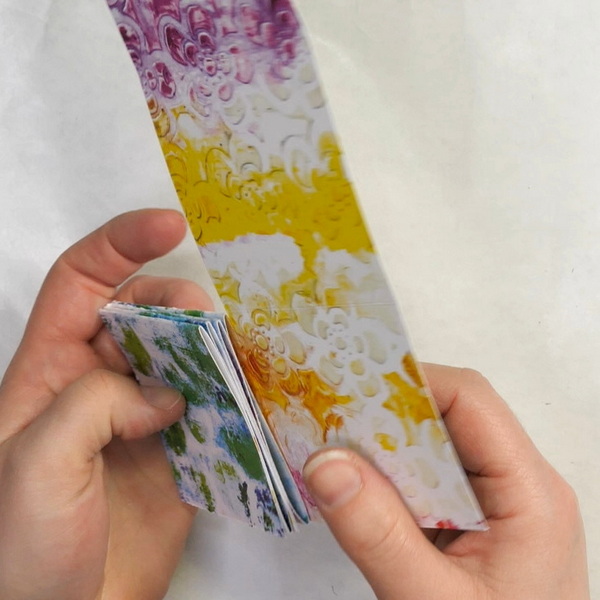
To fold the book, start with square 1 and fold back and forth until you reach square 12. You’ll notice that the book will “snake” at 4 and 5, and 8 and 12. That’s part of the design to make one piece of paper into a book.
Create a Book Closure
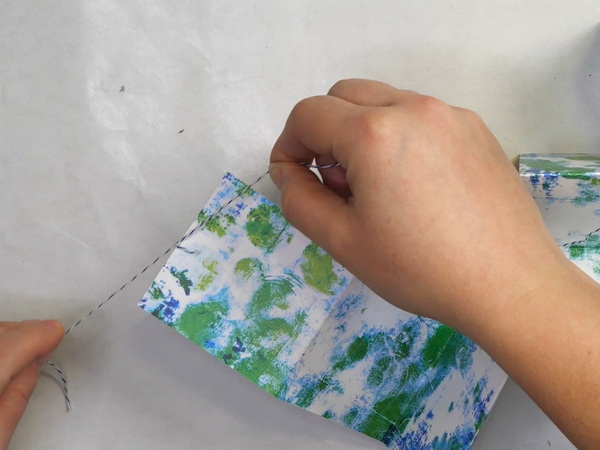
You can use a ribbon or baker’s twine to create a book closure. Poke a hole with an awl on the right side of the front cover. Feed twine through the hold and tie a knot. Wrap around the book and tie with a bow. This way the twine stays attached to the book but is easy to remove.
What To Do with a Snake Book?
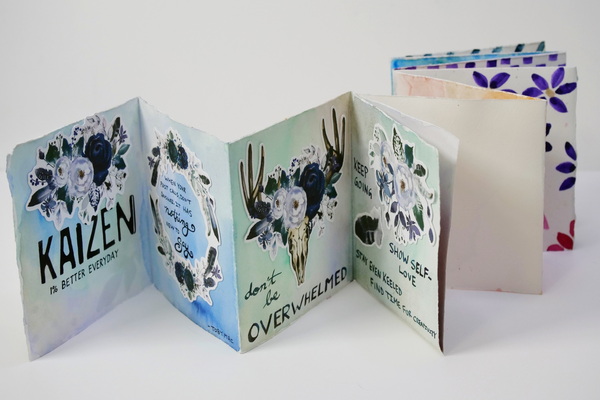
You now have a small book that can be decorated with paints, stamps, collage, or any other medium. I love using these books as small journal pages.
I’m using one of these books as a quote book using my favorite watercolor paints, ephemera, and stamps to add color and imagery. I also love to use snake books as a gratitude journal. They’re a great opportunity to remember the good moments and to create beautiful and fun memories.
These books can have so many uses. You can add your favorite poem to the pages, or you can use it as a little notebook. The options are limitless.
Getting Precious with Your Books?
A challenge that many of us have is getting too precious about our books. We may have a beautiful art journal that we’re so nervous to create in because we might “ruin” it. They look so pristine it can be hard to start using a new book.
That’s why I love snake books. You can create them quickly and it can help us get past that worry of ruining our book. If you make a mistake, what’s the worst thing that can happen? You’re out one piece of paper.
Snake books can be a new way to create and can help us move past getting too precious about our materials. Seeing them as a new place to create and experiment.
Questions?

Do you have a book that you love but haven’t created in? Have you ever tried making a snake book before? I’d love to answer any questions that you might have and I’d love to know your experience with creating a book like this. Leave a comment below and I’d love to start a conversation!
Project Supply List
- Ideal for drawing students - artists and designers
- Superior leads made of finely ground graphite and clay
- Pure - premium quality pencils are smooth - never scratchy
- Ideal for sketching, drawing and writing
Ideal for cutting a wide variety of crafting materials including paper, photos, scrapbook pages or specialty materials. Cutter comes with a lifetime warranty.
You're going to feel just like an expert when you're cutting the smallest of details with the Cutter Bee Scissors by EK Success. These un"bee"lievable compact scissors will have you feeling like a queen bee when you swarm right into your fine detail or fussy cutting projects.


