Creating Beautiful Textures by Gelli Printing with Stencils
Gelli printing with stencils is an easy way to create beautiful and unique textures for your art journal and creative projects. If you are new to the gel plate, gelli printing with stencils is an easy way to get comfortable with the medium.
I discovered gel printing many years ago, but my first experience with printing was so frustrating! I would see videos that made the technique look so easy, but I never got consistent results. Thankfully, I was able to take an in-person art class with an excellent instructor. Since then, I’ve been hooked on the medium!
In this tutorial I will share what I have learned about using stencils with a gel plate to get consistent results.
Hop-A-Long Studio is reader-supported. When you buy through links on our site, we may earn an affiliate commission at no cost to you. Learn more.
Choosing the Right Stencil
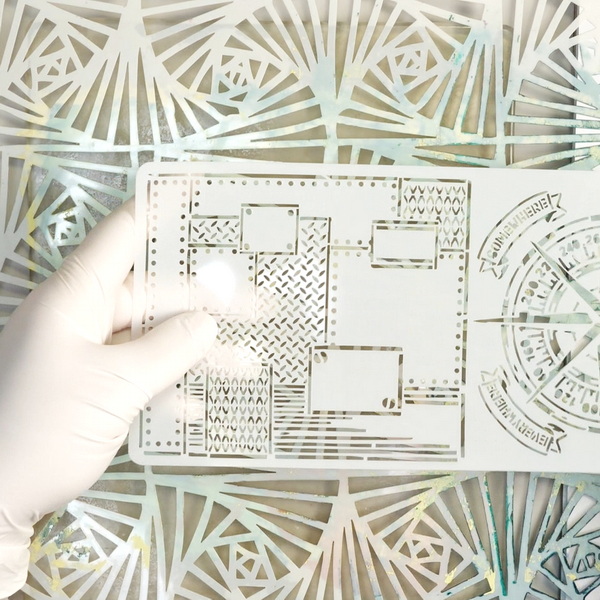
There are many different types of stencils available. When you are gel printing with stencils, a larger, more open stencil pattern is ideal. This will make it easier to create focal images and bold patterns on the Gelli plate. The larger stencil holes also make it easier for paint to find its way through the stencil holes.
Smaller, more compact stencil images can be good for adding subtle texture. But do not expect to get perfect images from these type of stencils on the gel plate. I will use a combination of both open and detailed stencils and masks to show you the variety of effects you can create.

To add a garden background to your projects, you will love this Framed Garden 12" x 12" stencil designed by Rebekah Meier for The Crafter's Workshop. You can use the entire stencil or mask off parts of it depending on the size of your project.

16 pcs background stencils for painting, each texture stencil measures 8 x 8 inch and 12 x 8 inch.
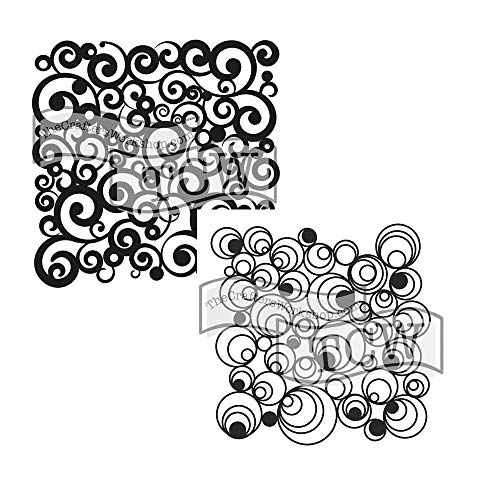
This 12" x 12" reusable Cosmic Swirl Doodling stencil is designed by Jaime Echt for The Crafter's Workshop

6 decorative feather stencils in different styles and 1 piece metal opening ring. The size of each feather stencil measures about 28 x 21 cm/ 11 x 8.3 inch.
Masks vs. Stencils
Sometimes the term masks and stencils are used interchangeably. For the sake of clarity, a mask is an image that is usually the positive image and does not have a border. A stencil has a border and usually the negative image is created by adding paint or ink through the stencil.
Basic Gelli Printing Technique
If you are brand new to the Gelli plate, I would suggest checking out my detailed tutorial for basic print making here.
For basic print making on the gel plate, start with adding paint to the surface of the plate. Using a brayer, spread the paint evenly across the surface of the plate.

At this point in the process you can add a variety of patterns, stencils, mark making and stamping to the surface.

If you are looking for a good quality gel printing plate, this is a brand I can highly recommend. This high quality and sturdy 8" x 10" gel plate will make hundreds of beautiful prints and is easy to use.

Pebeo High Viscosity Studio Acrylic Paints are the ultimate mixed media acrylic! Vivid, deep, and richly pigmented, it offers very good lightfastness and permanence.

Pebeo High Viscosity Studio Acrylic Paints are the ultimate mixed media acrylic! Vivid, deep, and richly pigmented, it offers very good lightfastness and permanence.

Proudly crafted in the Netherlands, these acrylic paints are value priced and easy to use, making them an excellent choice for the beginning or intermediate artist. They can be mixed with water or mediums, and clean up requires only soap and water.
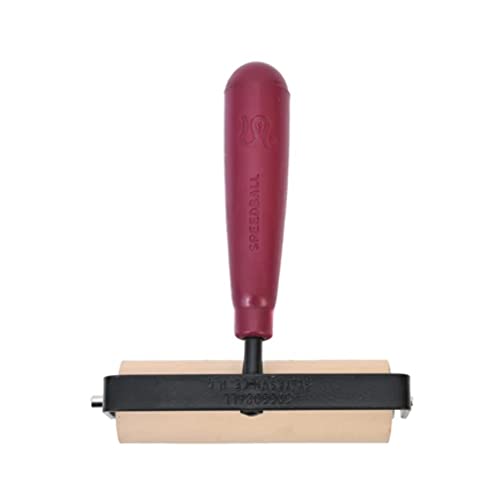
My recommended brayer for gel plate printing. 4" brayer provides even ink distribution and maximum coverage. Allows for consistent prints on a variety of surfaces.
Add a piece of paper on top of the gel plate, pressing down with your hands along the gel plate to apply pressure. This will help transfer the image from the gel plate to the paper. Pull the paper off the gel plate immediately to get a print.
Gelli Printing Techniques Using Stencils
Using a Stencil as a Stamp
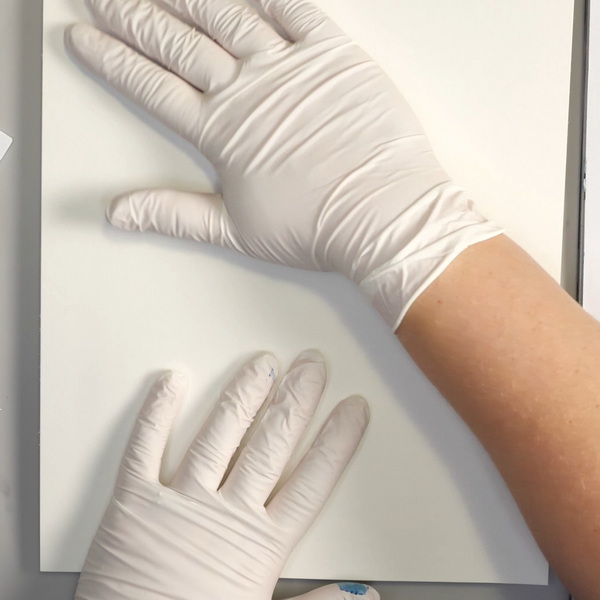
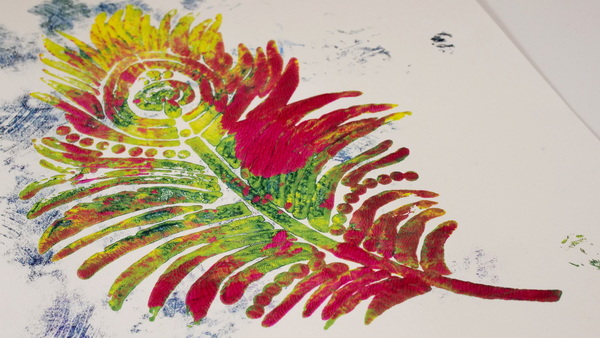
Using a stencil as a stamp is a fun way to create subtle texture in your gel prints. Press the stencil gently into the surface of the paint to make an impression, then remove the stencil. You can repeat the pattern across the entire plate or use a variety of different stencils to make patterns.
This technique can be created with large, open stencil images as well as small, detailed stencil images. It depends if you prefer detailed patterns and subtle texture in the paint or large, bold patterns. By making prints this way, you will have a solid print that has beautiful, subtle texture.

Using a Stencil as a Mask
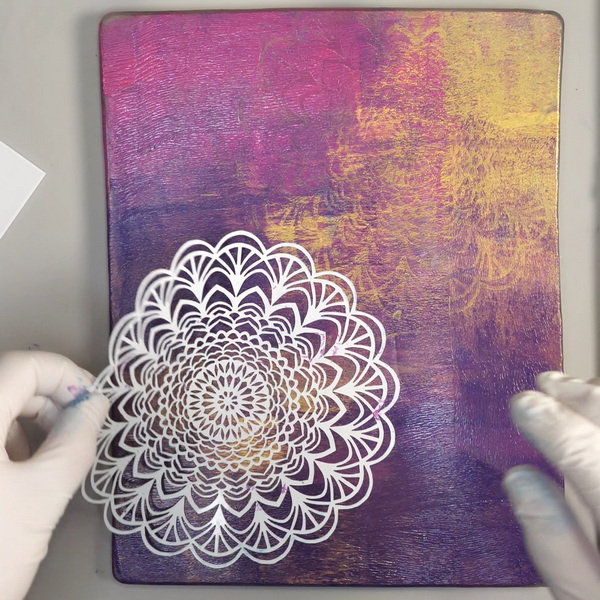
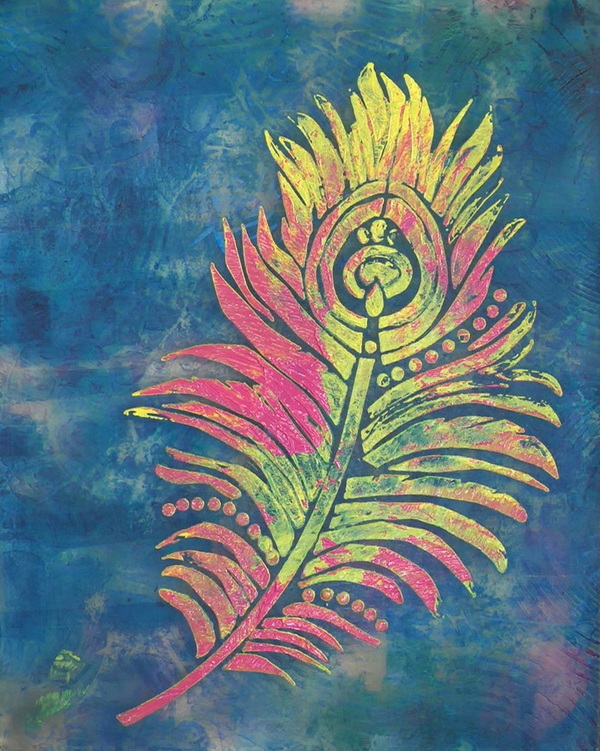
A fun way to create a bold image on your page is to leave the stencil on the surface. When you create the print, the stencil will cover the paint, creating a mask.
When printing using this technique, make sure to add additional pressure around the stencil. This ensures that the paint gets through the holes in the stencil. This way you will get a detailed stenciled image. If you don’t apply enough pressure, you may end up with a stencil shaped blob in your design.
This is why larger and more open stencils work better for this technique. The small, detailed stencils can be harder to get a strong, crisp image when using this technique.
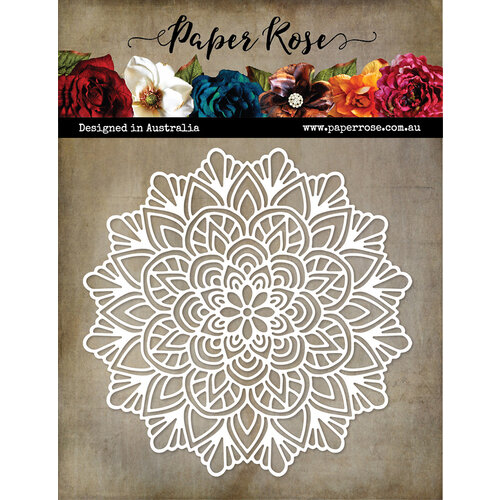
Pull lots of beautiful colors and get busy creating with the Mandala Stencil by Paper Rose! The package includes one reusable stencil that measures 6" x 6".
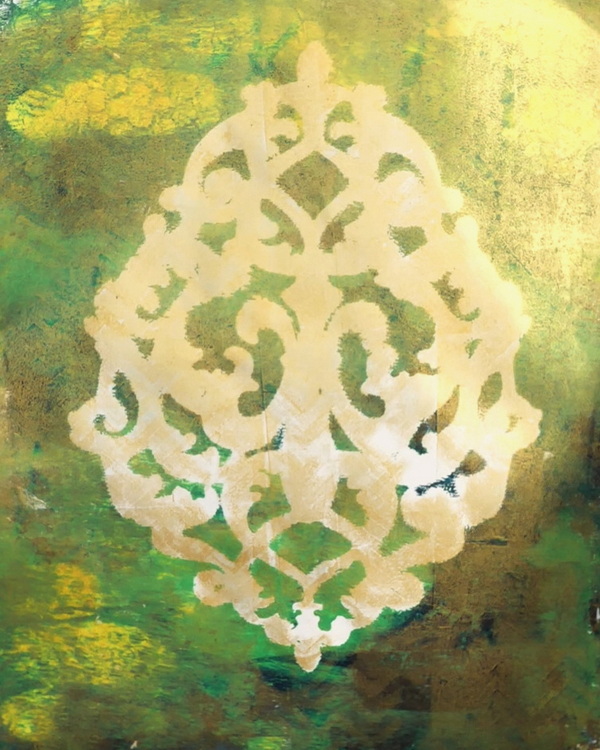
Positive and Negative Images from Stencils
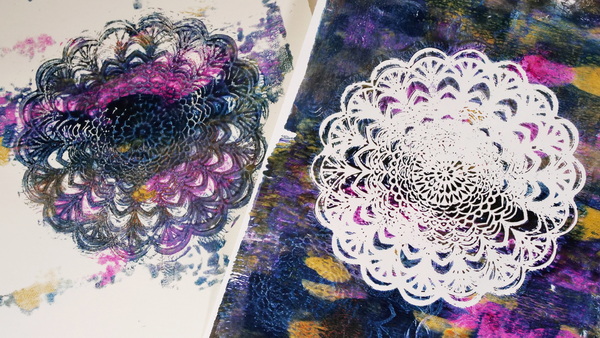
If you choose to use a stencil as a mask, after you take the print, remove the stencil. You will notice that the paint under the stencil is still on the surface. If you take another print, you will now have both a positive image print as well as a negative image print. This can be an important design consideration when creating your prints and gives you more options in print making.
Gelli Plate Focal Images
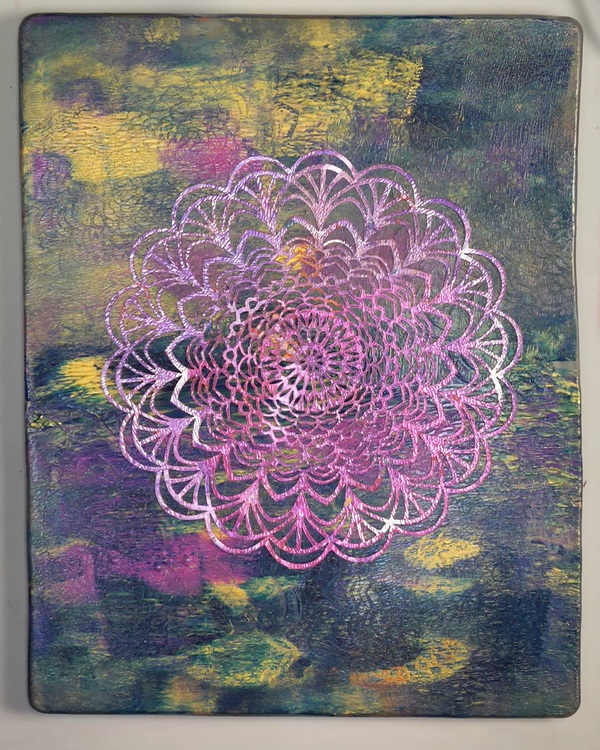
When gelli printing with stencils, you may want to create focal images instead of textures or a series of patterns. Start by adding a layer of paint to your gel plate. Use a stencil as a stamp to add subtle images onto the background.
Add your stencil on top, using a brayer to add paint through the stencil. You can use a variety of acrylic colors for this step. Remove the stencil and take a print. You should have a focal image as well as a beautiful background in one print.
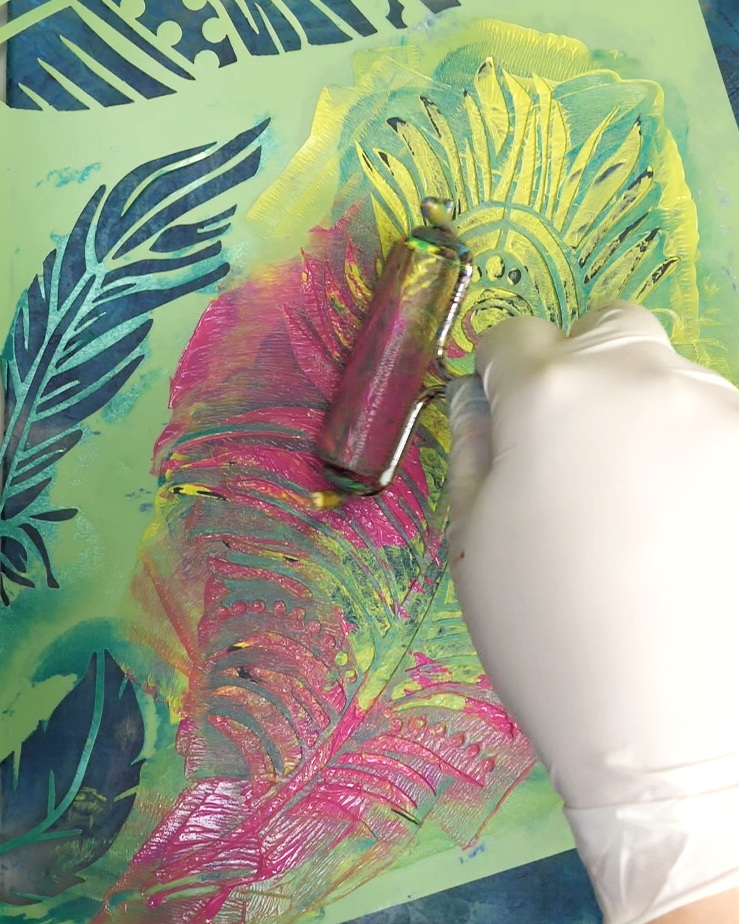
If you take too much time applying paint or live in a dry climate, you might find that the background layer sticks to the gel plate instead of being transferred to the paper. The key with this technique is to work quickly so that the paint does not dry to the surface. This is a technique that may take several attempts to master.
6 decorative feather stencils in different styles and 1 piece metal opening ring. The size of each feather stencil measures about 28 x 21 cm/ 11 x 8.3 inch.
Double Printing Techniques
Even though gel prints are beautiful with just one layer, once the prints are fully dry, you can add a second layer of paint.
I tend to choose images that are mostly solid or subtly textured, where creating a focal image or a bold contrast could add to the print. Follow the same process as with your first prints to add a second layer of paint to your dried gel prints.
I usually let the prints dry for several hours or overnight before I start adding the second layer of gelli printing. I find that I generally get a better final image when the paint from the first layer has time to fully cure. To see more information about double printing techniques, click here.

Questions?
Have you tried gelli printing with stencils in your creative practice? Do you have any questions about the techniques that I’ve shared today? I would love to hear your comments and start a conversation with you!
If you are new to gel printing, I hope that you give these techniques a try. I find gel prints so versatile and a great way of adding interest and beauty to your projects!
Project Supply List
If you are looking for a good quality gel printing plate, this is a brand I can highly recommend. This high quality and sturdy 8" x 10" gel plate will make hundreds of beautiful prints and is easy to use.
Pebeo High Viscosity Studio Acrylic Paints are the ultimate mixed media acrylic! Vivid, deep, and richly pigmented, it offers very good lightfastness and permanence.
Cheep! Acrylic Paints are an economical line of paint that doesn’t compromise on quality.

Pebeo High Viscosity Studio Acrylic Paints are the ultimate mixed media acrylic! Vivid, deep, and richly pigmented, it offers very good lightfastness and permanence.

Cheep! Acrylic Paint offers an economical option without sacrificing quality, providing you with vibrant colors that bring your artistic visions to life.
Pebeo High Viscosity Studio Acrylic Paints are the ultimate mixed media acrylic! Vivid, deep, and richly pigmented, it offers very good lightfastness and permanence.

Pebeo High Viscosity Studio Acrylic Paints are the ultimate mixed media acrylic! Vivid, deep, and richly pigmented, it offers very good lightfastness and permanence.
Pebeo High Viscosity Studio Acrylic Paints are the ultimate mixed media acrylic! Vivid, deep, and richly pigmented, it offers very good lightfastness and permanence.
Proudly crafted in the Netherlands, these acrylic paints are value priced and easy to use, making them an excellent choice for the beginning or intermediate artist. They can be mixed with water or mediums, and clean up requires only soap and water.

Proudly crafted in the Netherlands, these acrylic paints are value priced and easy to use, making them an excellent choice for the beginning or intermediate artist.

9 pack of mandala stencils in a variety of styles. Each design measures 6" by 6".
This fabulous layering stencil features the bold and creative style of Tim Holtz. It can be used with paints, mists, inks, pastes, chalks and so much more!
To add a garden background to your projects, you will love this Framed Garden 12" x 12" stencil designed by Rebekah Meier for The Crafter's Workshop. You can use the entire stencil or mask off parts of it depending on the size of your project.
This 12" x 12" reusable Cosmic Swirl Doodling stencil is designed by Jaime Echt for The Crafter's Workshop
6 decorative feather stencils in different styles and 1 piece metal opening ring. The size of each feather stencil measures about 28 x 21 cm/ 11 x 8.3 inch.
My recommended brayer for gel plate printing. 4" brayer provides even ink distribution and maximum coverage. Allows for consistent prints on a variety of surfaces.

- Versatile tool for printmaking, scrapbooking, and stamping
- Provides even ink distribution and maximum coverage
- Allows for consistent prints on a variety of surfaces
- Sturdy metal core and plastic handle
- Heavyweight Paper: Each sheet is 140 LB/300 GSM, Mixed Media Paper offering a sturdy surface that stands up to multiple layers of media without warping or bleeding;
- Convenient Size: Measuring 9 x 12 inches, these sheets are perfect for both detailed work and larger composition.

1 ream (500 sheets total) of 8.5 x 11 inch white copier and printer paper. Acid-free to prevent yellowing. Smooth 20 pound weight paper for consistent ink and toner distribution; dries quickly and resists paper jams.
Pull lots of beautiful colors and get busy creating with the Mandala Stencil by Paper Rose! The package includes one reusable stencil that measures 6" x 6".

Pebeo High Viscosity Studio Acrylic Paints are the ultimate mixed media acrylic! Vivid, deep, and richly pigmented, it offers very good lightfastness and permanence.

Proudly crafted in the Netherlands, these acrylic paints are value priced and easy to use, making them an excellent choice for the beginning or intermediate artist.


You May Also Like
Feeling Stuck? How to Use Gel Prints in Your Art Journal Projects
July 29, 2022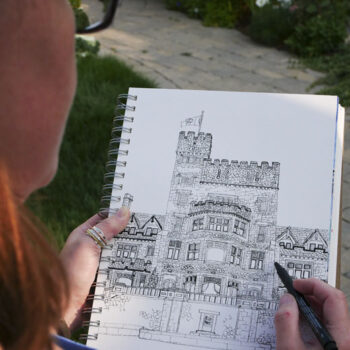
Urban Sketching for Self-Care
September 18, 2020