Easy Art Journal Backgrounds with Spray Paints and Inks
Looking for a fast and easy art journal background? Try using acrylic spray paints and inks to create beautiful art journal backgrounds with ease. A blank page can feel so intimidating. By breaking up the art journal background this can be a great way to get your creative juices flowing. Today I’m sharing my favorite acrylic spray paints and inks and how I use them to create layered art journal backgrounds.
Hop-A-Long Studio is reader-supported. When you buy through links on our site, we may earn an affiliate commission at no cost to you. Learn more.
Adding Color with Spray Inks
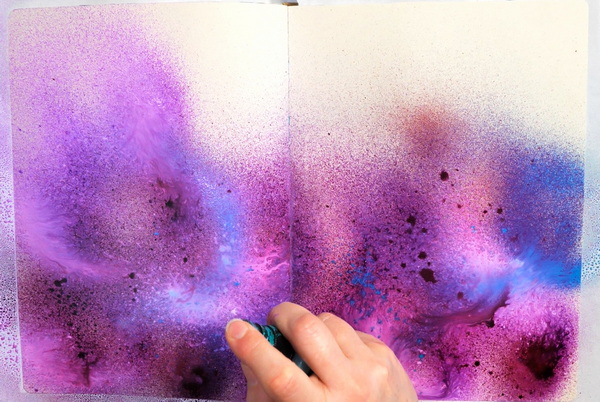
An easy way to add variety to your art journal page is with spray inks. Spritz a variety of colors onto your art journal page. Because of the nature of these inks, they will blend together and create beautiful random backgrounds. If you want to keep the color lighter, add ink sprays to the page and spritz water onto the page. This will dilute the ink and create a variety of unique color mixes.
It’s important to understand what colors work well together when working with ink sprays. As the colors will mix, this can create beautiful vibrant blends or muddy colors. I like to reference my color wheel as this helps me choose good color combinations. For this page, I chose to use blue, red and purple. These colors blend beautifully together, which not only creates cohesion, but prevents muddy mixes on your page.
If your page is too dark, you can also use inks like Dylusions Spray Ink White Linen to lighten up the surface. Once you are happy with your color mix, let it dry completely before adding more layers.
Adding Spray Inks with a Stencil
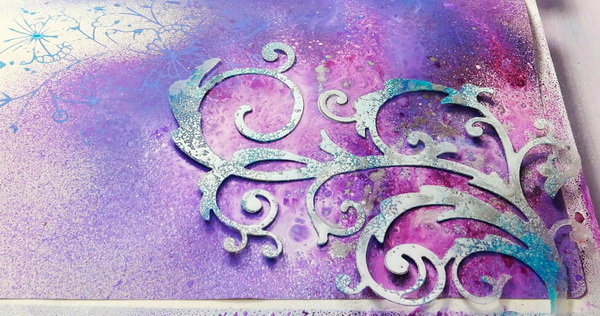
I love adding layers of color and texture to my page using stencils. For this project, I’m using a butterfly stencil and spraying around it to add color to the page. What’s nice about using a stencil this way is that once you add color to the surface, you can remove the stencil and flip it over onto another area of the page. This works like a stamp, giving you the positive image on the page.
What to Look for in Spray Inks
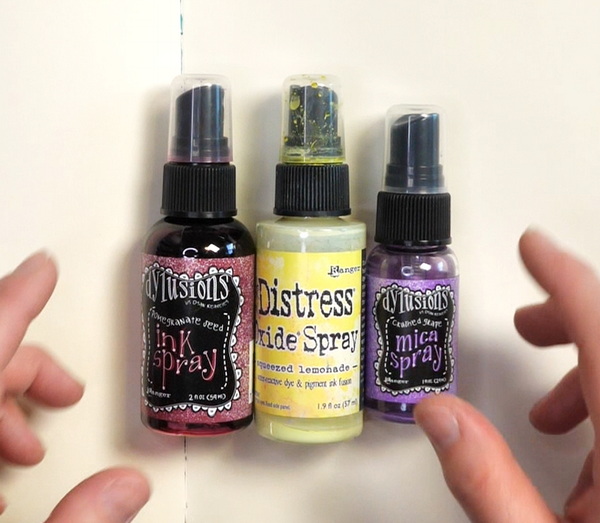
I live in a very dry climate, so I often have a love/hate relationship with spray inks. When they work, they work beautifully. But I find that they will often clog, or the spray tops will stop working. I do clean them and try to get the working again, but with mixed success. If the sprayer is completely clogged, I’ll decant them into another spray bottle so that I can continue to use the colors.
Typically, the spray inks with mica in them tend to clog more than ones that are just a single color. This is because it’s not just ink, there are particles suspended in the ink.
Sometime when you press down the spray top, they don’t pop back up again. If this happens, just pull on the top to help it come back up. It’s a little annoying, but it means that you can still use the spray ink inside the bottle.
Spray Inks that I Recommend
The spray inks that I recommend are the Dylusions spray inks. This brand works the best with the least amount of clogging. This includes their glimmer sprays that have mica in them.
I also like the Distress Oxide Sprays, but the nozzles tend to have the ink stick to them. Use water and a paper towel to keep the nozzle clear for a consistent spray. Be aware that the Distress Oxide sprays will color shift when mixed with other sprays as they are reactive to water. This can create a variety of unique effects on your art journal pages, or a mess if you aren’t careful.
Adding Acrylic Spray Paints
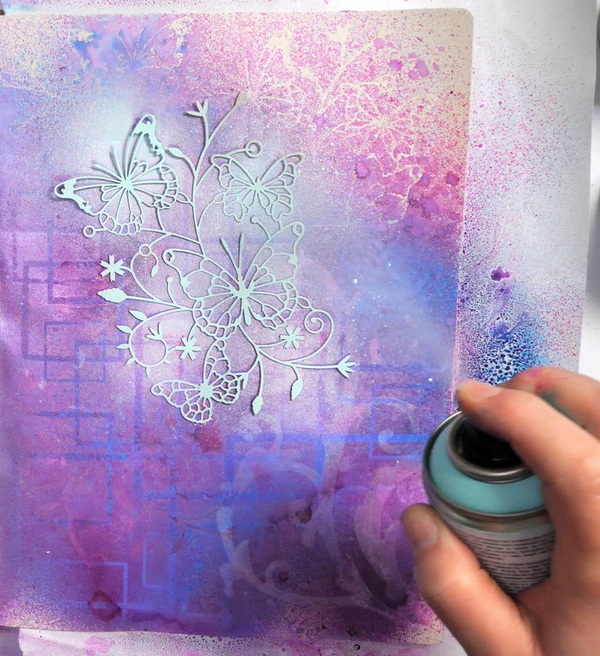
I like using the inks for creating beautiful, soft, blended areas of color. If I’m looking for crisp and solid images, I prefer to use acrylic spray paints.
You can apply the spray paints through a stencil in the same way as you do the spray inks. Add your stencil to the page and spritz the spray paint through the stencil.
My favorite brand of spray paint is Pebeo Deco acrylic spray paints. These are an aerosol-based acrylic spray paint that works beautifully for art journaling. A little bit of pressure on the nozzle creates a beautifully soft layer of paint. I tend to use a small amount of paint at a time when adding these paints to my pages. They come out of the can very quickly!
You can also hold down the nozzle to have a thick stream of paint and color. But be careful, too much paint and you may lose some of the details in your image. I like to layer the inks to get the best results.
Pros and Cons of Spray Paint

For the Pebeo Deco acrylic spray paints, they can have a bit of more smell to them than other acrylic spray paints. But the smell doesn’t linger too long and goes away quickly. I tend to spray my projects with a window open just so that the smell doesn’t linger. Overall, I like the results with the spray paints and the nozzles don’t clog easily.
I also like using the Dina Wakley Gloss sprays. This is a good quality gloss spray paint that has a pump action nozzle over an aerosol style nozzle. These spray paints generally don’t clog and work very well on my projects. Sometimes you need to wipe the nozzles with alcohol to get a good consistent spray, but they generally work well otherwise.
I’ve also tried other brands of spray paints, but these are the only two that I can recommend since most other spray paints clog after 1 or 2 uses. Now that I have found brands that work for me, I use them all the time.
Adding Layers of Spray Paint to an Art Journal Page
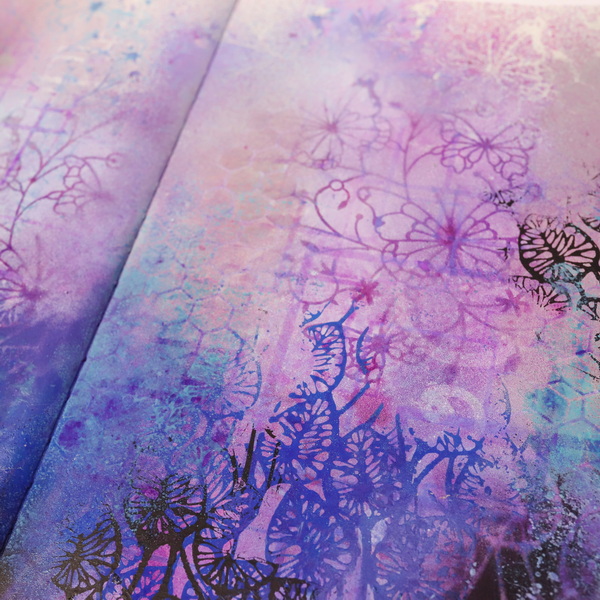
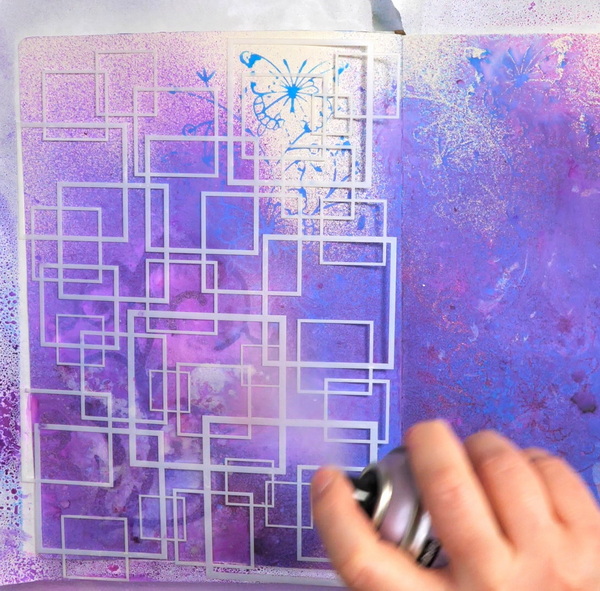
For this layout, I chose a more open stencil (a stencil with larger holes) as I found the color of the page was darker than I wanted it. Using a pastel pink color, I added light layers of spray paint through the Stencil Girl Squares Overlapping stencil. This lightened up the color on the page significantly. To add sparkle, I used the Pebeo Glitter Multicolor spray paint.
Adding Contrasting Layers
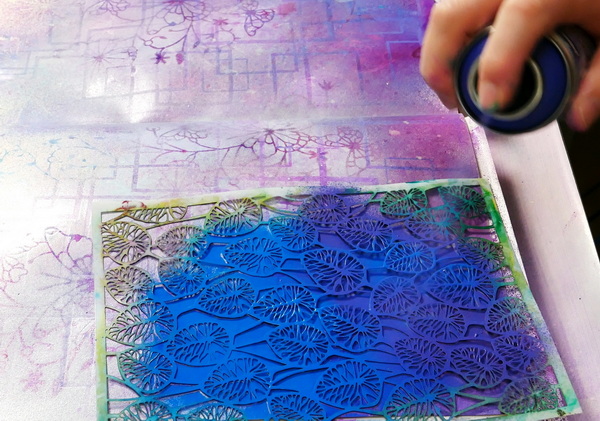
To create contrasting layers, continue to add spray paints through your stencils. I chose contrasting colors of bright blue, purple and black to add the contrasting layers. I added a bit more spray paint than I meant to on the page. (woops!)
If I was creating the project again, I would have added less spray paint and had a few lighter layers. I lost some of the crispness of my images because of the way I added it to the project. As I did with the masks, once there was paint on the stencil, I flipped it over to create a positive “stamped” image on the background.
Lightening the Layers
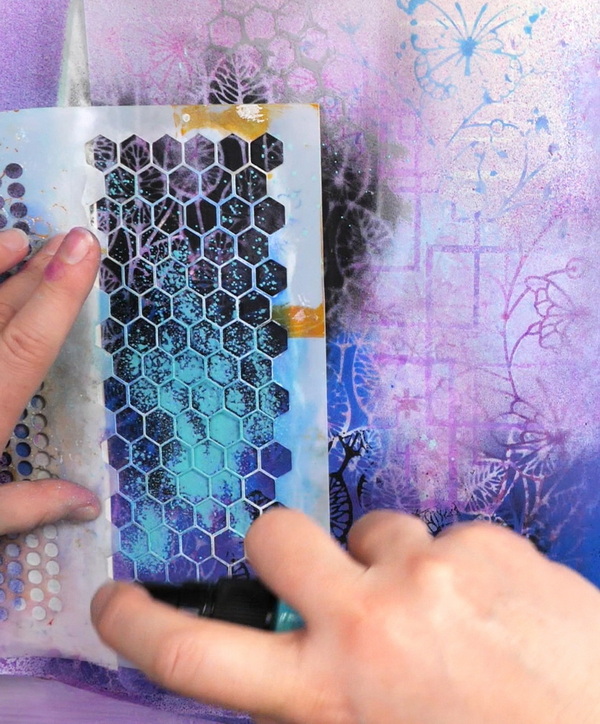
What is great about the spray paints and inks is that they can be applied quickly and dry quickly. This means you can add a lot of layers to the surface and adjust as you go. Some of the areas were darker than I wanted, so using another stencil and the Dina Wakley Turquoise Gloss Spray, I added in lighter color through the stencil. This created a better balance to the page.
What to Do with the Art Journal Background?
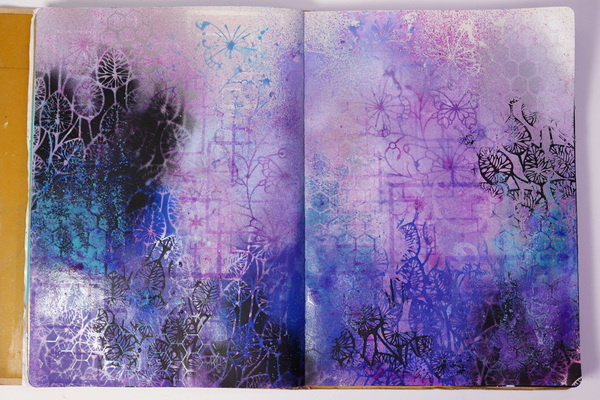
So now we have a beautiful, layered art journal background that can be an art piece itself. You can leave it as it is and just add journaling. But come back next week where I’ll show you how you can add focal images using napkins onto this art journal background. If you’re looking for some more ideas to create art journal backgrounds, check out this article: Intimidated by the Blank Page? 5 Acrylic Background Techniques for the Art Journal
Any Questions?
Any questions about how to create art journal backgrounds with spray paints or spray inks? Do you have a specific spray paint or spray ink that you’ve had great success with? I’d love to hear what you use and if you have any questions about this project. If you’re new to art journaling or to ink and paint sprays, I hope that this gives you inspiration for your next project!
Project Supply List
When you need somewhere to create and preserve your artwork, look no further than this Dylusions Classics Journal from Ranger Ink, designed by Dyan Reaveley. This journal includes 52 double-sided pages, 28 mixed media, 12 black and 12 Kraft pages, all waiting for your inspiration.
Ranger Ink – Inkssentials – Dylusions Ink Spray – Pomegranate Seed
from: Scrapbook.com
Ranger Ink – Inkssentials – Dylusions Ink Spray – White Linen
from: Scrapbook.com
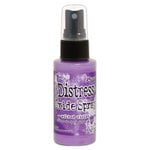
Ranger Ink – Tim Holtz – Distress Oxides Spray – Wilted Violet – $5.99
from: Scrapbook.com
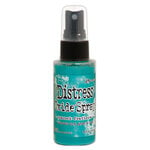
Ranger Ink – Tim Holtz – Distress Oxides Spray – Peacock Feathers
from: Scrapbook.com
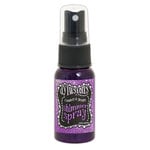
Ranger Ink – Dylusions Shimmer Spray – Crushed Grape
from: Scrapbook.com
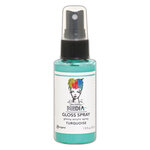
Ranger Ink – Dina Wakley Media – Gloss Sprays – Turquoise
from: Scrapbook.com
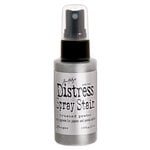
Ranger Ink – Tim Holtz – Distress Spray Stain – Brushed Pewter
from: Scrapbook.com
A quick and easy way to melt embossing powder this heating tool was specifically design for speed quiet and convenience. It can also be used to heat set or dry ink. It won't overheat and burn projects.
My favorite paper towel to use in my art space, it's durable and strong.


