How to Cut the PERFECT Napkin Image
Are you trying to add beautiful napkins images to your surface but you’re having trouble cutting or tearing them out of the napkin? This can be so frustrating when the napkin doesn’t rip the way that you want it to, and it can create a lot of frustration when you’re trying to add them to a piece.
Today we’ll cover 3 different ways that you can take apart your napkins in a way that doesn’t ruin those beautiful images!
Hop-A-Long Studio is reader-supported. When you buy through links on our site, we may earn an affiliate commission at no cost to you. Learn more.
Tearing Your Napkin
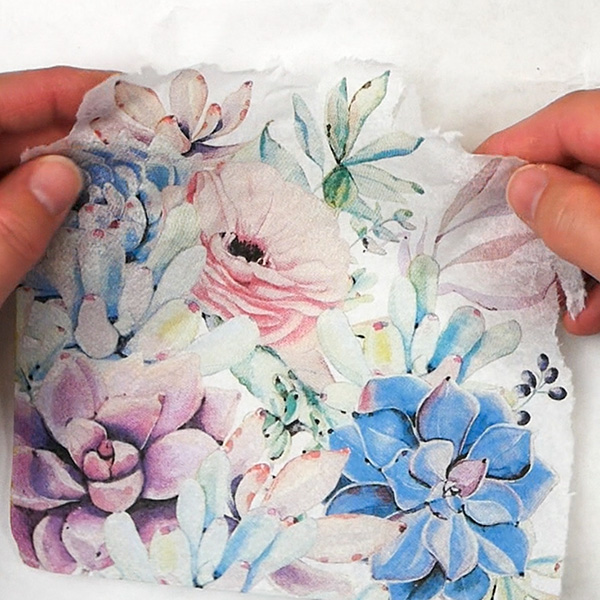
The first thing you may be inclined to do is tear your napkins. We tend to do this step after we’ve removed the 2 backing layers of napkin, which leaves us with a thin printed napkin piece.
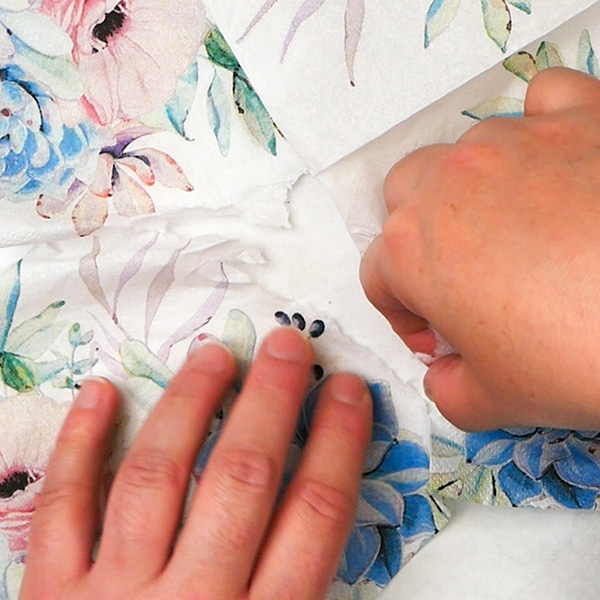
If you want to tear your napkin, this does work, but the key is to get a good tear. When I was first working with napkins, this is the way I used to take apart my napkin images. I found it frustrating and difficult because the paper wouldn’t tear the way I wanted it to. I found it frustrating and finicky work. It’s a simple thing to do, but not easy to control.
Adding Water to the Napkin
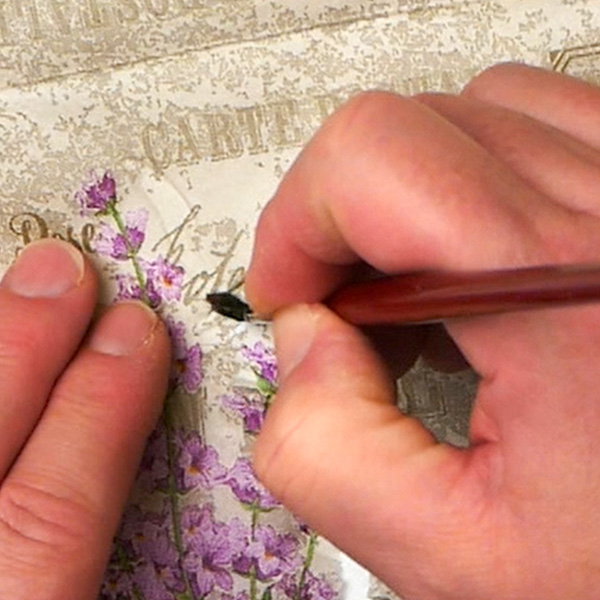
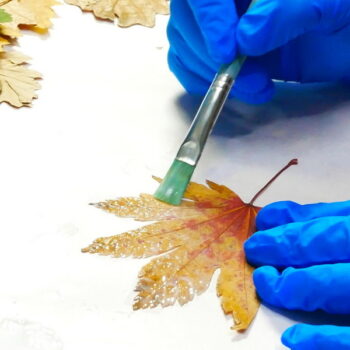
But then I learned a new technique, adding water to the napkins around the image that you’d like to isolate. Start by adding water to a small paintbrush and add water around the image that you’d like to cut out. I tend to add this at least an eighth to a quarter of an inch away from the image. The water will bleed out a bit and you don’t want to soak the image you’re looking to remove.
If this happens, just let it dry and try again. If you try to rip it when the napkin is wet, you’ll probably end up ripping your image.
Tips for the Best Results
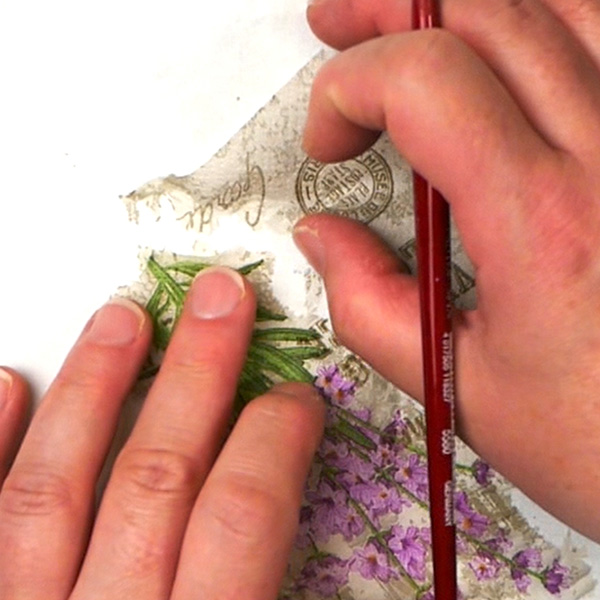
To get the best results with this technique, gently drag the paintbrush but don’t add pressure. If you do, this can tear the delicate napkin. Add the water a bit at a time and gently separate the two pieces of napkin. I like doing this on a flat surface because it keeps me from accidentally tearing my focal image.
This is a fast and easy way if you don’t mind some of the white paper as a halo around your piece. This works best when you’re looking to add this to a light colored or white background.
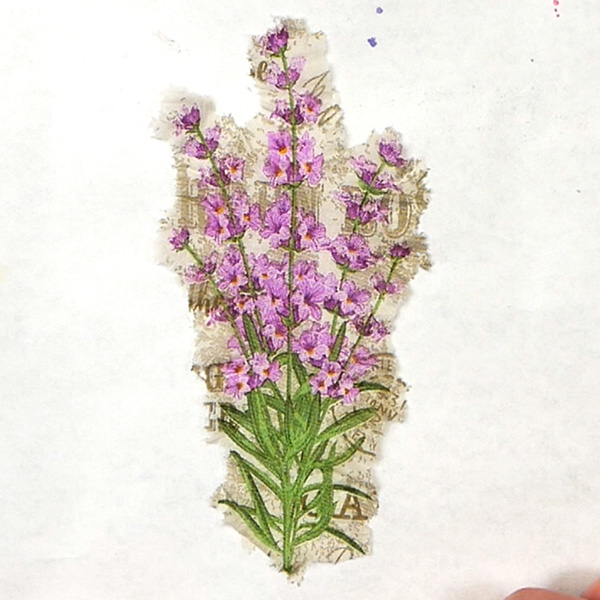
I like to use this technique when I’m trying to get the hard edge removed from around the edge of the napkins. If you add a napkin to your page without removing the hard edges, it’ll be very visible on your finished page.
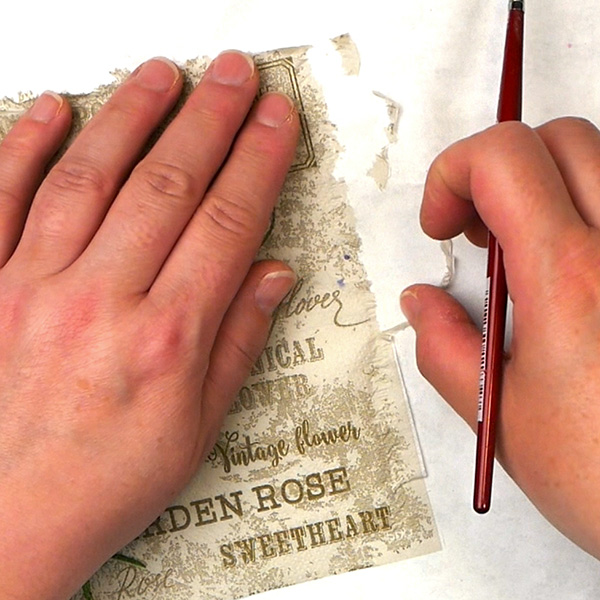
This wet technique is a fast and easy way to remove those unwanted pieces of napkin.
Cutting Out Intricate images
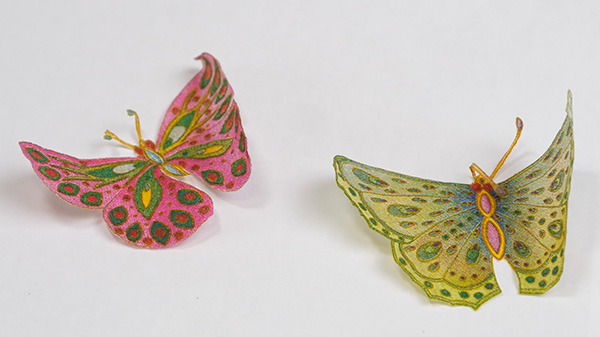
But what if you want to cut out a very intricate image out of your napkin? Using scissors doesn’t work because the image is so delicate the floppy, it’s too hard to control. So what’s the solution?
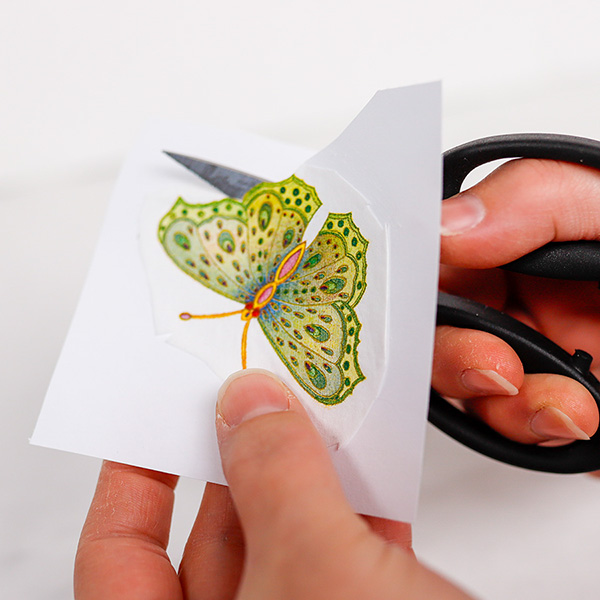
This is where we need to be a bit clever. Instead of removing all the napkin layers, only remove one of the layers. This will leave you with a white layer and the colored layer that are attached together.
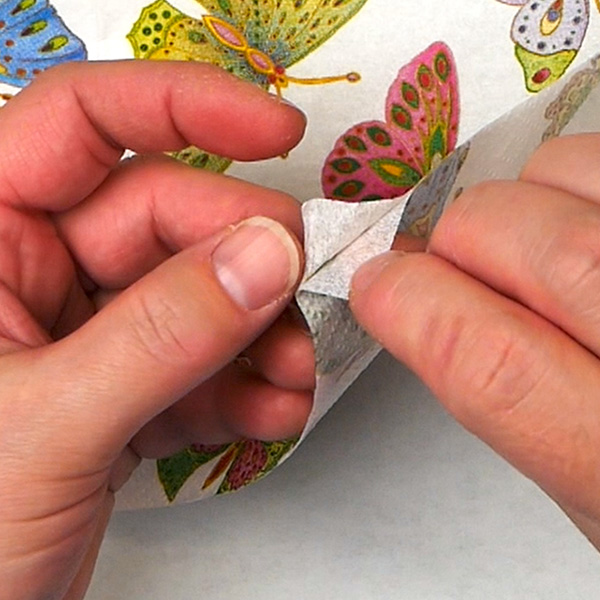
Take a piece of paper, any paper will do, I’m using copy paper. Add glue from a glue stick to the white paper and stick the two pieces of napkin to the paper, white side down.
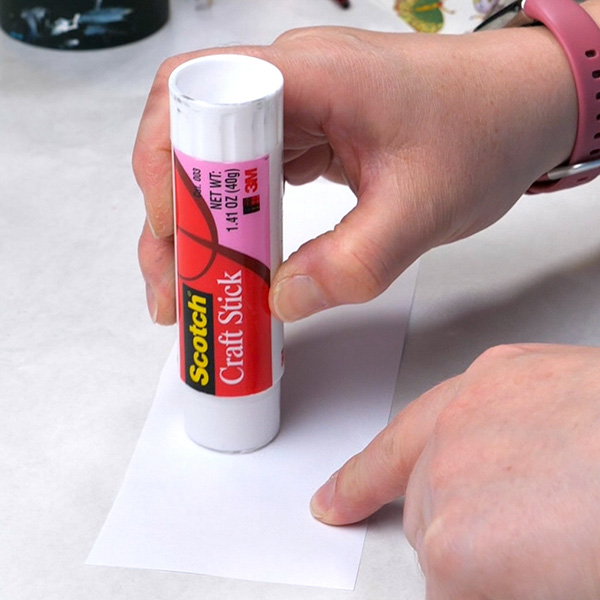
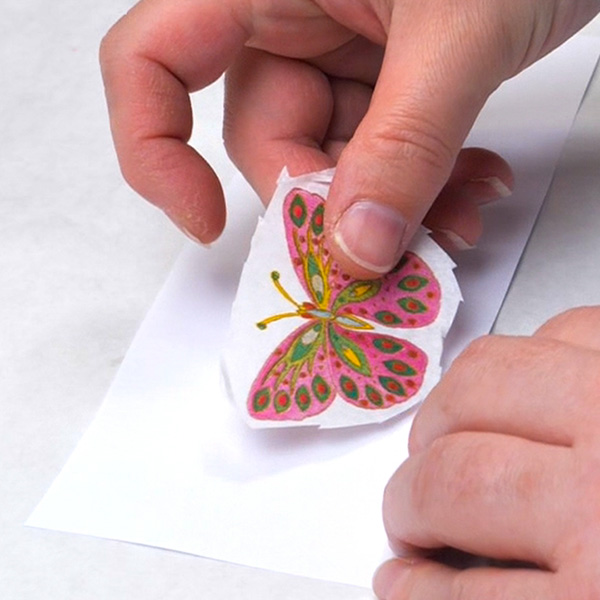
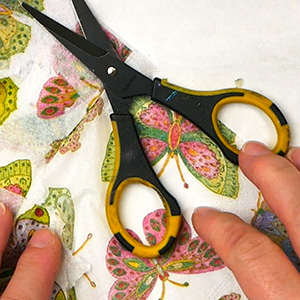
Using scissors, carefully fussy cut around the napkin image.
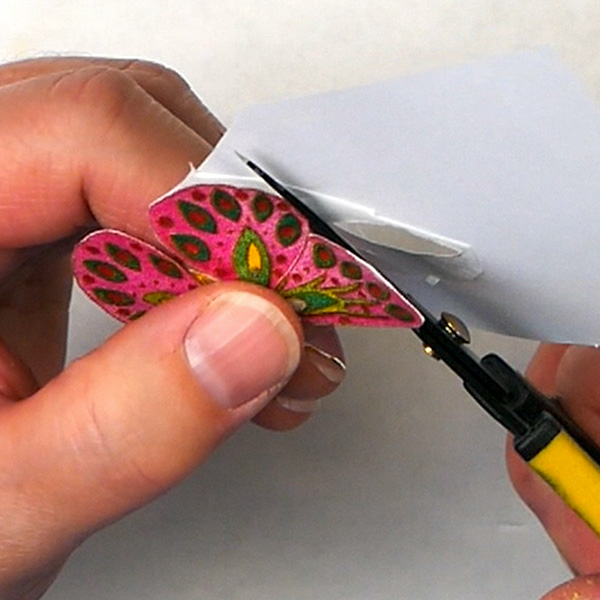
Once it’s cut out completely, then gently separate the white napkin backing from the colored layer.
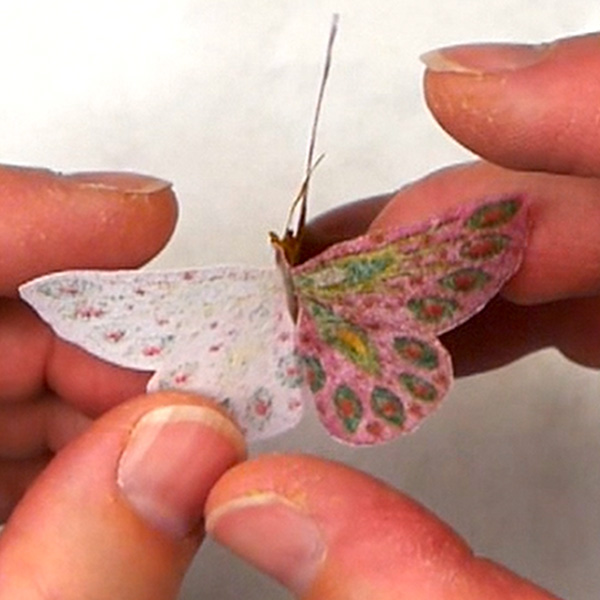
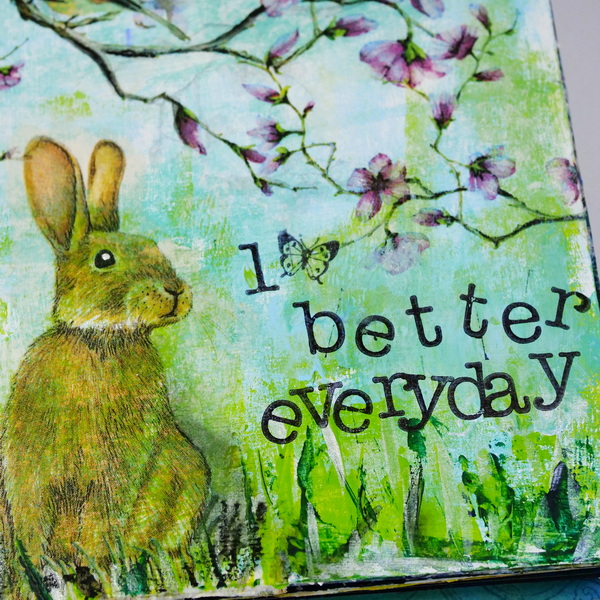
This will give you a beautiful fussy cut image with no white border to add to your project. This is a very easy and less frustrating way to cut detailed images out of any napkin image.
Looking for More Inspiration?
If you’d like to see how you can use all these cut out and isolated images on one project, check out this article next. I’ll be sharing ways you can seamlessly add in a variety of napkin images onto one project.
Project Supply List
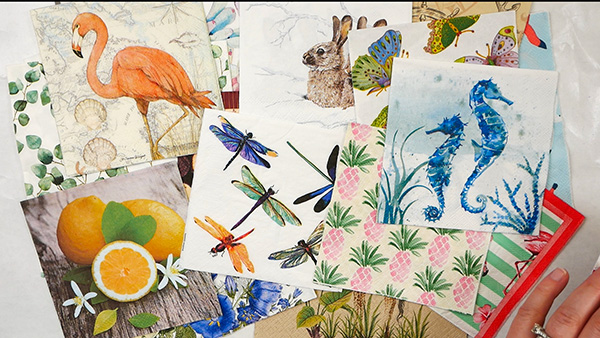
Napkins
Glue Stick

Amazon.com: https://amzn.to/469zB9N
Amazon.ca: https://amzn.to/468G19b
EK Success Fussy Cut Scissors
Amazon.ca: https://amzn.to/3Wuv12I
Amazon.com: https://amzn.to/3W9abV7


