How to Make a Travel Greeting Card
Today we will talk about how to make a travel greeting card using beautiful paper and your personal photos. When I create cards, it is usually an art card or a photo card. This week, I thought I would show you how you can these two creative styles together.
Creating a Travel Greeting Card
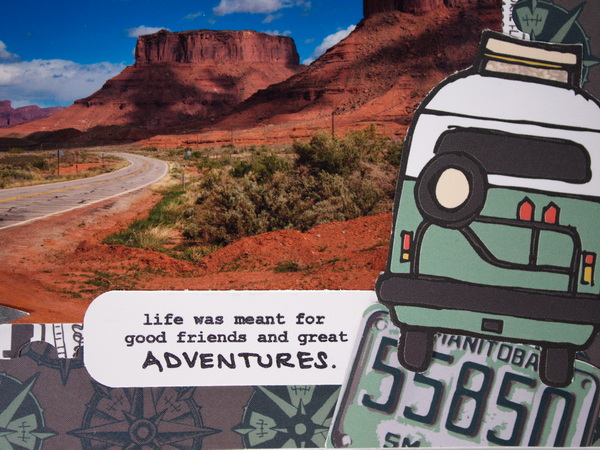
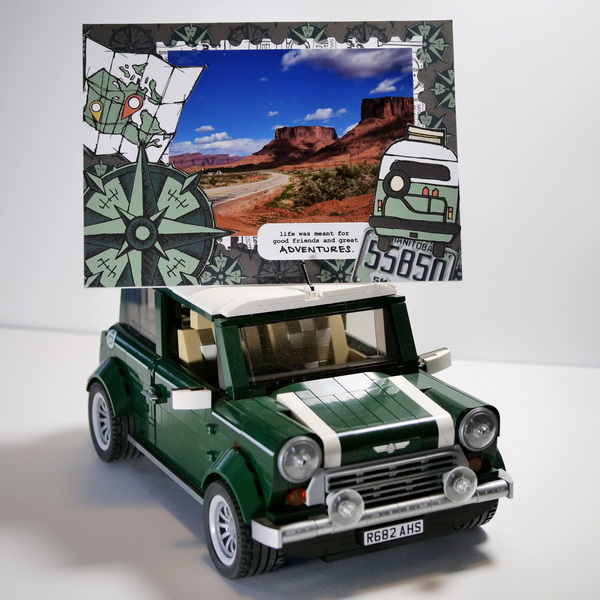
Creating a travel greeting card with photos and other elements can be challenging. The key is figuring out the right balance for these images so that the card feels cohesive. For this card, I used a landscape photo with die cut imagery. By using a simpler photo, this allowed the die cuts to add to the card instead of overwhelming the design.
Making the Travel Greeting Card
Cutting Out Paper and Images
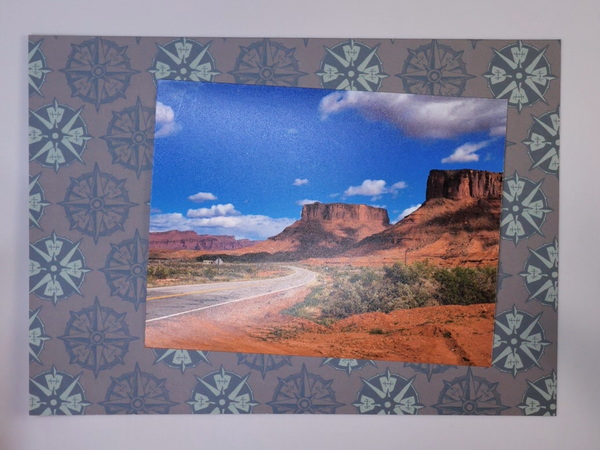
Using the Wild Whisper Designs Road Trip Paper Pack, cut out the van, map, geotag, and compass rose images from the paper. Using the compass rose patterned paper, cut it to 5 inches by 7 inches to create the base for the travel greeting card.
Creating the Photo Mat
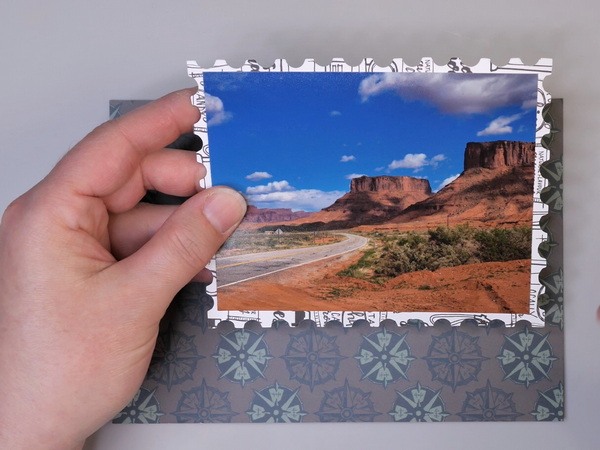
There are several ways to create a photo mat for this card. You can cut a piece of paper to size, use a die, decorative scissors or an electronic die cut machine.
For this project I used a Sizzix Ideology Postage Stamp die to create my photo mat. The photo mat is 4 inches by 5 inches and was a good size for this card. I printed my photo to 3.5 by 4.5 inches to fit the photo mat.
Arrange the Images onto the Card
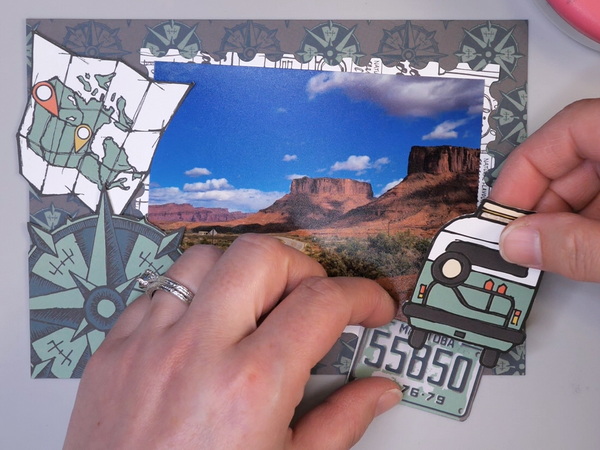
When arranging the images onto this travel greeting card, be careful not to obscure the photo. Arrange your pieces so that the die cut images overlap and cover the edges of the photo without obstructing it.
Stamp the Quote
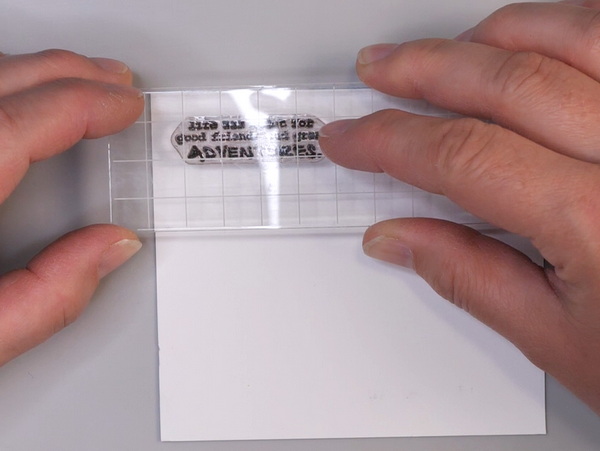
I used the following quote from the Wild Whisper Designs Adventure stamp set for this card: “Life was meant for good friends and great adventures.” Stamp the image with Jet Black Archival Ink onto white cardstock. Cut out the quote and round two of the corners with a punch. Tuck this under and next to the other images so that it is part of a group of images.
What Do You Think?
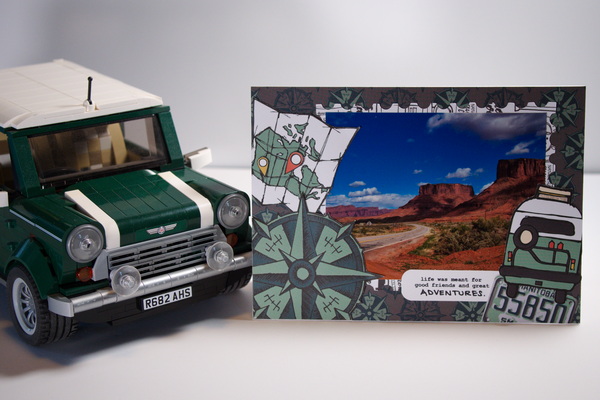
What do you think about this card design? Have you tried adding in photos to your creative projects? This card was meant to be a Father’s Day card, but as I started creating and finding elements I liked, the purpose of the card changed. This card was created using a more neutral color palette that works well for a masculine card or a travel card.
I do hope that you will give this project a try. I designed this card to be able to be completed in under 15 minutes so even if you do not have a lot of time, you can still create this card. Have a great creative weekend!
Project Supply List
If you are interested in purchasing any of the Wild Whisper Designs products, use DTNADINE at checkout to get a 10% discount on your purchase.
- Wild Whisper Designs Road Trip Paper Pack
- Wild Whisper Designs Adventure Stamp Set
- Ranger Jet Black Archival Ink
- Thermoweb Zots
- Advanced Tape Glider
- Paper Trimmer
- Scissors
- Creative Scrapbooker Super Stock
- Sizzix Tim Holtz Ideology Postage Stamp Die


