Mixed Media Art Journal Page – Hot Summer Days
Do you ever struggle with adding layers to your mixed media art journal page? Adding layers and still ending up with a cohesive page can be challenging. In today’s project, we will be exploring how to create a mixed media art journal page using inks, acrylic paint, stencils, and mediums in many layers that work well together.
Art Journal Page Inspiration
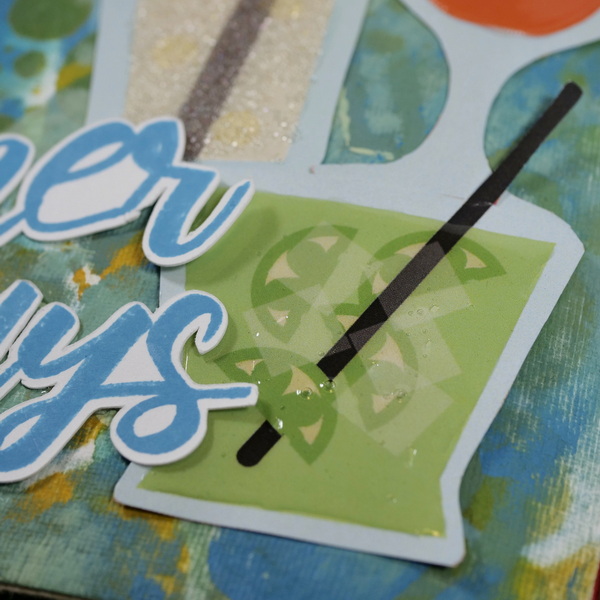
This mixed media art journal page was inspired by the paper collection Pour Decisions by Jenn Aguilar. When I saw this paper collection it made me smile. Between the puns, colorful imagery, and the feeling of summer it evokes, I just had to add it to a journal page. If you would like to see my unboxing video of this paper line, please visit this link.
When I saw the imagery from this collection, it made me think of how hot this summer has been. It also reminded me of the many cold drinks I have enjoyed sitting on a patio with my friends and it reminds me of the good moments in life and that was an idea worth journaling about.
Art journaling is a great place to do emotional work. It is a place to share deep thoughts and feelings. But on the other hand, it is nice to have a space to journal about the lighthearted moments in our lives. It is worthwhile recording our thoughts and feelings from positive experiences. This was the intent of this art journal page.
Hot Summer Days Mixed Media Art Journal Page
Cutting out Images
The Pour Decisions paper collection by Jenn Aguilar includes a page with cocktail images. Using a pair of scissors, fussy cut the images that you want to use as your focal image.
Adding Mediums to Focal Images
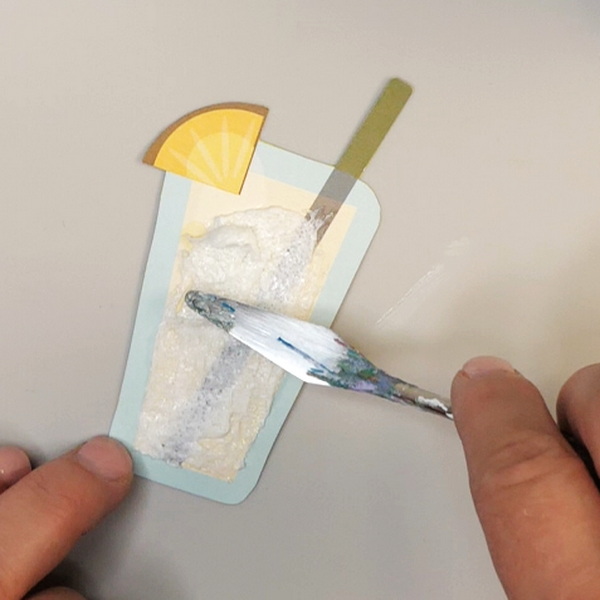
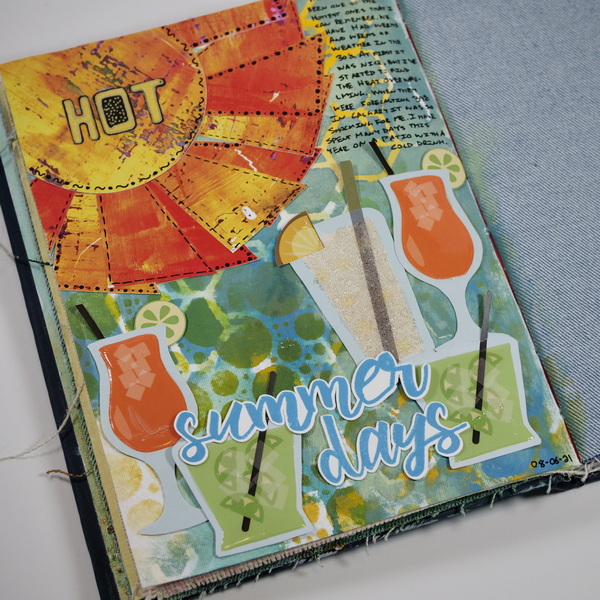
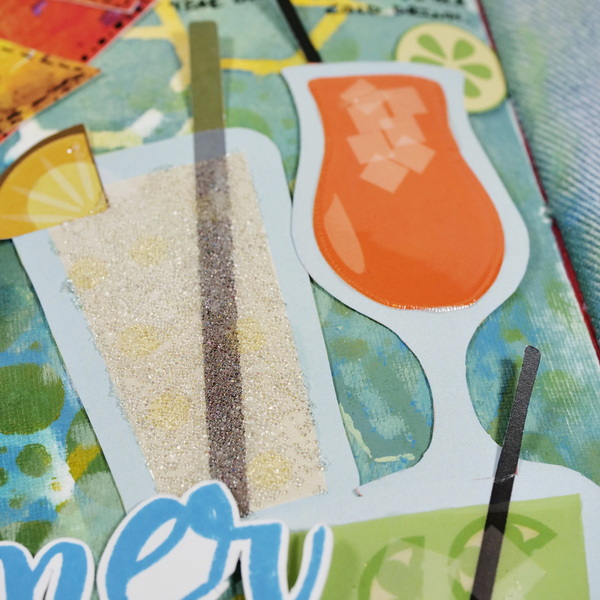
Add Glossy Accents, Crackle Accents and Glass Bead Gel to the surface of the cocktail images. To give these images more dimension, add the mediums to the liquids inside the glasses. By leaving the frame of the image without mediums, this creates extra dimension in the images.
Apply Ranger Glossy Accents and Crackle Accents using the fine applicator on the bottle. For the Glass Bead Gel, use a palette knife and work in small areas to cover the surface. For the glass bead gel, try to have a layer that is 1-2 glass beads thick. Set these images aside to dry for a few hours or overnight.
Adding India Ink Drips
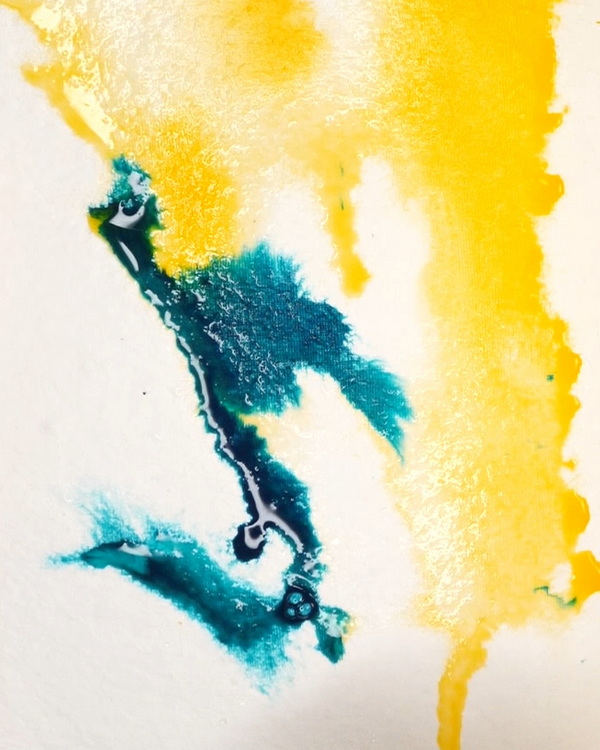
Add your favorite colors of India ink to the top of the journal page. For this project, I used Dr. Ph. Martins India Ink in Yellow and Teal. Use a spray bottle to dilute the ink and tip the journal to have it flow down the page. To see details on ways to use India Ink drips in your journal, this article 5 Art Journal Background Ideas Using Ink provides greater detail on how to execute this technique to add variety.
Adding Acrylic Paint
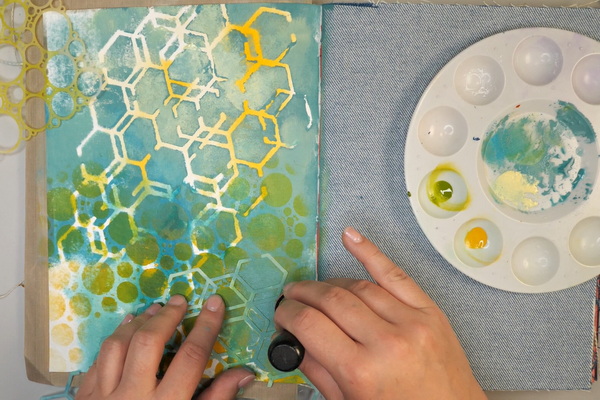
Using the Circlet and Disjointed stencils add acrylic paint through the stencil using a blending tool. I used a variety of blue, yellow, and green inks for this step. In some areas I dabbed the paint through the stencil, in others I swiped across the stencil for a different mark making technique.
Adding Die Cut Images
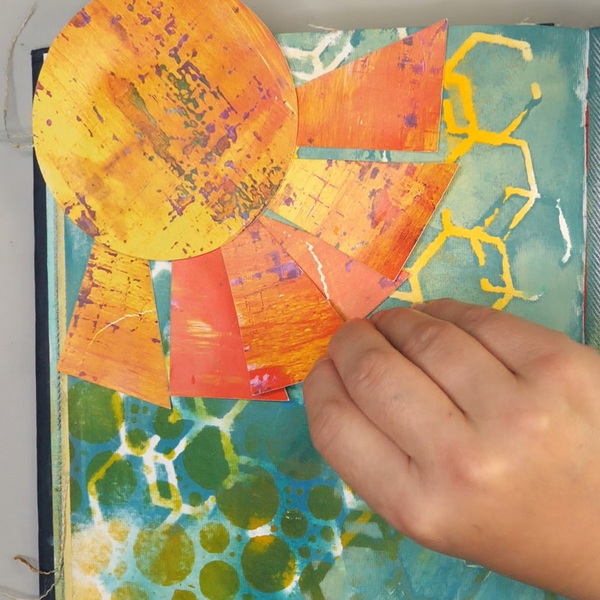
Using my Brother ScanNCut, I cut out a circle and triangular shapes to make a sun for this page. By overlapping the triangles to make sun rays, this gives the sun dimension. Glue the die cut image to your page using your favorite adhesive.
Adding Doodling to Images
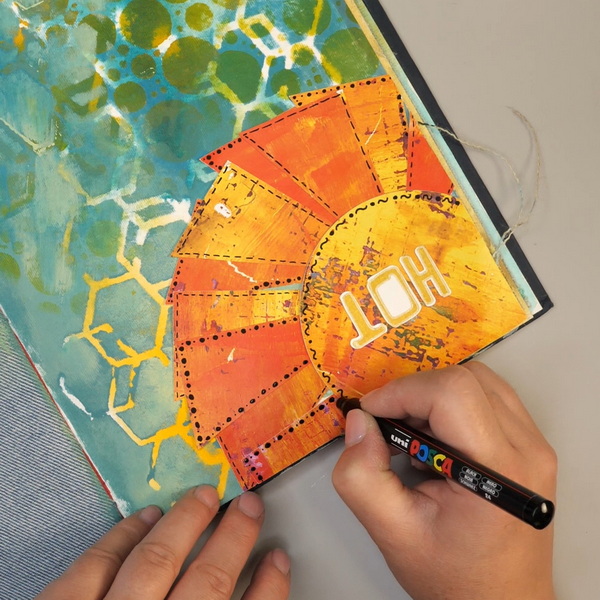
To give more definition to the die cut images, I used a Posca Paint Marker to add doodling to the page. By adding a combination of dashes, circles, and squiggly lines, these give the die cut shapes more personality.
Adding Focal Images
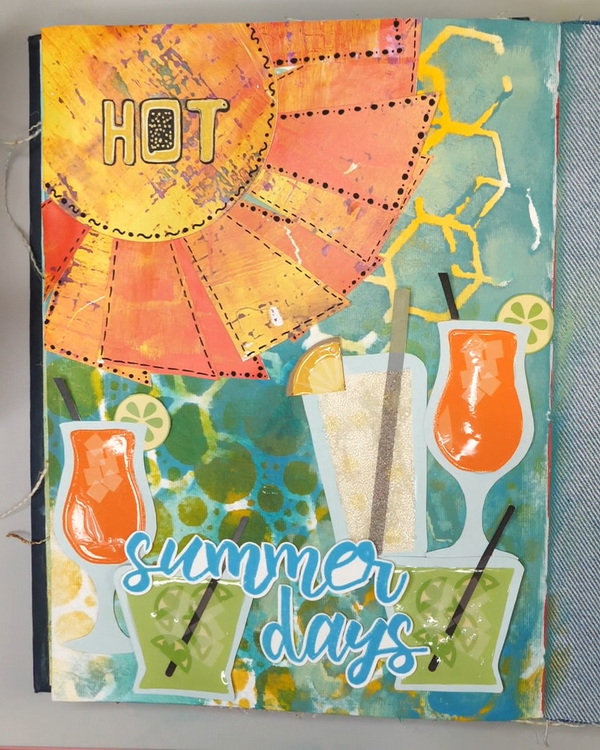
Using Distress Ink stamp the words “Hot”, “Summer” and “Days” using the Wild Whisper Designs Road Trip and Brush Script stamps. Cut them out using a Brother ScanNCut or a pair of scissors. Adhere the words to the mixed media art journal page overlapping them with the cocktail images.
Adding Journaling to the Page
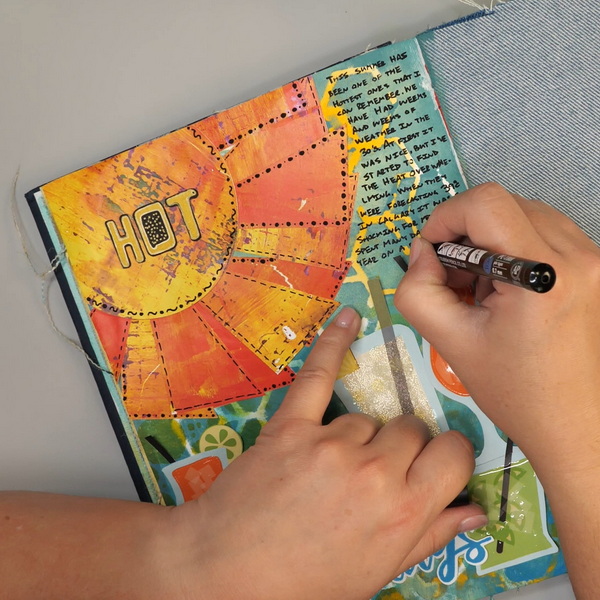
Add journaling to the page using a Posca paint marker. You can choose to either use a subtle paint color to blend the journaling into the layout or use a bold color to make it stand out in the page design. For this art journal page, I chose to use a black paint maker to make it stand out from the page.
Questions?
Do you have any questions about how to apply these mediums or how I added these layers together? I would love to hear from you! You can contact me directly or leave a comment below. If the layers seem a bit overwhelming, you can always simplify and try one or two of these techniques on a page. I hope that you give this project a try and take some time this weekend for creative self-care!
Project Supply List
If you are interested in purchasing any of the Wild Whisper Designs products, use DTNADINE at checkout to get 10% off of your order.
- Stamp Sets: Wild Whisper Designs Road Trip and Brush Script
- Paper Collections: Wild Whisper Designs Ledger and Script and Pour Decisions
- Stencils: Wild Whisper Designs Disjointed and Circlet
- Posca Paint Pens: Black, White, and Gold
- Staples 90lb cardstock
- Golden Glass Bead Gel
- Ranger Glossy and Crackle Accents
- Ranger Mini Ink Blending Tool and Foams
- Dr. Ph. Martin’s Bombay India Ink Yellow and Teal
- Paper Artsy Paint: Calypso and Lemon Meringue
- Tim Holtz Distress Paint: Mermaid Lagoon and Fossilized Amber
- Golden Fluid Acrylics Green Gold
- Tim Holtz Distress Ink Mermaid Lagoon and Fossilized Amber
- Adhesives: Art Glitter Glue, Thermoweb Medium Zots
- Brother ScanNCut
- Other Materials: Spray Bottle, Palette Knife


