Stamped Background for Moving Past a Creative Block
Do you ever sit down to create a project and end up staring at a blank page? We all have moments where we struggle with how to move past the creative block. Today’s project is a stamped background technique that I use when I am struggling with inspiration.
Why a Stamped Background?
A stamped background is not only fun to make and a great start to a mixed media piece, but is also quick to execute. When the creative block comes, it is important not to stay in it indefinitely. By choosing art tools and materials that cover a blank page quickly, this can help get the creative juices flowing.
An Exercise to Move Past the Creative Block
I have been experiencing creative block throughout the summer. This project is one that I created a few weeks ago when I was experiencing my own creative block. My hope is that this will not only show you a new background technique but also help you when you have moments of feeling uninspired.
Stamping Flourishes with Archival Ink
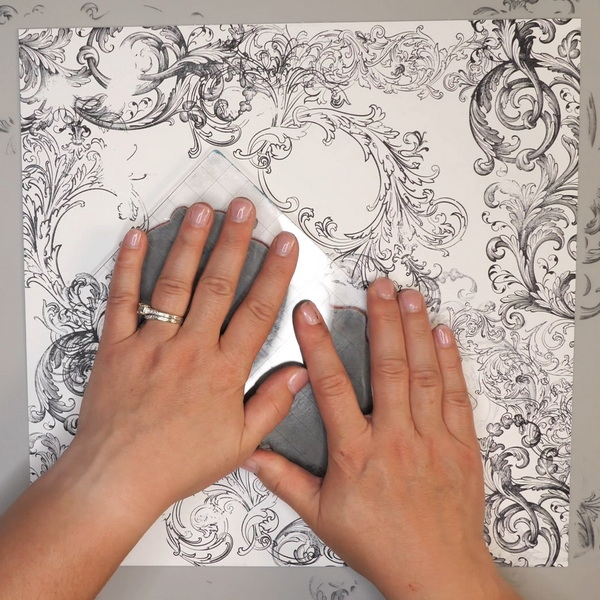
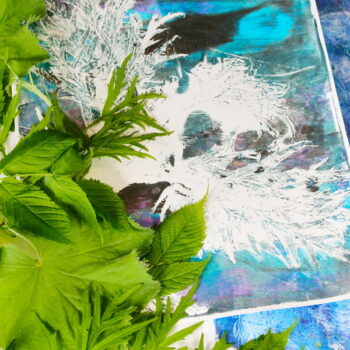
Start by stamping flourishes with Jet Black Archival Ink in random patterns on your page. Use not only the fully inked stamp, but the second and third stamp impressions on the page to create various values. For more information on this technique, please visit my stamping tips and techniques article.
To make the pattern feel more open, leave unstamped areas and white spaces on the paper.
Stamping Butterfly Images
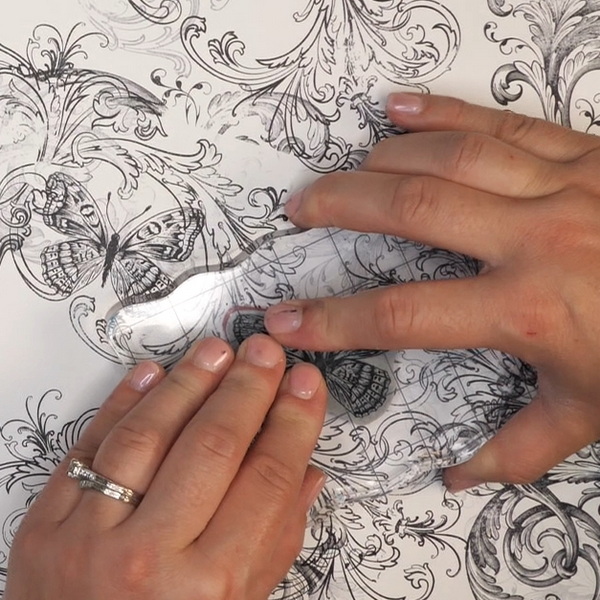
Continue by stamping butterfly images onto the paper. For any places where you may have an imperfect flourish stamp from the previous step, the butterfly stamp can cover up the imperfections. Add butterflies in the white spaces and on top of the flourish images.
Adding Pan Pastels
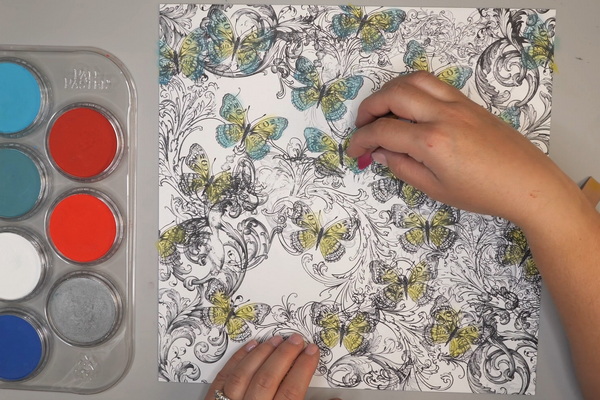
Add Pan Pastels to the butterfly images using Sofft tools. For more information on how to use Pan Pastels, please visit this article.
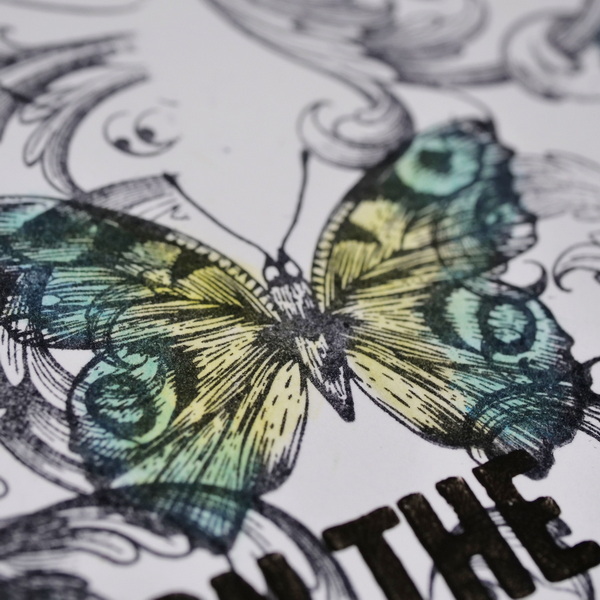
Add the Hansa Yellow Pan Pastels to the center of the butterfly, coloring about half of the wing for each butterfly.
Using Turquoise Pan Pastel, apply color to the rest of the butterfly wing. By blending over some of the yellow, this will create a beautiful green color and will give you multiple shades for your butterfly. Each wing should have a combination of yellow, green, and blue.
Sealing the Pan Pastels
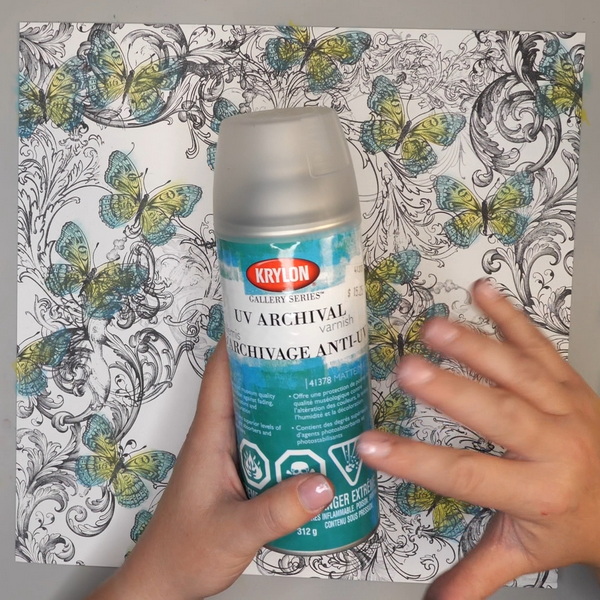
After you have created your stamped background, seal in the Pan Pastels with a spray sealant. If you would like to add additional Pan Pastels to the surface, seal with Krylon Workable Fixative. This sets the pastel that has already been applied but also allows you to add more color to the surface.
When you are finished and want to seal in all color, use a varnish spray. By using a matte varnish, this will keep the colors of the Pan Pastels true. My varnish of choice is Krylon UV Archival Varnish Matte for sealing in the Pan Pastels.
Project Ideas for the Stamped Background
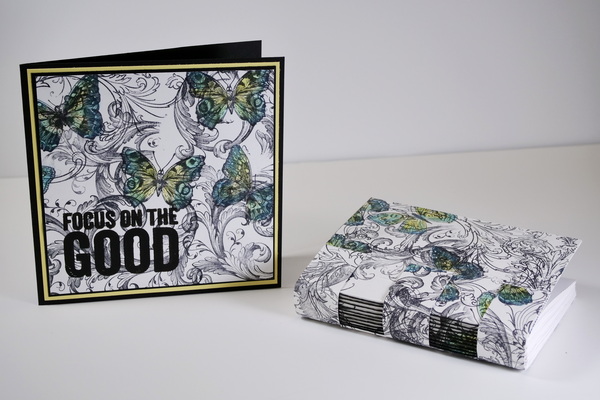
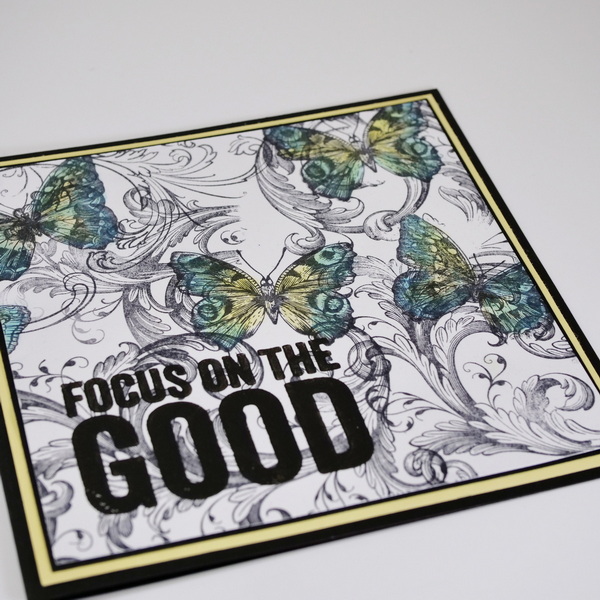
We now have a beautiful background paper, but what can we do with it? I used the paper for making a soft cover for a hand stitched book. As I had some extra pieces of the stamped background left over, I cut the paper down to a card size and stamped a quote with acrylic paint.
These are just two ideas for how to use this stamped background. Another idea for this background is to create it in an art journal and add a quote or other journaling to finish off the page.
Questions?
I hope that you have enjoyed this technique and that it has given you ideas on how to move past the creative block. I would love to hear what you think about this project and if you have any questions. Please leave a comment below or contact me directly. I hope that you have a fun and creative week!
Project Supply List
- 130 lb. Creative Scrapbooker Super Stock
- Ranger Archival Jet Black Ink
- Stampers Anonymous Stamps Sets: CMS294 Flutter, CMS400 Baroque, CMS070 Fanciful Flourishes, CMS433 Bold Sayings
- Stamping Block
- Pan Pastels: 220.3 Hansa Yellow Shade and 580.5 Turquoise
- Pan Pastel Sofft Tools
- Krylon UV Archival Varnish Matte Finish