Art Journaling with Acrylic Paint and Stencils
Have you ever tried art journaling with acrylic paint and stencils? It can be fun, but sometimes it can be challenging to get a beautiful focal image. Today we will discuss some of my favorite tips for adding acrylic paint through stencils to create a dimensional art journal page.
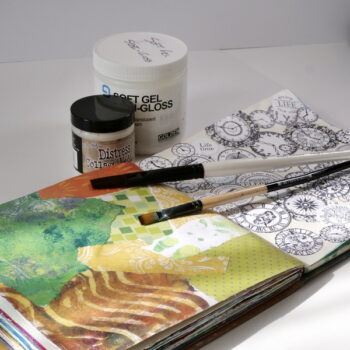
Using Acrylic Paint with Stencils
Art journaling with acrylic paint and stencils is very easy to learn. Lay your stencil down on the surface and apply paint through the stencil. But the challenge is how to get a crisp, consistent image and beautiful shading on your image.
The Right Tool for Acrylic Paint
I am always exploring new tools and ways to apply paint, but my favorite tool is the Tim Holtz Mini Blending Tool. I use it with mini blending foams and find it easy to use. When you are adding paint to the stencil, you want to use a tool that will apply paint but not so much paint that it pools under the stencil.
Using Thin Layers of Paint
When adding paint to your art journal, work in layers using thin layers of paint. The temptation is to try to get an opaque layer in one pass, but this can cause paint to seep under the stencil. By adding thin layers, this will also allow you to add other colors into areas to create shading.
Art Journaling Project with Acrylic Paint and Stencils
The art journaling project for this week uses the beautiful Get Toasted stencil from Wild Whisper Designs. I will demonstrate how I use art journaling with acrylic paint and stencils to get beautiful shading and include a short stamping demonstration in this video.
The Intention
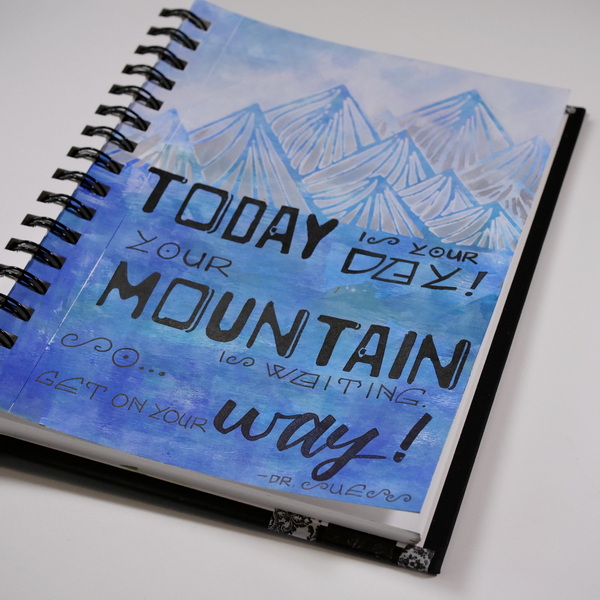
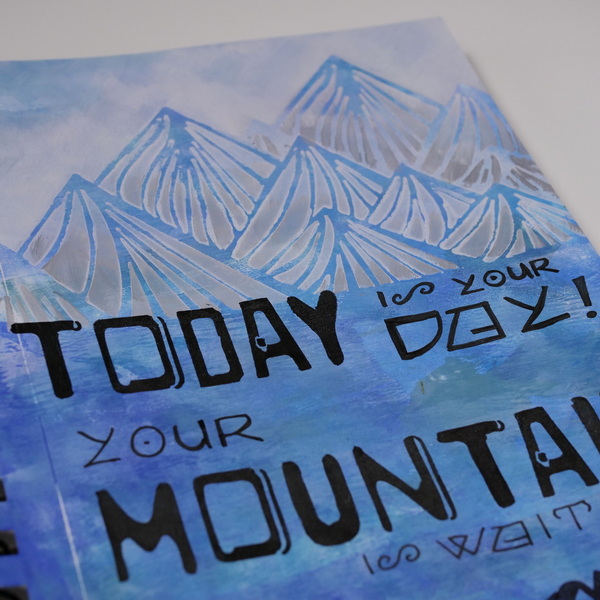
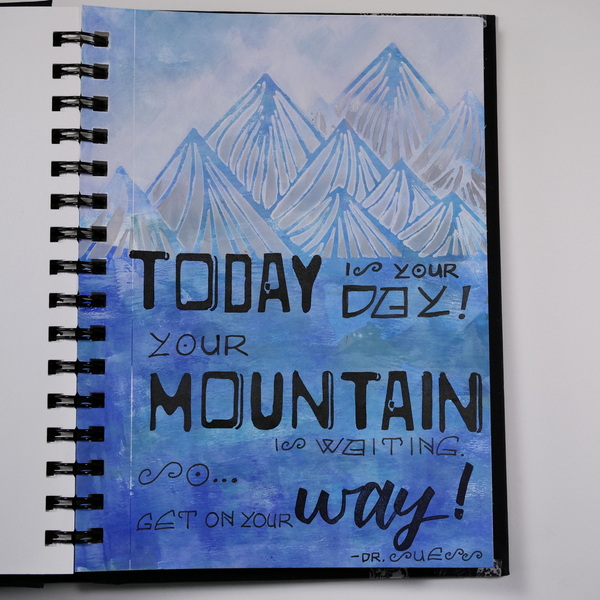
For every project, I start with an intention. In this case, it was the mountain stencil and the following quote:
“Today is your day! Your mountain is waiting. So…get on your way!”
Dr. Suess
This quote reflects the opportunity that we have in every day. But it also reflects that there will be the mountains in our lives, those struggles that bring challenges. I love this quote because it has optimism but acknowledges that there will be difficulty. Instead of dwelling on the difficulty, it encourages us to go, to try, to do our best.
During the constant loom of COVID and more outbreaks, this can set us off balance. We can feel the restrictions instead of the different opportunities that this season can bring. I loved the reminder that things are not easy, but it does not mean it is not worth pursuing. This is an encouragement and challenge to all of us to move forward, to explore, create and dig deeper, even if there is the mountain in front of us.
Art Journaling Project
Step 1: Adding Acrylic Paint with a Brayer
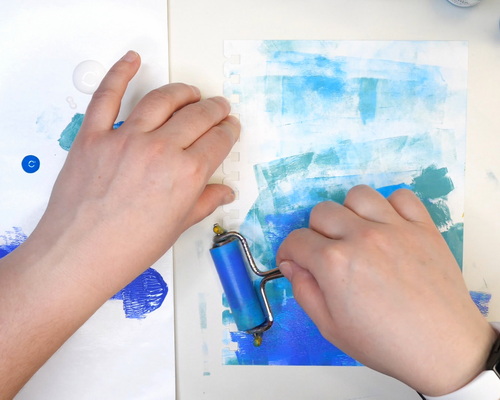
Start by adding layers of acrylic paint with a brayer to your page. I chose to use monochromatic colors for this page, but any combination of colors can work. Add a little paint at a time, overlapping the layers. This will create unique mark making and add more variation in your colors.
Step 2: Apply Paint Through the Mountain Stencil
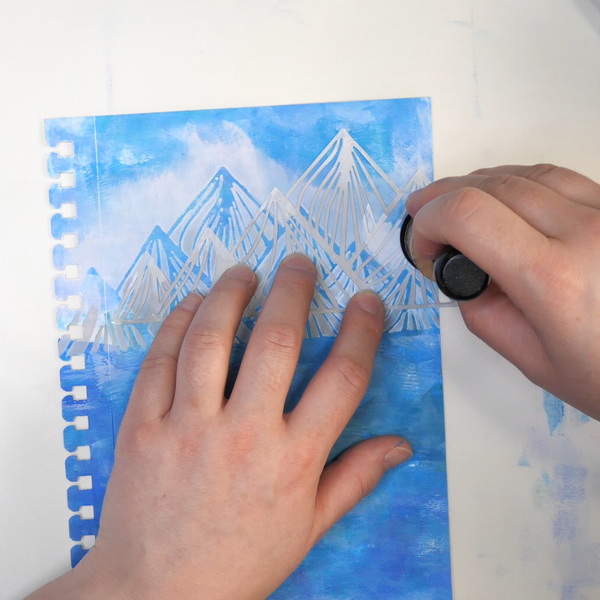
Lay the mountain stencil down on the paper with the bottom of the stencil sitting about one third down the page from the top. By doing this it will leave room for the quote and makes for a stronger composition. Using a blending tool and foam, add white gesso or paint to the mountain stencil. To shade the mountains, use Tim Holtz Distress Paint Hickory Smoke to add color variation to the images.
To add in a second set of mountains in behind the first, either mask off or carefully add paint through the stencil without covering the mountains in front. Also add shading to the mountains using the Hickory Smoke paint. By adding more grey color to the mountains further back, this gives the sense of distance and depth.
Step 3: Painting the Sky
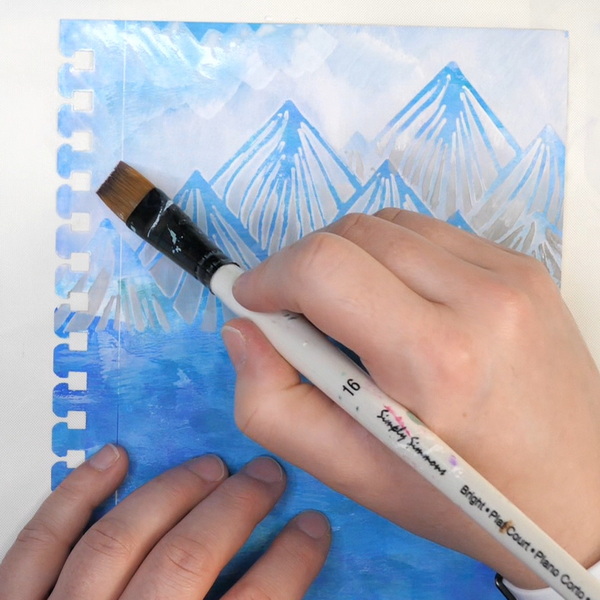
Use a paintbrush and apply white paint or gesso to the sky. To keep the paint translucent, mix with a bit of water or glazing medium. The intention is to not cover up all the color underneath, but to soften it and let some of the blue tones to peek through. Paint in different directions to get interesting mark making and variety in the sky.
Step 4: Adding the Quote
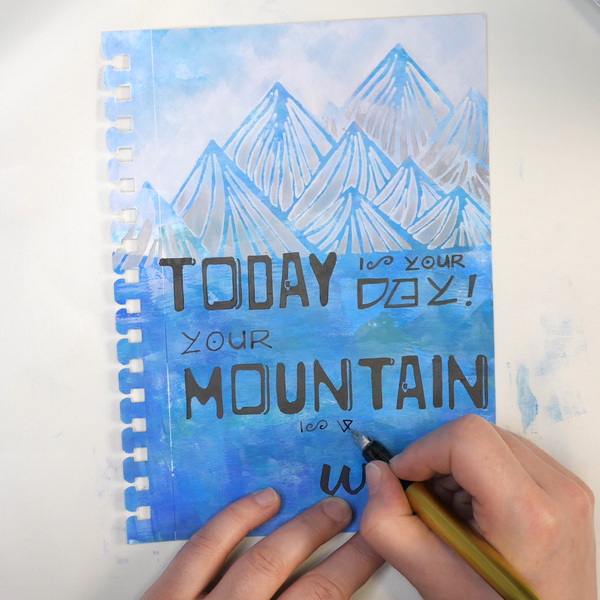
For the quote, use a combination of stamping and writing to add variation. For the stamping I used the Wild Whisper Designs Road Trip and Brush Script stamps with Jet Black Archival Ink. I then went in with a fountain pen with black ink to add my own writing to the quote. You can use any sort of marker or pen to add your writing, just make sure ensure that the paint is fully dry. If the paint is not fully dry, it can damage the markers or pens that you use on the project.
Questions?
Do you have any questions about art journaling with acrylic paint and stencils? Do you think this is a technique that you would try in your projects or art journal? I would love to hear what you think about this project or if you have any questions. Please comment below or contact me directly. I hope that you have a great weekend and take some time for creative self-care!
Project Supply List
If you are interested in any of the Wild Whisper Designs products, use code DTNADINE at checkout to get 10% off your order.
- Koh-I-Noor Art Journal
- Acrylic Paint: PaperArtsy Calypso, Dina Wakley Ocean, Tim Holtz Distress Hickory Smoke, Golden Manganese Blue Hue, Pebeo Studio Cerulean Blue and Ultramarine Blue
- Liquitex Gesso
- Wild Whisper Designs: Get Toasted Nicole Wright Designs Stencil, Road Trip Stamp Set, Brush Script Stamp Set
- Tools: Brayer, Simply Simmons 1/2″ paintbrush, Ranger Tim Holtz Mini Blending Tool and Foam, Stamping Block
- Platinum Fountain Pen with Carbon Ink
- Jet Black Archival Ink