Paint Your Season’s Greetings with Simple Watercolor Christmas Cards
Looking for ideas for simple watercolor Christmas cards? With the Christmas season approaching, we may want to make homemade Christmas cards. But it can feel really overwhelming if you don’t know where to start.
How do you come up with a simple design that’s effective and easy to make? And most importantly, a design that you can easily replicate so that you can give all your favorite people a hand-made card. Today I’m sharing with you beginner-friendly and simple watercolor Christmas cards. This is a great way to practice your basic watercolor skills and make a bunch of beautiful cards quickly and easily.
Hop-A-Long Studio is reader-supported. When you buy through links on our site, we may earn an affiliate commission at no cost to you. Learn more.
Simple Watercolor Christmas Cards
Choosing a Card Size
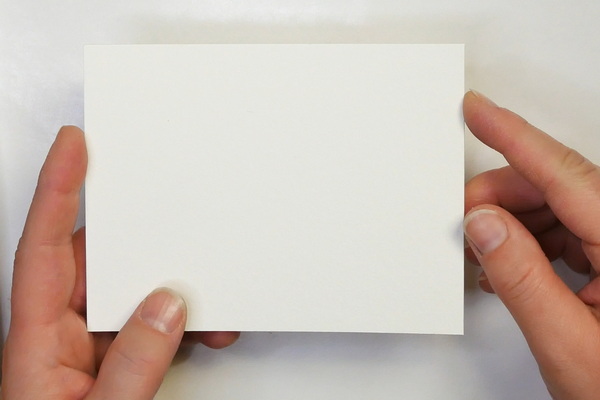
For watercolor cards I like to use the Canson XL or Strathmore 140lb watercolor paper. Both can take a lot of water without curling and will give you great results for your card designs.
Designed to appeal to students, Canson XL pads contain more sheets at a comparable or better price than other value pads in the marketplace.
Card Sizes
I generally cut my watercolor paper to A2 or A7 Sizes. A2 will make a 4.25” by 5.5” card. If you want to have a white border around your card, cut it to 4” by 5.25”. This will give you a 1/8” border around the edge of the watercolor paper.
An A7 card will make a 5” by 7” card. But I generally cut my paper to 4.75” by 6.75” using my Fiskars paper trimmer. This way I have a bright 1/8” border around my card.
I tend to add my watercolor papers to the cards after I have completed them. This way if I make a mistake, I don’t ruin a card back. Plus, it keeps the white card backs clean until I adhere the watercolor paper to the card.
Choosing a Card & Envelope Set
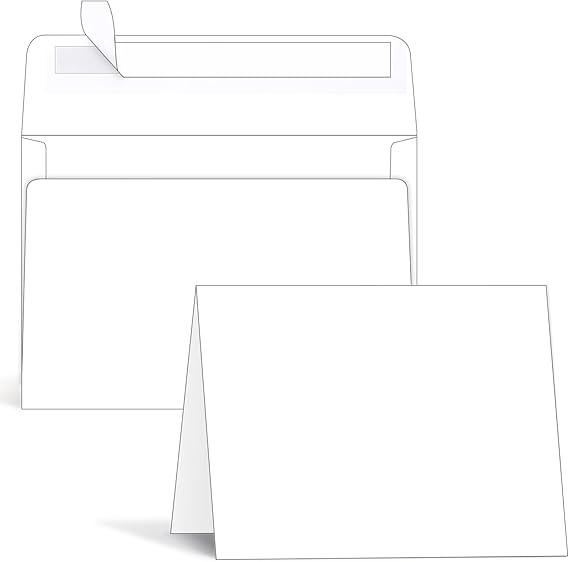
My favorite cards are the Ohuhu Card and Envelope Sets. I get these in 100 count as I tend to make enough cards throughout the year to go through them all. They are good quality paper, are strong, and are relatively inexpensive due to the volume that I’m purchasing them in. They work well for both watercolor cards and my heavier mixed media card projects.
Each pack consists of 100 pieces of 10 x 7 scored cardstock (5 x 7 when folded) and 100 A7 self-seal envelopes, perfect for DIY greeting cards.
Each pack consists of 100 pcs of 8.5 x 5.5 scored cardstock sheets (4.25 x 5.5 when folded) and 100 A2 self-seal envelopes, perfect for DIY greeting cards.
Starting with Simple Shapes
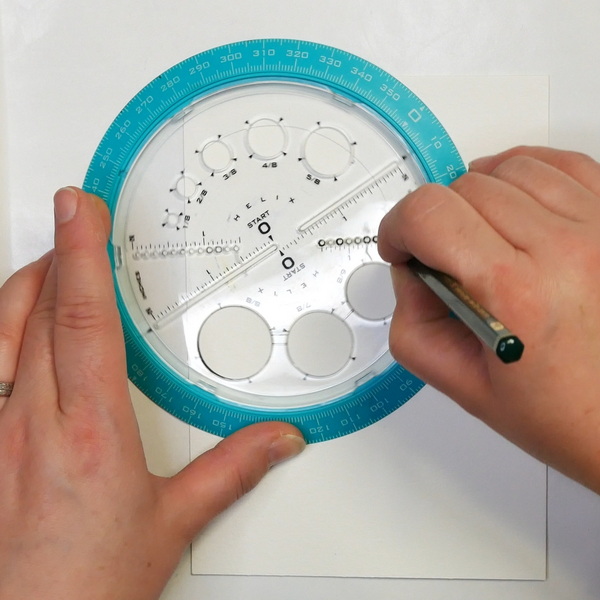
Today we’re going to make some ornament cards using circles. The easiest ways to make circles of any size is using the Helix Circle and Angle Maker. If you haven’t yet seen my tutorial about the best circle-making tools, please check it out here: Choosing the Best Circle Tools for Drawing
We’re going to start by creating circles on our watercolor paper. Using your helix circle and angle maker and a pencil (I’m using a Faber-Castell HB graphite pencil), add circles to the page.
Three tools in one! The Helix Angle and Circle Maker is a 360° protractor, compass, and circle template that enables you to measure angles just as you would using a standard protractor.
Adding Watercolor Paint
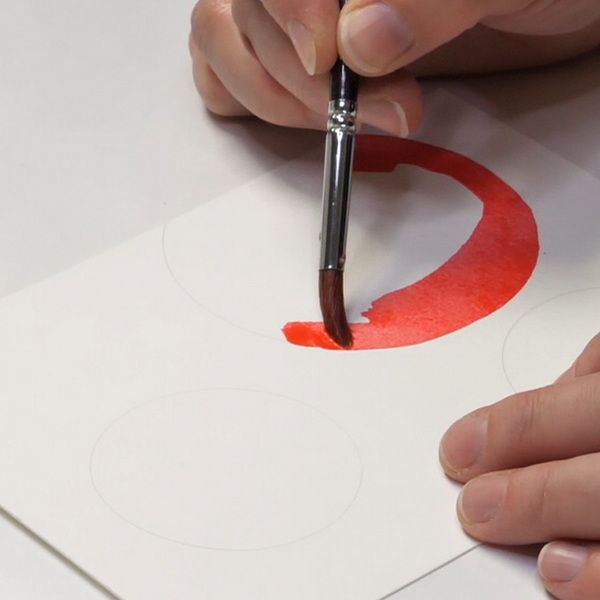
Using your favorite colors, add watercolor paint to the watercolor paper. You can do this in two ways. You can mix your paint on the palette and add it straight to the page. The other option is to use a wet-on-wet technique.
When you use a wet-on-wet technique, you start by adding a thin layer of water to your page. Then add your watercolor to the page. This is a way to create an organic look by allowing the color to move on it’s own. It also makes it easier if you want to use lighter color washes to control the saturation of the paint.
The other benefit is that if you’re new to watercolor, the wet-on-wet technique is very forgiving. If you paint outside the lines with the water wash, just let it dry. Then you can try again. The nature of watercolor is that it’ll stay within the wet area, so if you have a consistent water glaze on the surface, the paint should stay inside the area.
Blending and Mixing Colors
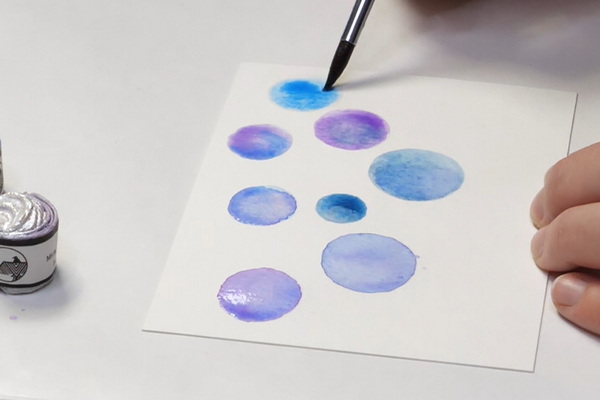
Whichever technique you decide to use, drop in a bit of color and play around with different color combinations. With the card below, I was using a combination of Winsor & Newton Cotman watercolors in Turquoise and Dioxazine Purple. I was also using Schmincke Horadam Aquarell French Ultramarine Blue and Daniel Smith Extrafine Watercolor Mayan Blue. You can see by varying the colors in each ornament that this creates variety while still working with blues and purples.
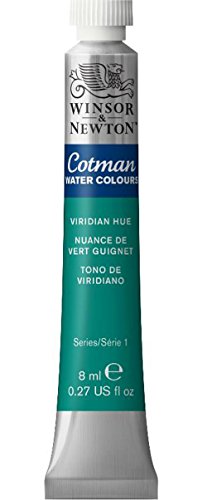
You can also play around with adding in metallics to the circles. For the card below I was using Mission Permanent Red and dropping in brushstrokes of Beam Paints Mica Gold Watercolors. I also did the same with a combination of Winsor & Newton Cotman Viridian Hue and Daniel Smith Sap Green watercolor paints along with the Mica Gold.
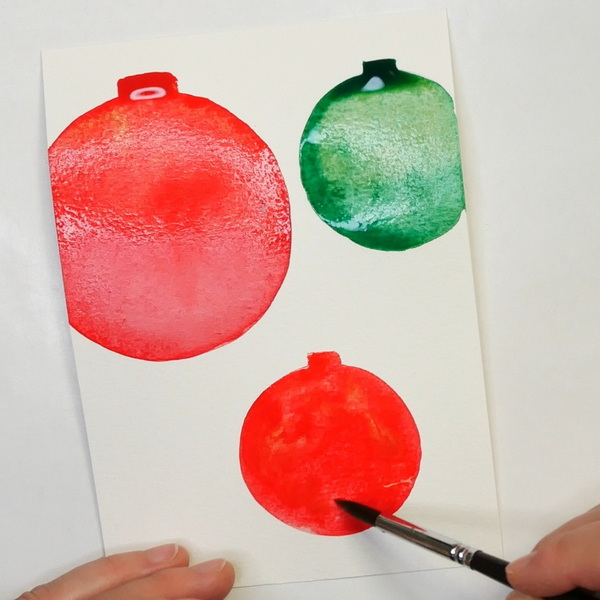
This is where you can have a lot of fun creating create very subtle colors and shades or much more vibrant Christmas ornaments in your card designs.
Color Mixing
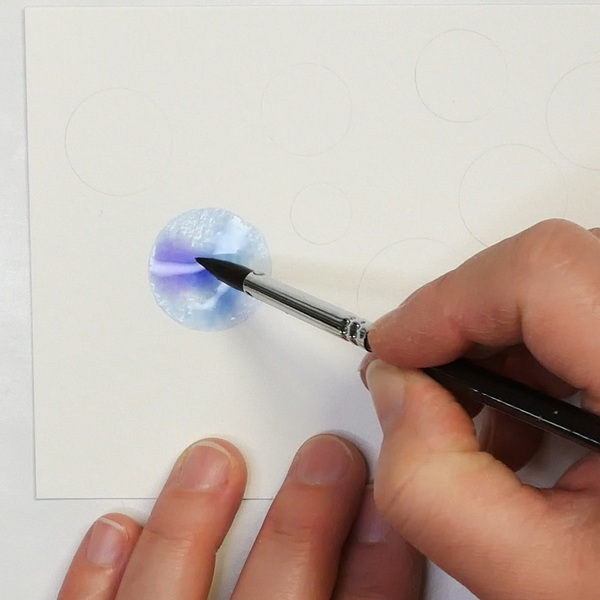
Usually when I’m working with watercolor, I try to blend colors together that are on the same side of the color wheel. This way you won’t end up with a lot of ugly brown.
I love Christmas colors of green and red, but when mixed, they will create brown. This is why I’ll add them to my cards, but not together on the same circle. If you’d like to understand a bit more about watercolor color theory, check out this article: Intimidated by Watercolor Mixing? An Easy Watercolor Tutorial
Adding in the Details
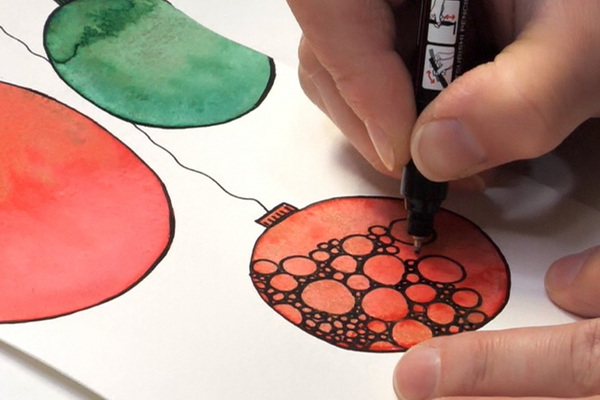
Once your watercolor is dry, we can look at adding in details to these circles and make them into ornaments. You can start by adding in caps to the ornaments and ribbons or strings to the ornament shapes.
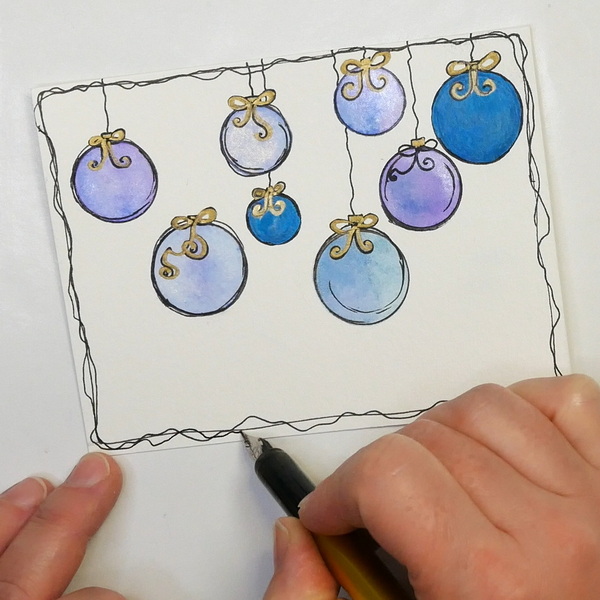
You can also make the choice whether you want to outline the ornaments or leave them as is.
From there, you can decide if you want to add in bows or create doodles to create unique watercolor images. You can also choose to add these details in white, in black or in metallics. Or a combination of all three.
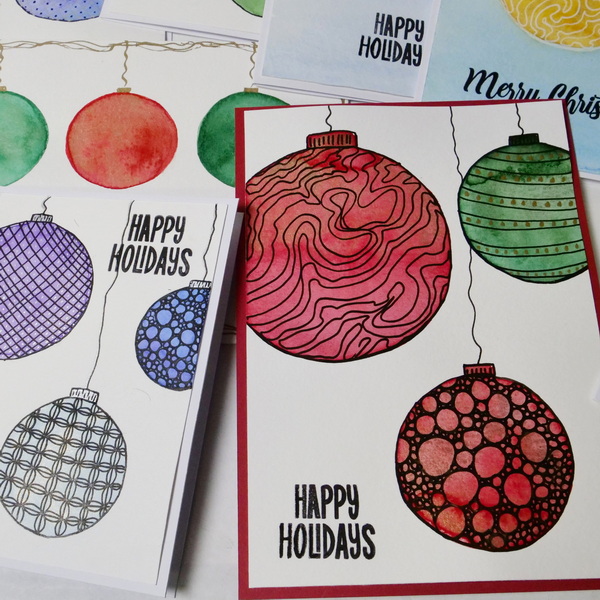
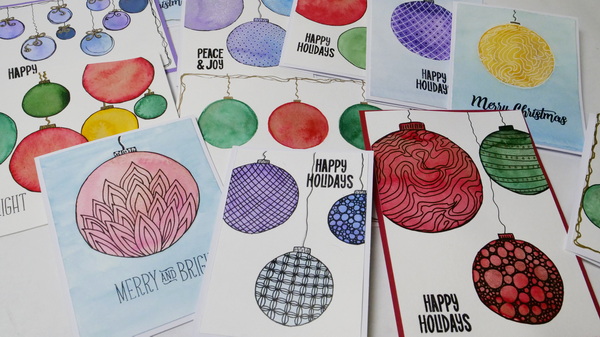
Here are some examples of different cards I created using this simple watercolor design. The possibilities are endless!
Adding in a Sentiment
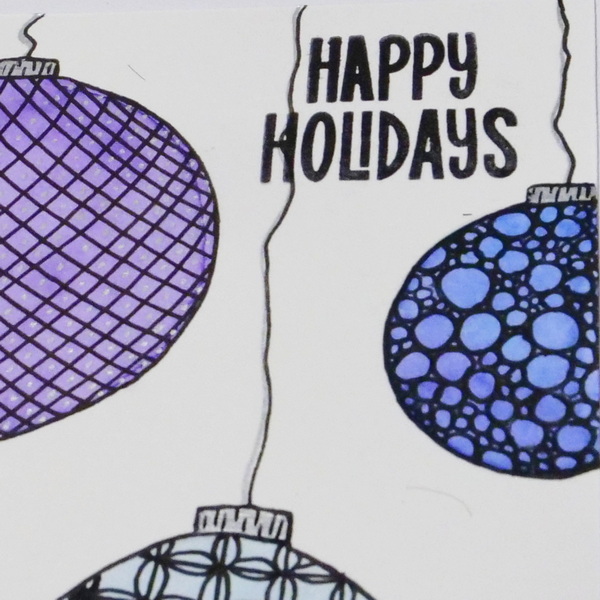
You can make the choice if you want to add in a sentiment to your card, or if you want to leave the writing inside the card. Using Jet Black Archival Ink, a sentiment stamp set, and a stamping block, I added in Christmas sentiments to my cards. Because of the smoothness of the Canson XL watercolor paper, you can get great results with stamping.
Holiday sentiment stamps to add the perfect touch to your next project.
These silicone clear stamps are printed with assorted Christmas greeting words, including Wonderful Blessing, Miracle of Christmas and Christmas and more.
Changing Up the Design

It’s nice to practice the same card repeatedly, this is a way that you can gain confidence your technique and you can keep building your skills. There are many simple ways to create variation in these designs. You can change up the size of the bulbs, the orientation of the card, and play around with color to create many unique watercolor card designs.
Any Questions?
Any questions on how to make these simple watercolor Christmas cards? In a time where we are all busy, it’s fun to be able to send personalized cards and feel confident and happy with what you create. I hope that this has given you a simple watercolor Christmas card design that you can use this holiday season!
If you have any questions or would like to contact me about this project, leave a comment below! I’d love to start a conversation with you!
Project Supply List
Designed to appeal to students, Canson XL pads contain more sheets at a comparable or better price than other value pads in the marketplace.
Ideal for cutting a wide variety of crafting materials including paper, photos, scrapbook pages or specialty materials. Cutter comes with a lifetime warranty.
Three tools in one! The Helix Angle and Circle Maker is a 360° protractor, compass, and circle template that enables you to measure angles just as you would using a standard protractor.
- Highly durable pencils in a range of hardness degrees
- Travel tin offers protective storage while in transit
Includes a metal tin containing six pencils, one each of 8B, 6B, 4B, 2B, B, and HB.
Excellent for erasing and highlighting with pencils, colored pencils, charcoal, and pastels, the Faber-Castell Kneaded Eraser is the perfect artist's erasing tool.
My favorite, yet inexpensive watercolor brush. I purchased these for a class on a whim and now use them in my watercolor and mixed media work. Round watercolor brush set includes Sizes: #2, #4, #6, #8, #10, and #12.
Color is handmade by first mixing carefully selected pigments with premium mediums and dispersants and then ground to the finest consistency.
- Quality student-grade range
- 40+ colors, including modern and historic pigments
- Strong tint strength
- Reliable transparency and lightfastness
- Quality student-grade range
- Strong tint strength
- Reliable transparency and lightfastness
- Quality student-grade range
- Strong tint strength
- Reliable transparency and lightfastness
- Quality student-grade range
- Strong tint strength
- Reliable transparency and lightfastness
- Professional quality
- Individually milled with finest quality pigments
- Kordofan gum arabic
- Exceptional re-wetting properties
- Professional-quality
- Maximum pigment loads
- Excellent lightfastness
- Natural granulation and distinctive pigment properties
- Professional-quality
- Maximum pigment loads
- Excellent lightfastness
- Natural granulation and distinctive pigment properties
- Quality student-grade range
- Strong tint strength
- Reliable transparency and lightfastness
Paintstones are lightfast pigments, tree sap, and gum Arabic.
These little jewels are also about our values and support our respect for the earth and being plastic free. They are wrapped in beeswaxed cotton with paper labels identifying the color name and are our answer to halfpans!
Introducing the ultimate tool for unleashing your creative potential - the Posca Paint Marker. Elevate your artistic endeavors with a marker that combines innovation, versatility, and top-notch quality, all in one package.
Similar to a technical pen, the Faber-Castell Pitt Artist pens are designed for precise and detailed work. They are ideal for sketching, studying, and inking.
Made with waterproof pigmented India ink, artwork won’t fade or bleed.
- Affordable entry-level pens with an elevated aluminum body
- Ultra-smooth, beginner-friendly steel nib
- Patented cap design keeps ink fresh
- Silky, scratch-resistant finish
Waterproof carbon ink cartridges for the Platinum Plaisir Fountain Pen.
The Jet Black Archival Ink Pad by Ranger Ink is acid-free, non-toxic, water-resistant, and fade-resistant, and provides lasting results. This ink will not deteriorate paper and does not bleed when inks, paints, or markers are used over it.
Stamping block tools with grid and grip, 8mm thickness, assorted sizes.
Holiday sentiment stamps to add the perfect touch to your next project.
Each pack consists of 100 pieces of 10 x 7 scored cardstock (5 x 7 when folded) and 100 A7 self-seal envelopes, perfect for DIY greeting cards.
Each pack consists of 100 pcs of 8.5 x 5.5 scored cardstock sheets (4.25 x 5.5 when folded) and 100 A2 self-seal envelopes, perfect for DIY greeting cards.


