
The Ultimate Guide to Perfect Image Transfers
Everyone makes image transfers look easy, but are they? When I first started using laser image transfers, I would end up with cloudy images, holes, and wrinkles. It was frustrating. But I didn’t give up and today I’m going to share 7 tips for getting the perfect image transfer every time!
Hop-A-Long Studio is reader-supported. When you buy through links on our site, we may earn an affiliate commission at no cost to you. Learn more.
What Kind of Image Can I Use?
Let’s start with materials. Today we are going to start with a laser image or a photocopied image. I know that laser printers are less common, but most of us have access to a photocopier. Often your local library will have free or inexpensive copy services.
Just because you don’t have a laser printer, this doesn’t have to stop you trying this technique!
Tip 1: The Better Your Image, the Better the Transfer
I have found that the best images are printed from a laser printer using the high-quality setting. The better your image, the better your transfer. The more toner you have on your paper, the darker and clearer the transfer will be. Remember to print the image on the lightest copy paper you can find. This makes for a quicker laser transfer as you have less paper to remove.

Be aware that the image will be flipped once applied to your project, so keep that in mind as you’re printing your image. If you have any words, make sure to print them backwards to ensure that they are readable once you’ve added them to your project. Photocopy prints have a bit less toner than a laser print, but you can still get great results with them. I’ve taught this technique using photocopy images and my students have had amazing results!
What About an Ink Jet Printer?
I often get asked if I can do this laser image technique with an ink jet image. Technically, this technique does not work for an ink jet image. But there are other image transfer techniques that are well suited to ink jet prints.
The reason we will not be using ink jet images today is that this technique relies on the toner being on top of the paper surface. When a laser or photocopied image is created, it is transferred to the paper using heat and pressure. With ink jet paper, the ink is absorbed into the paper.
However, here’s a project example from when I first started playing with image transfers. I didn’t have a laser printer, so I tried using an ink jet printer.

You can see that the image has discolored a bit and has taken on a green and blue hue. That’s due to pulling up the paper fibers and removing some of the color with the paper. You will notice that it isn’t a perfectly clear image transfer, but that’s okay. I made it work but this is why it’s best to start out with the right type of ink for your image.
Using the Right Glue

I like to use gel medium for gluing down my laser image. You can also use Mod Podge for this step, but my favorite product by far is Golden Gel with a Gloss or Semi-Gloss finish. It’s not too thick, applies easily, and is a professional art product, which gives the best results.

Mod Podge serves as an all-in-one glue, sealer, and finish, eliminating the need for multiple products and making it a staple in any crafter's toolkit.

Thinner than Golden Heavy Body Acrylic colors, the Golden Soft Acrylic Gel Mediums are moderately pourable, hold only slight peaks, and are ideal for glazing and other techniques that require transparency.
Preparing Your Surface
One of the first mistakes many of us make when we first try this technique is to use a textured and complex surface for adding the print.
When first starting out, start with a simple painted surface. Once you’re confident in the technique, then try some different surfaces. At the end of this article, I’ll share with you some different surfaces that I’ve added these transfers to.

For this transfer, I’m using mixed media paper that I’ve prepared with a layer of gesso. Once the gesso has dried, add a layer of acrylic paint. Make sure that you let these layers dry completely before moving onto the next step.
Preparing the Laser Image
Before we add our image to the surface, let’s cut off the extra paper around our image. This is a way to save us time as we’ll need to remove less paper.

I suggest leaving at least a ¼” border of paper around the edges. This way if you don’t glue your image down perfectly, you can make this technique work without losing portions of your image.
Tip 2: Leave ¼” border around your image
Today’s image is from my new digital botanical collection. These are hand sketched and inked images of spring flowers from my garden. Each hand drawn illustration is scanned at high resolution and are available in a variety of sizes. These PDF’s make image transfers easy, all you need to do is open them in your browser and print! Check out my shop to see the entire collection!

Are you searching for the perfect images for your next art journaling project? These spring botanical illustrations are hand drawn by artist Nadine Milton and scanned at a high resolution for detailed images. These are perfect for watercolor, mixed media and collage projects.
Adding the Collage Glue
Choose the area where you want to add your image to the surface. Add a liberal layer of gel medium to the page going past the edges of where your image will end.

When you add your glue, this is where a lot of my students make mistakes (I know I did when was first learning this technique). DO NOT be stingy with your glue. This doesn’t mean to add the entire bottle to your project, but please make sure that you have an even layer of glue to where you’re going to add your image.
Tip 3: Add a liberal amount of glue and make sure there’s no wrinkles
Then take your image and add a liberal amount of glue to the FRONT of your image (the area of the image with the printing).

Then lay your image face down onto the paper where you’ve added in your glue. You are creating a sandwich of glue between the 2 pieces of paper.
Take an old credit card or your fingers and rub the image to make sure that every area of the page has made full contact. Any bubbles and wrinkles create areas that will not transfer properly. This is a really important step.

Let the Image Fully Dry
Make sure that your image is fully dry before moving onto the next step. This is an important step that many people overlook. Just because the image may look dry, they think it’s fully dry. Acrylic dries from back to front, so if you decide to heat set the acrylic with a heat tool, heat both the front and back of the image.
Tip 4: The image needs to feel room temperature under your hands. If it feels cold, the acrylic hasn’t set.
A heat tool can be deceptive and can make you think that you’re project is dryer than it is. After you’ve used your heat tool, leave it to cool for at least a minute. Feel your project. Is it room temperature? Is it cold to the touch? If it feels in any way cold or damp, it’s not dry.
For the best results, I find letting my project naturally dry overnight gives me the best results. But that’s not always practical.
Removing the Paper from the Image Transfer
Now we need to reveal our image by carefully removing the paper. The thinner the paper you’ve used for your laser transfer, the less paper that you will need to remove.
Use a spray bottle and spritz a section of the image with water. Take your finger and gently rub the surface. Use the same pressure as you would when petting an animal. A very gentle touch helps keep your image from getting holes in it.

Tip 5: Gentle pressure is the key
As you remove the paper, you will start revealing the image. I always start by removing the first layer from the entire piece. As the water dries, you’ll see all the layers of paper that are still on the image. This is normal. An important part of this process is patience. If you rub too hard and too quickly, you’ll leave holes in your image which can be challenging to fix.

Continue to remove the papers until your image is mostly clear. You won’t get every little fiber but try to remove as much paper from the image as you can without tearing the image.
Curing the Image is the Key
This is also why we want to make sure that the acrylic is fully cured and dry. If it is not completely dry and set, once you add water to the surface, it’ll rewet and get soft. This means that your image will start coming off with the paper.
Most of the Paper Is Removed? Then Try This…
We’ve removed as much paper as we can, but no matter what you do, you will have a bit of paper residue on the surface. But as soon as you spray it with water, those fibers disappear.
Tip 6: Spritz the image with water before adding gel medium
For this last step, spritz your image with water, and immediately add a layer of gel medium to the surface. As the paper is wet, the gel medium will seal the water into the paper, making the colors contrasting and vibrant. This is a way to hide those final fibers that you can’t always remove. It creates a more contrasting and dynamic image and seals the laser transfer.

So that’s my process to get the perfect transfers every time. I still make holes in my images from time to time because I’m rushing, but if you follow these steps, you should get the best results right from your first transfer!
What About Image Transfers on Other Surfaces?

Let’s say that you want to add this type of image to a collage surface. That’s great. I would suggest adding a layer of clear gesso or matte medium before adding your glue. The stronger and more even the surface is, the better transfer you’ll get.
Tip 7: Surface Prep is the Key to Good Transfers
You can do this technique on a variety of surfaces including canvas, painted and even mixed media surfaces. But it’s important that the surface isn’t too bumpy. The bumpier the surface, the more challenging it will be to get the image as flat as possible. Just watch the bumpy areas and rub even more gently so that you don’t rub off your design.
Can I Do Image Transfers with Color Prints?
Yes, you absolutely can! This image was done with a color print and it works just as well. Just be aware that with a black and white print, if you make a hole in your paper, you can always use a permanent pen to draw in the area. With color, it’s just less forgiving.
I hope that you enjoy this technique and if you’re looking for the perfect image, make sure to check out my shop for my new collection of digital images!
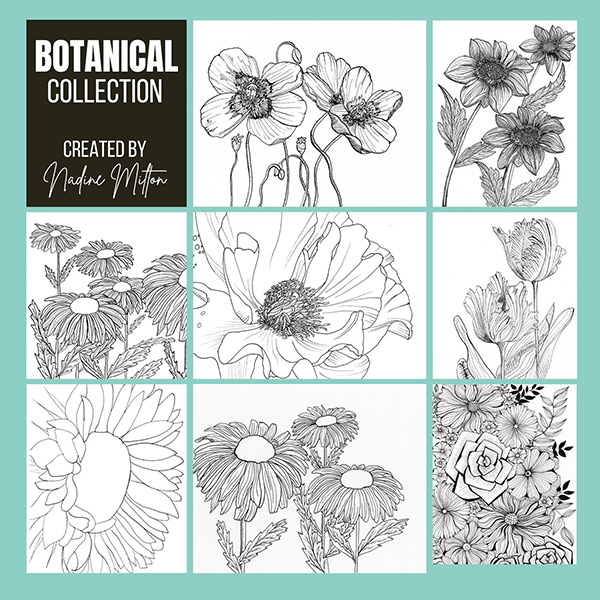
Are you searching for the perfect images for your next art journaling project? These exquisite botanical illustrations are hand drawn by artist Nadine Milton and scanned at a high resolution for detailed images. These images are perfect for watercolor, mixed media and collage projects.
Project Supply List

HARP DURABLE STAINLESS STEEL BLADES: Forging press manufacturing process enables high-density steel that makes 3 times harder than ordinary stainless steel, precision-ground offer a lasting sharp edge that cuts all the way to the tip.
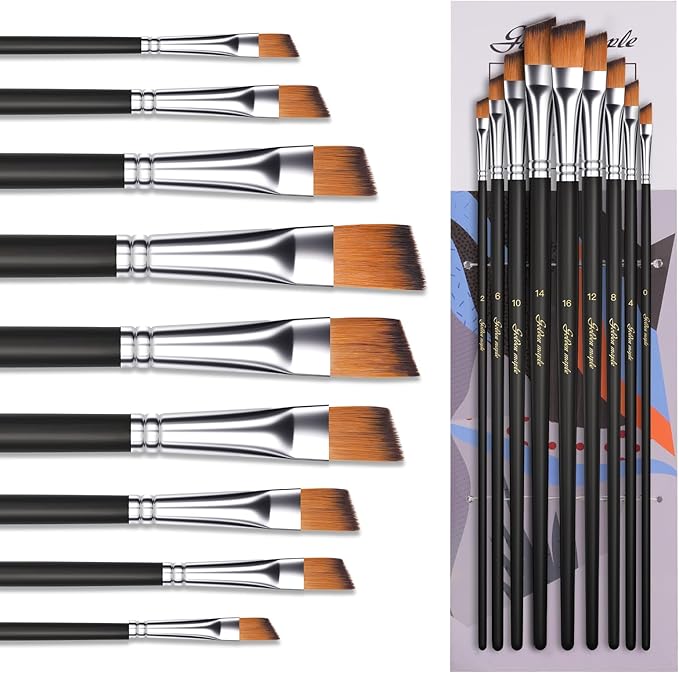
This angled paint brushes set includes 9 sizes (0,2,4,6,8,10,12,14,16) for achieving optimal painting results. Crafted for durability, these acrylic paint brushes deliver smooth strokes and precise color control. The resilient filaments hold paint effectively and release it evenly for seamless application.
Thinner than Golden Heavy Body Acrylic colors, the Golden Soft Acrylic Gel Mediums are moderately pourable, hold only slight peaks, and are ideal for glazing and other techniques that require transparency.
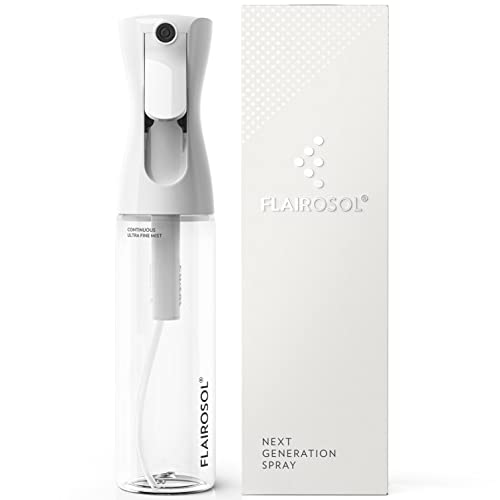
The iconic Dutch-designed Flairosol continues to set the standard in the spray industry. Elegantly designed and engineered fine mist spray bottles with robust pre-compression technology that deliver a continuous & 0.3mm ultra-fine mist lasting 1 second and multiple consecutive full trigger strokes will provide a consecutive spray

A dough scraper has more than one use, including mixed media art. These scrapers help spread out mediums and can be used for adhering laser prints and collage to surfaces. A handy, versatile tool!

A quick and easy way to melt embossing powder this heating tool was specifically design for speed quiet and convenience. It can also be used to heat set or dry ink. It won't overheat and burn projects.

Every facet of fine-line detailing and permanence has been incorporated into the Microperm Pen by Sakura. For writing in micro-spaces or on unusual and challenging surfaces, the Microperm meets the challenge.
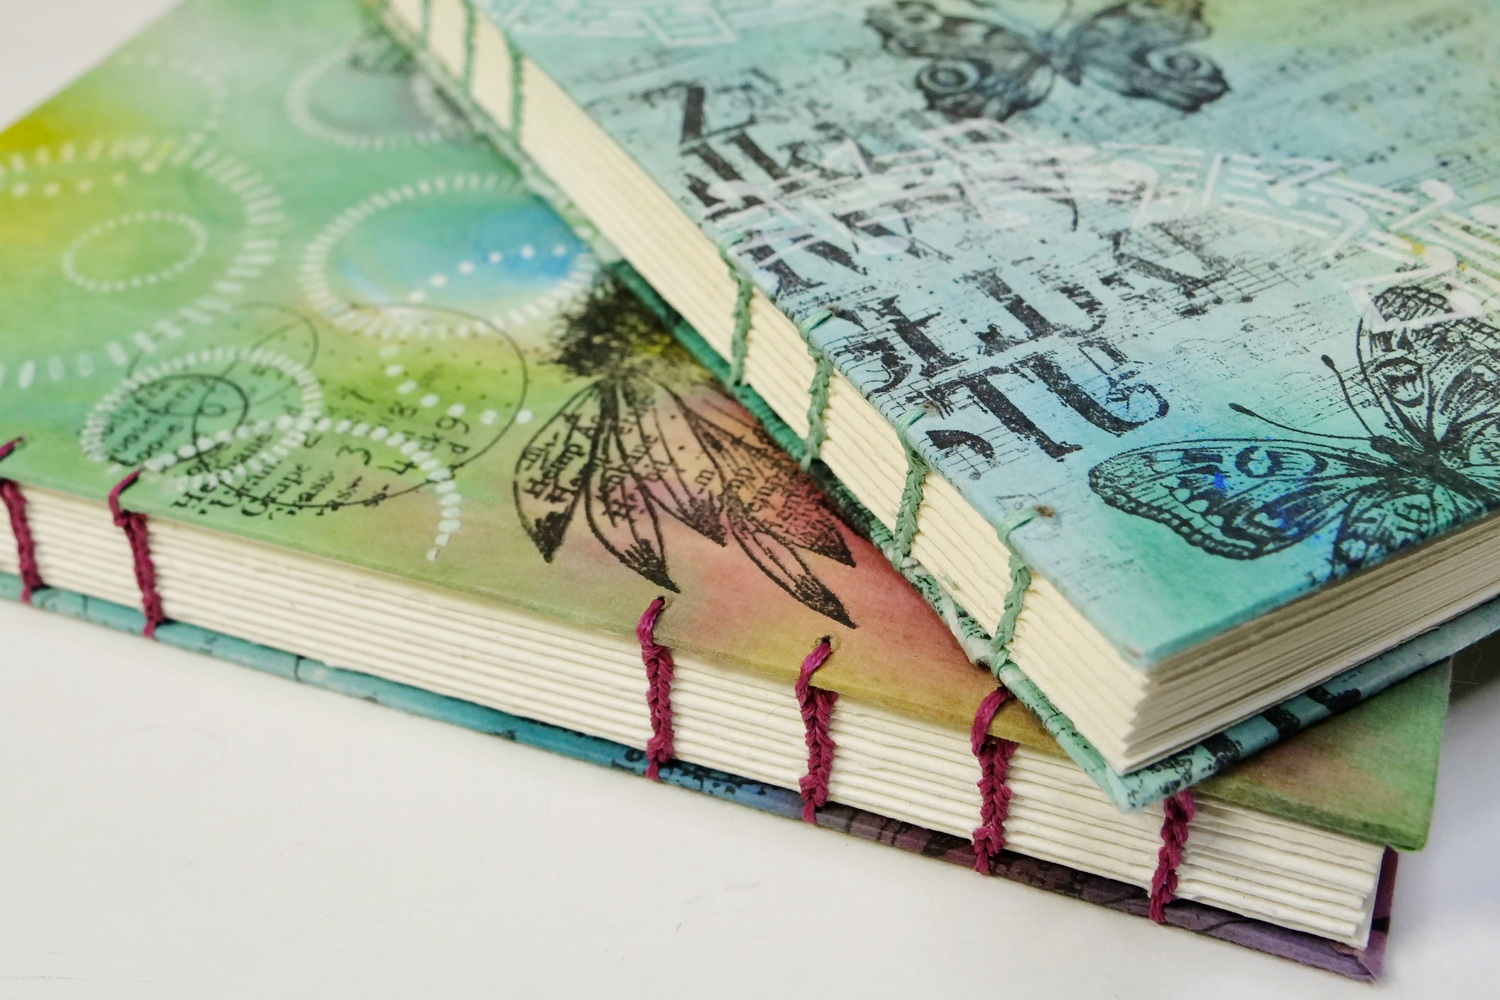
Get one-of-a kind journals lovingly created by artist Nadine Milton founder of Hop-A-Long Studio.
Are you searching for the perfect images for your next art journaling project? These spring botanical illustrations are hand drawn by artist Nadine Milton and scanned at a high resolution for detailed images. These are perfect for watercolor, mixed media and collage projects.


You May Also Like
Working in a Series with Gelli Prints

Use Your Scraps to Make Stunning Holiday Cards