Unique Collage Techniques with Tissue Paper Gel Prints
Looking for unique collage textures for your art journal? Try using collage techniques with tissue paper gel prints. This is an easy and beautiful way to add layers and textures to your projects. If you’ve been following along for the last few weeks, I’ve shared some of my favorite gel print techniques. Today we will discuss how to incorporate these beautiful papers in your projects in practical ways.
In this tutorial I’ll be sharing collage techniques with tissue paper gel prints. More specifically, how to create multiple layers that work together to create beautiful mixed media pages.
Hop-A-Long Studio is reader-supported. When you buy through links on our site, we may earn an affiliate commission at no cost to you. Learn more.
Tissue Paper Gel Prints
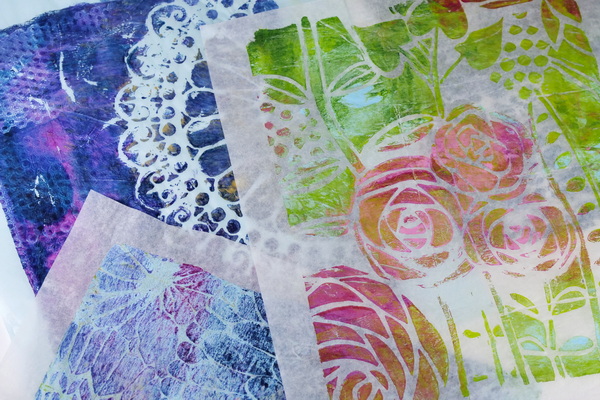
The unique thing about collage techniques with tissue paper gel prints is that they work in the art journal very differently than paper prints. With white tissue paper, when collaged on paper, it will blend into the background and disappear.
When using gel prints that have been printed on tissue paper with acrylic paint, this gives us a unique look. The painted areas of the print will remain opaque while the tissue areas will be translucent once collaged on a surface. This gives us many more creative options when we add tissue paper to our art journals.
Base Layers for Collage
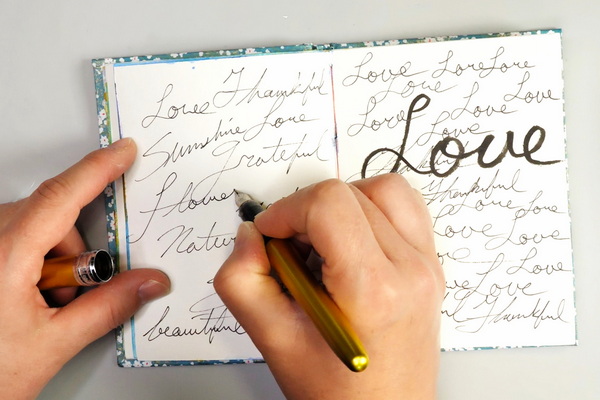
The nature of the tissue paper gel prints will affect how we choose our base layers for collage. For this project, I decided to add some scribbles and cursive writing with a Platinum Plaisir fountain pen.
I also wrote with a Pentel Pocket Brush Pen to create areas with bolder writing. Make sure that you use a permanent pen for this step. If you are looking for recommendations for permanent pens, check out this article.
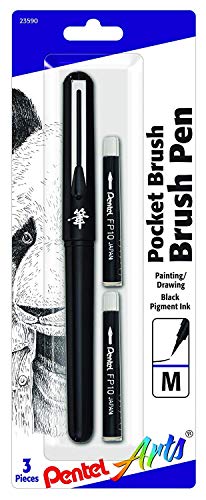
The Pentel Pocket Brush Pen is ideal for creating fine to broad lines with a single brushstroke. Portable and refillable with permanent pigment ink, it’s perfect for painting, cartooning, detailing, and much more.

Waterproof carbon ink cartridges for the Platinum Plaisir Fountain Pen.

- Affordable entry-level pens with an elevated aluminum body
- Ultra-smooth, beginner-friendly steel nib
- Patented cap design keeps ink fresh
- Silky, scratch-resistant finish
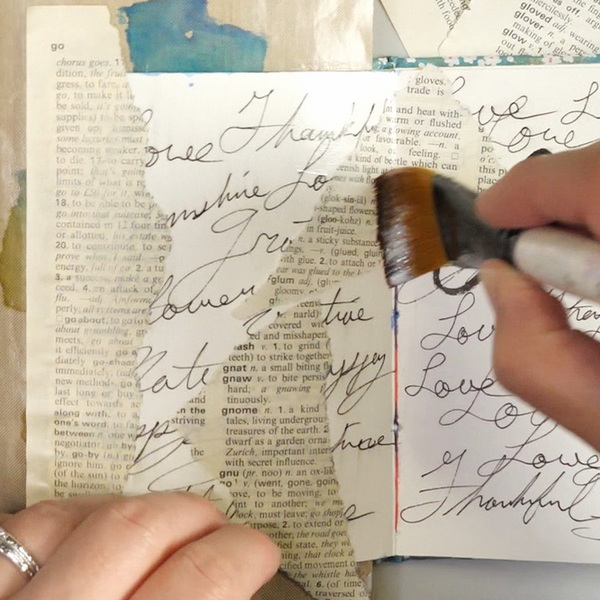
If you aren’t comfortable with adding your own writing to your art journal, use book or dictionary paper instead. Using matte medium, collage the book paper onto the surface in strips. For this project I used a combination of both scrawly writing and dictionary paper. The intent was for the writing to be illegible but add texture to the background.

A dictionary is a must for any collage project! Use this or any other book for text paper for your next project.

Creates a matte, non-reflecting finish when added to acrylic colors. Lightweight, non-toxic; Opaque when wet, translucent when dry.
Collaging with Tissue Paper Gel Prints
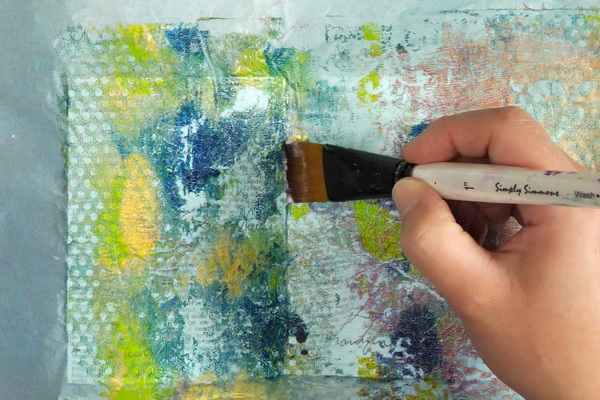
When collaging with tissue paper gel prints, this gives you so much versatility for adding color and texture to your pages. You can choose to add sections of collage to your pages or cover the whole surface. For this project, I did both.
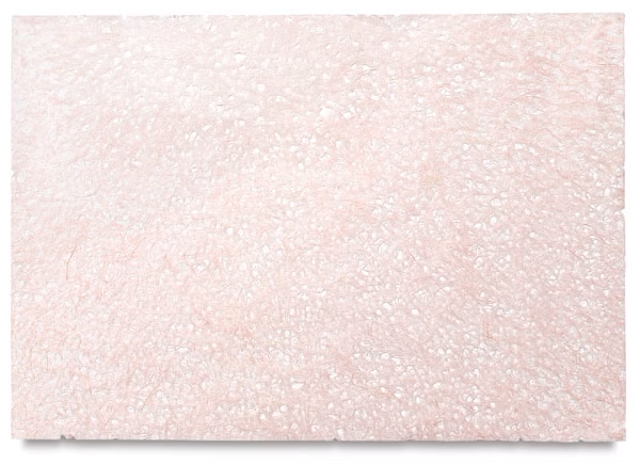
When gelli printing on tissue paper, I printed on both blue and white tissue paper. The blue tissue paper will lighten when matte medium is added to it, but will retain a soft blue color on the surface. With white tissue paper, the areas that have not been printed on with acrylic paint will disappear into the background when collaged onto the surface.

How to Collage with Tissue Paper
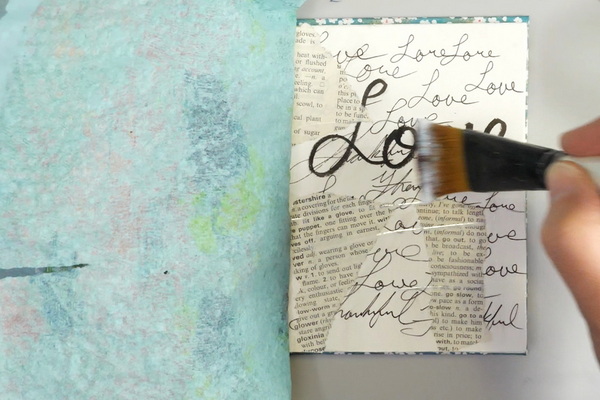
To collage with tissue paper, add a layer of matte medium to the journal page using a brush. Press the tissue paper into the journal gently. Wet tissue paper is very fragile. Try not to rub the tissue paper or it may tear.
Gently add matte medium to the top of the tissue paper working in small areas. Make sure that your brush isn’t dry but has a good amount of matte medium on the brush. The less friction between the brush and the tissue paper, the less opportunity for tearing the paper.
If using blue tissue paper, the background will be a light blue color but will still be translucent. You will be able to see the bottom layer of text through the areas of the tissue paper that don’t have acrylic paint.
If you want to add additional layers of tissue paper, make sure that the first layer has fully dried before adding a second layer.
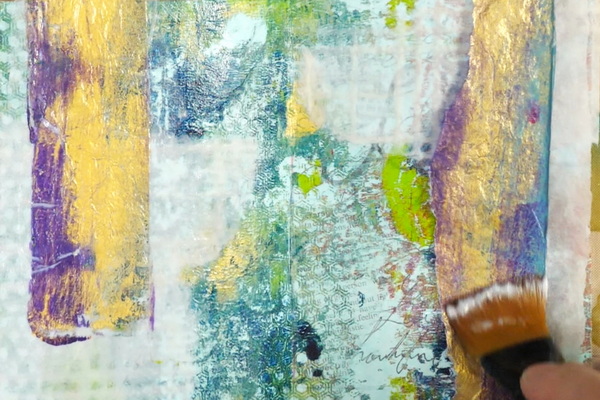
For the second layer I ripped up bits of Japanese paper and gel printed tissue paper to add in sections on my page with matte medium.
A strong yet beautiful paper, machine-made in Japan from 100% manila hemp. To form its distinctive lace pattern, the long, heavy fibers are separated by water falling on the newly-formed sheets to create holes within the paper.
Adding Opaque Layers
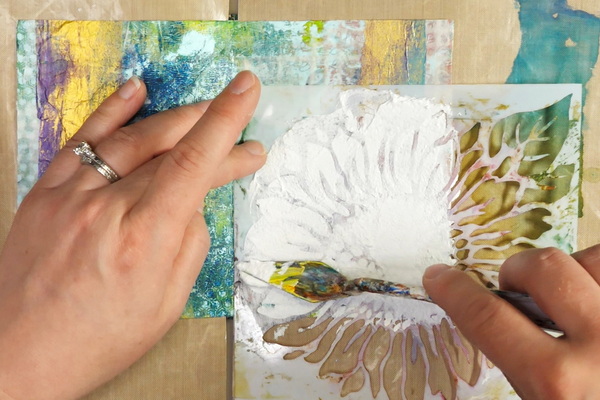
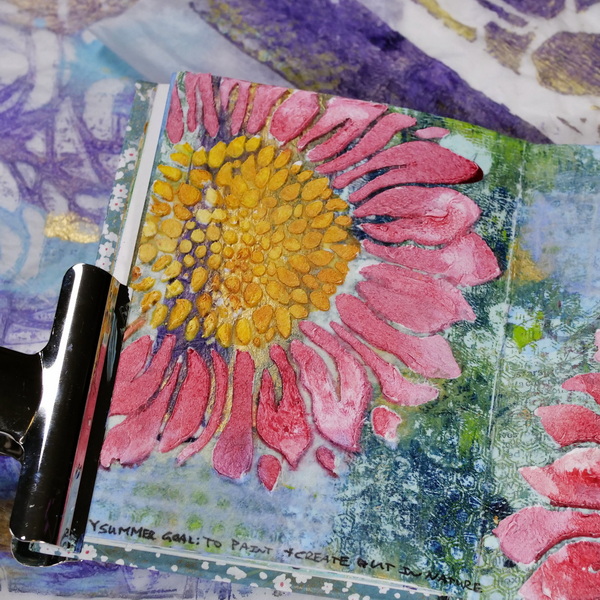
As a contrast to the translucent layers, I love the contrast and intensity of adding pastes on top of collage. Using my favorite sunflower stencil and Golden Fiber paste, I added fiber paste through the stencil with a palette knife. Allow the paste to completely dry before moving onto the next step.

Collection of sunflower stencils for any of your art journaling and crafting projects. The stencils are made of durable and flexible PET plastic, ensuring their longevity and enabling multiple uses for your crafting projects.

Golden Fiber Paste is opaque and fibrous, and creates a rough, flexible, paper-like surface on canvas and board. Use it as a ground for dry media, watercolors, digital imaging, and painting.

A 5-piece premium quality stainless steel artist palette knife set with sturdy comfort-grip wooden handles. Set includes the essential shapes and sizes needed for most types of palette knife techniques and painting applications.
Adding Watercolor to Collage
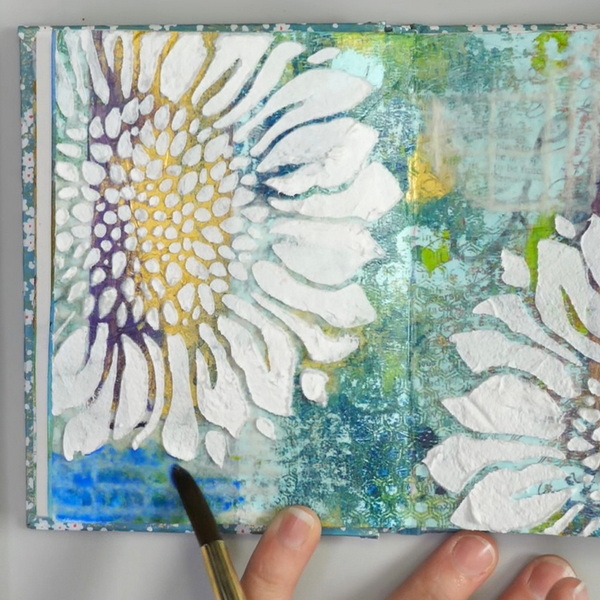
Adding watercolor to tissue paper is a great way of creating washes and accentuating textures on your collage. For this project, I wanted to accentuate the textures in the Japanese paper. Using Cobalt Blue watercolor paint, I gently added color on top.
This showed the pattern better and gave more contrast to the design. You can also add watercolor to any areas of the collage if you would like to change the color.

•Professional quality
• Pure pigments, gum arabic, and honey
• No artificial humectants or preservatives
• Strong, true colors
Painting Fiber Paste
If you haven’t used fiber paste before on your projects, it is a paste that has paper fibers in the paste mix. Because of the nature of this paste, it absorbs color well and works beautifully with watercolor paints.
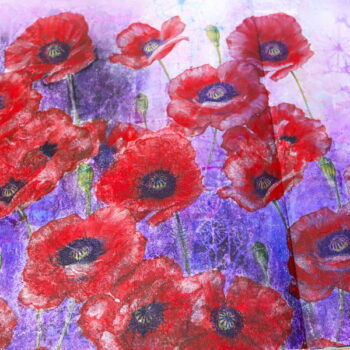
Painting Flower Petals
For this project, I used Cotman, Mission, and Daniel Smith watercolor paints. For the petals, I used a mix of Permanent Rose, Alizarin Crimson Hue, and Cadmium Red Deep.

- Quality student-grade range
- 40+ colors, including modern and historic pigments
- Strong tint strength
- Reliable transparency and lightfastness
- Uniform consistency for beginners and students
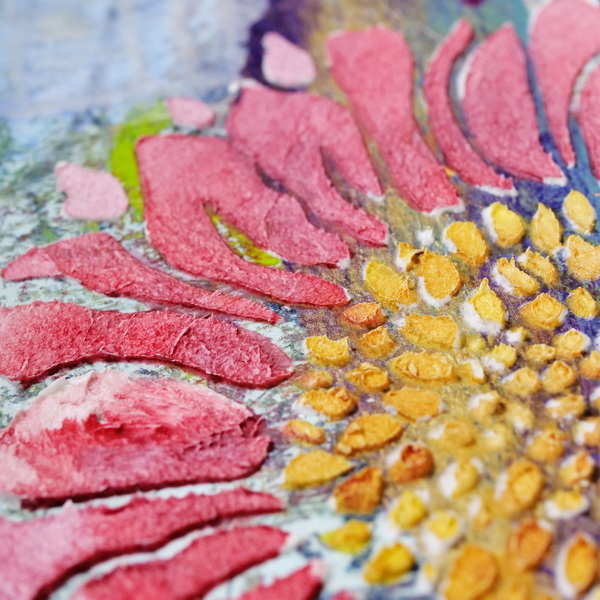
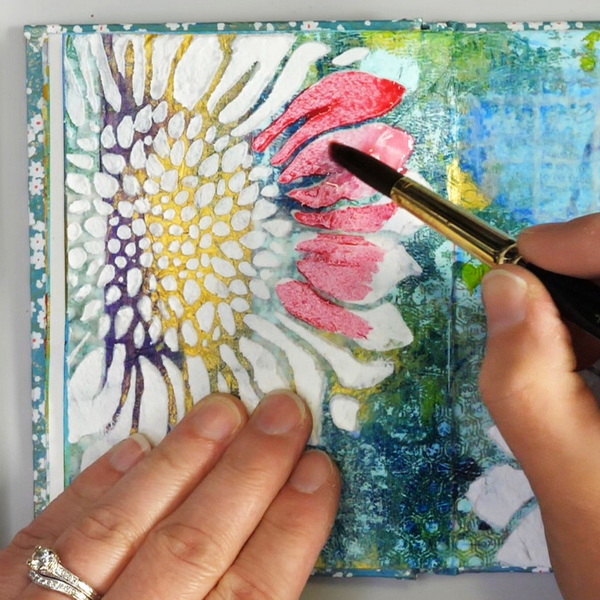
Add paint on top of the fiber paste. Because the paste is raised, this makes it easy to add paint to your flower without adding it to the collage background.
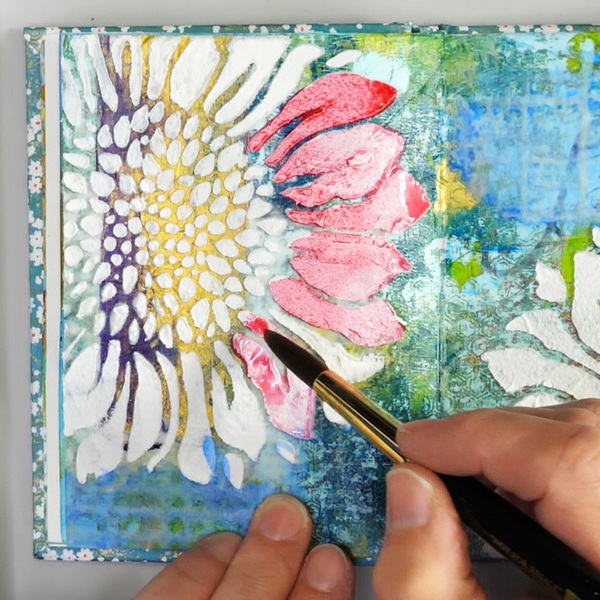
There are several ways to applying watercolor paint to the petals. I like to add intense watercolor near the flower center to half of the petal. I then dip into clean water and use the water to pull the color out to the edges. This way you can get beautiful shading without a lot of work. If you want the petals darker, start with more watercolor on your brush and use less water to pull out the color.
Another option for coloring the petals is use a wet-on-wet technique. Apply clean water onto the petals to cover the surface, then drop in watercolor and watch the paint mix and flow.
If you want to add more shadows, got back in with some darker paint. I like to mix a touch of cobalt blue with the watercolor mix I have created to darken the tone.
Painting Sunflower Centers
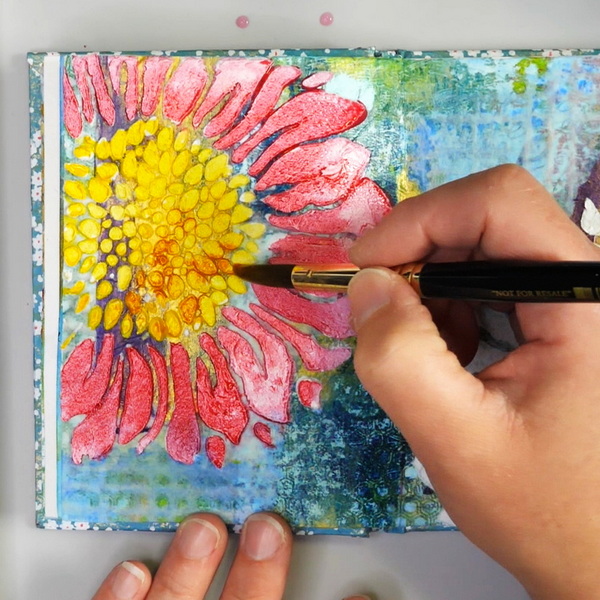
For the sunflower centers I use a mix of Lemon Yellow, New Gamboge and Burnt Sienna watercolor paints. Start with adding a layer of Lemon Yellow paint to the sunflower center. In random places add in areas of New Gamboge.
To add shadows, finish off with mixing New Gamboge with Burnt Sienna to darken the color. Make sure that the color of the sunflower center has varying hues and values of color. This gives the feeling of depth by creating darker and lighter areas.

- Professional quality
- Maximum pigment loads and pure gum arabic
- Highest possible lightfastness and permanence
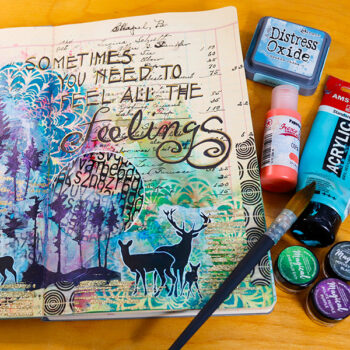
Adding Journaling
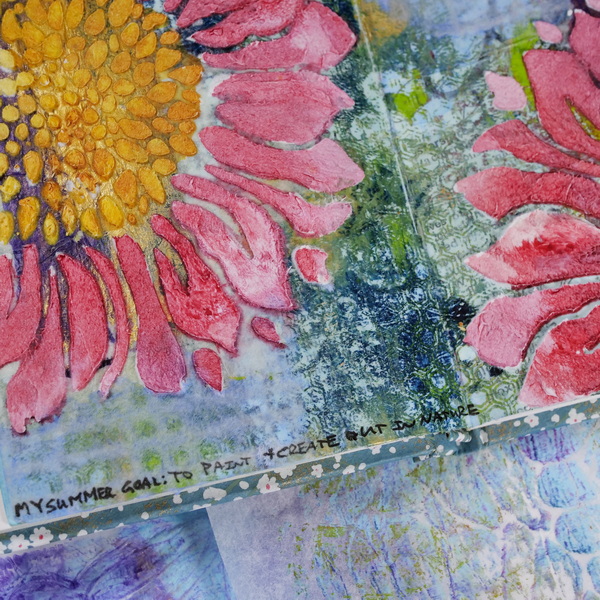
When creating in my art journal, I like having a thought or intention for each page. I’ve been thinking about summer goals lately. More specifically how we can keep a creative self-care habit during the busyness of the summer months.
We all have so many competing priorities, and so often the first thing that falls off is our personal self-care. The question is how do we work towards caring for ourselves but within the constraints of our busy schedules?
Instead of putting pressure on ourselves to be super creative in a season of busyness, it is often better to set one small goal for the summer. Perhaps it’s taking time to learn something new. Maybe it’s completing a project that you’ve wanted to do for months. It might be as simple as taking 15 minutes a week to do something creative.

My Summer Art Goal
My goal for the summer is to continue to develop my art skills by spending time outside. I love to draw and paint in my garden, but I don’t always take the time to make it happen. My goal is to get outside, find some creative inspiration and work on some new projects and techniques.
If you find that you are time constrained, maybe move to a smaller journal. This is one change I’ve made lately to my creative practice.
I love making large art journal pages, but it can take me hours to complete them. One way I am choosing to show compassion to myself is by being realistic about how much time I have to work on my projects. Instead of working in a large journal, I’m choosing to work small. By working on a 4×5 inch page over a larger page, this makes it easier for me to get my ideas down quickly and finish them.
What is Your Goal?
What is your creative self-care goal for the summer? It doesn’t have to be anything demanding. It could be setting aside an evening a week to create or committing to complete one project by the end of the summer. Whatever it is, I hope that you take the time for relaxation and creative self-care. You’ll be amazed what you learn about yourself through the process!
Questions?
Any questions on this mixed media art journal page? Collage techniques with tissue paper gel prints is easy and a fun way to mix up your creative practice. I would love to hear what you think about this technique. Please leave a comment below and I would love to start a conversation with you!
Project Supply List
- Affordable entry-level pens with an elevated aluminum body
- Ultra-smooth, beginner-friendly steel nib
- Patented cap design keeps ink fresh
- Silky, scratch-resistant finish
The Pentel Pocket Brush Pen is ideal for creating fine to broad lines with a single brushstroke. Portable and refillable with permanent pigment ink, it’s perfect for painting, cartooning, detailing, and much more.
Waterproof carbon ink cartridges for the Platinum Plaisir Fountain Pen.
A dictionary is a must for any collage project! Use this or any other book for text paper for your next project.
Creates a matte, non-reflecting finish when added to acrylic colors. Lightweight, non-toxic; Opaque when wet, translucent when dry.
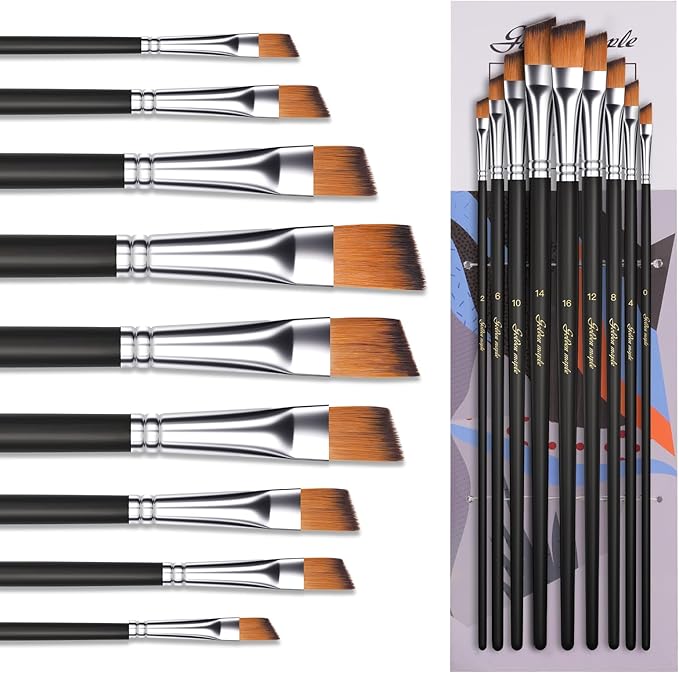
This angled paint brushes set includes 9 sizes (0,2,4,6,8,10,12,14,16) for achieving optimal painting results. Crafted for durability, these acrylic paint brushes deliver smooth strokes and precise color control. The resilient filaments hold paint effectively and release it evenly for seamless application.
A strong yet beautiful paper, machine-made in Japan from 100% manila hemp. To form its distinctive lace pattern, the long, heavy fibers are separated by water falling on the newly-formed sheets to create holes within the paper.
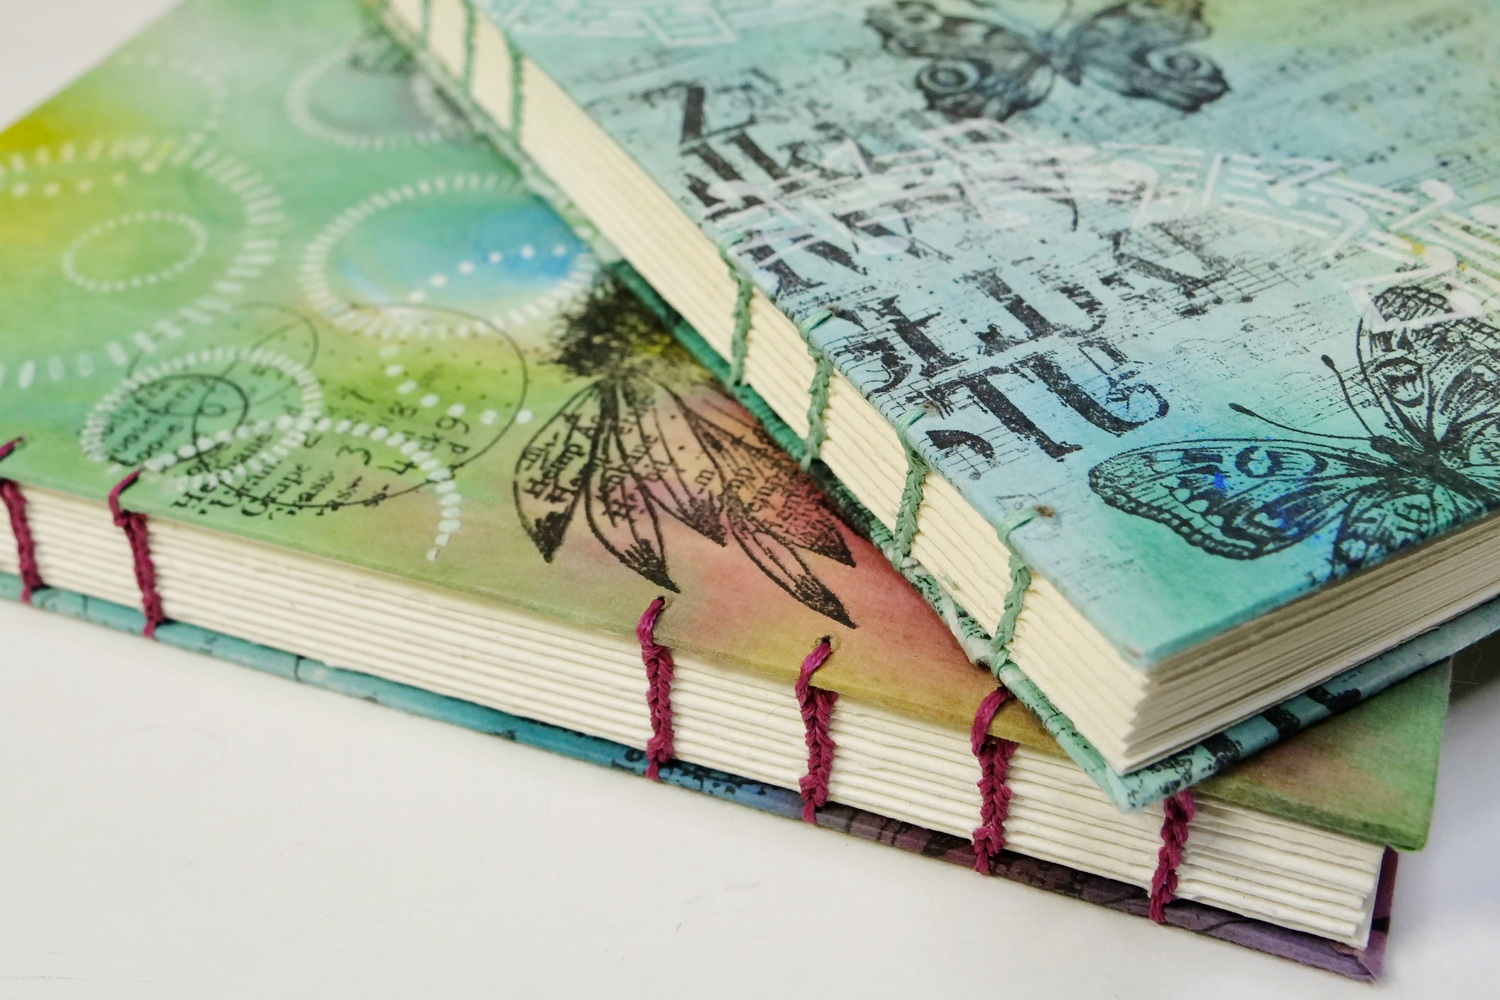
Get one-of-a kind journals lovingly created by artist Nadine Milton founder of Hop-A-Long Studio.
Collection of sunflower stencils for any of your art journaling and crafting projects. The stencils are made of durable and flexible PET plastic, ensuring their longevity and enabling multiple uses for your crafting projects.
Golden Fiber Paste is opaque and fibrous, and creates a rough, flexible, paper-like surface on canvas and board. Use it as a ground for dry media, watercolors, digital imaging, and painting.
•Professional quality
• Pure pigments, gum arabic, and honey
• No artificial humectants or preservatives
• Strong, true colors
- Quality student-grade range
- 40+ colors, including modern and historic pigments
- Strong tint strength
- Reliable transparency and lightfastness
- Uniform consistency for beginners and students
- Professional quality
- Maximum pigment loads and pure gum arabic
- Highest possible lightfastness and permanence

- Acid-free palette paper, 50 Sheets at 9" X 12"
- Smooth mixing surface against grey paper for a neutral back drop on which to view colors

Designed For Water-Based Paints - Wide variety of shapes and sizes for various watercolor art techniques from precise detail to large washes; Fine tipped Rounds #0 #3 #6 #8 #10 #12; Dagger Striper 3/8"; Oval Wash (Cat's Tongue) 3/4"; Flats #6 3/4"

Perfect for adventurous artists, this water pot expands on site then collapses for transport. It's also easy to clean and store. Ridges around the rim keep brush handles separated and organized while you're painting.
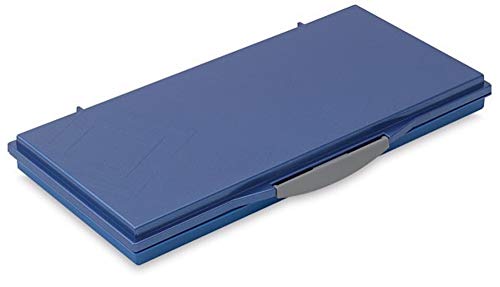
- 24 ergonomically slanted wells with two (2) generous mixing areas
- Removable mixing tray for easy cleaning
- Colors appear the same on both the palette and watercolor paper
- Leakproof and airtight palette for watercolor or oil paint keeps colors fresh for weeks


2 Comments
Pauli
How do u seal a tissue collage if making it into wall art not a journal? Thanks for reply
Nadine Milton
I’d use matte medium to seal tissue collage regardless if it is in a journal or not. It’ll protect the tissue and prevent it from degrading. Usually when I use tissue for a wall art piece I also add a layer of varnish or sealant to finish and protect the piece from dust and fading.