How to Gelli Print on Tissue Paper
Looking for new surfaces to use with your gel plate? Gelli printing on tissue paper is so easy and you can get amazing results by keeping a few things in mind.
There are so many surfaces that you can use with your gel plate, but each surface requires small adjustments in technique to get consistent results. Tissue paper is delicate, but it’s stronger than you might think. Using these techniques can get you consistent results every time!
Hop-A-Long Studio is reader-supported. When you buy through links on our site, we may earn an affiliate commission at no cost to you. Learn more.
Choosing the Right Tissue Paper
There are many types of tissue paper that will work for Gelli printing, from high quality art tissue paper to dollar store tissue paper.
Dollar store tissue paper is easy to find, is inexpensive and comes in so many colors. As this tissue paper is meant for gift wrapping, it’s not very strong and is quite thin. You can use it for Gelli printing with tissue paper, but it may take more trial and error to get good results because of the thinness of the tissue.
High quality art tissue paper is more expensive but has the advantage of being archival and acid-free. It may not be as expensive as you think as it usually comes with a higher quantity of sheets in larger sizes. The acid-free tissue paper is also better made, thicker and stronger than the dollar store tissue paper. Because the art tissue paper tends to come in much larger sheets, this gives us more options when cutting the tissue down to size for gel printing.
How to Gelli Print on Tissue Paper
The process of Gelli printing on tissue paper is very similar to printing on regular paper. Add acrylic paint or other media to the surface using a brayer, add designs (mark making, stamps stencils) onto the surface and then take a print. But instead of printing with copy paper or mixed media paper, you will use tissue paper for this step.
Gelli printing on tissue paper is a simple technique, but here are a few things to consider making sure that you get great results every time.
Applying Paint to the Gel Plate
When applying paint to the gel plate for printing with tissue paper, add a heavier layer of paint than you normally would. The tissue paper is delicate and if there is not enough paint on the gel plate, the tissue paper will stick to the gel plate. If this happens, when you try to remove the tissue paper, you may tear it. By adding more paint to the surface, this prevents the tissue paper from tearing.
It takes a bit of practice to figure out how much paint to add to the surface for gel printing. If you are new to Gelli printing, check out this article. I go into detail about how much paint to add and how to get better results Gelli Printing.
Taking a Gel Print with Tissue Paper
Adding Tissue Paper to the Gel Plate
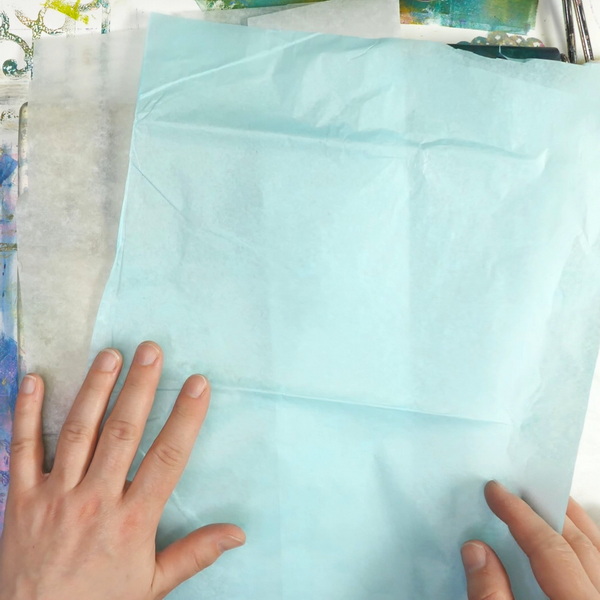
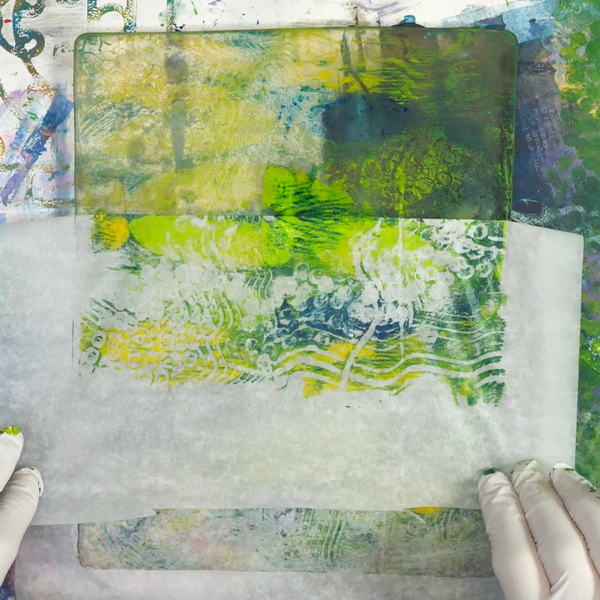
When taking a gel print on tissue paper, gently press the tissue paper to the surface. To prevent wrinkles, start at the bottom or top of the plate and gently press the tissue until it fully covers the plate.
Getting a Fully Transferred Image
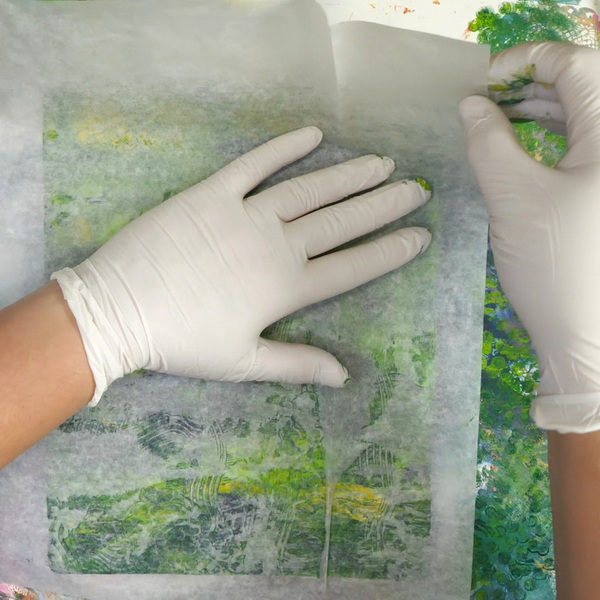
When taking a print with tissue paper, do not rub the tissue paper into the surface. This can cause the tissue paper to tear. Instead press gently onto the surface. I find with artists quality tissue paper I can rub gently. But with the dollar store paper I can only press due to the thinness of the tissue paper.
How to Remove Tissue Paper from the Gel Plate without Ripping
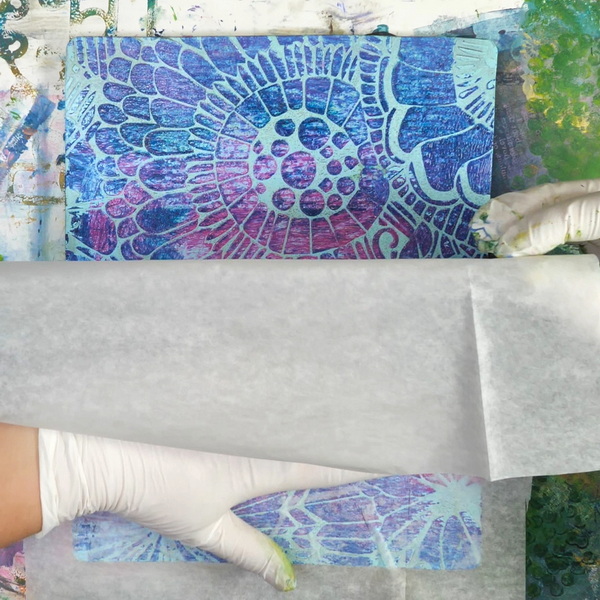
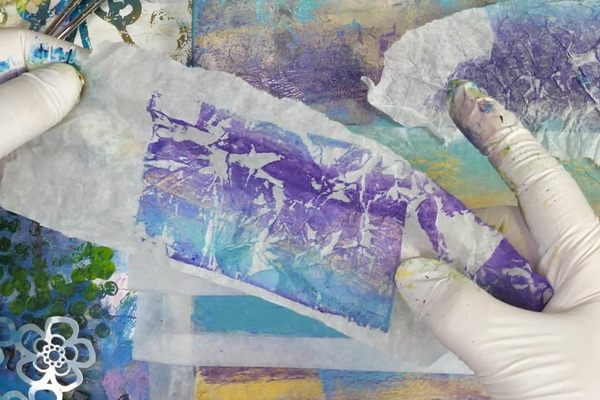
When pulling the tissue paper from the plate, do not pull the paper up. Instead, pull it gently toward you. As the tissue paper is delicate and wet with the paint, pulling it toward you will prevent it from tearing.
I find this is the step where sometimes my prints get ruined. I can add the tissue paper but removing it can be difficult. Work slowly and gently and you’ll have an easier time.
Adding Interest to Your Gelli Prints
There are many Gelli printing techniques you can use with tissue paper that will create unique prints and patterns. When creating monoprints with tissue paper, I like to create a variety of solid prints and prints with white space and bold patterns.
Subtle Textures for Solid Prints
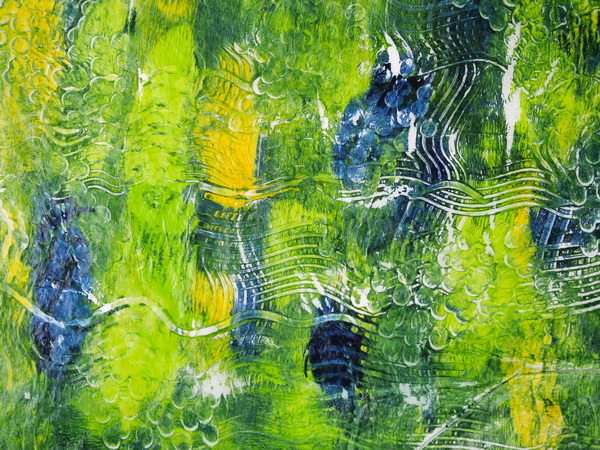
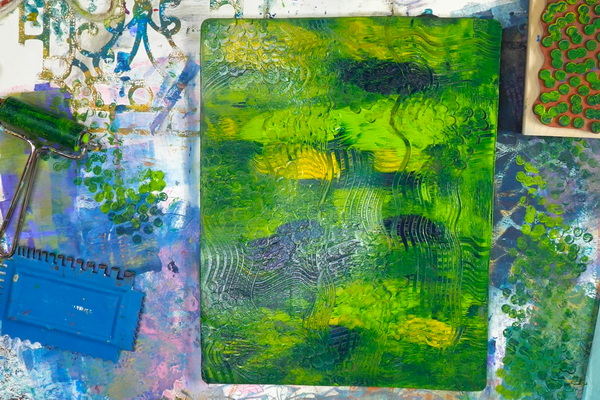
If you want a more solid print on your tissue paper, add a layer of paint to the gel plate surface with a brayer. Create designs using stencils, stamps and assorted found objects by pressing them into the surface and then removing them. Use tissue paper to make a print. You will end up with a very solid print with texture and very little white space.
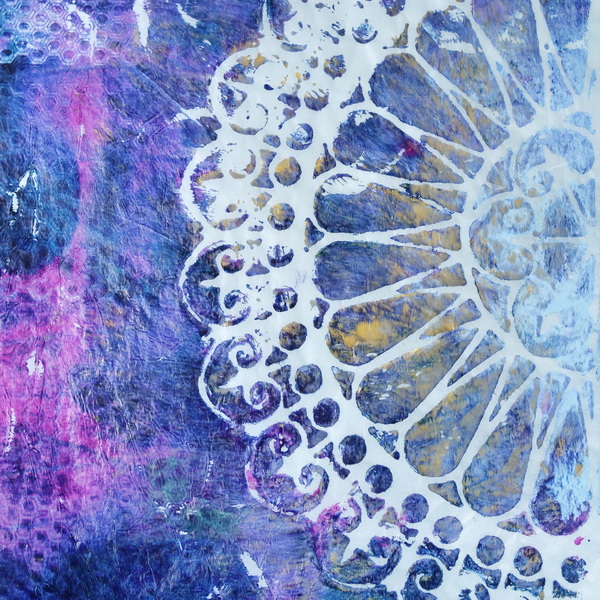
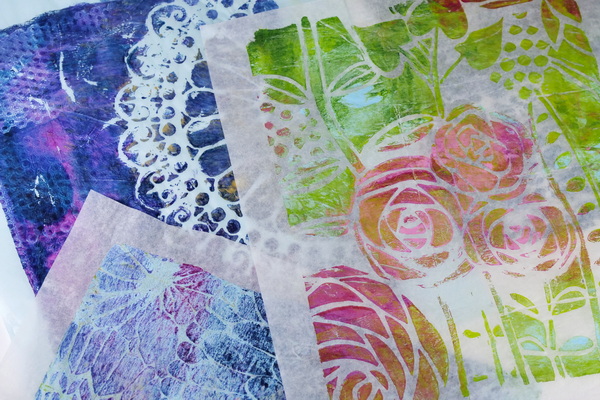
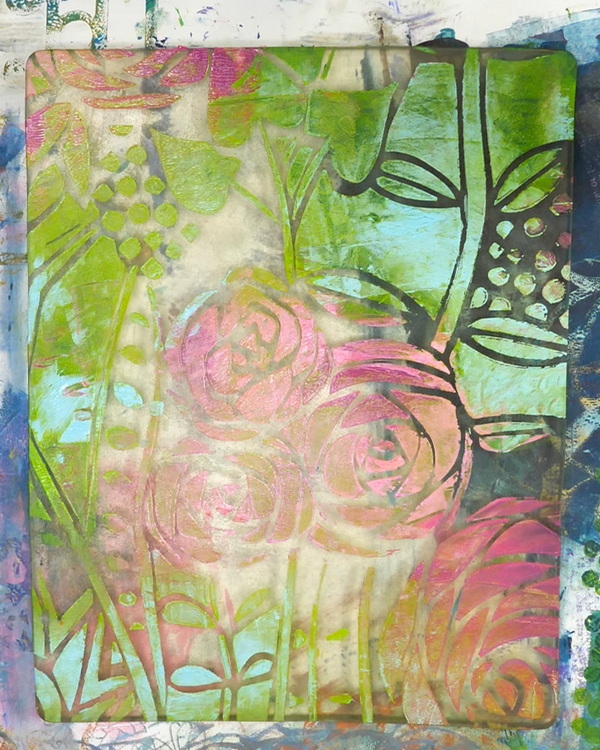
Contrasting Prints
For contrasting prints, start by laying down a stencil or other shapes onto the surface. Then brayer paint onto the surface covering the stencil or found objects. To add additional patterns, stamp into the surface using rubber stamps or found objects to create more texture.
Pull the stencil off the surface before adding the tissue paper. This will create a print with many open and white spaces in the design.
Be careful when you pull the print and if possible, using high quality tissue paper. The tissue paper will want to stick to the gel plate in the areas without paint, so be very careful when removing it from the surface.
You can also vary this technique by using colored tissue paper instead of white tissue paper. When using colored tissue paper, make sure to use contrasting colors on the gel plate surface.
Tissue Paper Folding Techniques for the Gel Plate

Another way to create interesting patterns is to fold your tissue paper before adding it to the gel plate. When you add folds to the paper, the paint will only stick to the areas in direct contact to the gel plate. This will create large white spaces and blocks of color.
Tissue Paper Textures
If you want to add more texture to tissue paper, try crumpling up the tissue paper and laying it out onto the gel plate. The tissue paper will pick up the paint but will also have areas that are white and wrinkled. This is an easy way to create beautiful extra texture.
What to do with Tissue Paper Gelli Prints?
I love using tissue paper Gelli prints in my art journal for collage and decoupage. As the tissue paper is thinner this can be a fun way to add semi-transparent layers to your surface.
In the following weeks, I’ll be using these tissue paper Gelli prints in future posts. Come back and visit to see more ways to use Gelli prints in your projects!
Questions?
Any questions about how to gelli print on tissue paper? It’s an easy technique but it can take some practice to get consistent results. If you are interested in seeing more Gelli printing inspiration, check out the following articles:
- Gelli Plate Printing with Leaves
- Gelli Printing with Mini Gel Plates
- Gelli Printing Basics
- Gelli Printing with Stencils
If you have any questions or comments about this technique, please leave a comment below. I’d love to start a conversation with you!
I hope that take some time for creative self-care this week!
Project Supply List
Gelli Arts Printing Plate 8×10
Pebeo Studio Acrylic Paints: Iridescent Gold, Cadmium Green Hue, Phthalocyanine Emerald, Turquoise, Lemon Cadmium Yellow Hue
Cheep Paint Magenta
Amsterdam Standard Series Acrylic Paints: Sky Blue Light, Azo Yellow Deep, Quinacridone Rose Lt, Prussian Blue Phthalo, Yellowish Green
Small Brayer
Mark Making Tools
Dollar Store Tissue Paper
Lineco Archival Acid-Free White Tissue Paper
The Crafter’s Workshop Botanical Dream Stencil
The Crafter’s Workshop Wild Roses Stencil TCW 779
Wild Whisper Designs Circlet Stencil
Yarn
Rubber Stamps