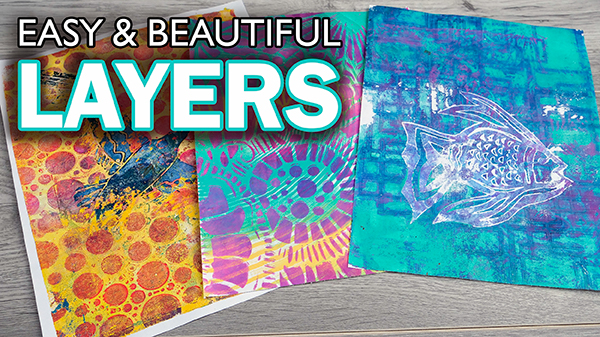
Unique & Easy Gel Printing with Leaves and Grasses
Did you know some of the best tools for gel printing are growing right outside? Grab some leaves, your gel plate, and let’s jump in! Today I’ll show you how to use real plants to create beautiful, organic textures. You might just be surprised by the stunning details that show up. Gel plate printing with leaves and grasses is easy, beginner-friendly, and a little bit magical!
Hop-A-Long Studio is reader-supported. When you buy through links on our site, we may earn an affiliate commission at no cost to you. Learn more.
Where do You Find Leaves?
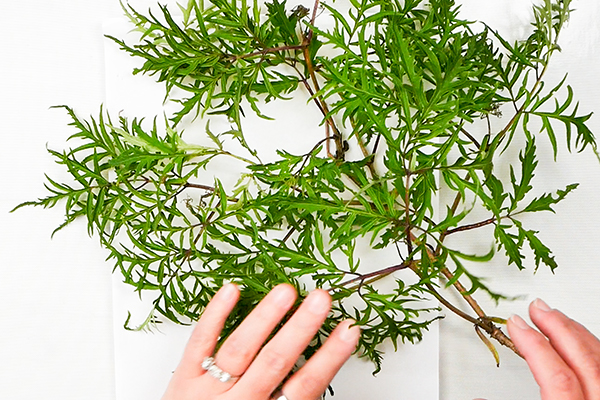
In my garden I am surrounded by a LOT of textures and leaves to choose from. If you don’t have a garden of your own, go for a walk in a park or green space. You’ll probably find a lot of textures from leaves and plants that you can use.
Just make sure that you’re gentle when removing leaves. I like to use a pair of shears or scissors. Tearing leaves carelessly off a plant can damage it and open it up to disease.
Choosing the Best Leaf Style
When you choose leaves, think about the impression they will make. Are they a closed leaf that makes a very large, solid shape? Or are you working with small leaves that will create a lot of details? Also, will the leaf lay flat, or is it a thicker leaf like a succulent that will be hard to press and print? Depending on what you use will affect your result.

Gel Plate Size
Always keep the size of your gel plate in mind when you’re printing with leaves. If you’re working on a 5”x7” gel plate, don’t use 4-5” leaves on it, it’s not going to give you the result that you want. But using larger leaves on a larger gel plate you’ll end up with a better result. Keep this in mind as you’re creating.


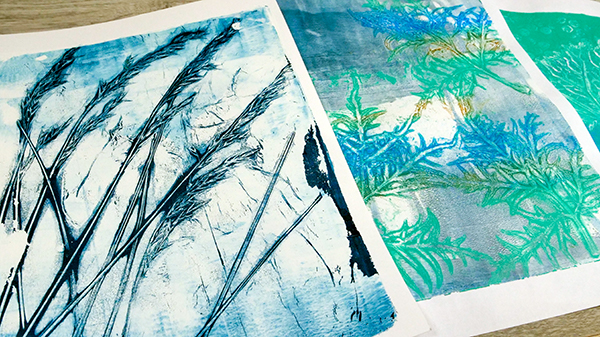
Leaf and Grass Gel Printing Techniques
There’s lots of things out in the garden to use when gel plate printing with leaves and grasses, but today I’m focusing on a few easy techniques to get your creativity flowing!
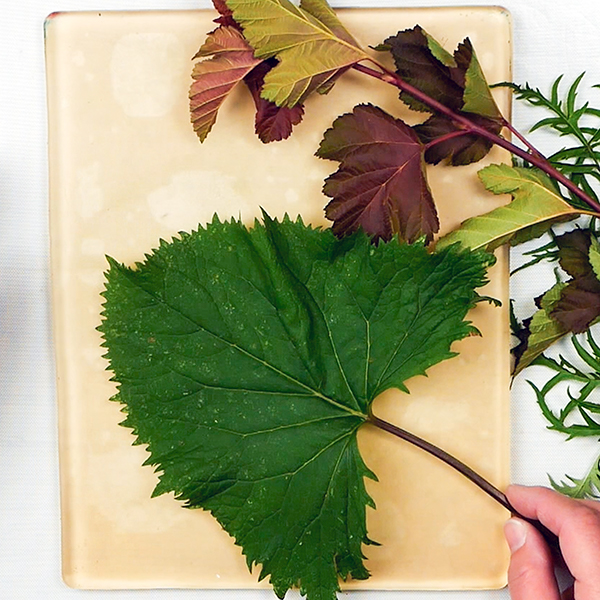
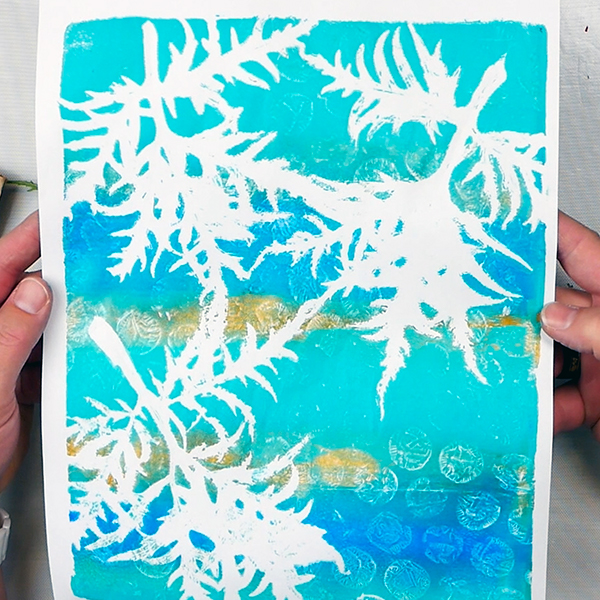
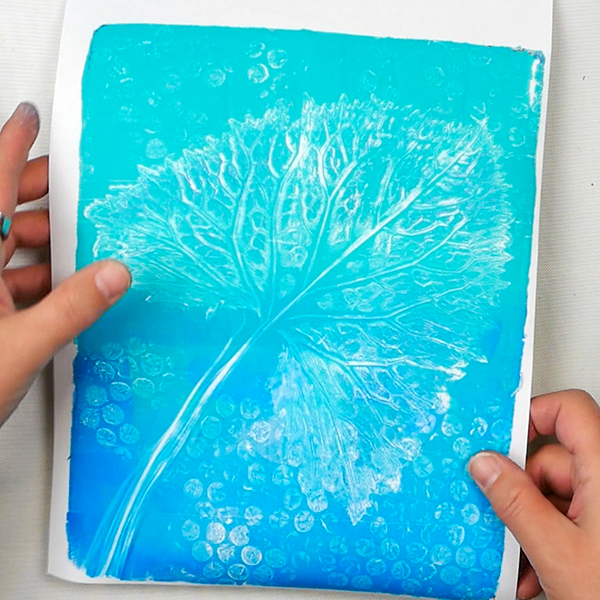
Working with Textured Leaves

This is a leaf from a Lemony Lace Elderberry Bush. I love using this for gel printing due to the nature of the leaves. They have the texture and design to create a beautiful print, whether you’re using the positive or negative image.
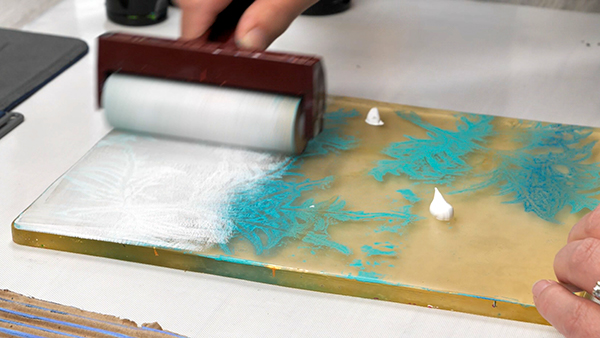
Add your paint to your gel plate in a thin layer. The thinner your paint, the better impression you will get of the leaf.
If this is your first time gel plate printing, make sure to check out this article first, showing you the basics on how to get fantastic gel prints.
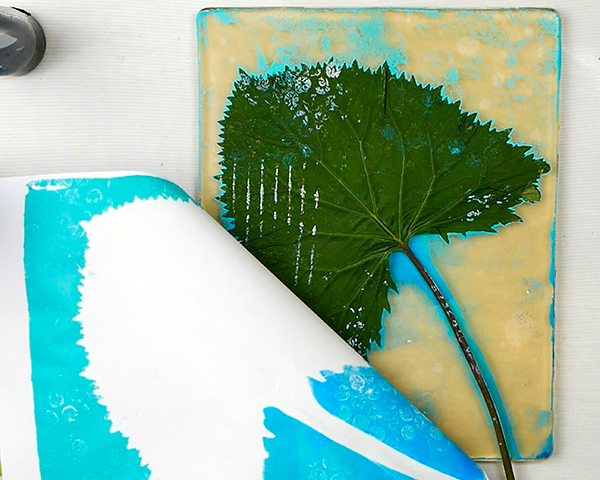
Press your leaf gently into the surface and add a piece of paper on top to take a print. Make sure that you press around the leaf and stem. This will give you a sharp and consistent image. When you pull the print, this will give you a strong silhouette of the leaves.
Taking the Second Print
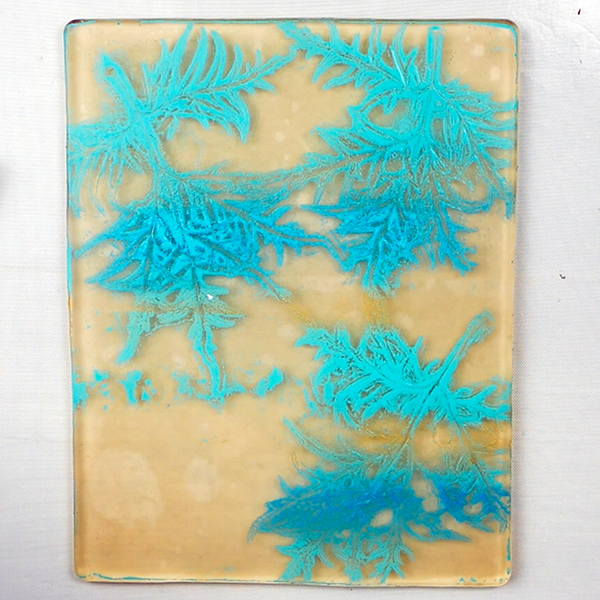
Leave the remaining paint and leaf impression on the gel plate to dry. Once dry, add another layer of paint to the surface.
If you’ve never layered prints like this before, make sure to check out my article about creating layers on the gel plate.
At this point you can decide if you want to add any other designs onto the gel plate surface. I like to use a contrasting texture like bubble wrap or corrugated cardboard to create additional texture.
Add your piece of copy paper onto the surface and let it dry. I tend to leave the prints at least 3-5 minutes before pulling the paper off. If you lift the corner and the paint isn’t sticking to the paper, press it back down and wait until it’s fully dry.
Once dry, remove your print and you’ll end up with a beautiful impression!
Working with Solid Leaves
Working with solid leaves can be challenging, because you may end up with a very large silhouette on your first print. This may be what you’re looking for, but sometimes we want to have a large leaf with detail.
Add your paint and leaves as in previous steps. Then press the paper into the surface for your first print. Before removing it, keep your hand down in a bottom corner. Start peeling back the paper, but do not remove it completely.
Instead, pull it back just far enough to remove the leaves on your gel plate. Then press the print down in place. Let your print fully dry on the gel plate (usually around 3-5 minutes). When you pull the print, you’ll have a print that has strong color and contrast, as well as the details from the leaves.
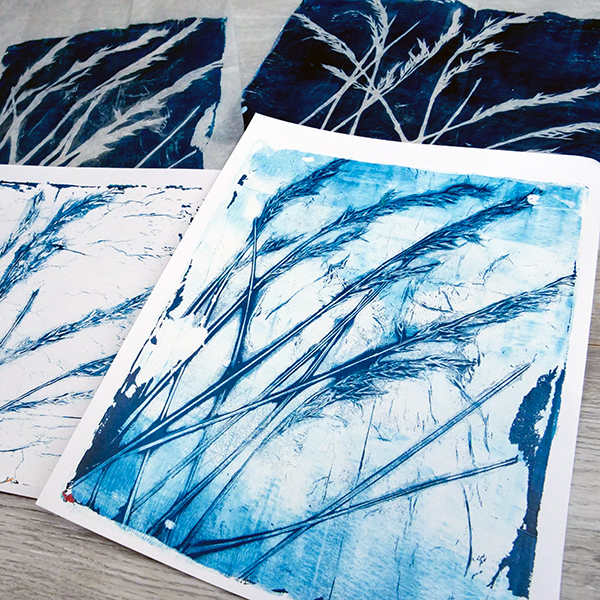
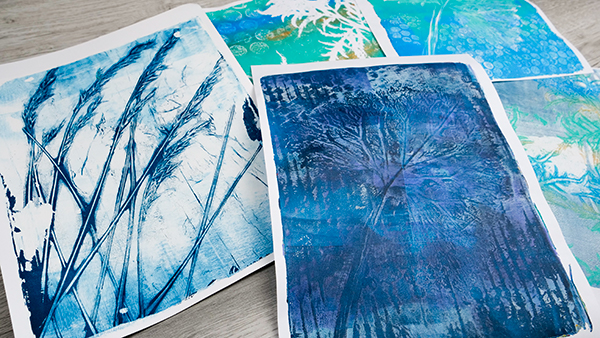
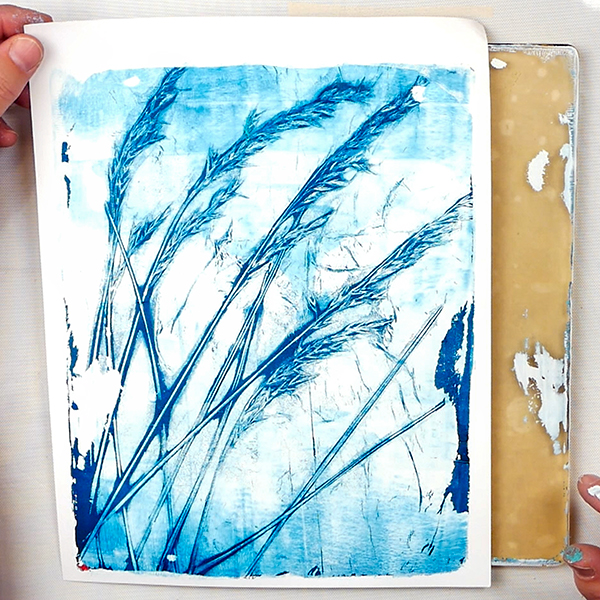
Printing with Grass
One of my favorite outdoor textures to gel plate print with is grass. It gives a lot of interest and movement in a simple design.
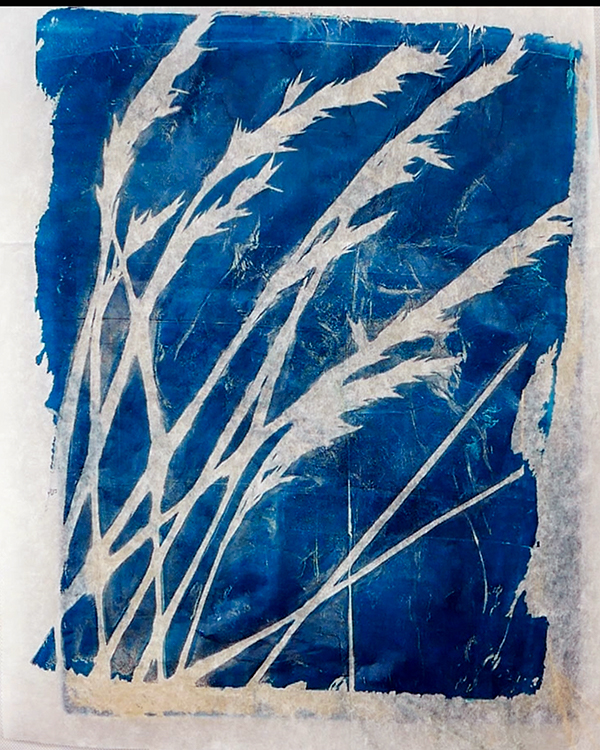
Blue Fescue Grass
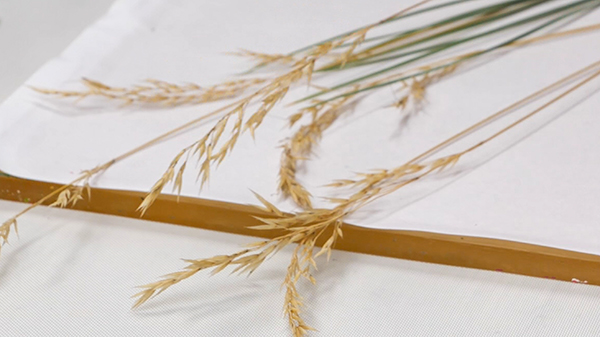
For this print, I’m using the seed heads from blue fescue grass. They are long and tall and will work beautifully for gel prints. For these prints I also like using pieces of the blue fescue grass itself, not just the seed heads.
When harvesting perennial grasses, pull the grass out instead of cutting the pieces out of the plant. When you cut the grass, it doesn’t generally grow back.
Designing Prints with Fescue Grass
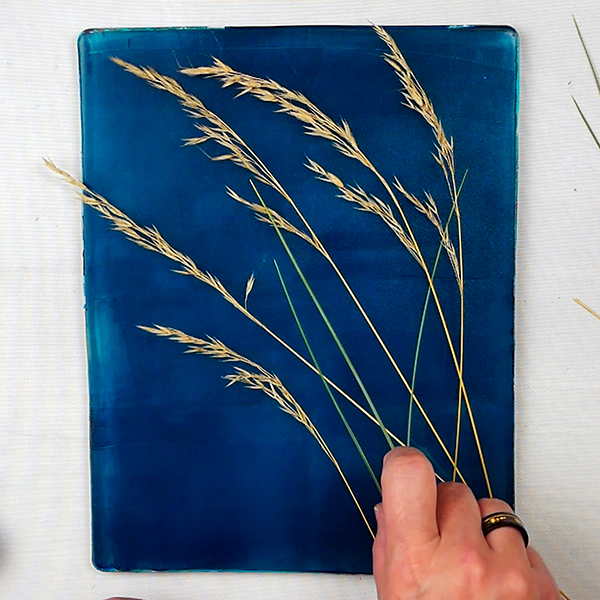
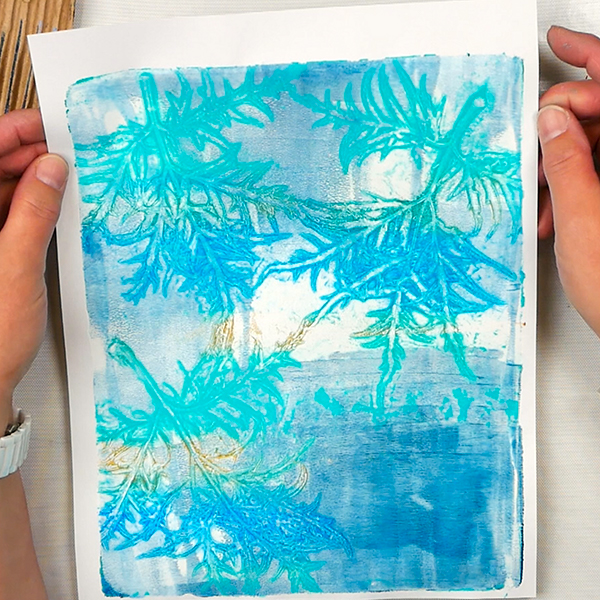
When designing with grasses, I like to try to create an organic scene. I like to have the seed heads leaning as that is how you’ll see them in nature. I’m keeping this print very simple as I want to focus on the simple design for this piece.
Start with a layer of Amsterdam Prussian Blue paint in a thin layer on your surface. Place your pieces and take a print. Make sure that you get your fingers all around the edges of the grass, if you don’t push it down enough around the edges you’ll lose the detail. Pull the print while it is still wet.

Proudly crafted in the Netherlands, these acrylic paints are value priced and easy to use, making them an excellent choice for the beginning or intermediate artist.
Try Tissue Paper
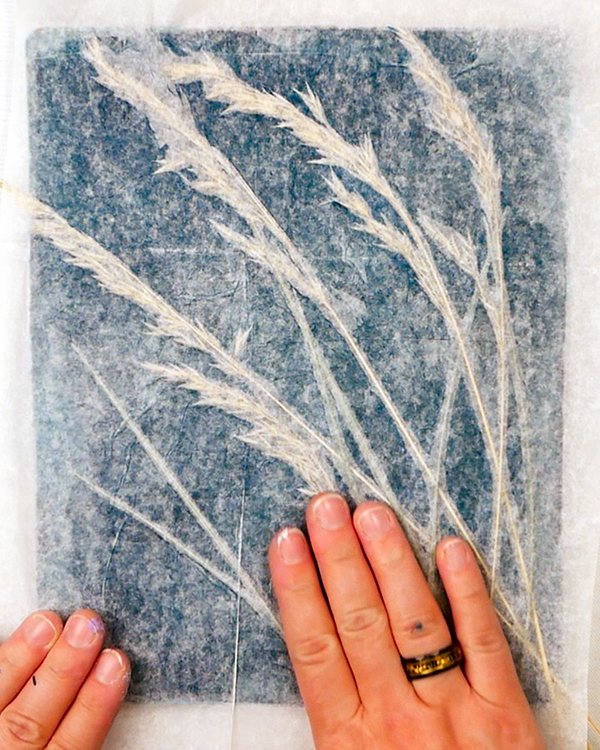
For this step, I often like to use tissue paper. Not only do you get a very unique print, but when you push the tissue paper around the grass, you get a more detailed impression. Tissue paper is great because it’s semi-transparent nature lets you see where you’re pressing into the paint, giving you very clean edges.
Adding the Second Paint Layer
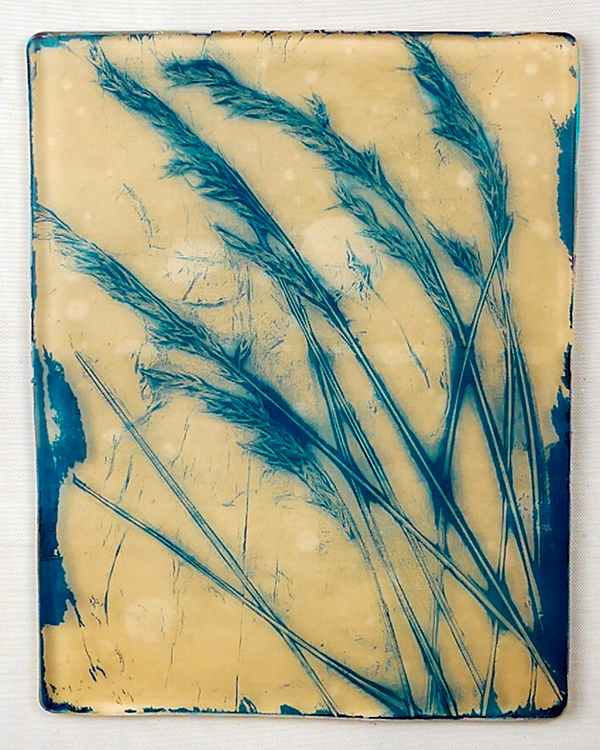
Let the paint and impression set on the gel plate until fully dry. Add a thin layer of Liquitex Titanium white paint to the surface and let it fully dry. After 3-5 minutes, pull the print off the gel plate.
The grass prints are some of my favorite prints! I love Prussian Blue and white contrast. These prints can be printed on Bristol paper or heavy cardstock for framing as artwork.
Any Questions?
I love the organic feel gel plate printing with leaves and grasses creates and the creative possibilities it offers! These are just a few ideas to get your creativity flowing! Make sure to sign up for my newsletter as I will be creating a much more in-depth course about printing with flowers and leaves over the next few months.

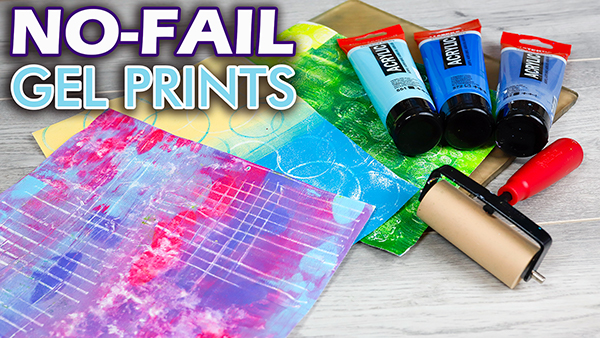
Project Supply List

Proudly crafted in the Netherlands, these acrylic paints are value priced and easy to use, making them an excellent choice for the beginning or intermediate artist.
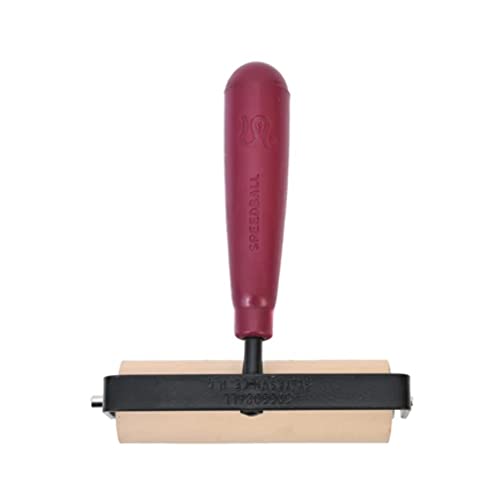
My recommended brayer for gel plate printing. 4" brayer provides even ink distribution and maximum coverage. Allows for consistent prints on a variety of surfaces.
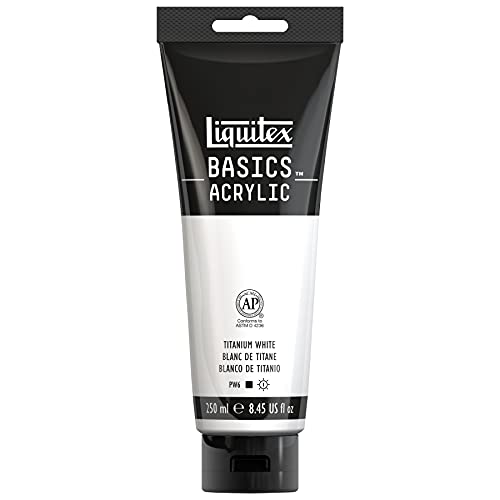
Liquitex Basics Acrylic Colors were developed for students and artists who require dependable quality at an economical price. Each color is uniquely formulated to bring out the maximum brilliance and clarity of the individual pigment.

Features large size bubbles; heavy-duty large bubbles provide extra strength and protection for large bulky items; use large bubble cushioning to fill empty spaces in boxes and add instant padding for fragile items

1 ream (500 sheets total) of 8.5 x 11 inch white copier and printer paper. Acid-free to prevent yellowing. Smooth 20 pound weight paper for consistent ink and toner distribution; dries quickly and resists paper jams.

Hammermill 8.5” x 11” Colored Cardstock 110lb Paper is a premium thick cardstock designed for print and copy use on copiers and printers. It’s heavy cardstock that’s ideal for heavy duty projects.

Archival material created and made in USA. Lineco is a leading and trusted brand for archival quality art, photography, and framing supplies. 16 gm2 tissue allows for translucency and durability. Acid-free and lignin-free; PH Neutral and Non Buffered.

Proudly crafted in the Netherlands, these acrylic paints are value priced and easy to use, making them an excellent choice for the beginning or intermediate artist. They can be mixed with water or mediums, and clean up requires only soap and water.

Proudly crafted in the Netherlands, these acrylic paints are value priced and easy to use, making them an excellent choice for the beginning or intermediate artist. They can be mixed with water or mediums, and clean up requires only soap and water.

Proudly crafted in the Netherlands, these acrylic paints are value priced and easy to use, making them an excellent choice for the beginning or intermediate artist. They can be mixed with water or mediums, and clean up requires only soap and water.
Proudly crafted in the Netherlands, these acrylic paints are value priced and easy to use, making them an excellent choice for the beginning or intermediate artist. They can be mixed with water or mediums, and clean up requires only soap and water.

Proudly crafted in the Netherlands, these acrylic paints are value priced and easy to use, making them an excellent choice for the beginning or intermediate artist. They can be mixed with water or mediums, and clean up requires only soap and water.

Proudly crafted in the Netherlands, these acrylic paints are value priced and easy to use, making them an excellent choice for the beginning or intermediate artist. They can be mixed with water or mediums, and clean up requires only soap and water.

Corrugated cardboard works well for a base for many mixed media projects. This includes creating custom tools for gel printing and adding texture to gel prints.


You May Also Like
Creative Foundations: How to Blend Ink

3 Christmas Card Ideas Using One Die Cut Design