Tired of Boring Paperclips? Make These Instead!
Are you tired of using boring old paperclips in your journals and planners? Today I’m going to show you a way to transform everyday paperclips and turning them into beautiful, functional art.
These paperclips are super fun to decorate and can be used just like you’d use a normal paperclip.
Hop-A-Long Studio is reader-supported. When you buy through links on our site, we may earn an affiliate commission at no cost to you. Learn more.
Creating the Base for the Paperclip
To create the base for an art paperclip, start with a basic paperclip. I like using the large 2” long ones as they are a bit stronger. You can always use a thinner and smaller paperclip, but it depends on how robust you need it to be. If you want to use it to hold papers or be a more functional paperclip, the larger paperclips are a better choice.
If you’re using this art paperclip as a bookmark or in an interactive book to hold something closed, a smaller paperclip will work just fine.
Start with the paperclip as your base. I’m using a paper clip that is 2” by ½”. Measure the paperclip before you start as this will affect the size of the paper you will need to cut.
You can use any weight of paper for this project, but today I’m using 110lb Hammermill cardstock as this will create a durable art paperclip.

Hammermill 8.5” x 11” Colored Cardstock 110lb Paper is a premium thick cardstock designed for print and copy use on copiers and printers. It’s heavy cardstock that’s ideal for heavy duty projects.
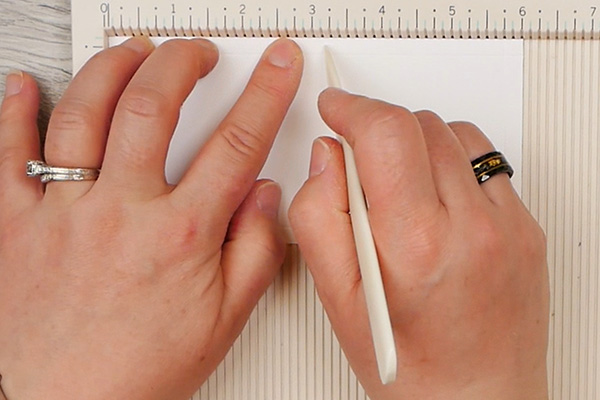
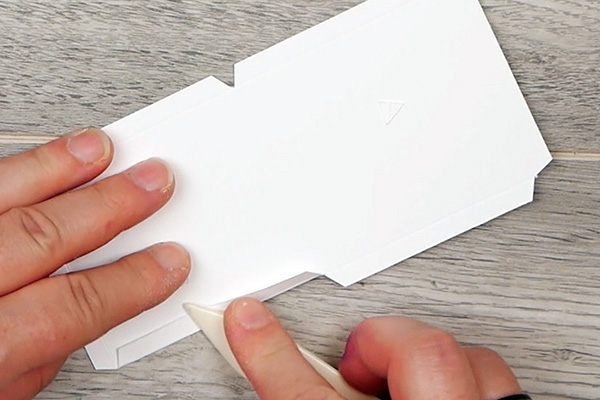
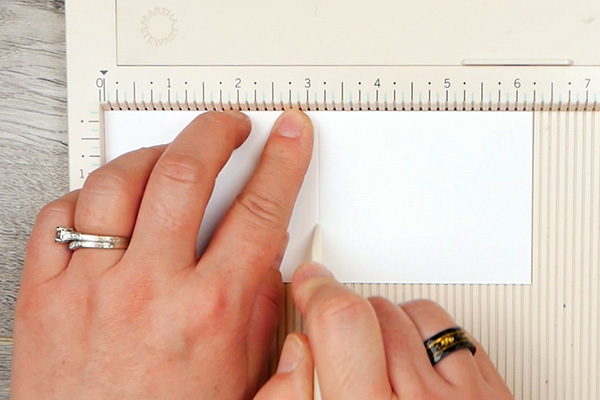
Using a paper trimmer, cut your piece of paper 3” by 6”. Score the paper at ¼” inch around all the edges.
Put your piece of paper in landscape orientation on your score board and score at 3”.
Cutting the Corners
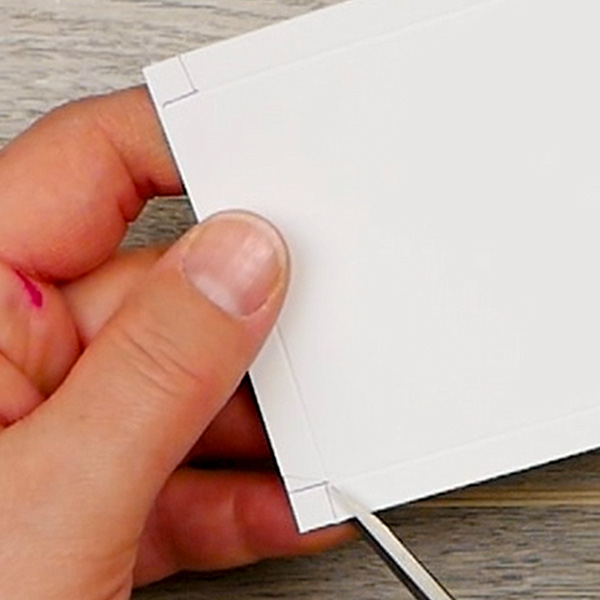
At each corner you will have a scored square, which I have marked with a purple pen so that you can see it more easily. Cut at a slight angle to these corners, mitering the edges. This will help the paper fold easier and makes the edges less bulky.
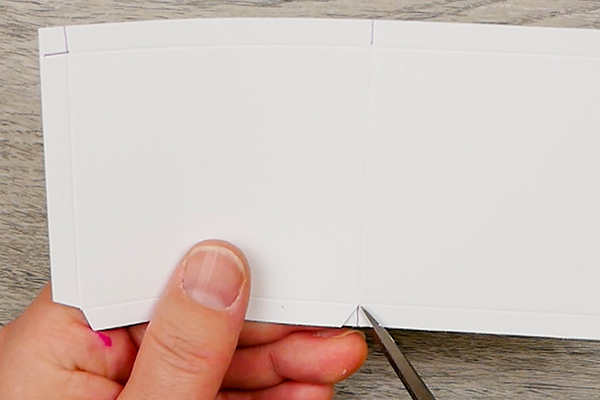
Cut all 4 corners as well as the middle score line.
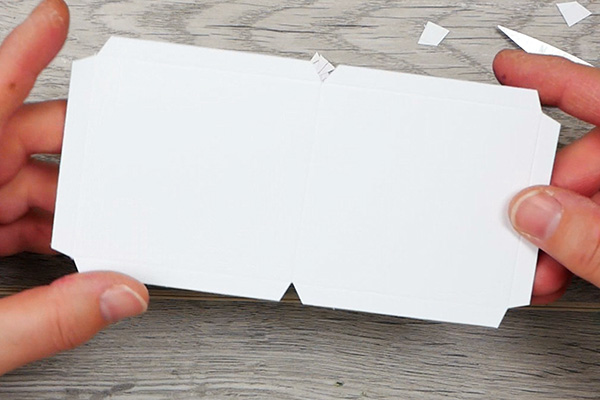
Folding the Edges
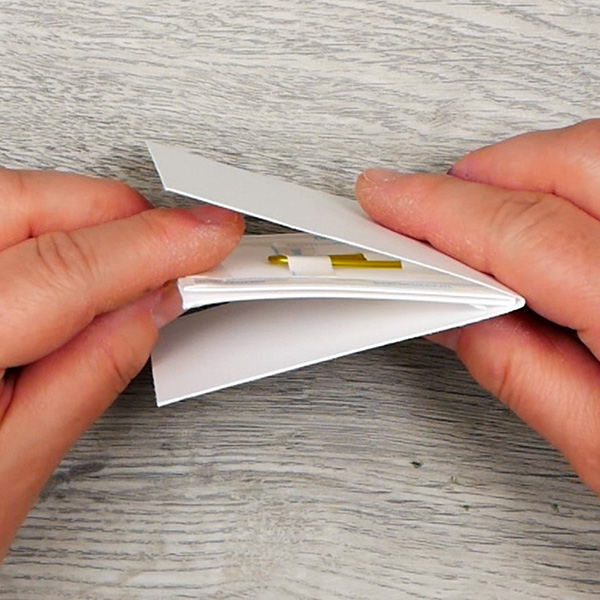
Fold all the edges up and fold the paper in half so that all the score lines are creased.
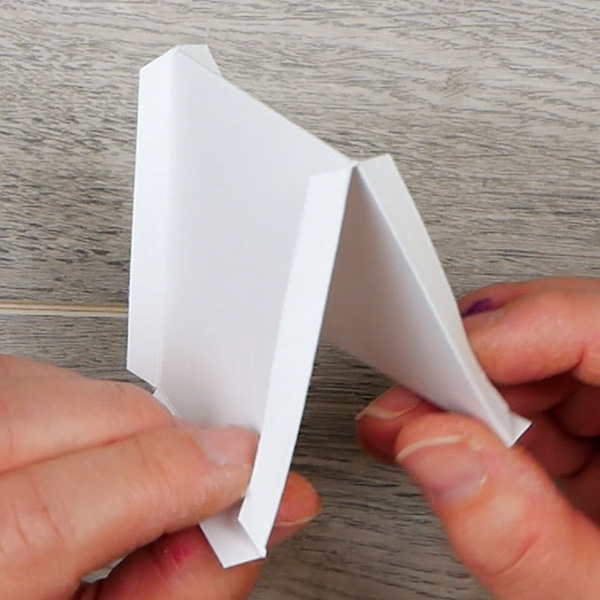
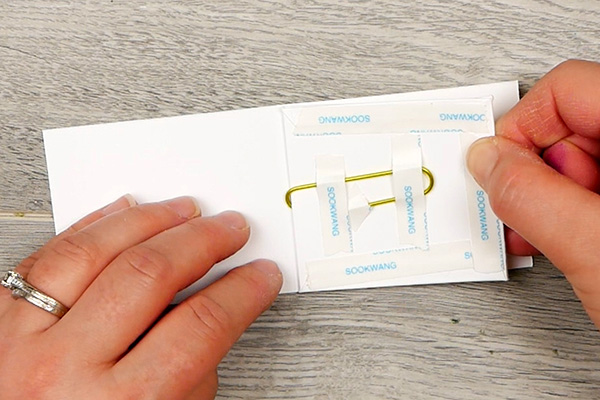
Add in your paperclip at the 3” fold.
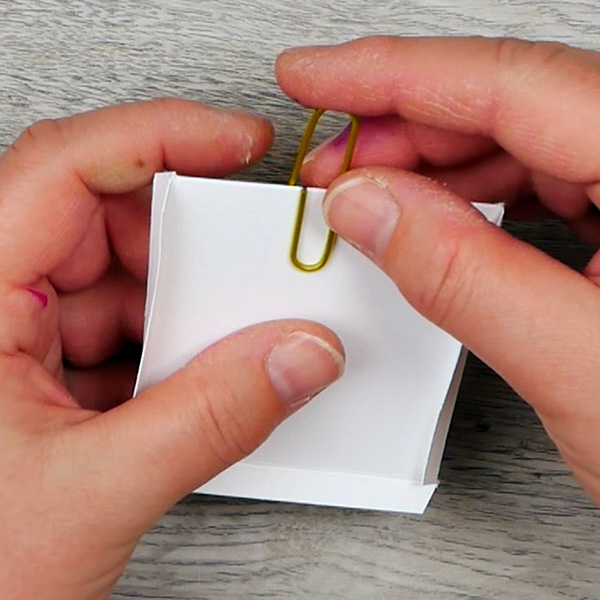
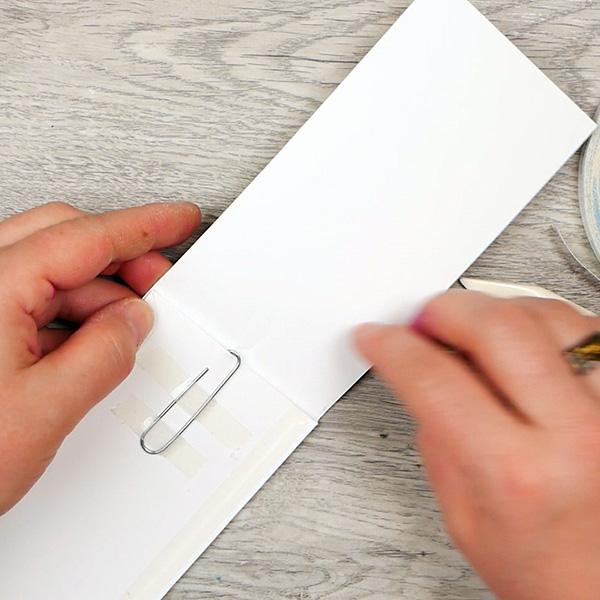
Use your favorite glue or dry adhesive to glue down all the corners and add extra tape along the paperclip. You can use a white glue, but using a strong adhesive like Sookwang tape does make this easier to manage as you get instant hold.
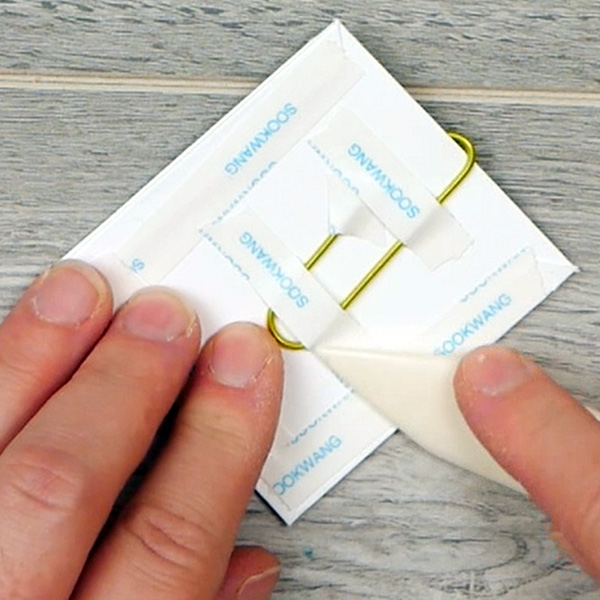
You have now created the inside portion of your decorative paperclip.
Creating the Outside Cover
Cut a piece of paper 2 1/2” by 6 ¼”, score at 3 1/8” and fold in half.
You will notice that the outer paper is a bit longer than the inner paper. We’re going to adhere it to the paperclip and them trim to adjust.
When working with heavier paper, you will always have some thickness along the fold that you will need to compensate for. If I had cut the piece of paper the same size as the base (2 ½” by 6”), it would have been too small for this project.
Remove any adhesive backing (if using dry adhesive) and line up the paperclip cover to the top of the covered paperclip and press down. Then trim the cover paper so that it lines up with the bottom edge.
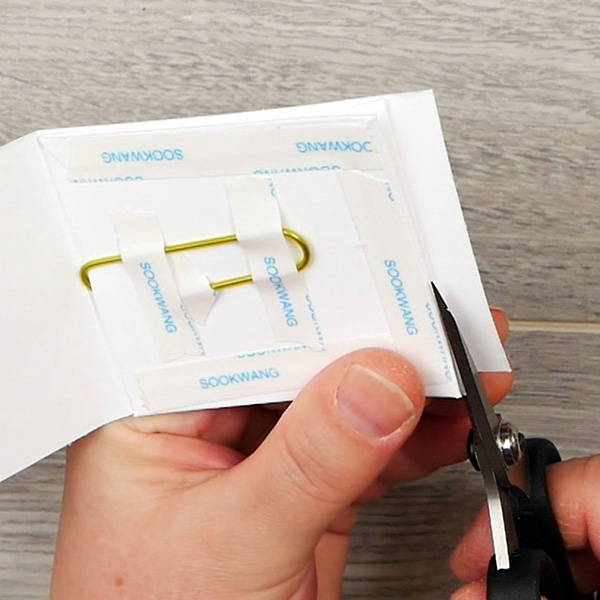
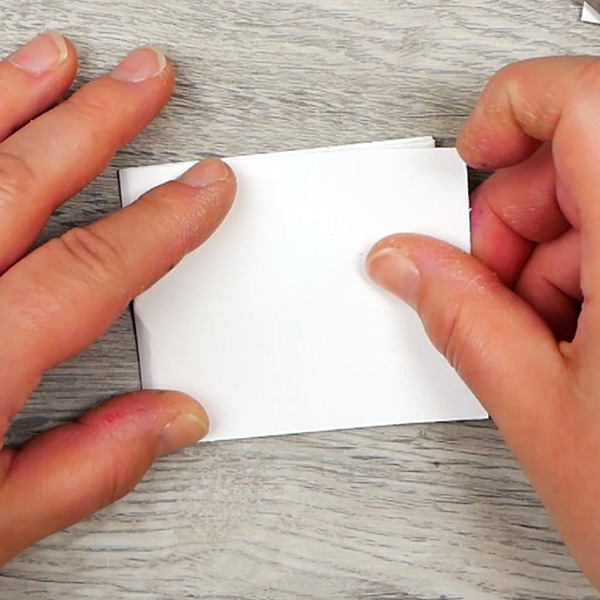
Remove the rest of the tape and fold the cover over and adhere. Then trim any excess paper at the bottom edge.
Decorating the Paperclip
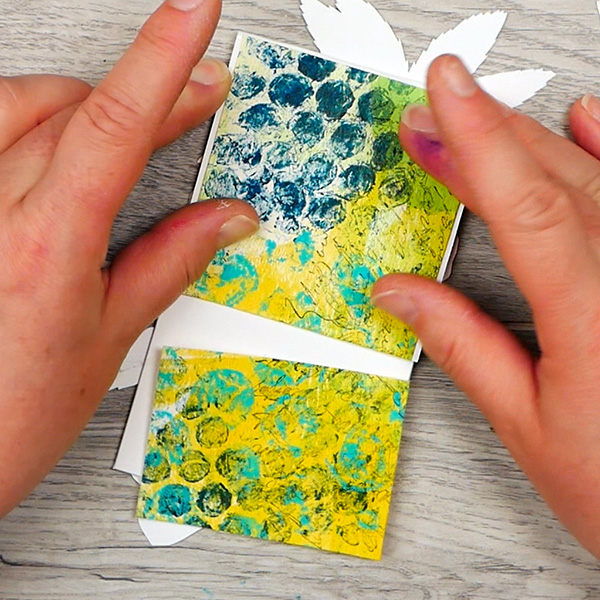
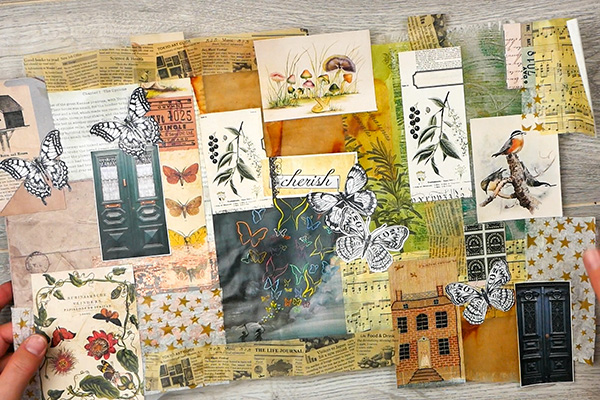
We have transformed our paperclips into 2 ½” by 2 ¾” shapes. Cut 2 pieces of decorative paper to 2 5/8” by 2 3/8”. You can use handmade papers, collage papers, or any scrapbooking or decorative paper. If you’d like to learn how to make your own collage paper, click here or on the photo below.
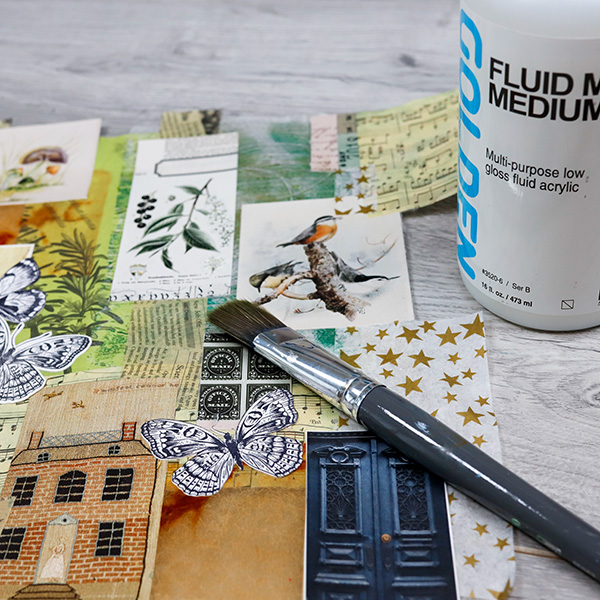
You can keep these art paperclips simple by just adding on a few decorative pieces of paper and calling it done, but we’re going to take it a bit further today.
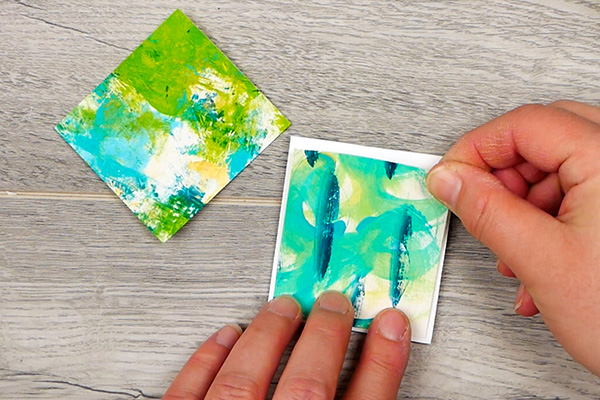
I’m using art papers that I created in a course that I’ll be releasing in the next few weeks. It’s about how to make your own backgrounds, create layers and create your own paper bag book. You can find out more details by visiting my shop!
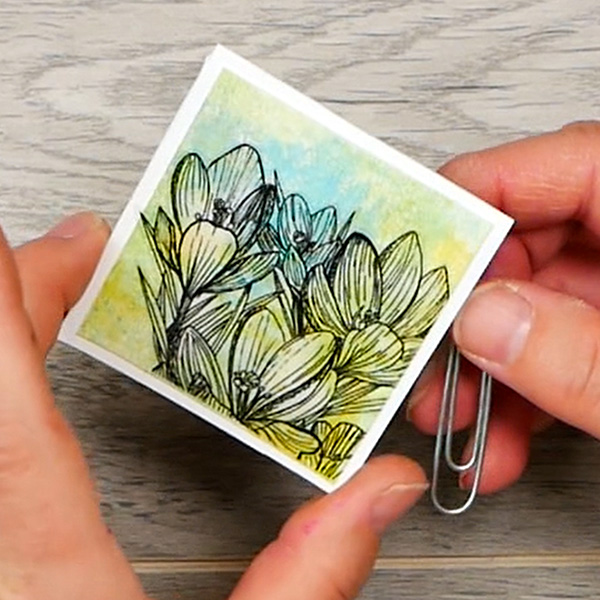
To add more detail to the paperclip, I’m adding floral acetate pieces to my paper. Just use your favorite PVA glue or Art Glitter Glue to adhere them to the paperclip.
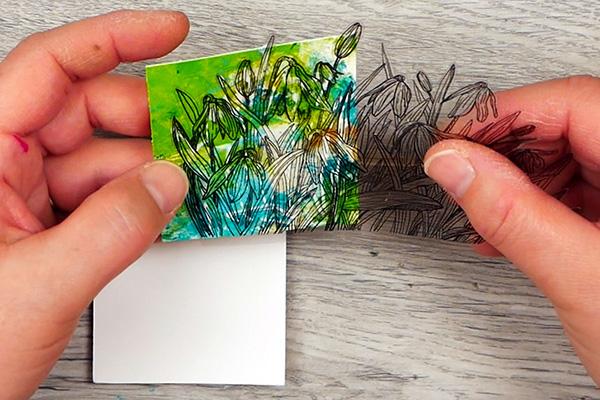
If you’d like to get your own copies of the floral images, they are available in my shop. These are original drawings I’ve created and scanned at high resolution digital file for you to use in your next project.

Are you searching for the perfect images for your next art journaling project? These spring botanical illustrations are hand drawn by artist Nadine Milton and scanned at a high resolution for detailed images. These are perfect for watercolor, mixed media and collage projects.
By adding in a few pieces of decorative paper, you have a transformed a paperclip into a beautiful, functional piece of art that you can use in your projects.
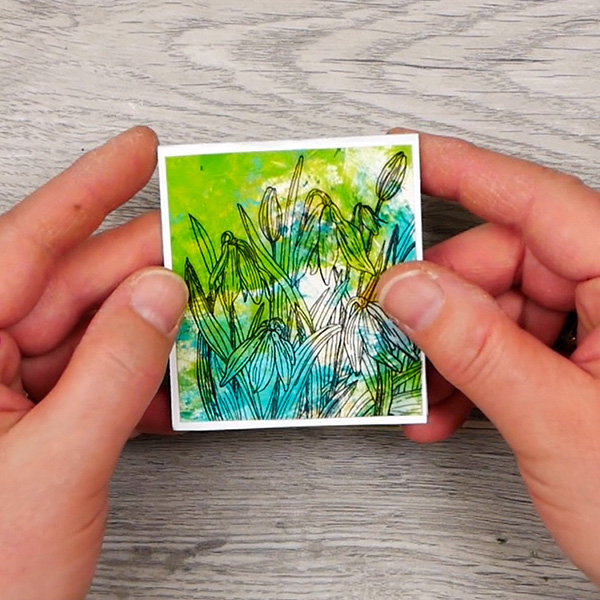
Large Bookmark
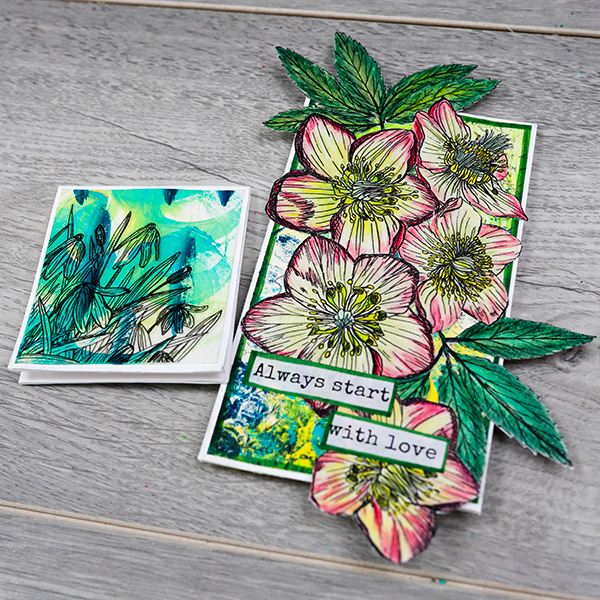
For those who may want a larger piece to use as a bookmark, cut your cover piece of paper to 8 ½” by 3”, then score it at 3 ½” This will give you a bookmark that is 5” by 3” when completed.
For the backing paper, cut your paper to 9” by 3 ½”, and score at ¼” around all sides. Then score at 3 ¼”.
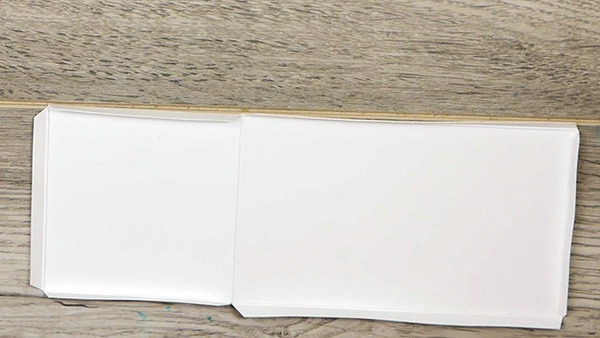
Follow the same technique as we did for the first paperclip. Miter your corners, fold the papers and glue the edges down. Add in your paperclip and glue it down. Glue the front and back papers together and trim any excess. I always cut the paper a bit longer knowing that I’m going to trim it. It’s much easier than the paper being too short!
Decorating the Bookmark
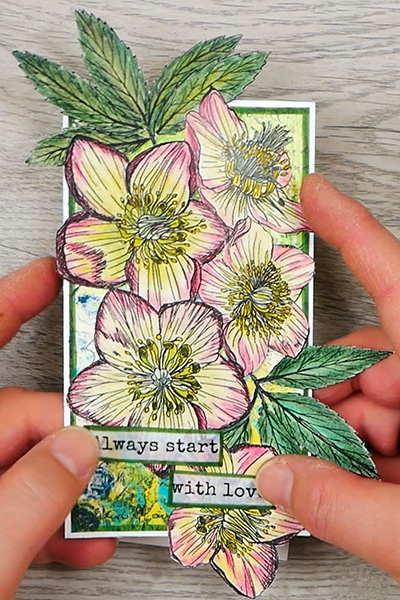
I’m using some leftover collage pieces that I created which you can purchase as digital images in my Shop. Cut your piece 2 7/8 x 5 1/8.
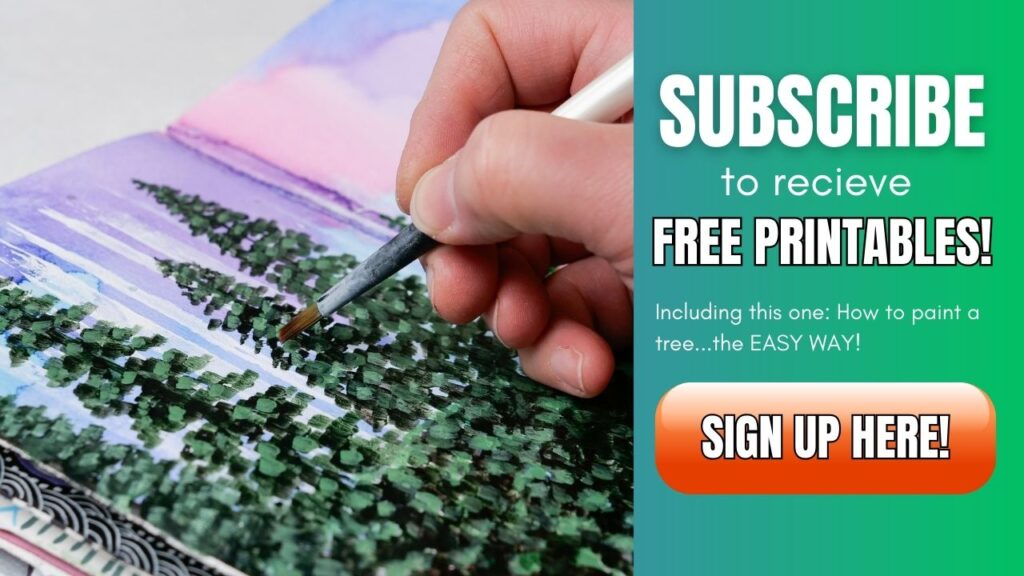
To add a bit more detail to this front piece, use a script stamp and archival ink to stamp with Archival Jet Black ink onto the paper.
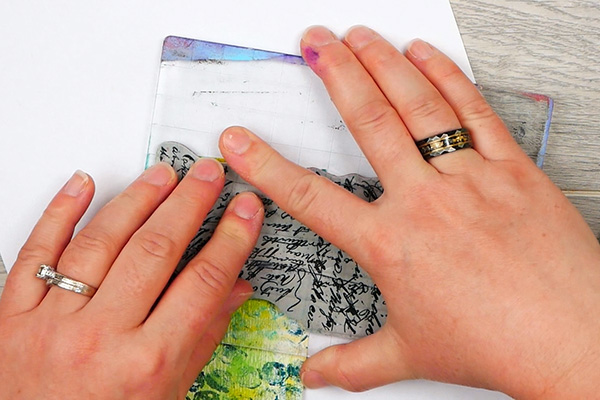
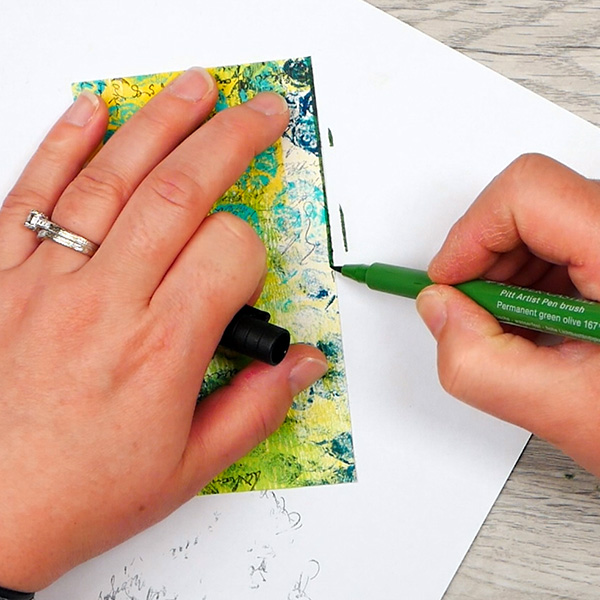
Using a green pitt pen and a ruler, add a border to your decorative paper and to your quote.
Choosing a Focal Image
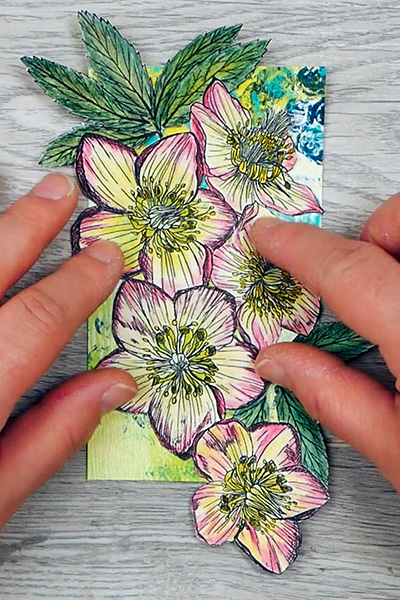
This is an image I had colored and cut out from my spring botanical collection. I like that this image is going to go past the edges and I love a strong focal image. Use your favorite PVA or Art Glitter glue to adhere the image.
Are you searching for the perfect images for your next art journaling project? These spring botanical illustrations are hand drawn by artist Nadine Milton and scanned at a high resolution for detailed images. These are perfect for watercolor, mixed media and collage projects.
For the back of the bookmark, I’m going to keep the design simple. Cut your piece of paper to 2 7/8” by 5”. Cut at 2 7/8” and 2 1/8”. Adhere to the back of the bookmark.
Why Make These Art Paperclips?
These art paperclips are a great way to use up those leftover pieces from other projects. These make great gifts plus the larger paperclips could even be gifted in place of a card. Just add your special message to the back of the bookmark!
Thanks for joining me and if you’re looking for more creative inspiration, check out this article next where I show you how you can make beautiful collage papers from things around your home.
Project Supply List
Hop-A-Long Studio is viewer-supported. When you buy through links, we may earn an affiliate commission at no cost to you.

Includes 100 large 50 x 11mm / 2.0 x 0.43 Inch paperclips. This bright, corrosion resistant finish, prevents snags or marks on papers.
Hammermill 8.5” x 11” Colored Cardstock 110lb Paper is a premium thick cardstock designed for print and copy use on copiers and printers. It’s heavy cardstock that’s ideal for heavy duty projects.

Get flawless folds every time with the CrafTreat Large Teflon Bone Folder! This Large 6.3" x 0.8" Bone Folder is smooth, strong, and non-stick, making it perfect for scoring, folding, and burnishing without leaving shine or marks.
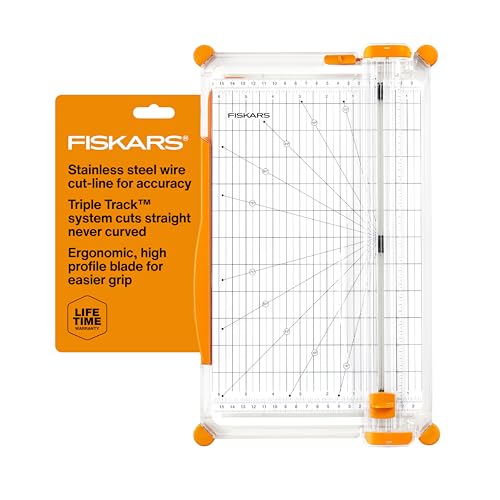
Ideal for cutting a wide variety of crafting materials including paper, photos, scrapbook pages or specialty materials. Cutter comes with a lifetime warranty.

Scor-Pal has all the grooves you will need to score your cardstock projects accurately and quickly while providing a precise and crisp fold.

This tape is paper backed which means you can tear it with your fingers; No need for scissors or blade. Strong, durable adhesive tape.

Art Glitter Glue is permanent and dries clear and adheres to a variety of surfaces. It's water based and acid free. Make sure to close lid to avoid drying of glitter glue. Bundle comes with one bottle of 8oz, one bottle of 2 oz and a metal tip for easy application.

Packaged in a unique patterned tin, these 5 inch scissors feature high durable titanium coated blades for cutting a variety of fabric and paper.

- Pro pigment pens for expressive marks
- Rich, archival India ink
- Flexible, responsive brush tip
- Waterproof and permanent when dry

Create a beautiful and unique altered art project with the Ledger Script Cling Mounted Rubber Stamp Set by Tim Holtz for Stampers Anonymous. This stamp set comes on a three-hole punched storage sheet.
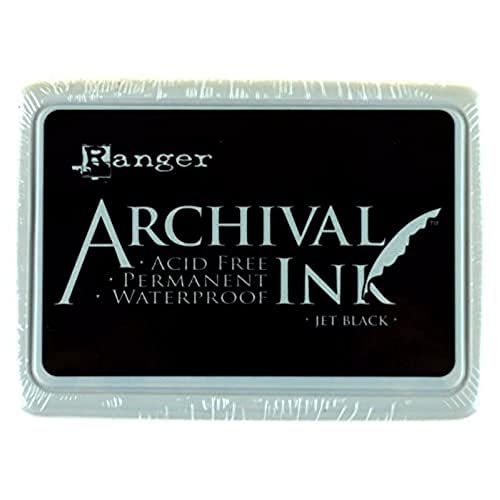
The Jet Black Archival Ink Pad by Ranger Ink is acid-free, non-toxic, water-resistant, and fade-resistant, and provides lasting results. This ink will not deteriorate paper and does not bleed when inks, paints, or markers are used over it.

Stamping block tools with grid and grip, 8mm thickness, assorted sizes.
Are you searching for the perfect images for your next art journaling project? These spring botanical illustrations are hand drawn by artist Nadine Milton and scanned at a high resolution for detailed images. These are perfect for watercolor, mixed media and collage projects.

You May Also Like
Gelli Printing with Die Cuts
Create the Ultimate Textured Collage with this Technique