How to use Watercolor Pencils
Have you ever wondered how to use watercolor pencils? If you have not tried using watercolor pencils in your artwork or crafting projects, they are a very easy and fun medium.
What are Watercolor Pencils?
What are watercolor pencils? Watercolor pencils look like a colored pencil and they write and color very similarly. The big difference is that they are also water soluble. What this means is when you draw and blend with a watercolor pencil and add layers of color to your work. You can come in after applying the color and add in water to blend and intensify the color.
How are Watercolor Pencils Different than Watercolor Paints?
Watercolor pencils have a wax binder, which is different than the Gum Arabic or Synthetic Glycol that is usually in watercolor paints. The binder is one of the many differences between watercolor pencils and paints.
With watercolor pencils, the colors are added to the surface and then blended. With paints, the colors are first mixed on a palette and then applied. When working with watercolor paints, it is important to use watercolor paper as the paint is very wet. With watercolor pencils the water is added last, so the amount of water required for blending is usually less and can be more easily controlled.
From my personal experience, I find that watercolor pencils are more forgiving. As they have a wax binder, this does change how they blend. You can add water and color to areas without bleeding that would be difficult to do with traditional watercolor paints.
I believe that both watercolor pencils and paints have a place in our art practice. It is necessary to understand the different properties of each medium and how they work in different types of projects, so you know when you use each.
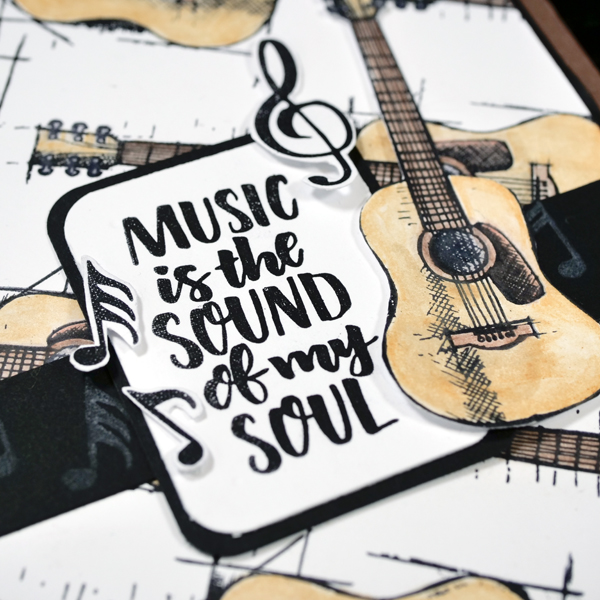
Card Project Using Watercolor Pencils
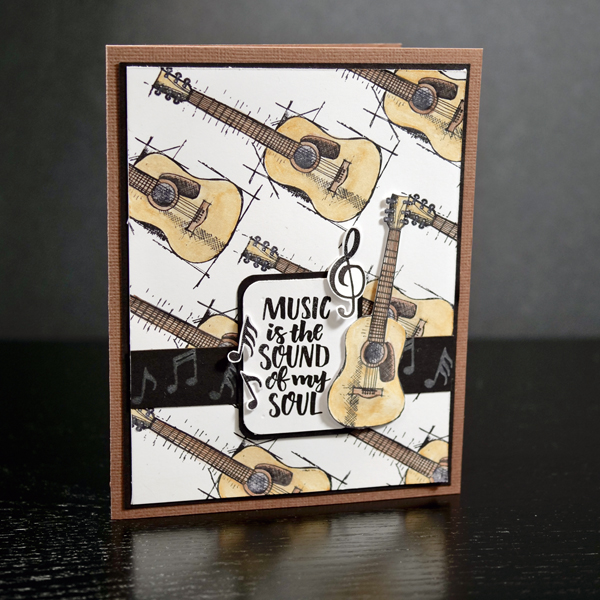
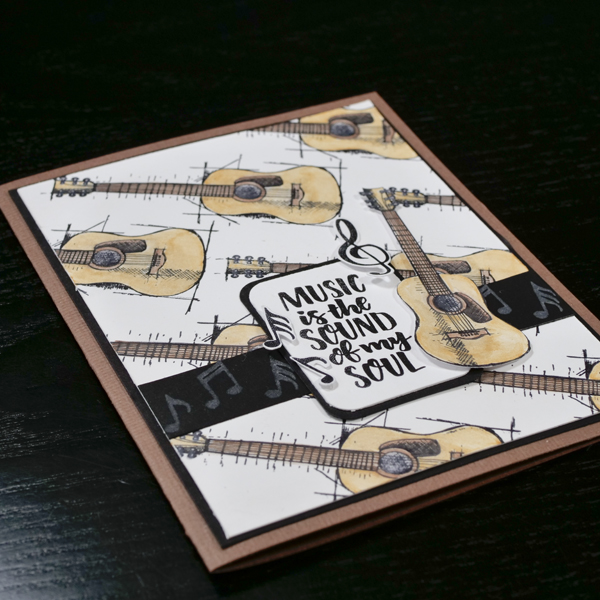
This week I wanted to share a card project that will help you practice how to use watercolor pencils. For this project I used one of my favorite stamp sets from Wild Whisper Designs. This card was created with neutral tones to give it a more masculine feel.
The Intention
With every one of my projects, I try to start out with an intention. The intention for this card was not only to be a project to practice watercolor skills, but also to exercise mindfulness. It can sometimes feel like we need to rush through our day. The process of coloring and blending forces us to slow down, find quiet, and to concentrate on the task at hand.
I also purposefully chose only one stamp set to use for this project. By limiting our options and having to be creative with just a few materials, this can help us find greater creativity. Simplifying our design as well as simplifying our process can be a great way to show ourselves self care in our creative habit and help prevent becoming overwhelmed with choices.
The Process
In this video tutorial I will share some of the tips and techniques to get great results with your watercolor pencils.
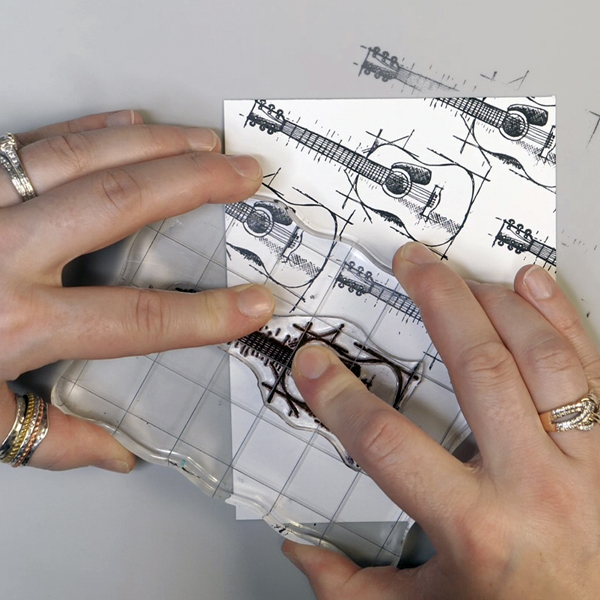
Stamping the Image
Start by cutting a piece of white cardstock to 4 ¼ inches by 5 ½ inches. Using Wild Whisper Designs “Feel the Beat” stamp set and Ranger Jet Black Archival Ink (or another waterproof ink), stamp the guitar at an angle onto the cardstock. Repeat until you have a repeated pattern covering the entire piece.
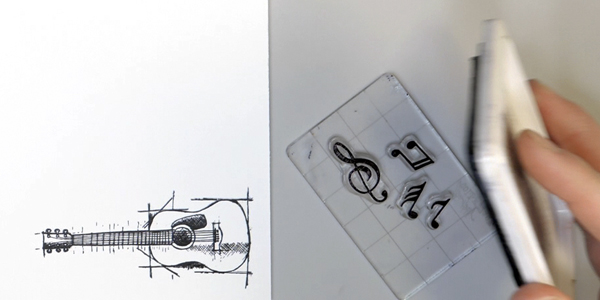
Stamp Musical Notes and Guitar
On another piece of paper, stamp the treble clef and musical notes. Also stamp another guitar image that will be the focal point for this card.
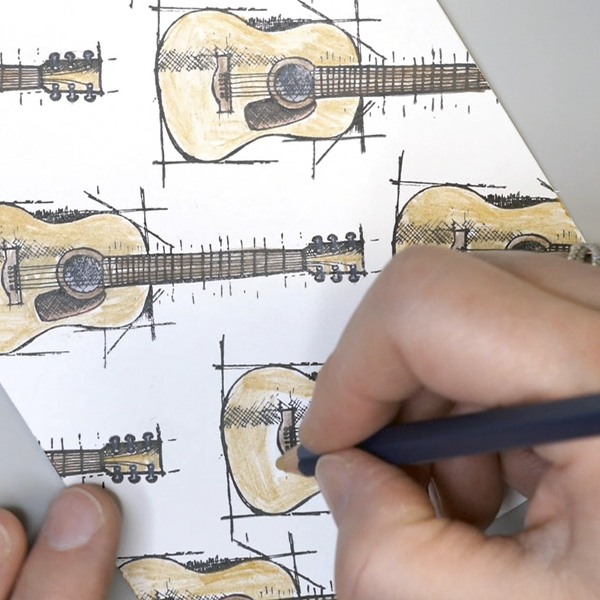
Color Images with Watercolor Pencils
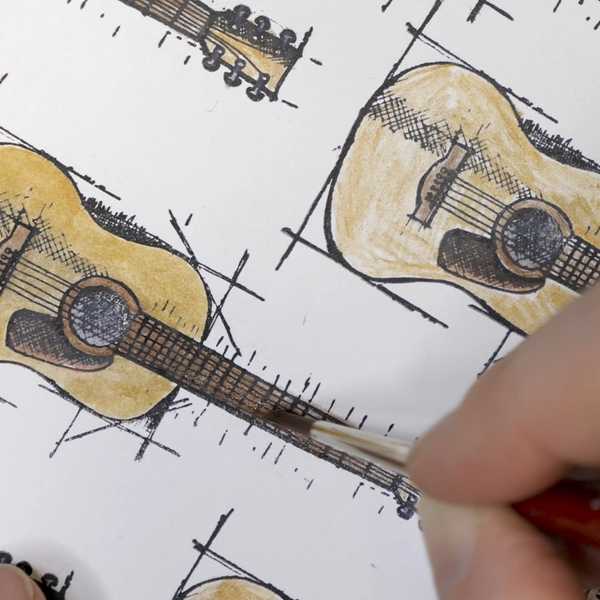
Using Derwent Watercolor Pencils, color in the guitars using Copper Beech, Terracotta, Brown Ochre, Golden Brown and Gunmetal. When using watercolor pencils, the coloring does not have to be perfectly consistent as you will be wetting and blending the colors with a brush. By varying how much pencil you add to the image, this can also create more intense or more subtle color. Make sure to color in the guitar that will be used as the focal image.
Blend Images with a Watercolor Brush
Blend images by adding water with a #2 watercolor brush. This will wet the color and allow it to blend. Make sure to pull the color with the brush to add a beautiful blend. This is an opportunity to add more water or less water depending on the intensity of color desired. After you have colored in all the guitar images, set aside to dry fully. Also blend color on the guitar image that will be used as the focal image.
Adding Musical Strip to Card
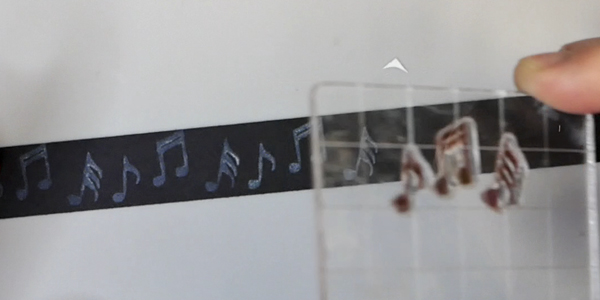
Take a piece of black cardstock and cut to 4 ¼ inches by ¾ inches. Add the three musical notes to a stamping block in a staggered pattern. Using Tim Holtz Distress Ink Picket Fence, stamp the musical notes in a repeated pattern across the card. The intent is to have a subtle stamped image that will not compete with the other images on the card but provides texture.
Stamp the Sentiment
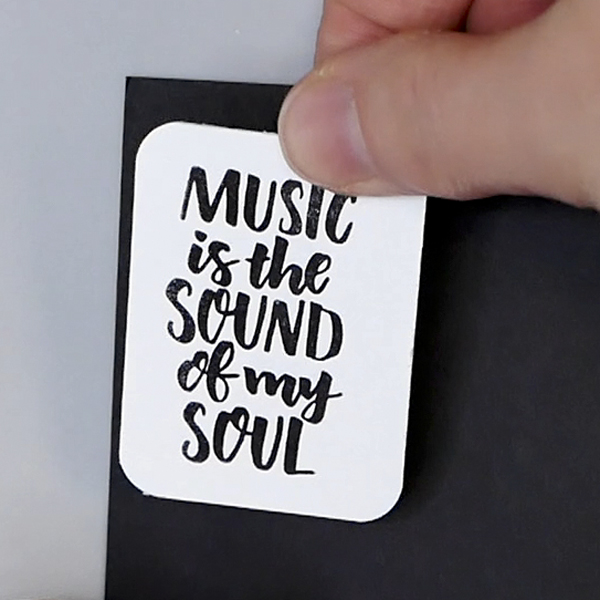
Stamp the sentiment from the stamp set “Music is the sound of my soul” onto a piece of white cardstock. Cut the piece of paper into a square shape and round the corners with a corner punch. Add it to a piece of black cardstock and cut around it and round the corners to create a frame for the sentiment.
Assembling the Card
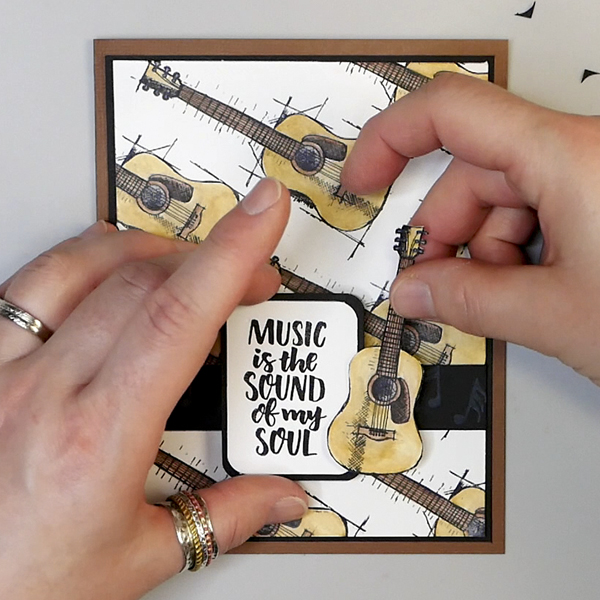
Before you assemble the card, fussy cut around the focal guitar image, the treble clef, and musical notes. Set aside. I start assembly of this card by cutting out the cardstock layers that will go behind the guitar paper. Cut a piece of black cardstock 4 3/8 inches by 4 5/8 inches. Cut a piece of brown cardstock 9 ½ inches by 6 inches and fold in half. Adhere the black paper to the brown card back and adhere the stamped and colored guitar paper on top. Add the black strip one third up from the bottom of the card and add the sentiment and guitar to the card. Finish off by adding the musical notes and treble clef to the project.
What Do You Think?
What you do you think of this simple card project and using watercolor pencils? I would love to hear what you think of it and if you have any questions about using watercolor pencils.
I have joined the Design Team at Wild Whisper Designs this year and if you are interested in purchasing the stamps shown in today’s video, please use the code DTNADINE to get 10% off your next purchase. If you have any questions or comments, please leave your comment below or contact me directly.
Project Supply List
- Creative Scrapbooker 130lb Super Stock
- Staples 90lb Black Cardstock
- Brown Cardstock
- Wild Whisper Designs Feel the Beat Stamp Set
- Ranger Jet Black Archival Ink
- Stamping Block
- Derwent Watercolor Pencils
- Tim Holtz Distress Ink Picket Fence
- DaVinci Cosmotop Spin #2 Watercolor Brush
- Water and Water Container
- Sookwang Tape
- Thermoweb Zots Mini Dots


