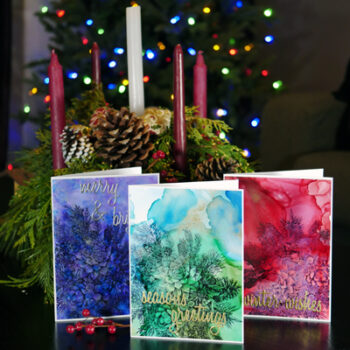
Make Amazing Holiday Collage Cards in Minutes!
Are you looking for simple ways to create amazing holiday collage cards? Today let’s talk about a few fun and easy techniques to create unique collage card designs. Not only are these collage techniques perfect for cards, but you can also easily make them work in your next art journal page.
Hop-A-Long Studio is reader-supported. When you buy through links on our site, we may earn an affiliate commission at no cost to you. Learn more.
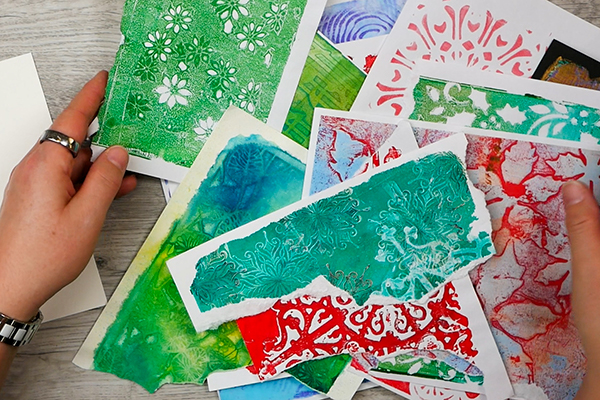
We’ll be using up leftover paper pieces from other projects. If you have dictionary pages, magazine papers, leftover gel prints or scrapbook papers they are perfect for holiday collages.
Today I’m going to stick to a 5 by 7-inch paper for my project. I tend to work on 140lb watercolor paper as it is strong and won’t buckle as we add in wet mediums.
Choosing Your Color Palette
When sorting through scraps and leftover pieces think about what color scheme you want to use in this project. Do you like to use contrasting green and red holiday colors? Or do you gravitate towards harmonious colors like blues and purples? My preference is to use two to three colors in my cards. You can mix it up by choosing different shades of the same color.
Looking for Beautiful Papers?
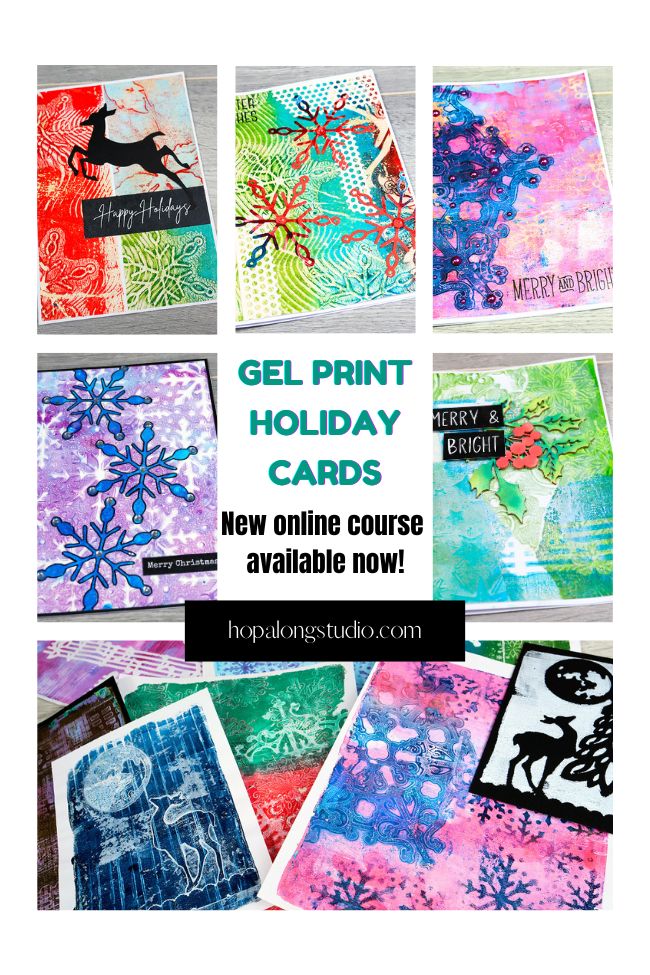
If you don’t have leftover papers to use from another project for these holiday collage cards, look online for digital designs. I love making and using gel prints and I have a collection of holiday images available for purchase. Visit my shop to purchase the digital download.

Do you love unique holiday papers to use in your cards and art journal pages? This collection of 29 digital prints includes a variety of festive images perfect for your next project!
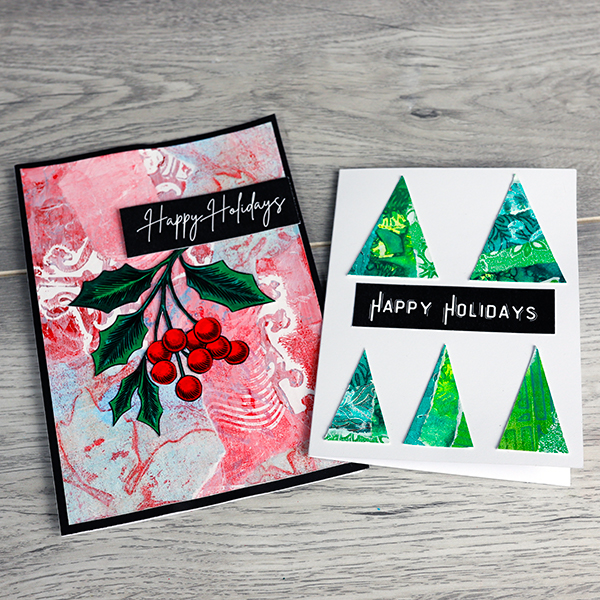
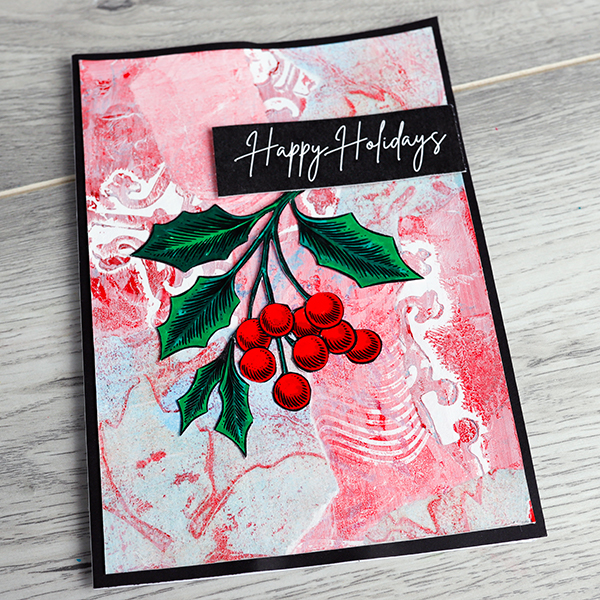
Collage Holiday Card
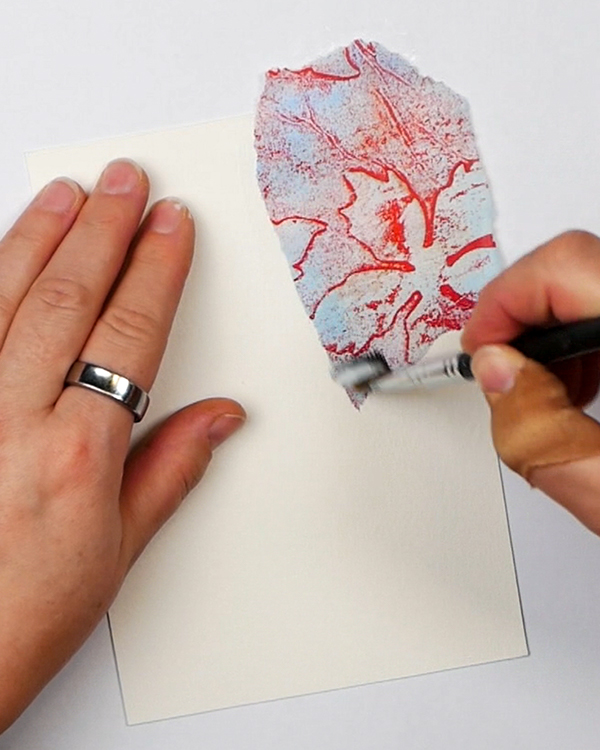
For this first card, I am using a combination of gel prints from my gel print collection. I love the poinsettia image that I created with the reds and pale blues. Using this print with some white and red gel prints creates a unique and stunning color combination.
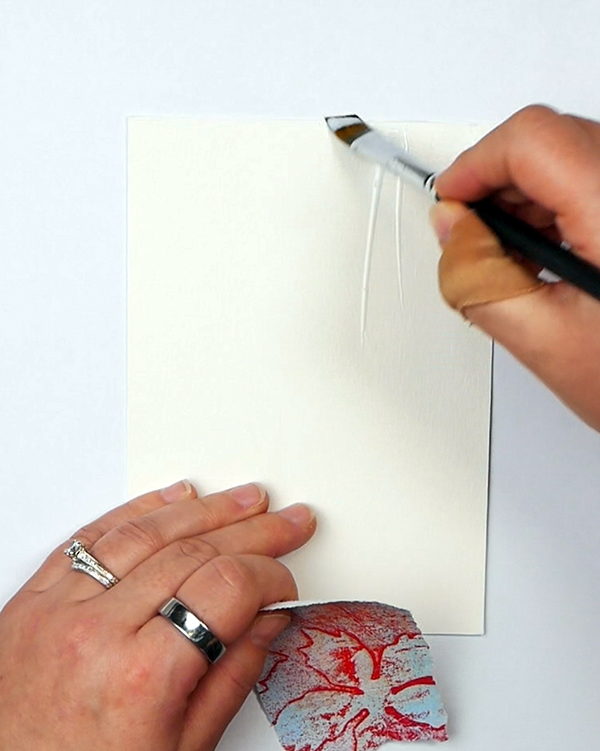
Before I start adhering down my pieces, I like to tear and place them on my paper and do a test fitting. This way my hands are clean and aren’t covered in glue. I can easily adjust the design without worrying about having pieces already glued down that I may want to move.
Using Collage Glue
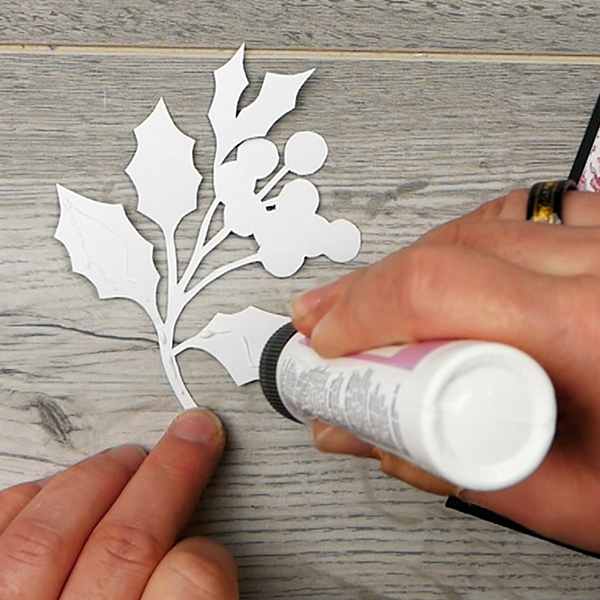
Today I’m using matte medium, which works as an amazing collage glue. Add a layer of matte medium with a brush to the section of the paper that you’re working on.
Then add a layer of matte medium to the back of your torn piece that you want to add to the surface.
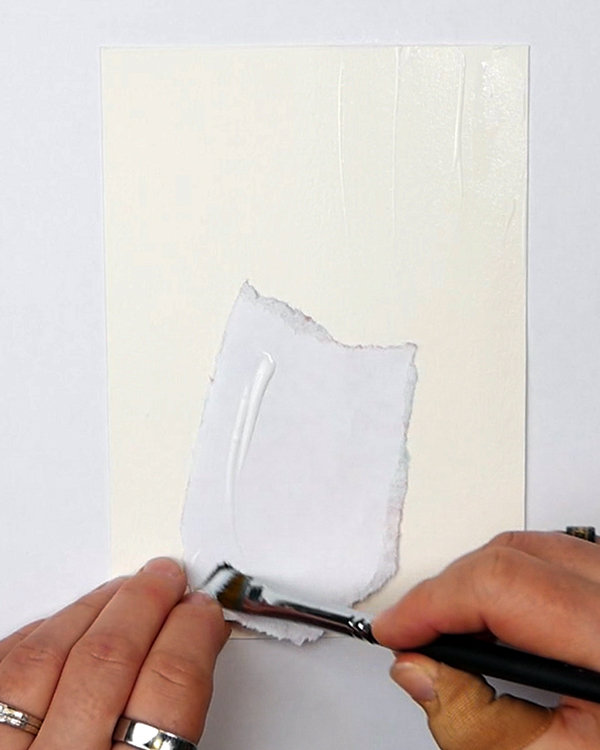
After adding the collage paper to the surface, brush a thin layer of matte medium to the top of the paper surface. This will give you a smooth, fully sealed collage piece. Continue this step until all the pieces are added to the watercolor paper.
By adding the matte medium to both sides of the paper prevents buckling and wrinkling. It’s also important to seal in the paper with matte medium before we move on to the next step.

Creates a matte, non-reflecting finish when added to acrylic colors. Lightweight, non-toxic; Opaque when wet, translucent when dry.
Tips for Creating Beautiful Holiday Collage Cards
1. Go Past the Paper Edges

I like going past the edges of my project with the collage paper when adding the pieces to my paper. Many time I’ve placed the paper close to the edge, but not quite to the edge. This means that I need to add in another piece to my design to cover up this mistake. By adding the paper past the edges this ensures a very neat and even collage.
2. Vary the Size of Your Pieces
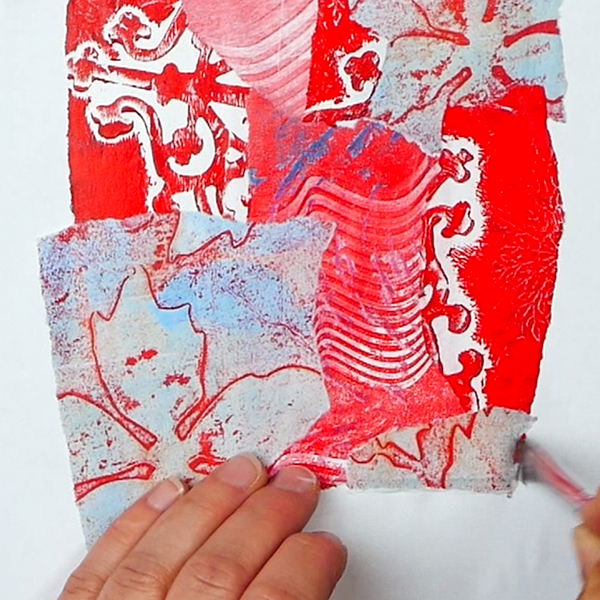
By varying the size of your collage papers, this creates interest. By having thin, narrow pieces next to large chunky pieces this helps the design tell a story. This also creates areas of interest on your holiday collage cards that your eye is drawn to.
3. Make Sure Your Collage is Dry
After you’ve added all your papers and sealed them with an even coat of matte medium on top, set it aside to dry. To speed up this process, you can also dry your collage with a heat tool.

A quick and easy way to melt embossing powder this heating tool was specifically design for speed quiet and convenience. It can also be used to heat set or dry ink. It won't overheat and burn projects.
You’ll know your project is dry once it’s room temperature. If it still feels cold to the touch then heat it some more. Make sure to use a cool setting on your drying tool to prevent your glue from bubbling.

Adding Texture to the Background with Acrylic Paint
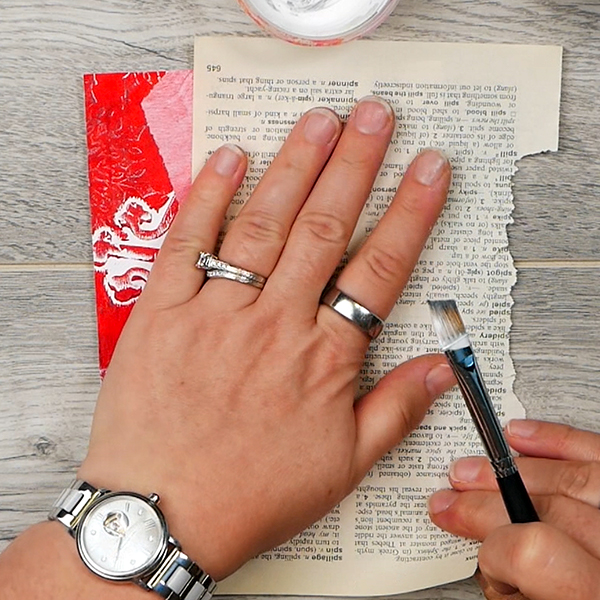
Now that we have sealed the background, we can create some cohesion and texture with this acrylic paint pouncing technique. This works best with newsprint, but I didn’t have any available. Instead, I used pages from an old dictionary.
Mixing Your Acrylic Paint
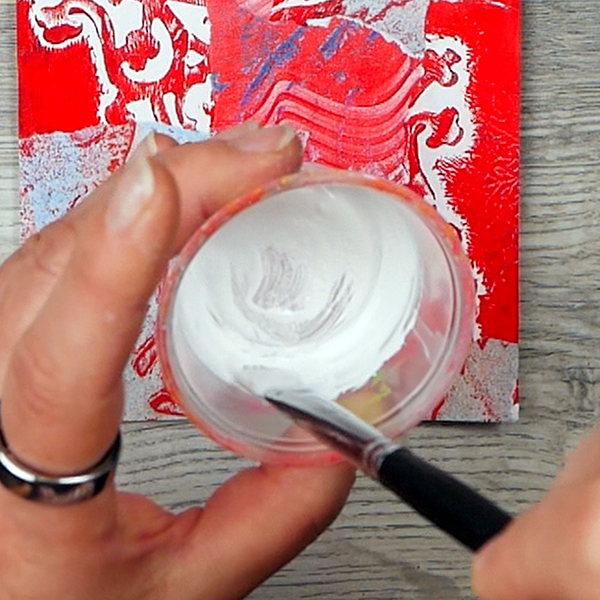
Use some white paint or gesso and water it down with a bit of water. How much water you will need to add will depend on the thickness of paint or gesso you’re using. Add a bit of water and stir to loosen up the paint. If it still looks too thick, add a bit more water.
You’re looking for a consistency like heavy milk or cream. You want the paint to be loose enough to be applied smoothy, but it isn’t too watery.
Additive and Subtractive Techniques
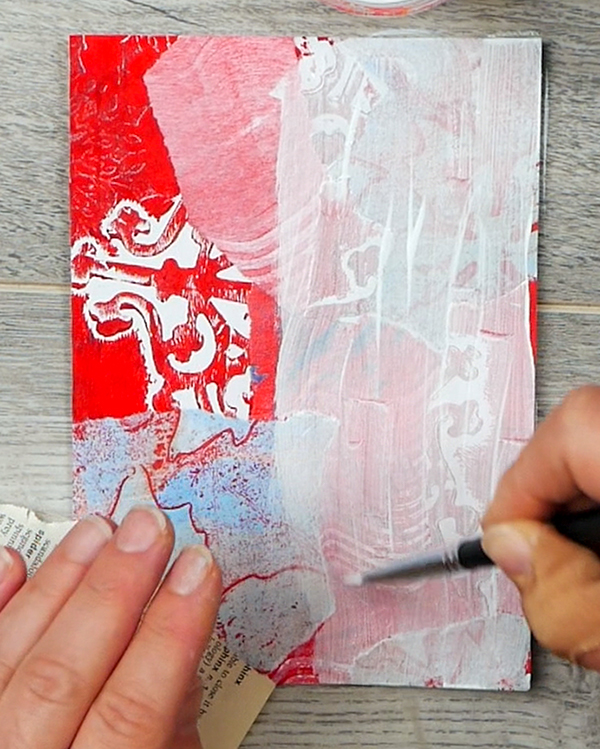
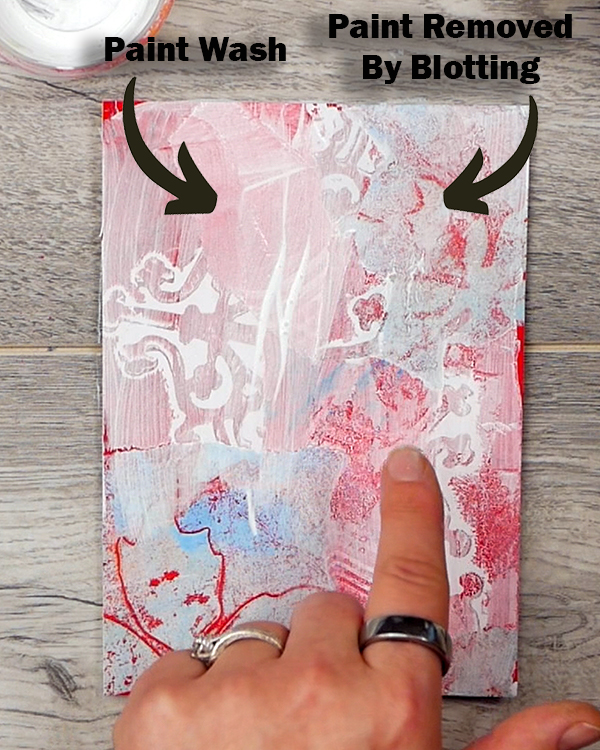
When adding the acrylic paint, I like to work in smaller sections. Add your paint wash to the sealed collage surface, then use the paper to blot off the paint. This creates unique texture and removes some of the paint.
You can decide if you’ve added too much paint or not. The idea is to mute the color a bit while creating texture.
Removing Excess Paint
If you feel like you’ve gone too far with the paint, use a baby wipe or a moist paper towel to blot off more paint. This is why we need to seal the card with matte medium. This way we can add and remove paint as many times as we’d like without damaging the paper surface.

I love this technique for the unique marks it makes. It’s a lot more interesting and less uniform than adding a wash with a brush.
If applied properly, the surface should dry very quickly.
Adding a Focal Image
To finish off this holiday collage card, I found some leftover images that I had from my Festive & Fabulous Gel Print Holiday Card course. These images were colored with markers and colored pencils.
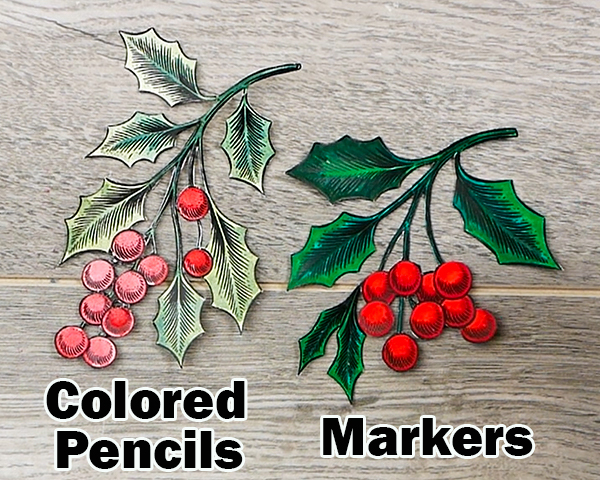
You’ll notice that the vibrancy of the colored pencils is quite different than the markers. Since my card has vibrant colors, even after muting the background with the white paint, the marker image is a better choice for this card.
Add the image using your favorite white glue (I used Art Glitter Glue).
This card looked great, but a holiday greeting is a great way to finish off this design. I created a PDF file featuring Holiday Sentiments that I’ve made available in my shop. These are a perfect addition to any project. I like to print and cut up the sheets of holiday greetings so they can be added to my holiday cards quickly and easily.
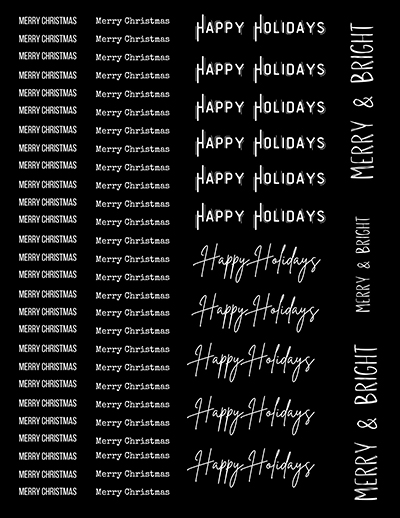
Are you looking for easy ways to make sentiments for your holiday cards? This collection has a variety of sentiments in black and white, perfect for any card project!
Using foam adhesive squares, add the sentiment to the card and you have a beautiful holiday collage card ready to send!
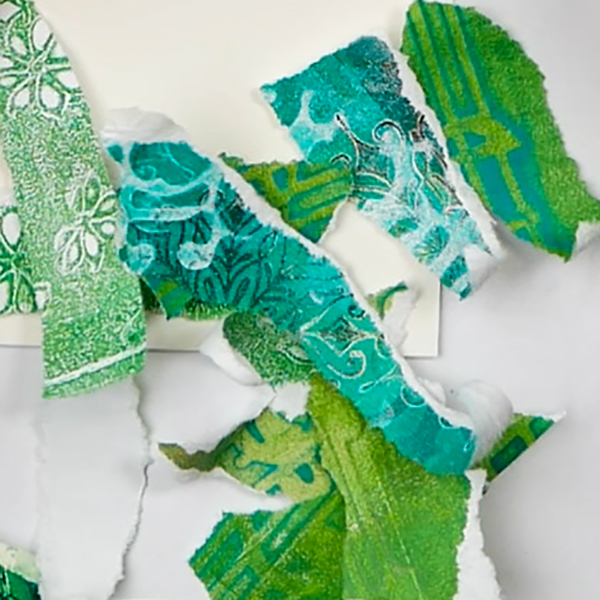
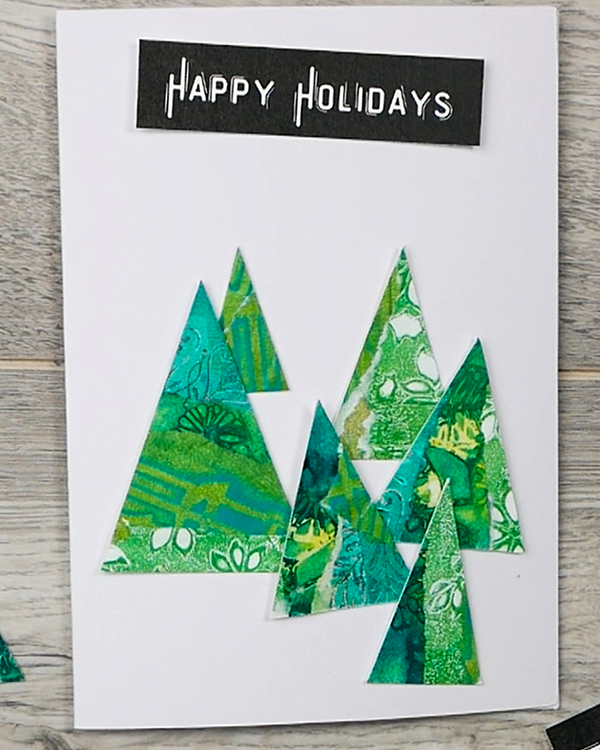
Holiday Tree Card
We start off this holiday tree card by creating a simple collage. This one is created with leftover green pieces from my gel print papers. I’m using a 4 ¼” by 5 ½” piece of watercolor paper for creating the collage.

Use the same collage technique that I shared above to completely cover the piece of watercolor paper. Make sure to mix up the patterns and designs to create contrast.
This piece of collage paper could make a beautiful background, but today I’m showing you a different technique. Let’s cut this paper into tree shapes for our holiday cards.

Cutting the Collage Paper
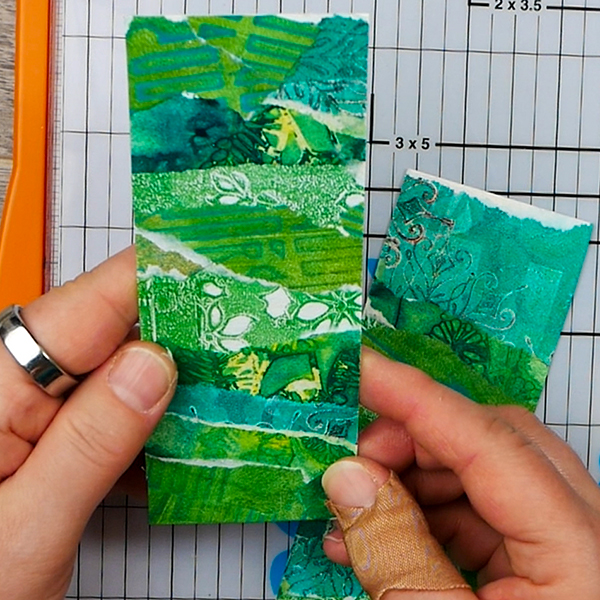
Cut the paper in half so that it is 2 1/8” by 5 ½”. Using a pair of scissors or a paper cutter, cut the collage paper strip into triangles.
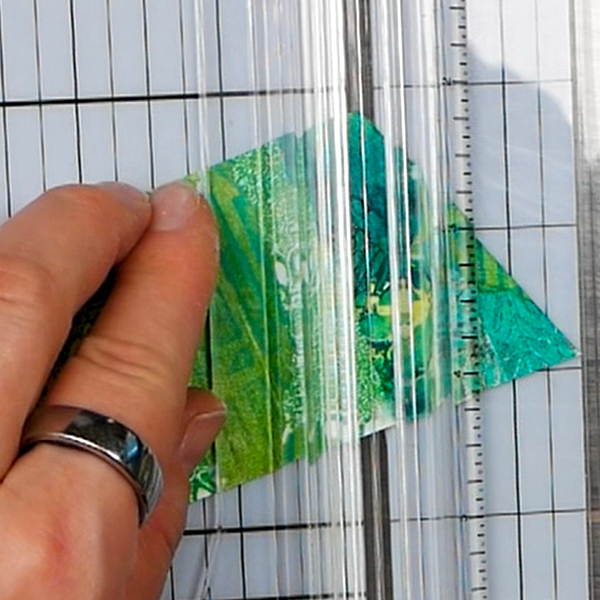
You don’t need to have the perfect triangle, just eyeball it because it can be easily adjusted later.
Choosing a Design
From here we can create several unique designs for these holiday collage cards. Here’s a few ideas to get your creativity flowing.
Row of Overlapping Trees
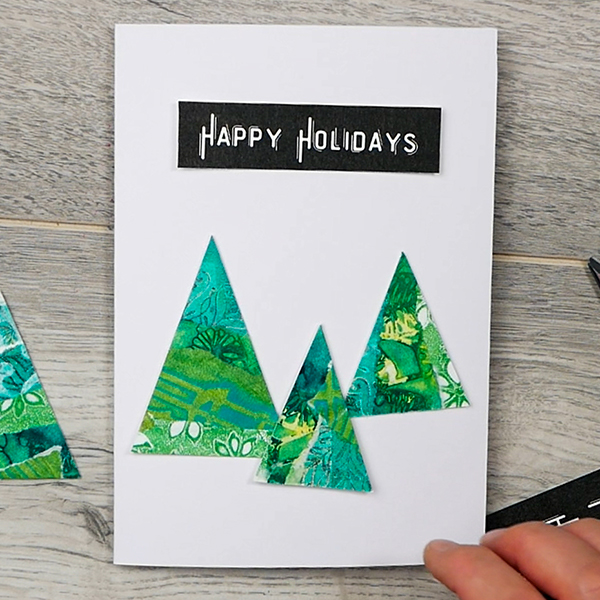
Working on a 5” by 7” card you can overlap the trees and add a sentiment to the top of the card to make a simple and beautiful design
A Forest of Trees
You can put in a lot of triangles together to make a forest of trees. If you decide to go this route, think about the tree sizes. The trees closer to you will be larger, the ones further away from you will be smaller. If you want to try this idea, I recommend adding watercolor or pen lines to create shadows. This helps the trees to feel grounded in the scene.
Rows of Trees

For a simple and strong design, adding trees in rows is always a good choice. Add the sentiment to the middle and add the trees in rows on the top half and bottom half of the card. This is super simple but very effective holiday collage card design.
I like uneven groups so I added 2 slightly larger trees to the top and 3 smaller trees to the bottom.

Other Ways You Can Use This Design
As this is a technique-based design, you can use these ideas in your art journal. In place of a sentiment, add in some of your own journaling. I’ve used the paint muting technique in my journal pages using different colors and collage patters. You can cut your collage into any interesting shape for your next art journal page. The possibilities are endless!
Project Supply List
Do you love unique holiday papers to use in your cards and art journal pages? This collection of 29 digital prints includes a variety of festive images perfect for your next project!
Creates a matte, non-reflecting finish when added to acrylic colors. Lightweight, non-toxic; Opaque when wet, translucent when dry.
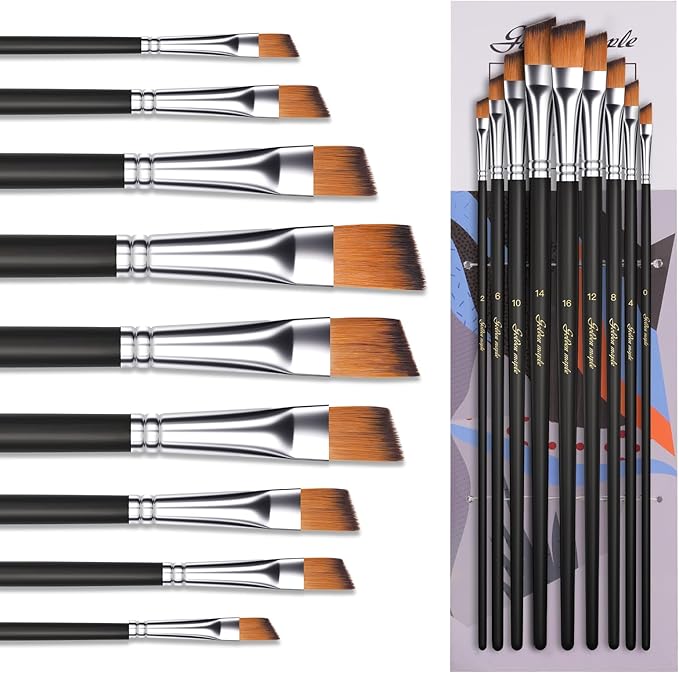
This angled paint brushes set includes 9 sizes (0,2,4,6,8,10,12,14,16) for achieving optimal painting results. Crafted for durability, these acrylic paint brushes deliver smooth strokes and precise color control. The resilient filaments hold paint effectively and release it evenly for seamless application.

HARP DURABLE STAINLESS STEEL BLADES: Forging press manufacturing process enables high-density steel that makes 3 times harder than ordinary stainless steel, precision-ground offer a lasting sharp edge that cuts all the way to the tip.

Pebeo High Viscosity Studio Acrylic Paints are the ultimate mixed media acrylic! Vivid, deep, and richly pigmented, it offers very good lightfastness and permanence.

Newsprint is a school favorite for drawing with pencil, charcoal, pastels, crayons, and markers. Pacon All-Purpose Newsprint Sheets are a 30 lb (49 gsm) standard weight and have a smooth surface.
A quick and easy way to melt embossing powder this heating tool was specifically design for speed quiet and convenience. It can also be used to heat set or dry ink. It won't overheat and burn projects.
Designed to appeal to students, Canson XL pads contain more sheets at a comparable or better price than other value pads in the marketplace.

Ideal for cutting a wide variety of crafting materials including paper, photos, scrapbook pages or specialty materials. Cutter comes with a lifetime warranty.

Art Glitter Glue is permanent and dries clear and adheres to a variety of surfaces. It's water based and acid free. Make sure to close lid to avoid drying of glitter glue. Bundle comes with one bottle of 8oz, one bottle of 2 oz and a metal tip for easy application.

Each pack consists of 100 pcs of 8.5 x 5.5 scored cardstock sheets (4.25 x 5.5 when folded) and 100 A2 self-seal envelopes, perfect for DIY greeting cards.
Each pack consists of 100 pieces of 10 x 7 scored cardstock (5 x 7 when folded) and 100 A7 self-seal envelopes, perfect for DIY greeting cards.


You May Also Like
How to Make a Simple Christmas Card

How to Create a Wine Bottle Flower Vase