3 Unique Ways to Make Fabulous 3D Holiday Cards
Are you looking to create unique holiday cards to create and gift this Christmas season? Today I’m sharing with you 3 of my favorite dimensional card designs. These designs are unique, easy to make and lay flat for mailing!
These beautiful cards not only work for holiday designs, but for other events during the year. Scroll to the end of the article to see some other samples of these beautiful holiday cards!
Hop-A-Long Studio is reader-supported. When you buy through links on our site, we may earn an affiliate commission at no cost to you. Learn more.
Z-Fold Holiday Card

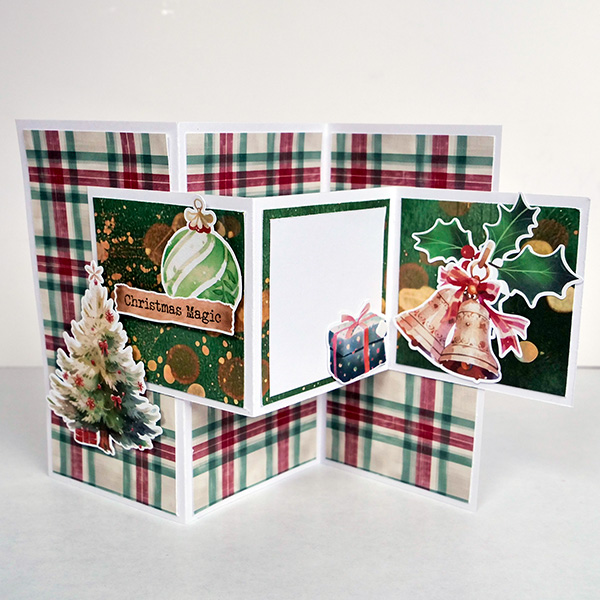
The Z-fold card might look complicated, but it is a very easy design to make once you understand a couple of key techniques. I love this card because it stands up easily and has a lot of dimension to the design.
Cutting and Scoring a Z-Fold Holiday Card
Start by cutting an 8 ½” by 11” piece of white cardstock to 6” by 9”. Using a score board, score the paper at 3” and 6”. This should leave you a long piece of paper that has two evenly placed scores along the paper.
Cut another piece of white cardstock to 3” by 9”, score the paper at 3” and 6”. This should leave you another piece of paper that has two evenly places scores along the paper
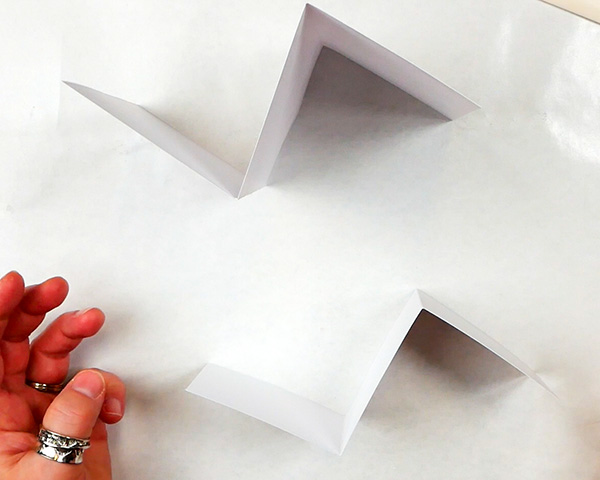
Fold both papers with a mountain and valley fold to create a “Z” shape. These Z shapes for both pieces of paper should mirror each other.
Hammermill 8.5” x 11” Colored Cardstock 110lb Paper is a premium thick cardstock designed for print and copy use on copiers and printers. It’s heavy cardstock that’s ideal for heavy duty projects.
Adding Base Papers to a Z-Fold Card
Add decorative paper to the 6” by 9” piece of paper. To create a border around each panel (which helps the card bend more easily and lay flat), cut 3 pieces of decorative paper to 5 3/4”by 2 3/4”. This will give you 3 panels with a 1/8” border around the decorative paper.
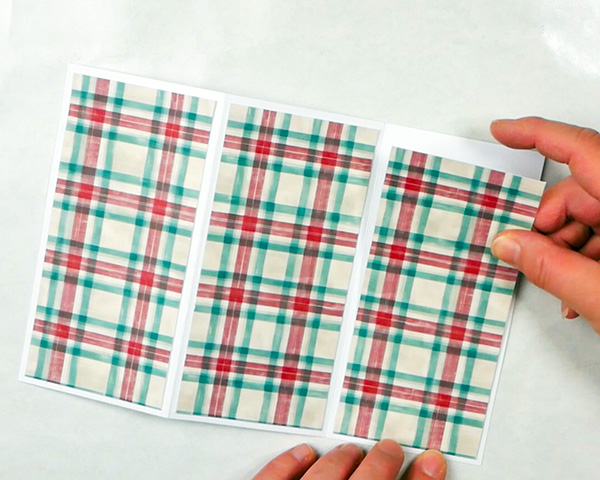
Cut 3 pieces of decorative paper to 2 3/4” by 2 3/4”. I like using the same pattern for all 3 pieces of paper, but you can choose to mix up the designs if you’d like. Glue them to the 3″ by 9″ card using your favorite adhesive, my preferred dry adhesive is Scrapbooking Adhesives tape runner.
Glue the 3” by 9” piece of paper to the decorated card base. The key to this card design is to make sure that the hill and valley folds are in the same direction so that the card folds properly.
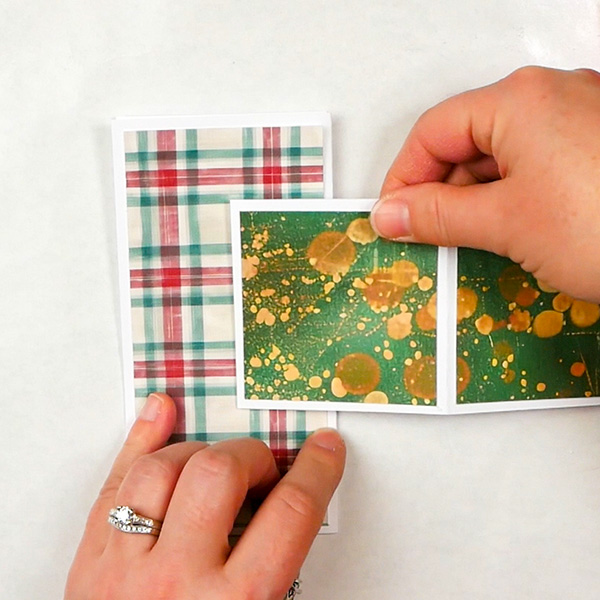
Add the 3” by 9” piece of paper to the first panel of the card base, lining it up so that it is adhered to the middle of the panel with at least a 1 ½” offset. The larger the offset, the larger the gap between the layers, which gives the card dimension. Once glued, fold the rest of the white paper into the card design so that everything is flat. The smaller Z folds inside the larger Z.
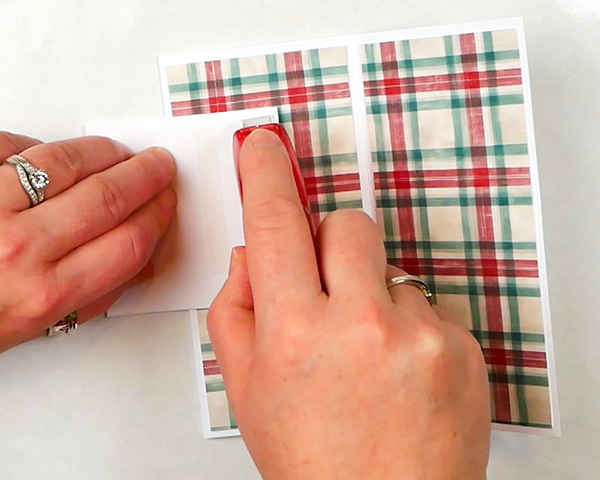
Flip the card over. You will see the smaller piece of paper lines up nicely with the back of the Z card. Add glue to adhere it. You should now have a dimensional card that lays flat but will stand with dimension when opened.
Decorating the Z-Fold Holiday Card
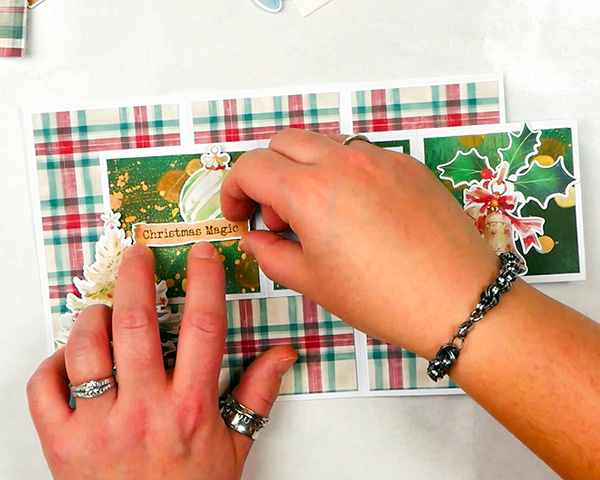
Finish off this holiday card by adding in ephemera or stamped images. I like making sure that there is a place on the card that I can add a personal message. Cut a piece of white cardstock to 2 1/2” by 2 1/2” and add it to the small middle panel.
For all these card designs I’m using images and paper from days 1-13 of the Simply Stated Design Advent Calendar. If you haven’t seen my unboxing video for this calendar, check it out here!
If you’d like to purchase this advent calendar, use code nadine15 at the Simply Stated Design website to get 15% off your first purchase!
A paper crafting company designing and creating products that inspire and excite the creative community!
Use nadine15 at checkout to get 15% off of your first order!
The Easel Card
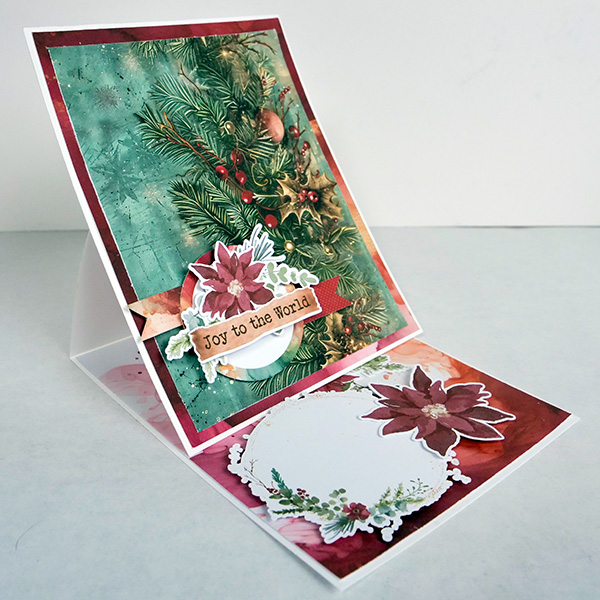
An easel card is a fun design because you can create beautiful images inside the card that can be displayed when propped up.
Cutting and Scoring an Easel Holiday Card
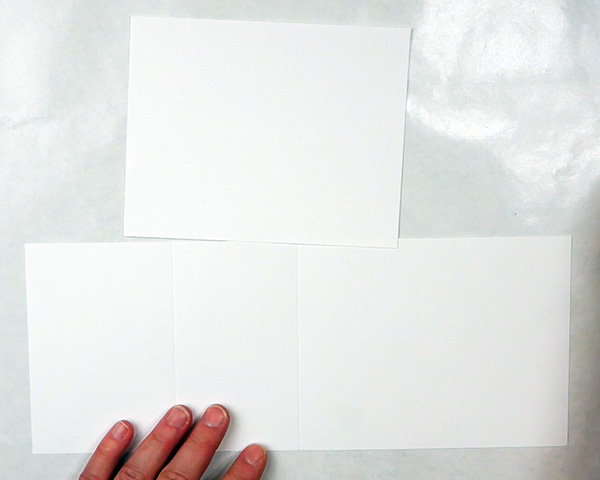
Using a piece of 12” x 12” white cardstock, cut a piece of paper to 12” by 4 ¾”, score at 3 ¼” and 6”. Set this piece aside, take the remaining section of the piece of white cardstock and cut to 4 ¾” by 6”.
Scor-Pal has all the grooves you will need to score your cardstock projects accurately and quickly while providing a precise and crisp fold.
Folding the Card Base
Fold the card in half at the 6” score line. Open the paper, fold the paper in at the 3 ¼” score line. You will create a “C” Shape with your piece of paper.
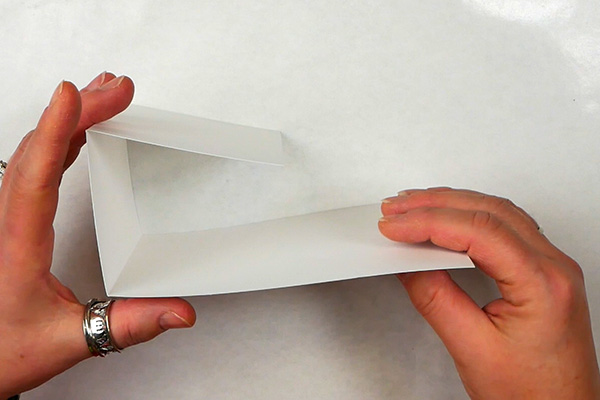
Add glue to the 3 1/4” by 4 ¾” section of the “C”, then add the second piece of paper with the bottom of the 4 3/4” by 6” piece of paper lining up to the fold. When it’s glued together, it should create an easel shape when propped open.
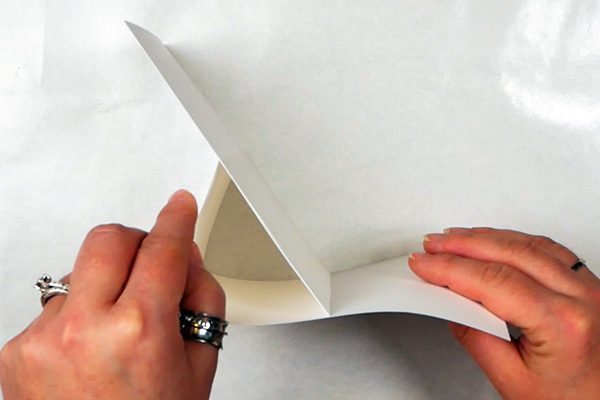
Decorating the Outside of an Easel Card
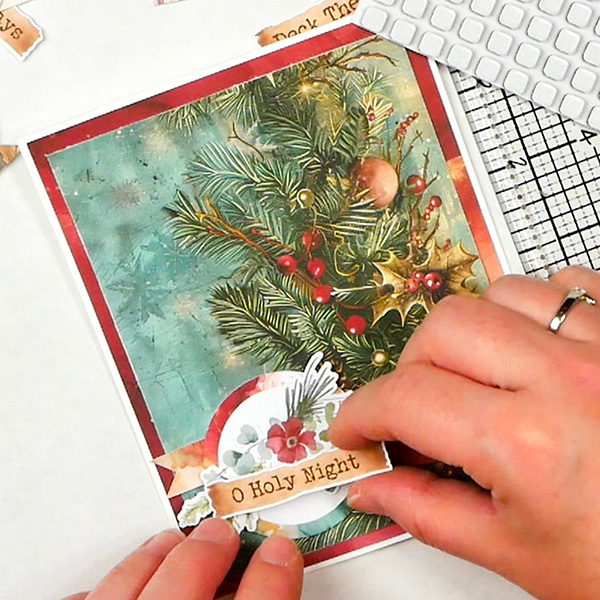
To decorate the front, add in a piece of decorative paper that is 5 7/8” by 4 5/8”. This will give you a 1/16” border around the card front.
Add a second decorative piece of paper that is 5 ½” by 4 ¼”. You can choose to use foam squares to create more dimension, or just use adhesive to add the decorative paper to the card,
Because I have so many ephemera pieces, I decided on ribbon shapes, a circle shape, greenery, a poinsettia, and a greeting to add to the front of this card, I wanted to add a lot of dimension, so each layer had foam squares to separate the layers.
Be aware that the thicker your card is, the more it will cost to mail. Keep this in mind as you are creating!
Decorating the Inside of the Easel Holiday Card
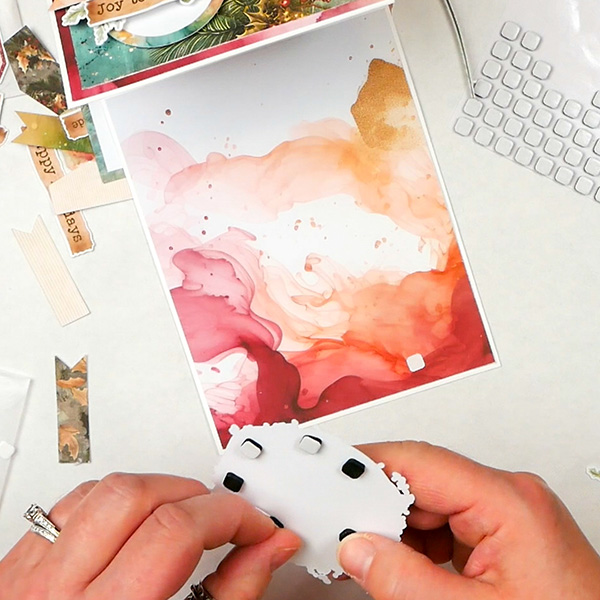
I like to decorate the inside of the easel card because part of the inside of the card will be showing when it’s propped up.
Cut another piece of decorative paper to 5 7/8” by 4 5/8” and glue it to the inside of the card.
To create a stable easel, we need to decide on an image that will be popped up with foam squares inside of the card. This is what the front of the card will rest on to make the easel stand up.
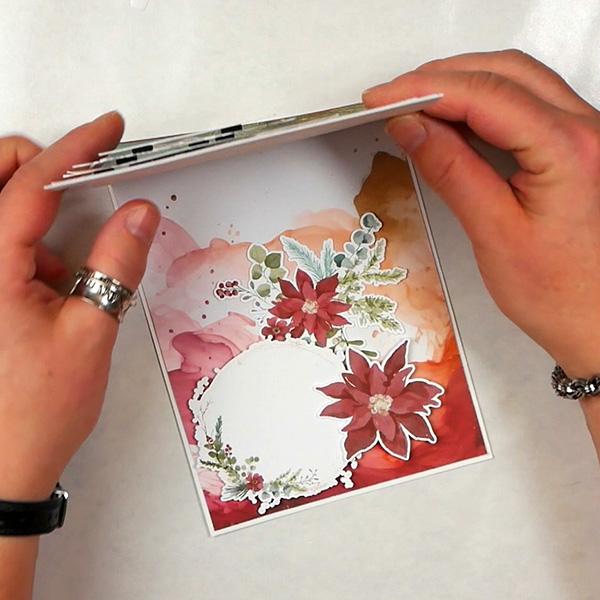
You can stick to one image, but a few more pieces of floral ephemera seemed to add so much to the design!
Belly Band Folded Card
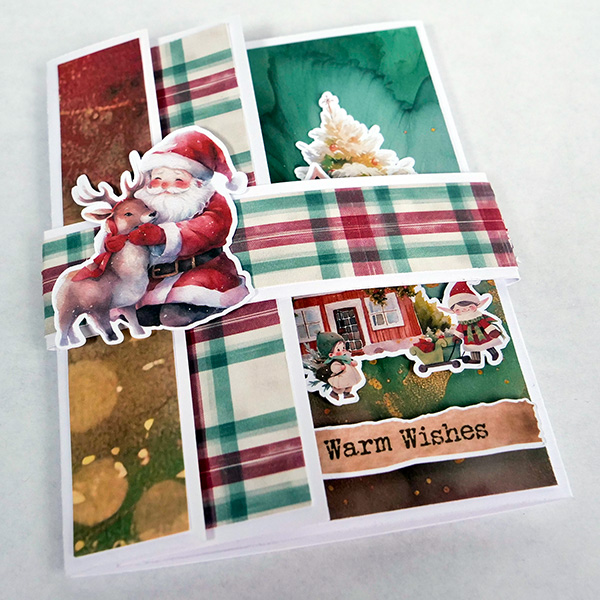
This belly band folded card is a great design because the belly band helps it lay flat enough to ship. But then you can unfurl this gorgeous card and display it on a mantle during the holiday season!
Cutting and Scoring a Belly Band Folded Card
Cut a piece of 8 ½” by 11” white cardstock to 5 ½” by 11”. Set this aside. Cut a second piece of paper to 1 1/4” by 10”.
Take the 5 1/2” by 11” piece of paper and score at 1 ¼”, 5 ½” and 9 ¼”.
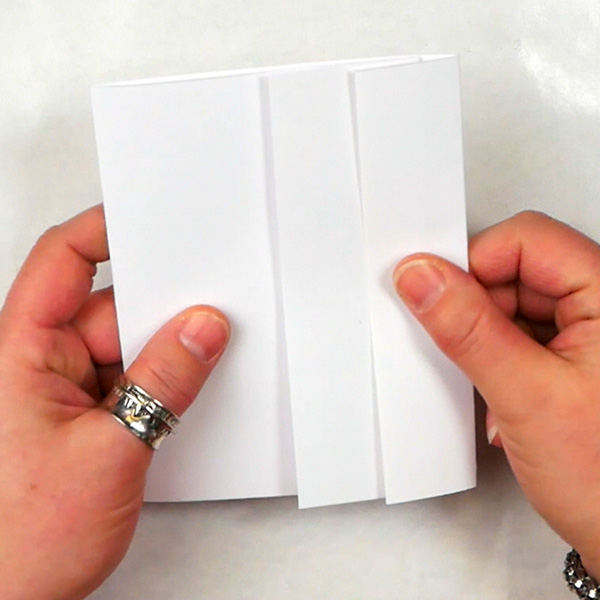
Fold the paper in half (at 5 ½”). Look at the card, there will be a side with a deeper score and a shallower score. Fold back the area with the deeper score (1 3/4”), the fold the smaller score (1 1/4”) on top of it. This will create a card that has overlapping paper pieces on the front of the card.
Decorating the Card
For inside the card, cut paper by 3 ½ by 5 ¼” for the smaller rectangle, 4” x 5 ¼” for the larger area, then for the little areas, 1 ½” by 5 ¼”, and 1” by 5 ¼”.
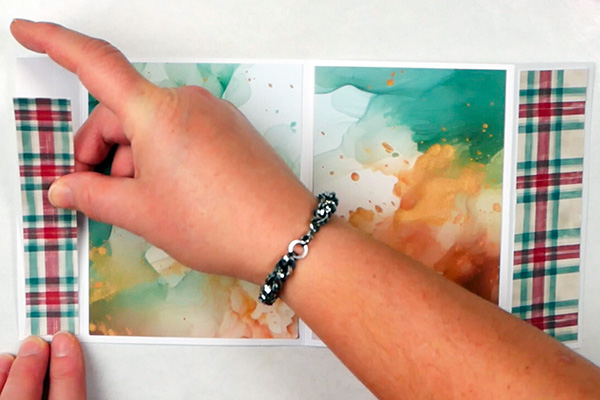
For the front of the card, the smaller piece is 1” by 5 ¼”.
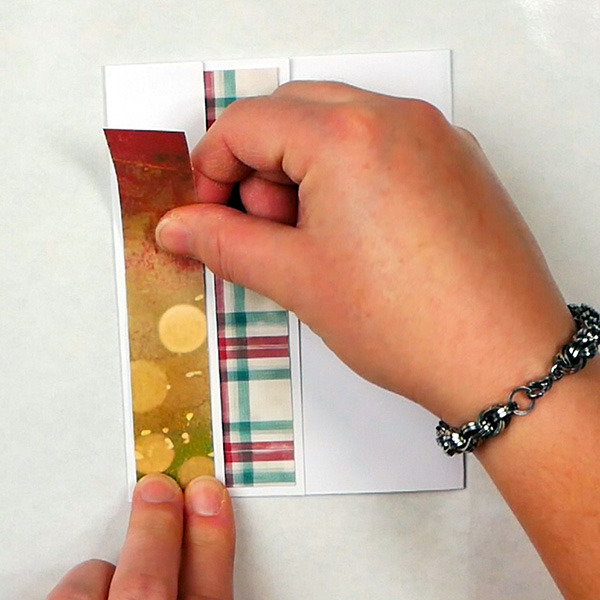
When you fold back to see the front of the card, you will need 2 pieces of paper, 1 ½” by 5 ¼” and 3 ½” by 5 ¼”
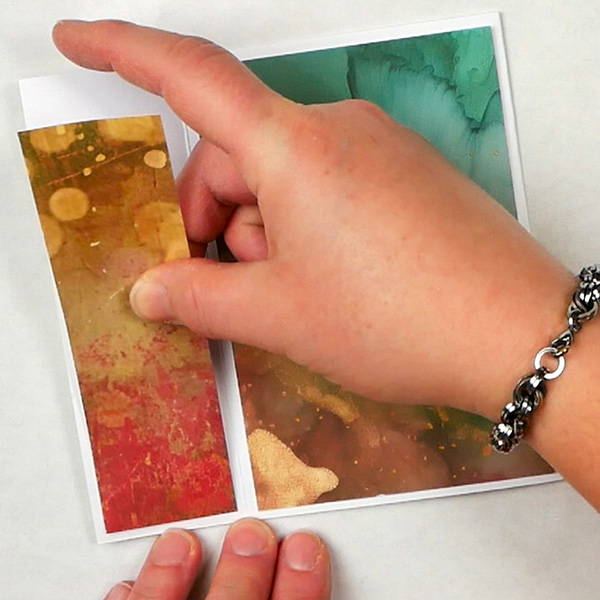
I like having a place to write inside the card. Cut a piece of white cardstock to 3” by 4 ¾”. This will give you a nice space to write in, but you will be able to see the decorative paper border and add ephemera.
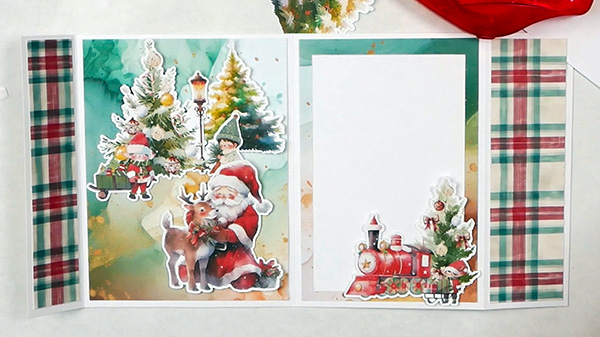
For this folded holiday card, I created scenes using ephemera. The key to giving this card a natural look is to be aware of scale. I added larger images to the foreground, while adding homes and trees to the background that are smaller. This created a unique scene which was in scale.
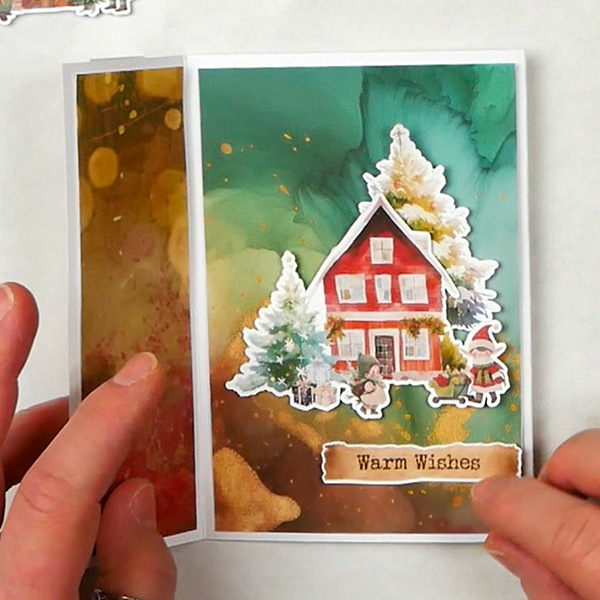
Creating the Belly Band
Take a piece of decorative paper and cut it to 1” by 10”. Glue it to the white cardstock that is 1 ¼” by 10”. Wrap it around the card, making sure to leave a bit of space when you fold it. You don’t want the belly band so tight that you can’t slide it on and off the card.
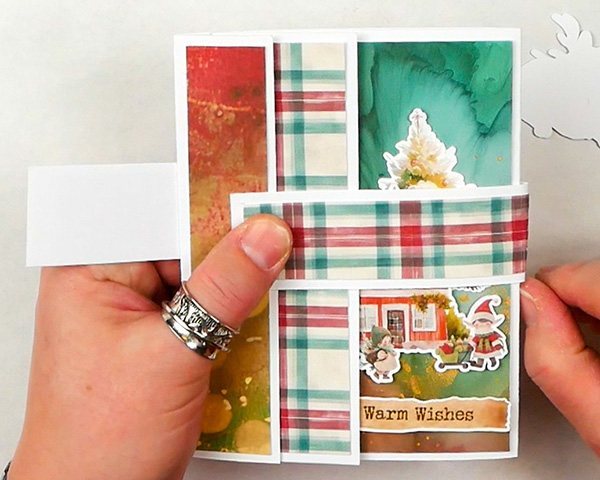
The belly band is slightly longer than what is needed for the card. This is to give you space to adjust it based on how thick the cardstock, images and how much dimension you’ve added into the card.
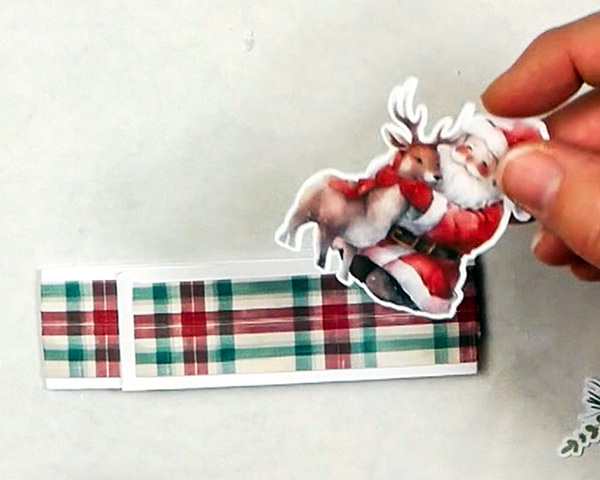
Overlap the belly band on itself once you’ve figured out the fit on your card. If you don’t like the overlapping area, just add another image to the belly band to hide it.
Other Ways to Use These Card Designs
That’s 3 different and unique ways you can create and decorate these 3D cards. For more ideas, here’s these 3 cards done with water marbling paper.
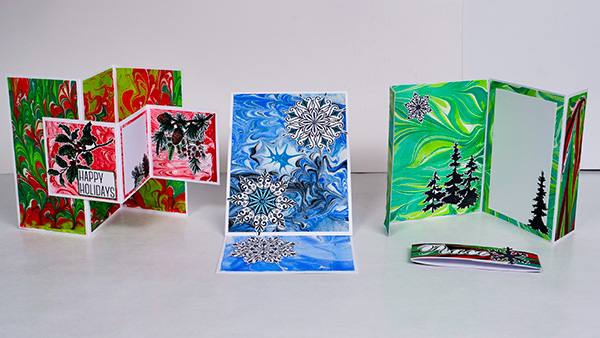
If you’ve never tried water marbling, it is a very relaxing and fun way to make prints. I’m creating a full course for how to water marble, which should be coming out soon. Make sure to sign up for my newsletter to be the first to know when this course is coming out!
As you can see, by changing up the images and the papers, these card techniques can be used repeatedly to make unique card designs!
Looking for More Inspiration?
If you’re looking for some more card projects for the holiday season, check out these articles!
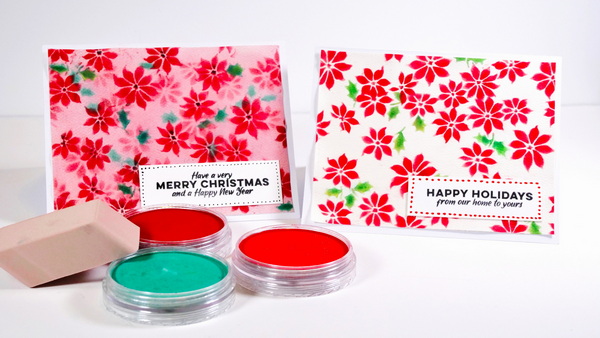
Beautiful Smudge Free Pan Pastel Christmas Cards
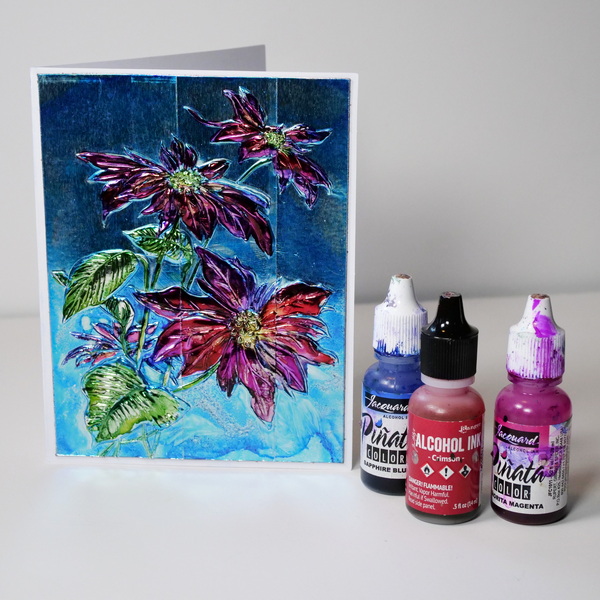
Amazing Alcohol Ink Cards Using Hardware Store Foil
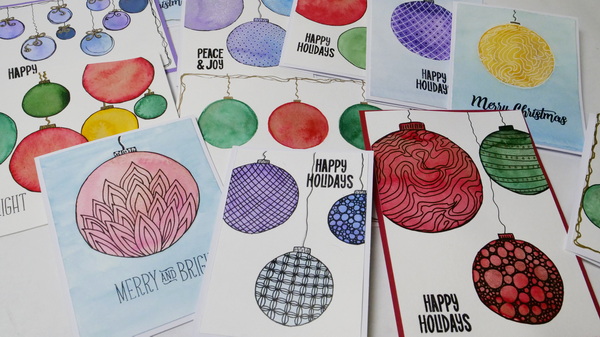
Paint Your Season’s Greetings with Simple Watercolor Christmas Cards
Project Supply List
Ideal for cutting a wide variety of crafting materials including paper, photos, scrapbook pages or specialty materials. Cutter comes with a lifetime warranty.
Hammermill 8.5” x 11” Colored Cardstock 110lb Paper is a premium thick cardstock designed for print and copy use on copiers and printers. It’s heavy cardstock that’s ideal for heavy duty projects.
Create the most beautiful cards with this acid free, made in USA, flat card stock paper. 270 GSM with 96 brightness.
Scor-Pal has all the grooves you will need to score your cardstock projects accurately and quickly while providing a precise and crisp fold.
E-Z runner permanent dispenser provides refill cartridge. Unbreakable PET liners for fast and smooth application.
Small Pre-Cut 3D Foam Squares add height and interest to the layers on your scrapbook pages, cards and mixed media projects.
Thin Pre-Cut 3D Foam Squares add height and interest to the layers on your scrapbook pages, cards and mixed media projects
A paper crafting company designing and creating products that inspire and excite the creative community!
Use nadine15 at checkout to get 15% off of your first order!


