5 Beginner Friendly Acrylic Painting Techniques
If you are new to acrylic painting, it can be hard to know where to start. Today I am sharing 5 beginner friendly acrylic painting techniques to help you get going. These techniques and tips are easy ways to improve your acrylic painting skills and help you gain confidence. The acrylic painting techniques that I’m sharing are appropriate for both the art journal and canvas projects.
Learning to Paint with Acrylics
Hop-A-Long Studio is reader-supported. When you buy through links on our site, we may earn an affiliate commission at no cost to you. Learn more.
When I started learning to paint with acrylics, it was challenging and frustrating. I was learning from books and videos and spent a lot of time trying to figure it out on my own.
Eventually I decided that I could use some professional instruction. I signed up for painting classes at my local art store and was surprised how quickly my skills improved! Today I am sharing some of my favorite acrylic painting techniques that helped me improve quickly in my painting skill.
Tip 1: Start with Gesso
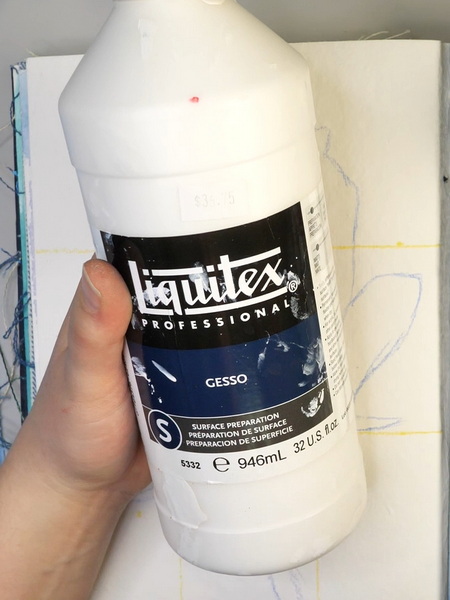
If you are painting with acrylics, start by adding gesso to your surface. Whether you are working on a panel, canvas, or art journal, this is a very important step. Gesso gives tooth, or roughness, to your surface. This helps the paint to stick to the surface better.
Another benefit of gesso is that it absorbs into the surface. This gives you an even painting surface that your paint will stick to. Gesso prevents paint waste as the paint will stick to the gesso instead of getting absorbed into the surface. As the paint stays on top of the gesso, this will also give you consistent color and strokes which makes for a better painting.
To see my step-by-step video on how to prepare a surface with gesso, check out this article.
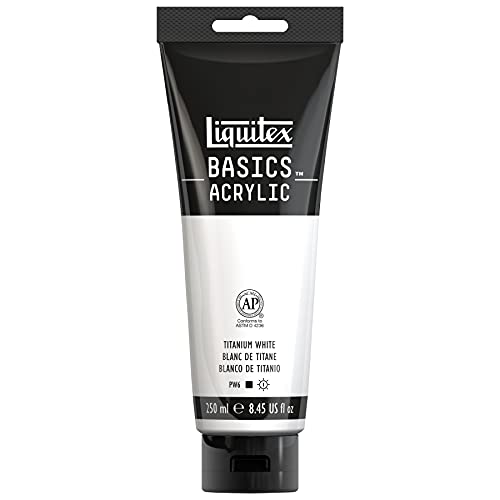
Liquitex Basics Acrylic Gesso is formulated to produce a smooth, absorbent, finely textured ground for painting on most porous surfaces, including canvas, paper, fabric, wood, or plaster.

Golden Acrylic Gesso is a ready-to-use liquid ground formulated for the use of acrylics on any commonly used painting surface. It’s flexible and can be applied in thin layers to conform to a variety of textured surfaces without cracking.
Tip 2: Choose the Right Brush
When you start to paint, using the right brush is important. Most people start with a series of small brushes when learning to paint. My suggestion is to have at least a 1” or 2” brush to start. This will help you cover large areas quickly and evenly.
If you try to use a small brush to paint a large area, the paint will dry unevenly and show many small brushstrokes. Unless you are looking for a lot of tiny marks in your brush work, use a larger brush to get more consistent results.

Using a Bigger Brush
I feel like my mantra for painting is “use a bigger brush.” When I started painting, I was intimidated. I would use a tiny brush making tiny strokes hoping that I would make less mistakes. My teacher would often come by and say, “you need to use a bigger brush.”
By using a tiny brush, it held me back from being able to paint quickly and with purposeful strokes. Once I moved to a bigger brush, I found freedom in being able to add paint quickly to my surface.
If you are working primarily in an art journal, a series of small brushes up to a 1” or 2” brush would be ideal. I like using mostly flat brushes for applying paint with a few round brushes and riggers for adding detail.
If you are planning on working on canvases, based on the size of your canvas, scale your brushes accordingly. I have a range of brushes up to 4” that I use for larger paintings.
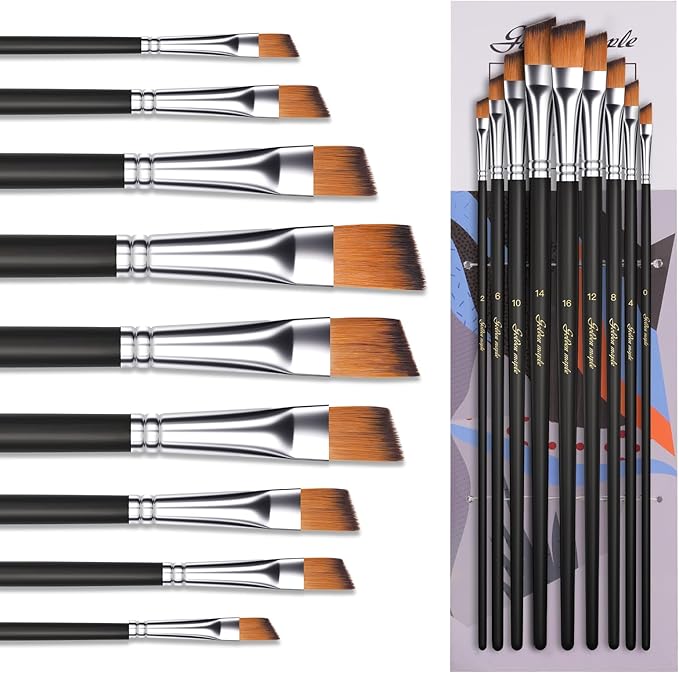
This angled paint brushes set includes 9 sizes (0,2,4,6,8,10,12,14,16) for achieving optimal painting results. Crafted for durability, these acrylic paint brushes deliver smooth strokes and precise color control. The resilient filaments hold paint effectively and release it evenly for seamless application.

Simmons brushes include a mixture of handmade brushes with natural bristles in an interlocking construction and synthetic brushes with larger diameter filaments to provide stronger spring and snap.

Princeton Dakota Series 6300 Synthetic Hair Brushes have long handles for maximum control, and synthetic bristles with excellent stiffness, snap, and shape retention. Easier to clean than natural bristle brushes, they are recommended for use with heavier paints.

• For oil and acrylic paints
• Super stiff synthetic bristles
• Long and short varnished wood handles
• Flat, seamless, matte-black ferrules
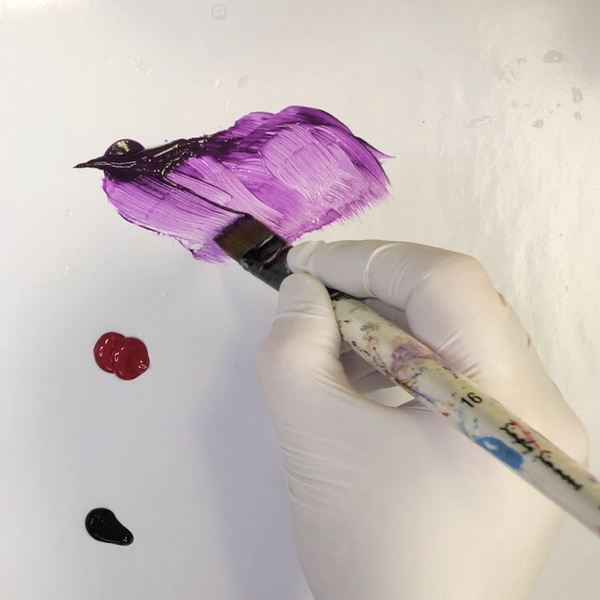
Tip 3: Create Layers of Paint
One of the most important acrylic painting techniques is to learn to create layers with acrylic paints. When you are learning to paint, you might be tempted to try to cover your surface in just one coat of paint.
This was a habit that I had to break when I started painting. By painting with only one layer, your project will look flat and uninteresting. One of the benefits of acrylic paint is that it dries quickly. By building up layers of paint on your surface, this will create beautiful luminance and depth in your color.
When I started learning to paint, I used only a few layers of color. As I’ve gained painting experience, I now add layers of more colors to create shadows and highlights in my paintings.
Tip 4: Thin Your Acrylic Paint
When first learning how to paint, I would take a large blob of paint on my brush and add it to the surface. As I’ve improved in my painting, I now thin and mix my paint before adding it to the surface.
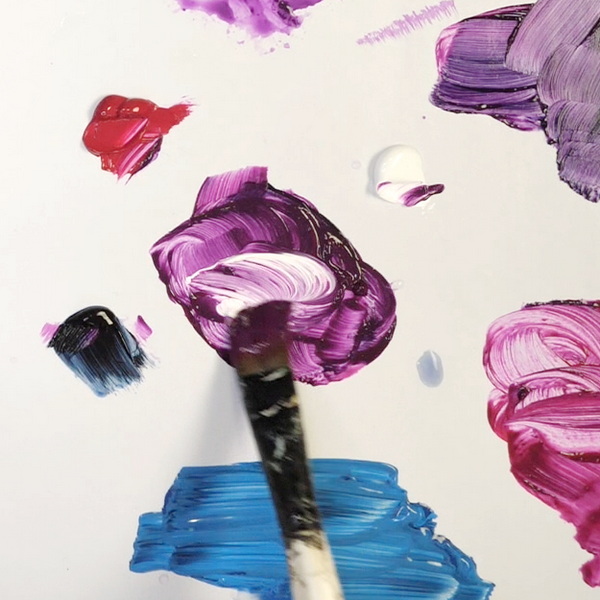
The Importance of a Palette
Painters have palettes for a reason. If you are a beginner painter and are not comfortable with paint mixing yet, that’s ok. Still use a palette to pick up paint on your brush before adding it to the surface.
If you’ve never used a palette before, there are many types of palettes available. There are conventional artists palettes that needs to be cleaned and scraped. But my favorite is palette paper that can be purchased in books of sheets. These are meant to be used once and discarded once you are finished painting.

- Acid-free palette paper, 50 Sheets at 9" X 12"
- Smooth mixing surface against grey paper for a neutral back drop on which to view colors
When you apply paint from your palette, this lets you control the consistency and application of the paint. Instead of ending up with globs of paint on your surface, the palette helps you control how much paint you pick up on your brush. This is also an opportunity to thin and mix paints on your palette.
Heavy Body Acrylic Paint
To create layers on your canvas, thinning your paint will help it spread more evenly on the surface and allows the color underneath to shine through. For the best results when thinning, use a heavy body acrylic paint as it thins beautifully while maintaining good color.
There are a variety of heavy body paints available for purchase from student quality to professional artist acrylic paints. If you are on a budget, try using Pebeo Studio acrylics or Amsterdam Acrylics as they are highly pigmented and have vibrant color without breaking the bank.

Pebeo High Viscosity Studio Acrylic Paints are the ultimate mixed media acrylic! Vivid, deep, and richly pigmented, it offers very good lightfastness and permanence.

Proudly crafted in the Netherlands, these acrylic paints are value priced and easy to use, making them an excellent choice for the beginning or intermediate artist.
Thinning Acrylic Paint
To thin your paint, add water to your paintbrush and mix with acrylic paint on a palette. If there is too much water in your brush, this can end up making the paint too watery. To prevent this, tap some of the water off the brush on the side of the water container. You can also dab the brush several times on a paper towel to remove some of the water.
It may take practice to thin the acrylic paint to the right consistency. When I started taking classes, I really struggled with paint consistency. I would often have the paint dribble down the canvas. A solution that I found was to mix my paint with acrylic glazing medium. This was an easy way to control the thickness of my paint while still getting great results.

Golden Acrylic Glazing Liquid is great for glazing in fine art painting. It dries slowly, allowing artists extended periods of working time. This acrylic medium improves brushability and is useful for wet-in-wet blending.
When you are painting, make sure to always wet your brush. Unless you are looking specifically for a dry brush effect, working with a wet brush will give you much better color blends and a consistent result.
Tip 5: Learn to Color Mix
Color mixing may seem challenging at first, but it’s an important skill to learn. When I was first learning to paint, I would buy every paint color I wanted to use on my canvas. The idea of color mixing was difficult and overwhelming.
But I ended up with more than 50 tubes of paint of various colors. It made choosing colors and painting overwhelming, but in a different way. Instead of the challenge of blending colors, I had the problem of having too many paint choices.
Thankfully in my painting classes, I was given a lot of help to understand what colors worked together, and now I try to learn how to mix so that I can have less colors on my palette.

Basic Color Mixing
A basic color mixing exercise is to start with one color, black and white. Learn how to darken and lighten the color and see what shades you can get.
You can also start with colors that are beside each other on the color wheel, like red and blue, or yellow and red. These simple color mixes can be a great place to start with understanding color mixing.
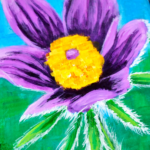
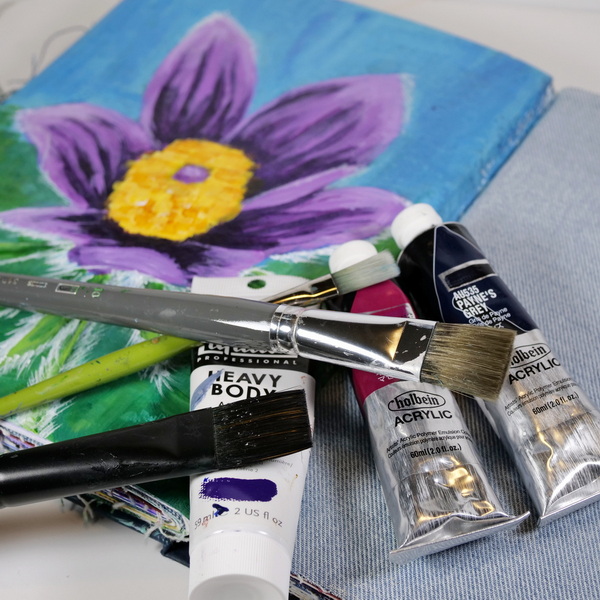
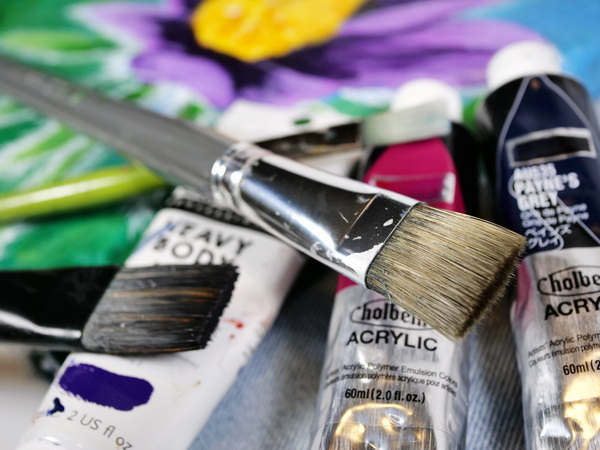
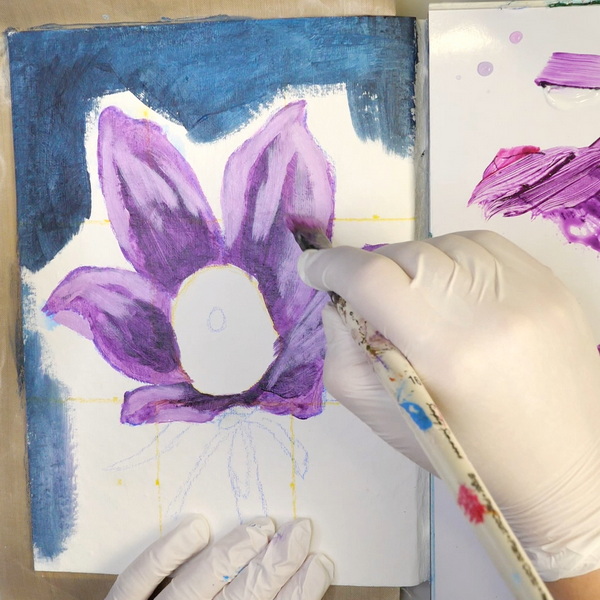
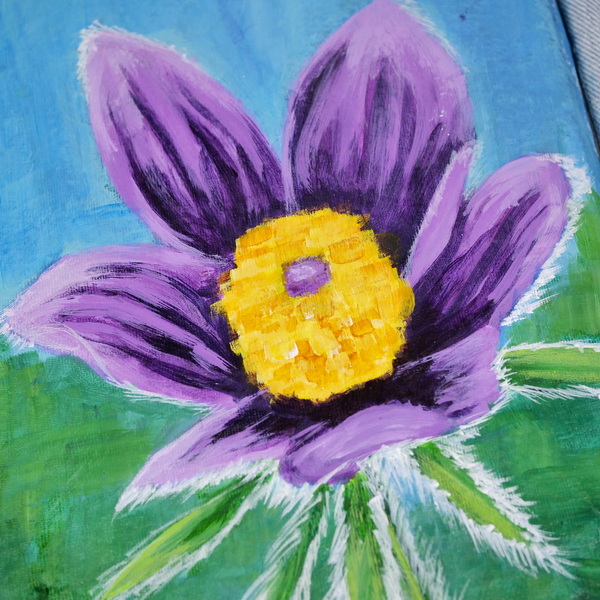
The purple flower was created just four colors; magenta, payne’s grey, violet, and white. I tend to use Payne’s Grey over black as it’s less intense and doesn’t overwhelm the main color that I am mixing.
If you’d like to see more information about color mixing, I recently shared a basic watercolor mixing tutorial. This step-by-step tutorial included how to prevent getting muddy colors when color mixing. To see this tutorial, check out this article.
Questions?
Any questions about the acrylic painting techniques that I’ve shared with you today? I’d love to hear about your experience with acrylic painting and if you have any questions. Leave a comment below and I’d love to start a conversation with you!
Project Supply List

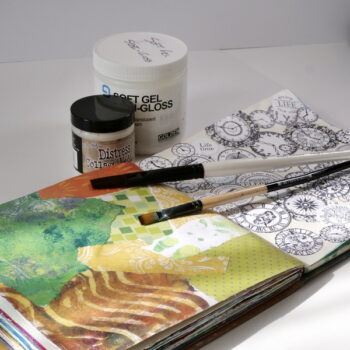
Put the mix into mixed media with the Dina Wakley Media Journal. Includes a unique variety of surfaces ideal for mixed media & art journaling. Surfaces include burlap, canvas, cotton rag watercolor paper, and kraft surfaces.

- Professional water-soluble wax pastels
- Highly pigmented for intense color and coverage
- Soft texture dissolves easily for fluid washes
- Excellent lightfastness

- Professional quality
- Intensely pigmented, ink-like colors
- Ready to use in refillable markers, dip pens, and airbrush
- No thinning required
Liquitex Basics Acrylic Colors were developed for students and artists who require dependable quality at an economical price. Each color is uniquely formulated to bring out the maximum brilliance and clarity of the individual pigment.

Proudly crafted in the Netherlands, these acrylic paints are value priced and easy to use, making them an excellent choice for the beginning or intermediate artist.

- Professional quality
- Comparable pigment load to Golden Heavy Body Acrylics
- 100% acrylic emulsion; no fillers, dyes, or opacifiers
- Intense, permanent colors with a smooth, fluid consistency

- Brilliant, versatile colors for artists at every stage
- Made with lightfast pigments
- Medium body supports all painting styles

Proudly crafted in the Netherlands, these acrylic paints are value priced and easy to use, making them an excellent choice for the beginning or intermediate artist. They can be mixed with water or mediums, and clean up requires only soap and water.

- Professional quality
- Comparable pigment load to Golden Heavy Body Acrylics
- 100% acrylic emulsion; no fillers, dyes, or opacifiers
- Intense, permanent colors with a smooth, fluid consistency

Pebeo High Viscosity Studio Acrylic Paints are the ultimate mixed media acrylic! Vivid, deep, and richly pigmented, it offers very good lightfastness and permanence.

- Professional quality
- Comparable pigment load to Golden Heavy Body Acrylics
- 100% acrylic emulsion; no fillers, dyes, or opacifiers
- Intense, permanent colors with a smooth, fluid consistency

- Professional quality
- Comparable pigment load to Golden Heavy Body Acrylics
- 100% acrylic emulsion; no fillers, dyes, or opacifiers
- Intense, permanent colors with a smooth, fluid consistency

M. Graham puts the same care and attention to detail into acrylic paints that he lavishes on more traditional media. Each color is manufactured only in small batches, using a traditional three roller mill.
- Acid-free palette paper, 50 Sheets at 9" X 12"
- Smooth mixing surface against grey paper for a neutral back drop on which to view colors

Synthetic bristles, short handle, aluminum ferrule. For use with acrylics and multi-media.
Golden Acrylic Glazing Liquid is great for glazing in fine art painting. It dries slowly, allowing artists extended periods of working time. This acrylic medium improves brushability and is useful for wet-in-wet blending.

A ready-mixed painting ground, Liquitex Acrylic Gesso primes surfaces and adds the right level of tooth for optimum color stability, adhesion, and absorbency.