The Secret to Stunning Collages…use Tissue Paper!
Do you have stacks of tissue paper and don’t know what to do with it? There are many types of tissue papers available that you can purchase pre-printed or alter yourself. Let’s dive into tissue paper collage and look at some easy techniques to incorporate them in your next project!
Hop-A-Long Studio is reader-supported. When you buy through links on our site, we may earn an affiliate commission at no cost to you. Learn more.
Types of Tissue Paper
You can use almost any type of tissue paper in your projects. There are a variety of tissue papers you can purchase printed in both color and black and white. You can also alter tissue paper using paints, stamps and acrylic mediums. There’s a lot of options for coloring or augmenting your tissue paper.
There’s a lot of different qualities of tissue paper, from Dollar Store tissue paper to artist quality acid-free archival tissue paper. All of this tissue paper will work, but it depends on what you want to do with it. You will find a difference between the high quality and low quality tissue paper when it comes to durability and strength.
But I use different qualities of tissue paper in my projects. When I get tissue paper from gift bags, I keep it and include it in my art stash. This collage fodder ends up being very valuable to my creative practice. So don’t toss that tissue paper!
Art Journal Collage with Tissue Paper
Today I’m working in a small watercolor journal that I made. If you’re interested in a similar journal, check out some of the ones available in my shop!

Start with the Focal Image
Usually when I’m building pages using tissue paper collage, I’ll start with my focal image. I’m using the Golden Botanicals paper collection from Simply Stated Design. I love this paper collection, but it’s so pretty that it’s sometimes hard to know how to use it in a project.
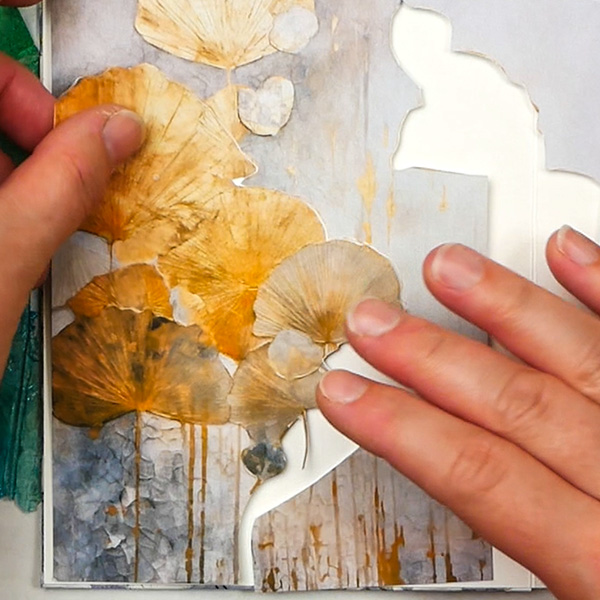
Sometimes we need to think outside the box and take our scissors and cut out these papers up. I don’t enjoy fussy cutting, but the look of these focal images on a project makes the time to cut them out completely worth it!
Fussy cutting is a way to lift imagery from a flat piece of paper and make them into dimensional pieces on your projects.
If you’re following along, you can use any focal image for this, it doesn’t have to be the one that I chose. If you’re looking for some new printables for your next art journal page, check out my shop for my hand-drawn printable images.

The Best Backgrounds Start with Tissue Paper
After I’ve chosen and cut out my focal image, it’s time to start playing with tissue paper layers. Think about the color palette that you want to use at this point. I love the neutral golds, brown and blues of my focal image, but I didn’t want to go completely neutral with this project. Instead, I found some altered tissue paper with bright colors that I’ll add to these neutral images. I made this hand dyed tissue paper, check out this video: Creating Mixed Media Tissue Paper.
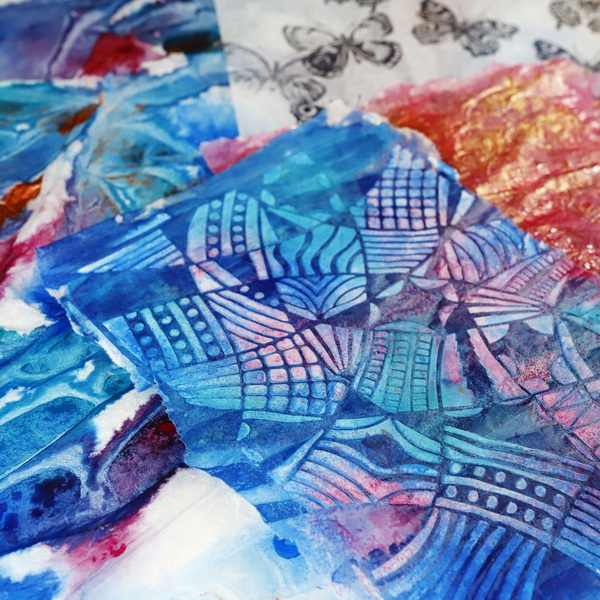
I’m using the areas of this tissue paper that have a combination of blue, purple and brown. The blue and brown will work with the colors in the focal image. To create contrast, the purple is opposite on the color wheel from yellow, which is going to create a beautiful pop of color on my page.
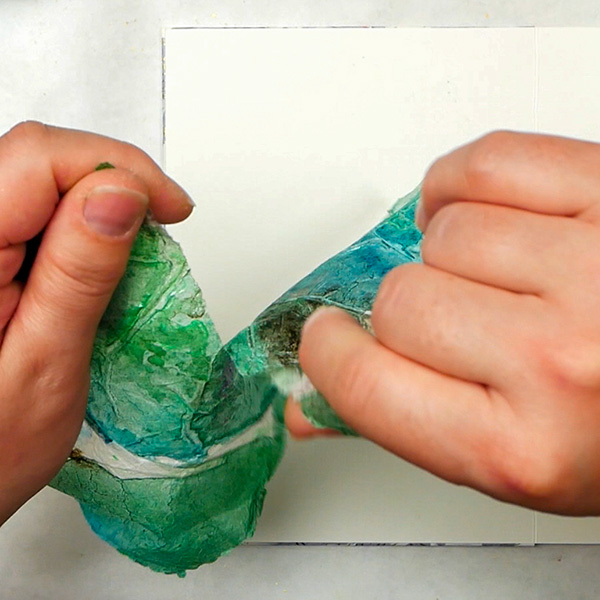
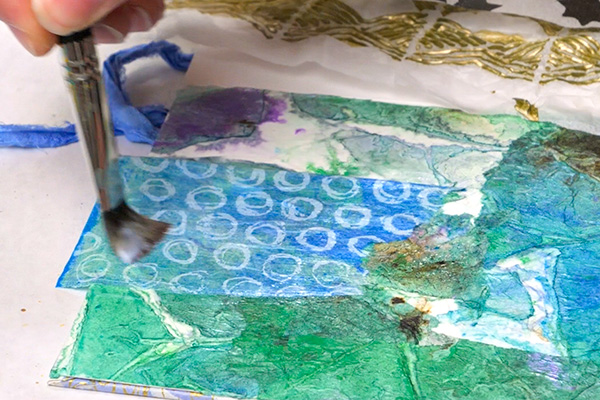
Tear up the tissue paper into a couple large pieces and add it to your page using matte medium (or mod podge). Add a layer of the matte medium to the journal surface, add your tissue paper and flatten it out as much as possible with your fingers. Then add a layer of matte medium on top with a soft brush. Since you’re adding wet medium to tissue paper, be gentle so that you don’t rip the tissue paper.
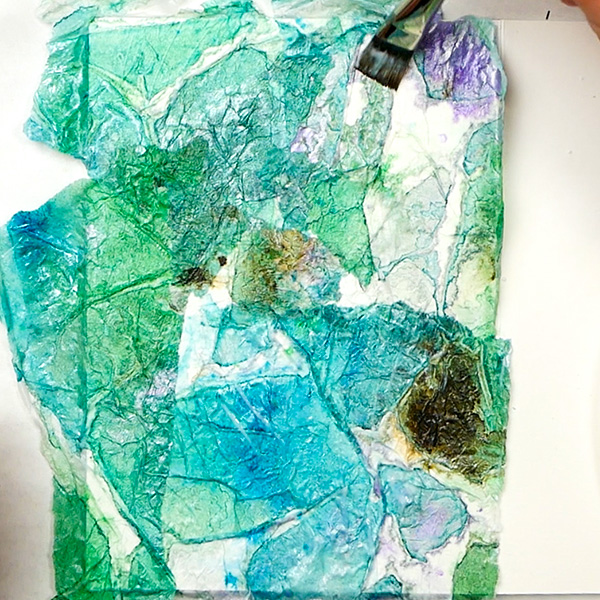
You’ll notice that I’m left with a few white areas, that is intentional. Any area that is white on the tissue paper will disappear into the background when added to white. It’s a way of creating a bit more variation in your surface.
Adding in Your Next Layer
The amazing thing about tissue paper is that using translucent layers creates depth to your art journal pages. When adding the next layer of tissue paper be aware that it will probably not completely cover the previous layer. This allow you to have those layers peeking through, which is fantastic!
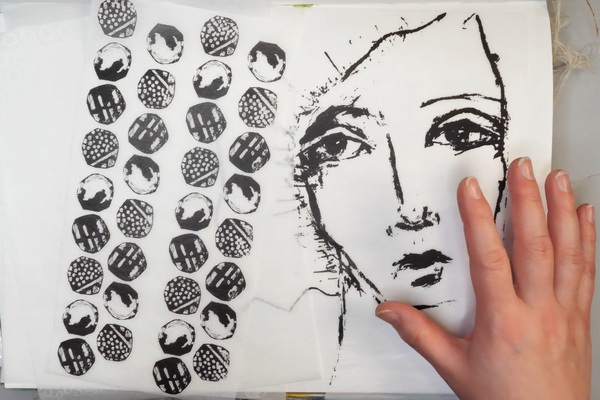
I have some Dina Wakley white printed collage paper. When you add paint or inks to these white tissue prints, this reveals the printed image, which look amazing!
I really enjoy using white tissue paper with black printing, this is a great way to add black contrasting layers to an art journal page. Using Dina Wakley Collage paper with these cute black stars, I just had to add it to the page.
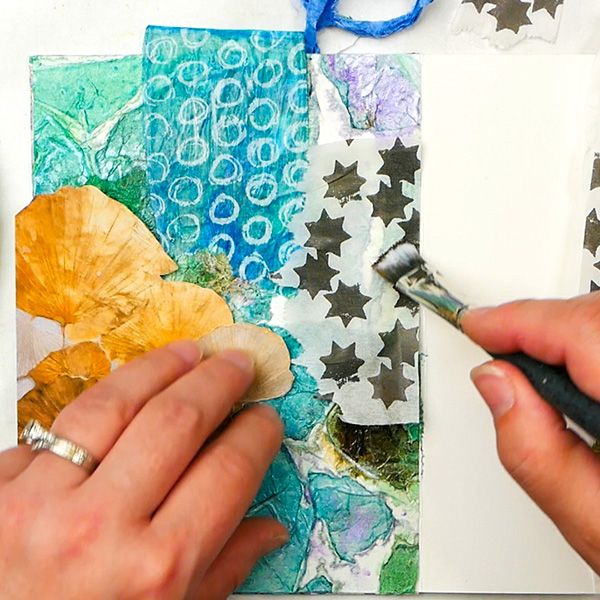
I like the pre-printed paper because it’s an easy way to create a collage without having to pull out a lot of inks, stamps and paints. The Dina Wakley Collage tissue with the stars has now been discontinued, but here’s a some other patterns of the Dina Wakley Collage papers that are currently available.

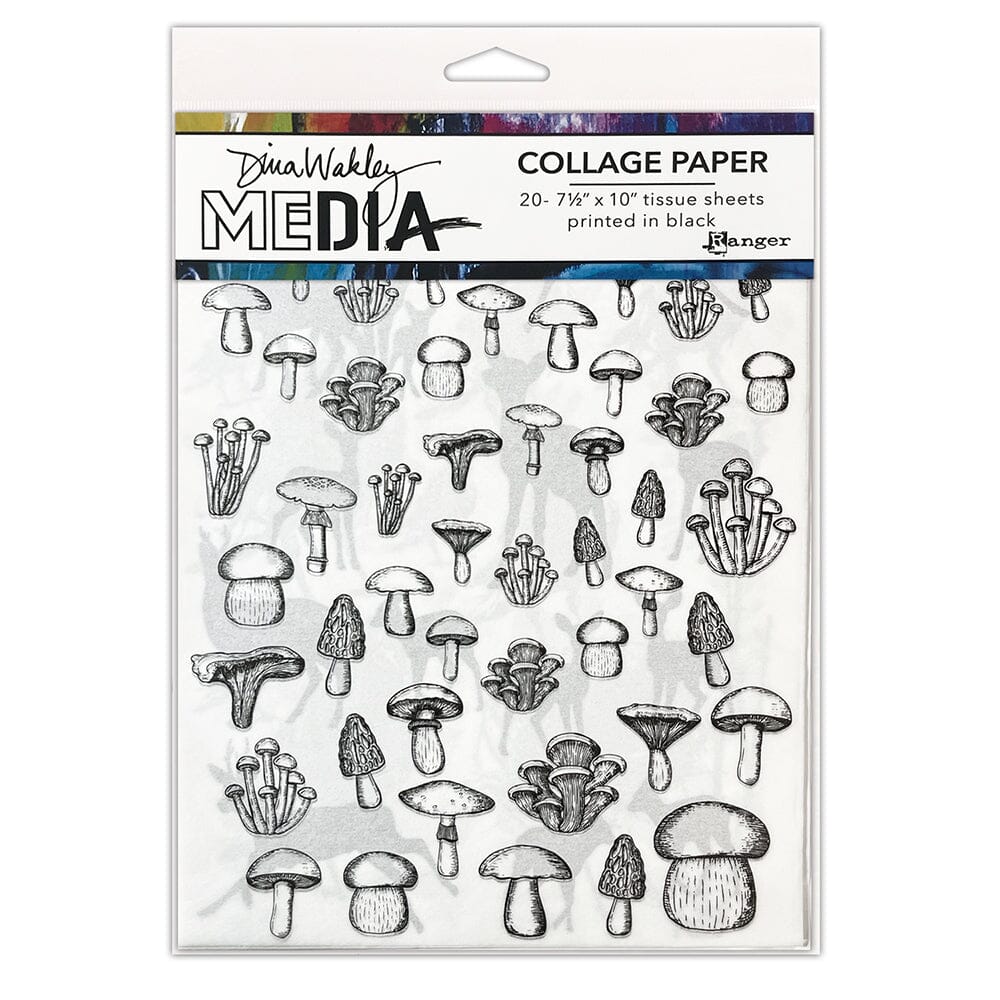
This package of 20 sheets of 7.5" x 10" tissue sheets or Collage Paper is designed by Dina Wakley for Ranger Ink. There are 20 sheets in this package, 2 each of 10 designs. These sheets feature Dina Wakely's artwork printed in black.

Dina Wakley Media Collage Paper are beautiful images printed on tissue that will be sure to inspire your creativity. The printed tissue is ideal for collaging into mixed media art and journal pages. Includes 20 Tissue Papers, 10 Printed and 10 Plain Package include 20 sheets of 7.5" x 10".

Dina Wakley Media Collage Tissue features Dina's signature artwork printed in black. Ideal for collaging into mixed media and journal pages. Sheets measure 7.5" x 10" and include 2 each of 10 printed black designs. 20 sheets.
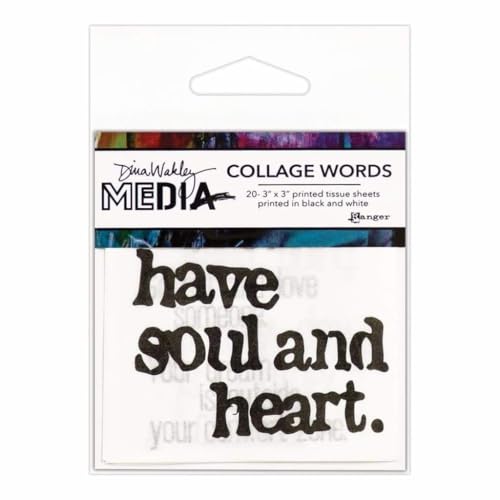
Add sentimental phrases to your mixed media projects with the Collage Words 2 sheets from Ranger Ink. There are 10 sheets printed in black (2 each of 5 designs) and 10 sheets printed in white (2 each of 5 designs) included in the package designed by Dina Wakley Media.
Dina Wakley Media Collage Tissue features Dina's signature artwork printed in black. Ideal for collaging into mixed media and journal pages. Sheets measure 7.5" x 10" and include 2 each of 10 printed black designs. 20 sheets.
Tissue Paper and Acrylic Mediums
If you love the idea of using crackle paste, gels or other mediums on your projects but are afraid of making a mistake, try adding these to tissue paper first! This tissue paper has crackle medium that I added and let dry. The reason it is so wrinkly is due to the crackle paste cracking and absorbing unevenly into the tissue paper surface.
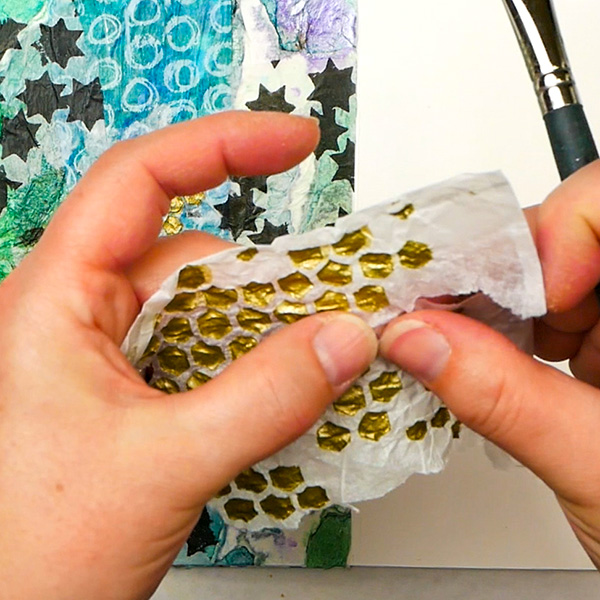
Taking bits of this tissue paper, add it in a few places with matte medium to create gold accents on your page.
It was the perfect touch for this page! This is a great way to use tissue paper to add mediums to your page without having to worry about drying time or making a mess of your surface. If you’d like to see how I created this tissue paper, check out this video!
The key to this process is looking at the background as art piece of its own. Instead of just adding in layers, think about the composition. Do you like how it looks? Is there harmony? Is there contrast? Keeping this in mind can help you create an interesting and beautiful background that’s just going to be accentuated more by your focal images.

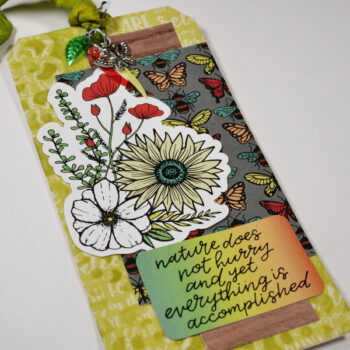
Adding in the Focal Images
After choosing my main focal image, it took a bit of time to play around with the different pieces to make a set of botanical flowers that suited the page. This meant piecing multiple pieces together to create a unique design.
Adding in Found Objects
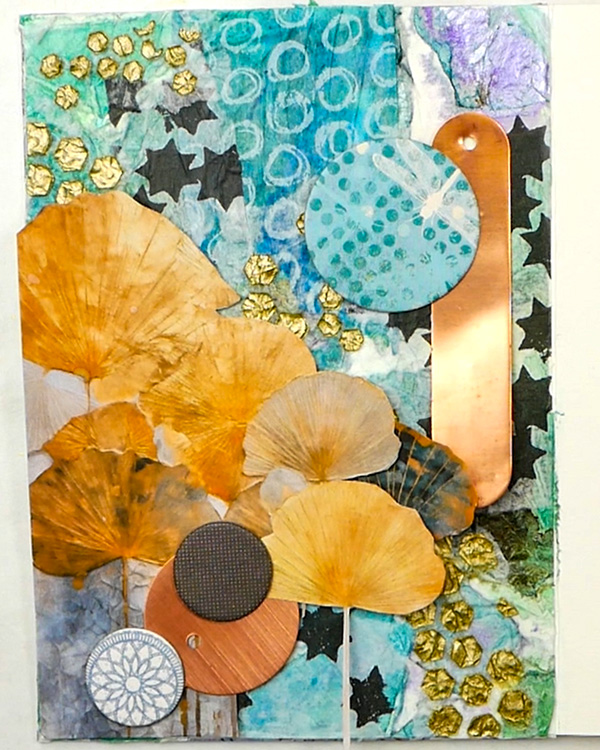
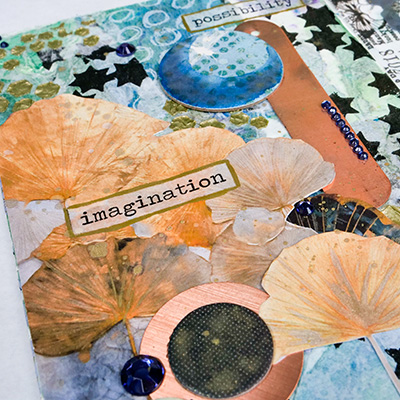
You could leave your project here, but I always love adding in more mixed media layers. I found copper tags and chipboard circles in a bit of random pieces in my art room. By using circles, this can add to the design and still complement the flower images.
To complement the circles, I found a copper plant tag that was originally supposed to be used inmy garden. What’s nice about these long copper plant tags is that they are thin and create coppery shine without adding bulk.
After figuring out the basic design for these elements, add them to your surface using your favorite strong glue. I love using art glitter glue as it is easy to apply and dries quickly.
Watercolor Paints Make Everything Better
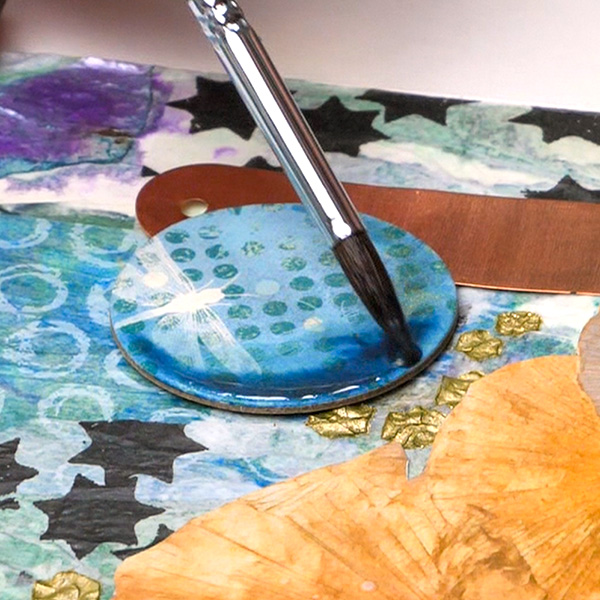
Altering pieces with watercolor paint can create more color and variation to your collages. As I was working with chipboard with a paper coating, this absorbed the watercolour paint while also giving it beautiful color and shine.
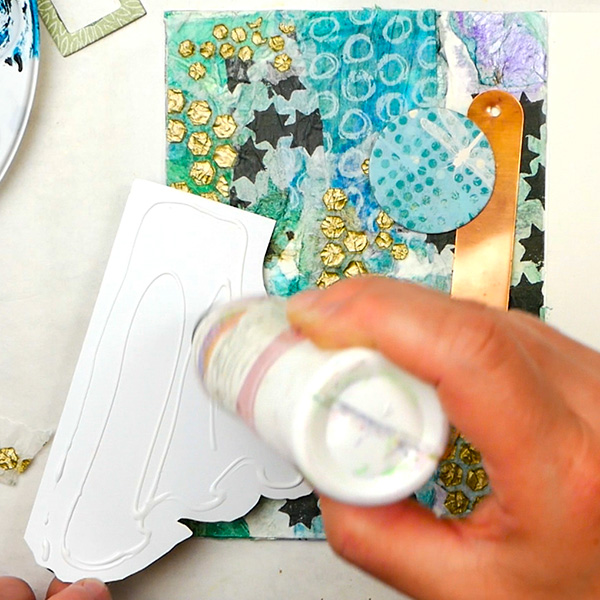
I’ve started to spatter so many projects with gold paint as I’m nearing the end of a project. This is another great way to add subtle texture and shine to a page.
Adding in Final Touches
We’re almost done, but as with most of my projects, I always find a couple final touches to add to each project. For this collage, I found some old gems that needed a home. Using large ones as accents and groups of smaller ones, I added these adhesive gems around my page.
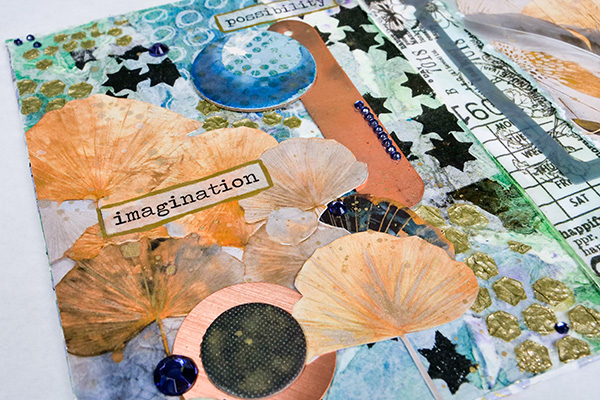
You can add in a quote or use wash tape with words to add words to your project. I was thinking about how collage is a place that lets us use our imagination without having a lot of rules. There is so much possibility as we create our designs and turn a blank page into a beautiful creation. I added these two words to my page to remind me to always try new things and to see the possibility in every moment.
Do You Ever Use Tissue Paper?
Do you ever use tissue paper on your art journal pages? If not, I hope that this gives you the courage to give it a try on your own! Working with tissue paper is an inexpensive way to add really interesting techniques to your next project.
If you’d like to see other ideas about how I used tissue paper in other art journal projects, visit these articles:
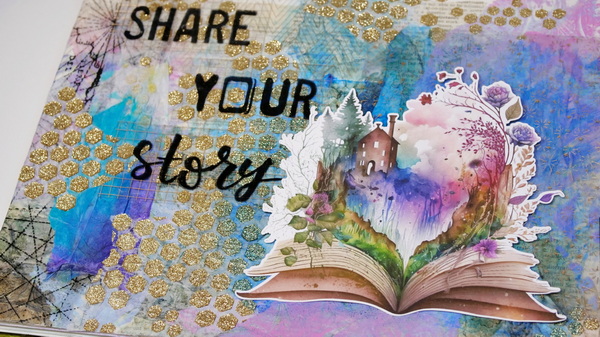
How to Collage with Tissue Paper and Acetate
Art Journaling with Black and White Tissue Paper Collage
Project Supply List
This package of 20 sheets of 7.5" x 10" tissue sheets or Collage Paper is designed by Dina Wakley for Ranger Ink. There are 20 sheets in this package, 2 each of 10 designs. These sheets feature Dina Wakely's artwork printed in black.

Archival material created and made in USA. Lineco is a leading and trusted brand for archival quality art, photography, and framing supplies. 16 gm2 tissue allows for translucency and durability. Acid-free and lignin-free; PH Neutral and Non Buffered.

Creates a matte, non-reflecting finish when added to acrylic colors. Lightweight, non-toxic; Opaque when wet, translucent when dry.

My favorite budget acrylic brush. These brushes hold acrylic paint well, have soft bristles and clean up easily with soap and water.

HARP DURABLE STAINLESS STEEL BLADES: Forging press manufacturing process enables high-density steel that makes 3 times harder than ordinary stainless steel, precision-ground offer a lasting sharp edge that cuts all the way to the tip.

Permanently engrave the copper tag with ball point pen. Each 4" long x .75" wide copper tag comes with copper ties.

Made of high-quality solid copper, deburred edges, smooth and shiny surface. The diameter of the circle stamping blank w/ one hole: 1 Inch/ 25 mm, the thickness: 0.06"/ 1.5mm (Approx. 14 Gauge)

This is an industrial strength, non-toxic, and water-based adhesive designed for glitter and paper applications. This adhesive is also strong enough to bond items such as cardboard, metal, wood, canvas, plastic, glass, and more. This glue is acid free and safe to use for any of your paper crafting projects.
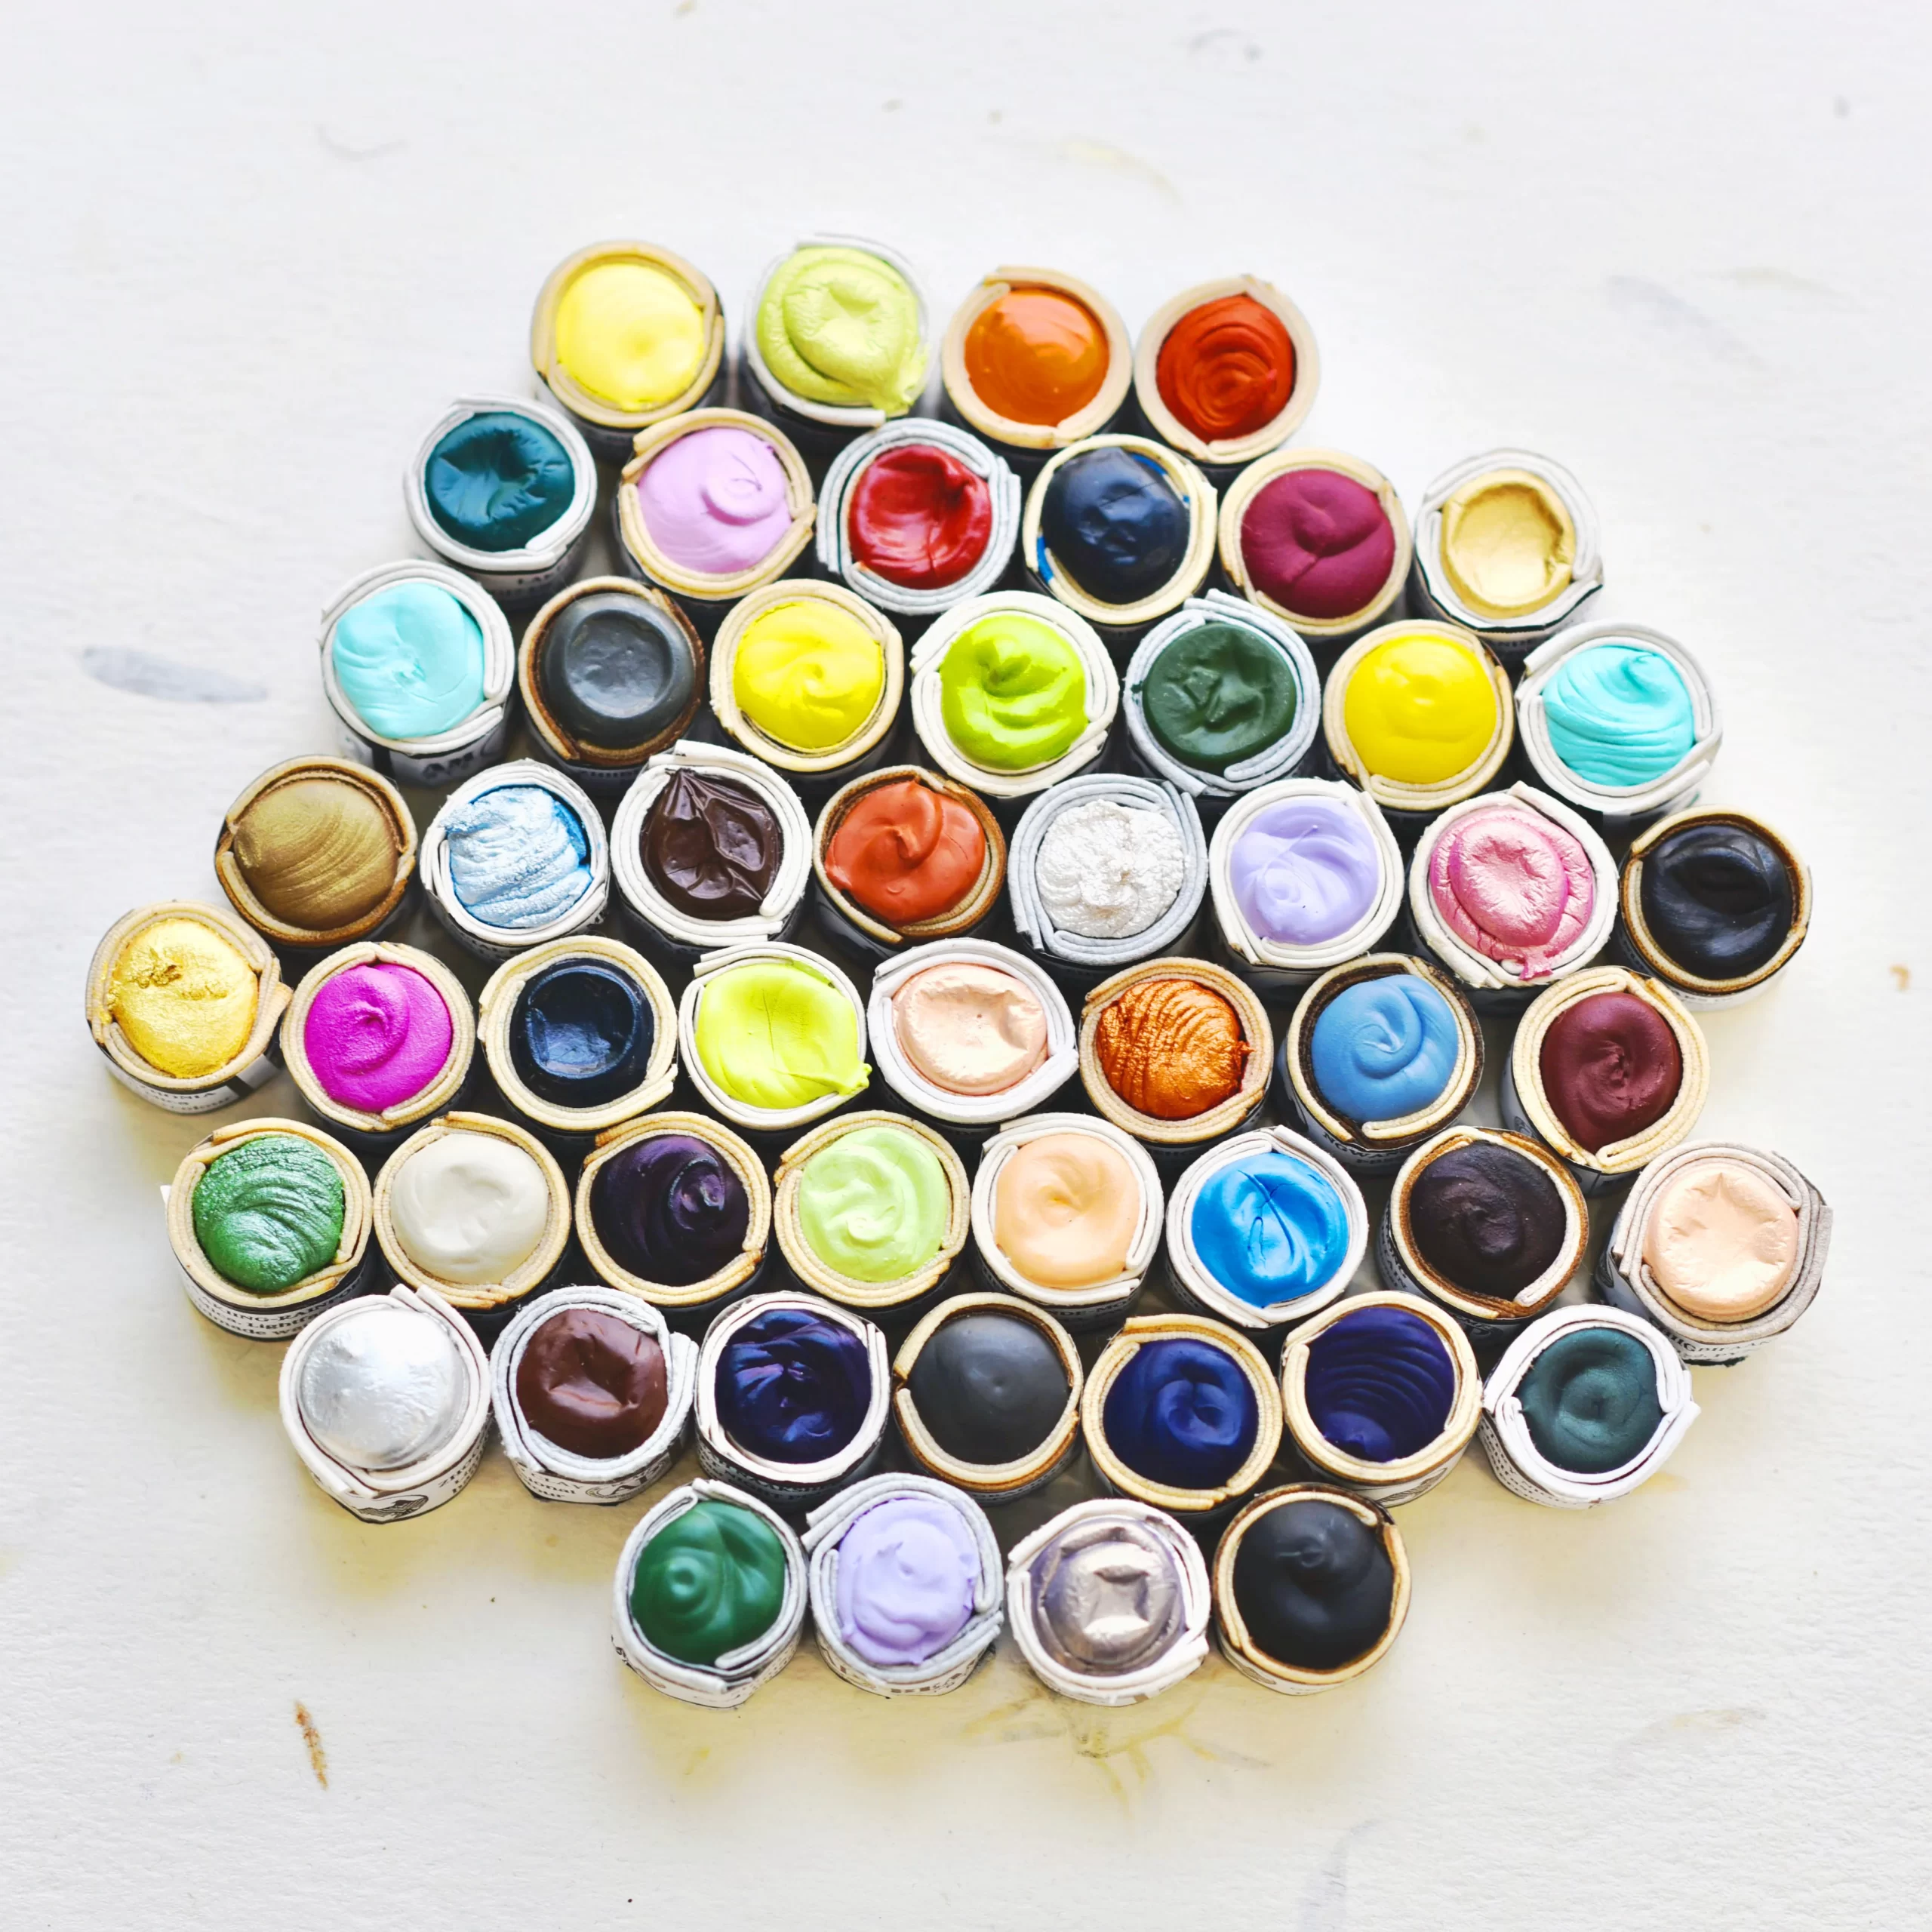
Paintstones are lightfast pigments, tree sap, and gum Arabic.
These little jewels are also about our values and support our respect for the earth and being plastic free. They are wrapped in beeswaxed cotton with paper labels identifying the color name and are our answer to halfpans!

Package comes with 30 sheets totally 4950 pieces self adhesive rhinestones in 30 colors, 4 sizes for each color.

Medium brush point, assorted shimmering pigment ink color that is acid free, archival quality and water-resistant for a long-lasting impression.
A paper crafting company designing and creating products that inspire and excite the creative community!
Use nadine15 at checkout to get 15% off of your first order!