Art Journaling with Napkins
Have you ever tried adding napkins to your art journal? Art journaling with napkins is such a fun and easy technique to add pattern and design to your page. Especially if you are new to art journaling, this is an easy technique to get you creating full pages in no time!
Today we will be discussing what napkins to use and how to prepare them for use in your art journal. I will also demonstrate how to attach the napkins and different techniques for creating napkin art in your journal.
Hop-A-Long Studio is reader-supported. When you buy through links on our site, we may earn an affiliate commission at no cost to you. Learn more.
Why Napkins?
Why would you start art journaling with paper napkins? Because they are an easy way to add images and texture to the page. The benefits are that napkins are readily available, and they come in so many beautiful designs.
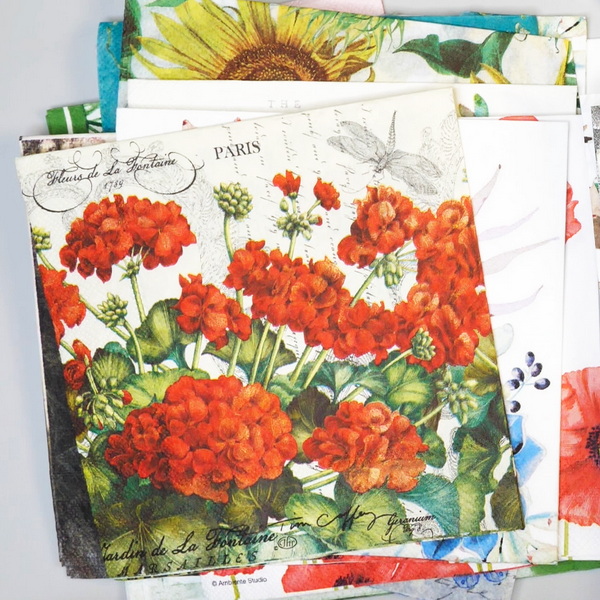
You can use any type of napkins in your art journal. You don’t need to worry about the quality or what they are made from. Find a beautiful design that inspires you!

In this assortment, you'll find 20 varied vintage floral napkins, perfect for any art journal or decoupage project.
Disassembling a Napkin
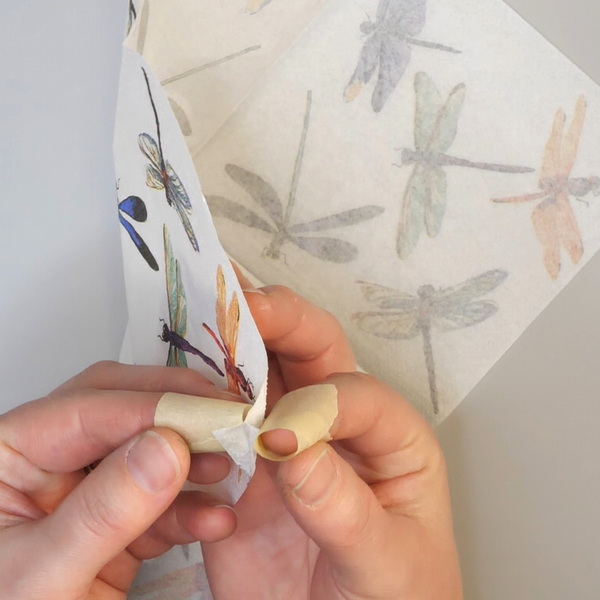
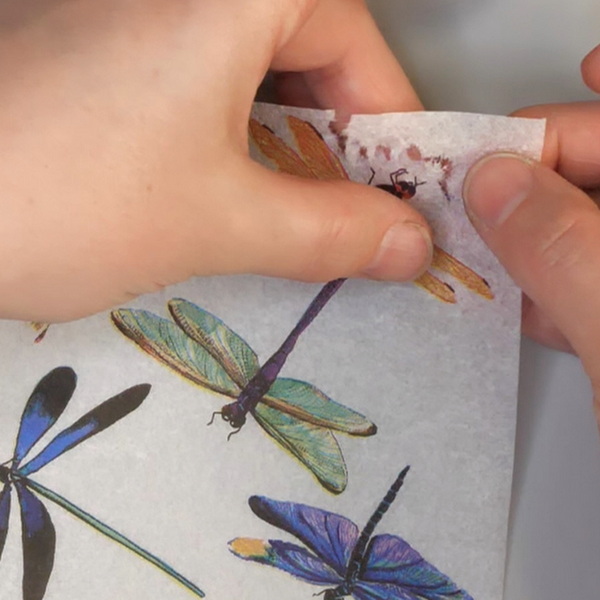
Most patterned paper napkins come as a 3-ply napkin. This means that there are 3 layers of paper in each napkin. Most napkins have texture on the edges of the napkins which helps hold them together. To be able to use a napkin in your art, you will need to separate the 3 napkin layers.
To easily take apart the napkins, use two pieces of masking tape. Wrap the masking tape around your index fingers, sticky side out. Touch the edges of the napkin with the masking tape, this should help two of the layers to pull apart. When pulling the layers apart, be gentle so that you don’t rip the napkin. Repeat this until you have separated all 3 layers of the napkin.
What To Do with the Extra Napkin Layers?
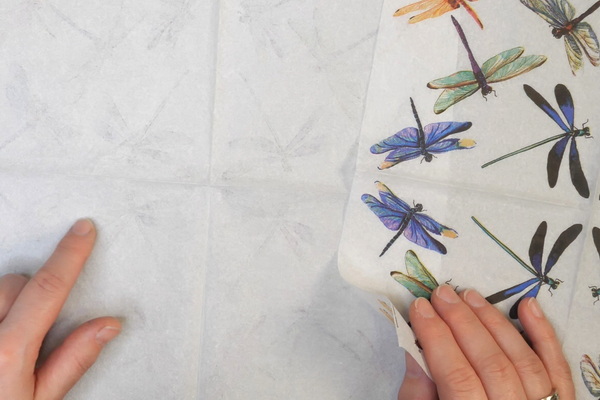
When you take apart the napkins, you will see that you are left with a white layer, a printed layer and what I call a ghost layer.
In the printing of napkins, the ghost layer absorbs a small amount of the ink but does not have the full, detailed image of the first layer. When art journaling with napkins I often add this layer to add subtle texture to my pages.
The white layer can be repurposed for other projects. By dyeing or stamping this layer to alter it, this creates a unique piece to be added to your art journal pages.
Adding a Napkin to an Art Journal Page

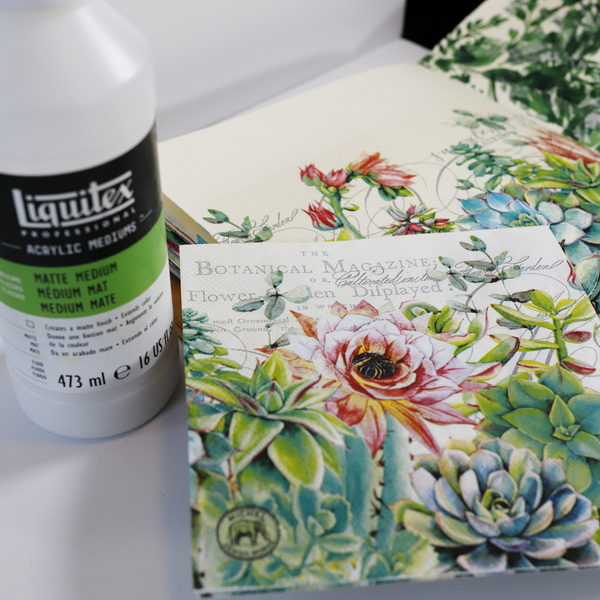
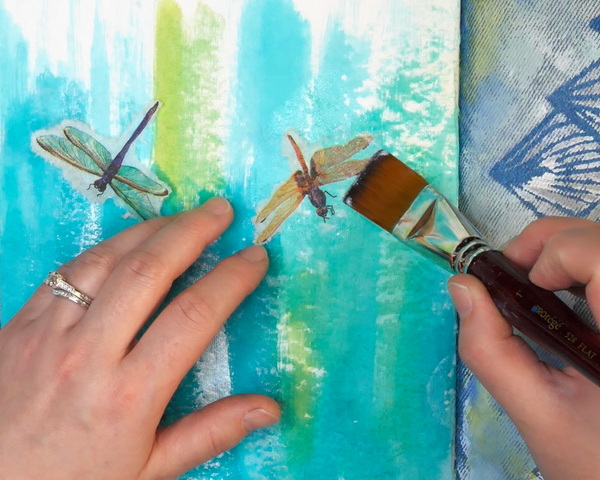
Adding a napkin to an art journal page is a very simple process. Using a matte or gloss medium, apply a small amount to the art journal surface and press the napkin to the surface. Using a soft brush, gently brush and dab the matte medium on top of the napkin to seal the surface. Work in small areas to fully glue the napkin to the surface.
Using a Medium vs. a Gel
For applying napkins, I would highly recommend using a medium instead of a gel. Gels are thicker and will tend to rip the napkin. Mediums share some similar properties to gel but are more fluid. This is why they work so well on delicate materials.
Medium usually only comes in one thickness but there is the choice of matte or glossy. I tend to prefer the look of the matte medium and I like the finish it creates. Often the medium is not my last layer, which is why I prefer matte over a gloss finish.
Please note that gels do not mix well with water. Do not try to water down gel to make matte medium. The properties are different and watering down the gel will ruin the product.
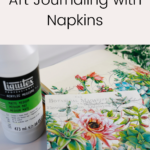
Liquitex Basics Acrylic Fluid Mediums improve the flow of acrylic paint colors, resulting in easier blending and increased transparency. Also makes an excellent glue for thin materials like tissue paper. Provides a gloss finish on any surface.

Creates a matte, non-reflecting finish when added to acrylic colors. Lightweight, non-toxic; Opaque when wet, translucent when dry.
Napkin Cutting and Tearing Techniques
Sometimes you don’t want to use an entire image when art journaling with napkins. You can cut the napkin, but once you add it to the page, this will create noticeable lines.
The best way to alter the napkin images is by tearing the napkins after separating the layers. There are several ways to do this.
The first way is to tear the napkin with your hands. You will notice that the napkin doesn’t always tear in the direction that you want. Depending on the fibres, they will tend to rip more in one direction over the other. If you find this frustrating, there is another technique you can use.
The way I prefer to tear napkins is by using a small brush and a bit of water to outline the image. By wetting the napkin with the brush, this makes the napkin easier to tear. It will now tear in the direction you want.

Be careful how much water you apply with the brush. If you get water on top of the design, you may rip your image. If this happens, gently use the paint brush to separate the paper. Let the image dry before adding matte medium.

Napkins and Colored Backgrounds
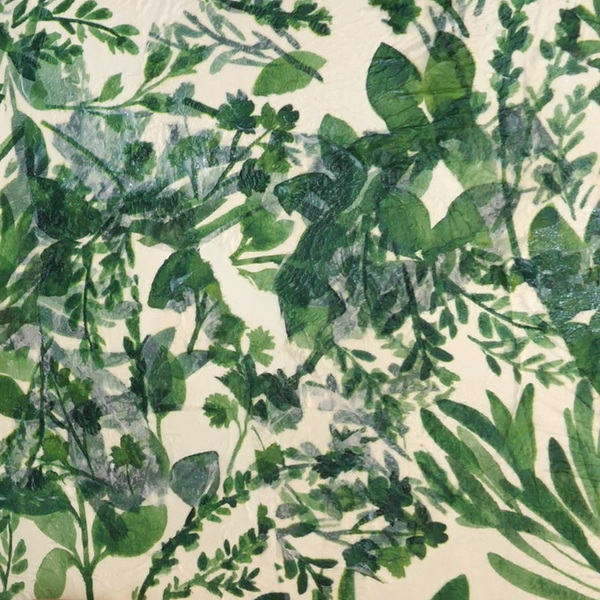
When art journaling with napkins, be aware that the color of the background will affect the final look of the napkin on your project. When applying napkins to a white background, the image will stay true to color. Any white areas of the napkin will disappear against the white background.
When adding napkins to a colored background, as the napkins are somewhat transparent, the color will be muted. This gives you many options for how the napkins will appear on your page. They could be part of the background and the effect can be very subtle. You can also use the napkins to be a focal image on the page.
The colored background will affect how the ripped edges will look on the page. If the background is quite dark, the ripped edges will be more noticeable. I would not recommend using napkins on black paper. In the photo below, I added napkins on black paper to see what effect I would get.
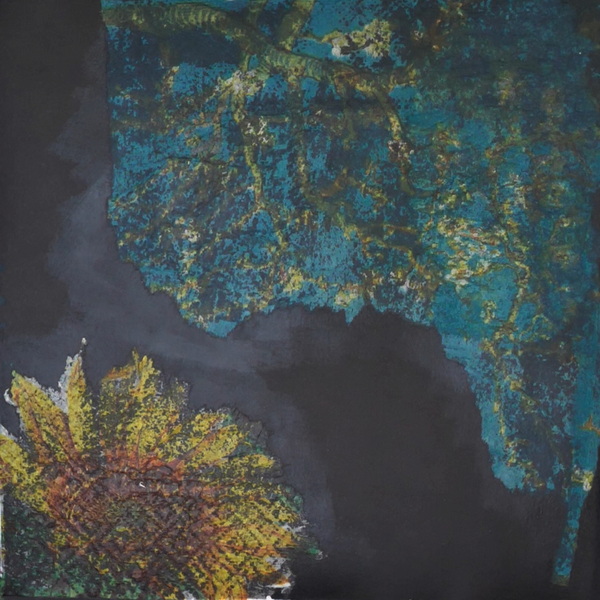
From this experiment I noticed that you see every torn edge. Any white torn border is very noticeable and does not blend into the background. When using a brighter colored napkin, it doesn’t stand up well against the black. I ended up adding several layers to even see the color well. When art journaling with napkins, a black background is not my preferred color choice.
Layers, Layers, and More Layers with Napkins
There are times where we might want to create layers and textures with napkins instead of using them as wrinkle-free focal images. When I want to create layers, I generally choose a napkin with a repeating pattern that will work well for layering.
When layering with napkins, I will crumple and overlap the layers of the napkin to create texture. This technique does not differ from the basic technique except that the layers are torn and crumpled. When adding layers on top of each other, be gentle when applying medium to prevent ripping the napkin.
This can be a fun way of just adding small pieces of napkin to a background to add interest, or you can do an entire background like in the photo above.
Art Journaling with Napkins: Where to Go Next
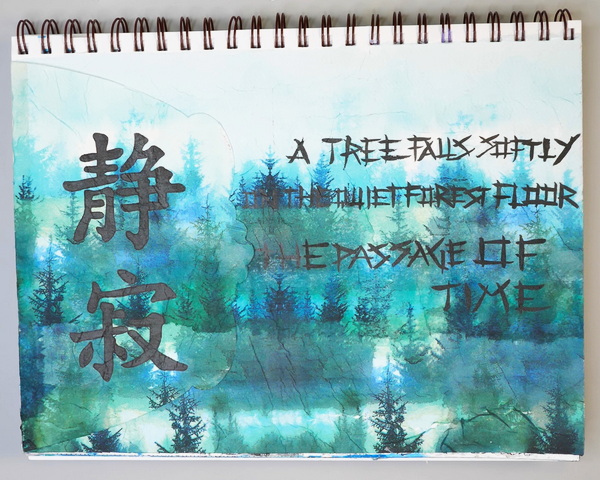
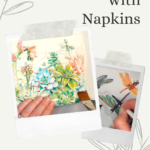
When art journaling with napkins, there are so many ways to use this technique in your projects. You can create full scenes like I did below. By tearing the napkin carefully, I was able to create a large page using a napkin that would have originally only covered half the page.
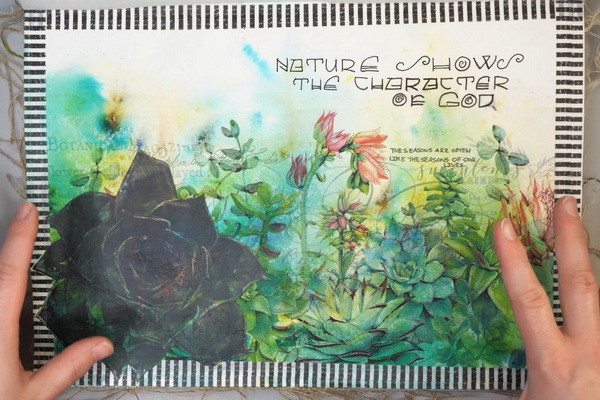
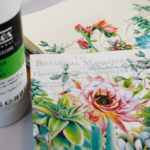
Napkins work so well in mixed media pages without needing exotic supplies. This page was completed using Brusho Crystal Colours, washi tape and a photo transfer. I love how the succulents have a deeper color due to the watercolor background.
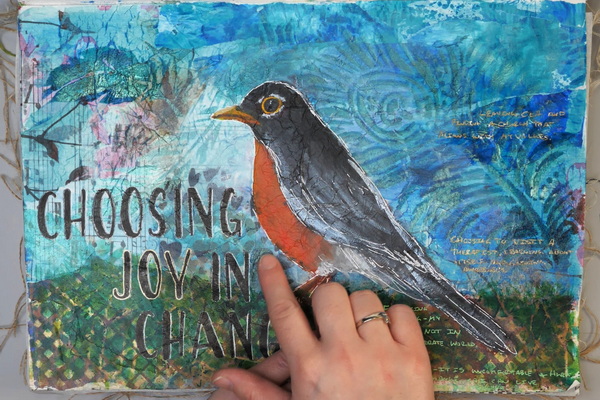
In this example, I added the napkins to the base layer of my project. By adding color washes, stencils and paint, the napkins really added fun color and texture to the background. I love how the flowers and hearts peek out and add variation.
Any Questions?
What do you think of art journaling with napkins? Does this technique give you some ideas on how to use it in your projects? Do you use napkins in your work or if this is a new technique for you? Please comment below or contact me directly. I hope that you take time for creative self-care this week!

Project Supply List
In this assortment, you'll find 20 varied vintage floral napkins, perfect for any art journal or decoupage project.
Creates a matte, non-reflecting finish when added to acrylic colors. Lightweight, non-toxic; Opaque when wet, translucent when dry.
Liquitex Basics Acrylic Fluid Mediums improve the flow of acrylic paint colors, resulting in easier blending and increased transparency. Also makes an excellent glue for thin materials like tissue paper. Provides a gloss finish on any surface.

Expand your art journaling with new shapes and sizes! The Dylusions Creative Journals are now available in an 8” x 8” square and contain 48 unlined pages.

Put the mix into mixed media with the Dina Wakley Media Journal. Includes a unique variety of surfaces ideal for mixed media & art journaling. Surfaces include burlap, canvas, cotton rag watercolor paper, and kraft surfaces.
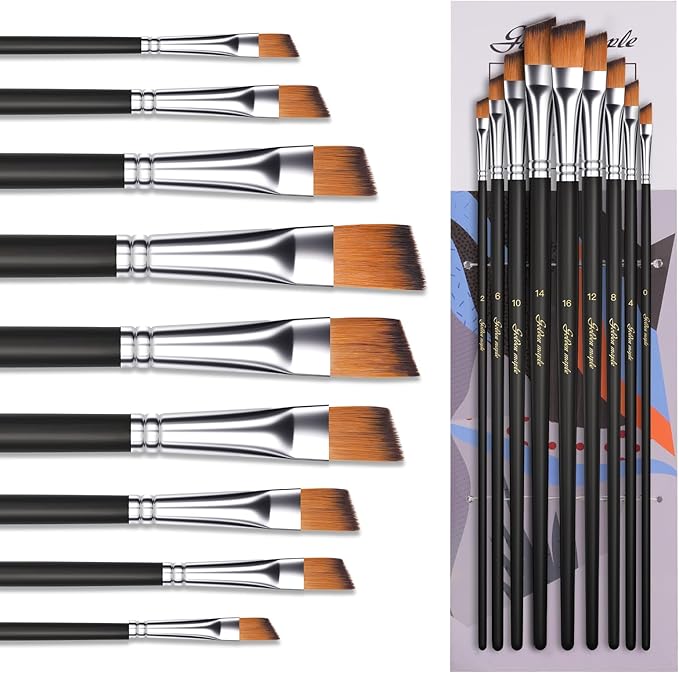
This angled paint brushes set includes 9 sizes (0,2,4,6,8,10,12,14,16) for achieving optimal painting results. Crafted for durability, these acrylic paint brushes deliver smooth strokes and precise color control. The resilient filaments hold paint effectively and release it evenly for seamless application.
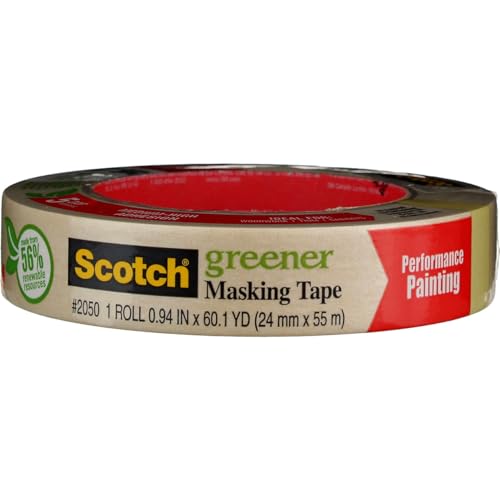
Scotch Greener Masking Tape for Production Painting 2050 is made with paper from sustainably managed forests and regenerating latex harvested from rubber trees.

- Acid-free palette paper, 50 Sheets at 9" X 12"
- Smooth mixing surface against grey paper for a neutral back drop on which to view colors

Perfect for adventurous artists, this water pot expands on site then collapses for transport. It's also easy to clean and store. Ridges around the rim keep brush handles separated and organized while you're painting.


2 Comments
Judy
Thank you for this. I got an order of napkins that are sitting in a box and couldn’t get my brain in gear. This helped a lot!!
Nadine Milton
You’re welcome! I’m so glad that this helped getting the creative juices flowing! I definitely have those moments as well. I have all these beautiful things and my thought is “now what?” I’m really glad that you found these ideas helpful.