Loosen Up with Contour Drawing and Painterly Effects
Do you ever struggle with drawing and getting overwhelmed by the details? Contour drawing is a great way to loosen up your drawing practice. Today I will share with you how to create a contour drawing and how to create painterly effects using watercolor paints.
What is Contour Drawing?
Contour drawing is the practice of drawing an outline of the subject using one continuous line. When contour drawing you do not take your pen off the page as you draw. The benefit of contour drawing is that it defines the basic shape by creating a line drawing. If you tend to get stuck in the details when drawing, this technique can be very helpful.
Once you master contour drawing, I would recommend giving blind contour drawing a try. In blind contour drawing you only look at the subject and not at the page as you draw. It is a fun way of loosening up when drawing and accepting the “less than perfect” nature of a blind contour drawing. I love the results of blind contour drawing. It is a fun way to add abstraction to your drawings.
Contour Drawings and Resist Techniques
Today I wanted to share with how to create a contour drawing and work in layers to create a resist technique. In this project I will be using wax pastels and a black pen to create the drawing and then add watercolor for a painterly effect.
Painterly effects are a way of using color, stroke and texture that are distinct to painting. When using this with the strong outline of the contour drawing, this is a way to soften the drawing and perhaps loosen up your drawing and painting style.
Contour Drawing with Wax Pastels
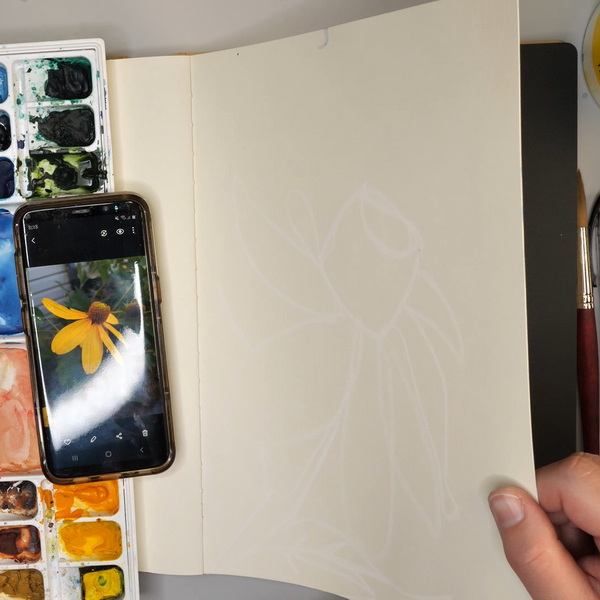
Choose an art journal page or drawing surface that is smooth but will take wet mediums without buckling. For this project I am using a Dylusions journal, but Bristol or watercolor paper will also work for this technique.
Using Caran d’Ache Neocolor 1 water-resistant wax pastels, make a contour drawing of your subject. If you use a white pastel, this step ends up being a blind contour drawing as the white pastel disappears onto the paper.
If you do not have wax pastels, try using wax crayon or another medium that will resist water for this step.
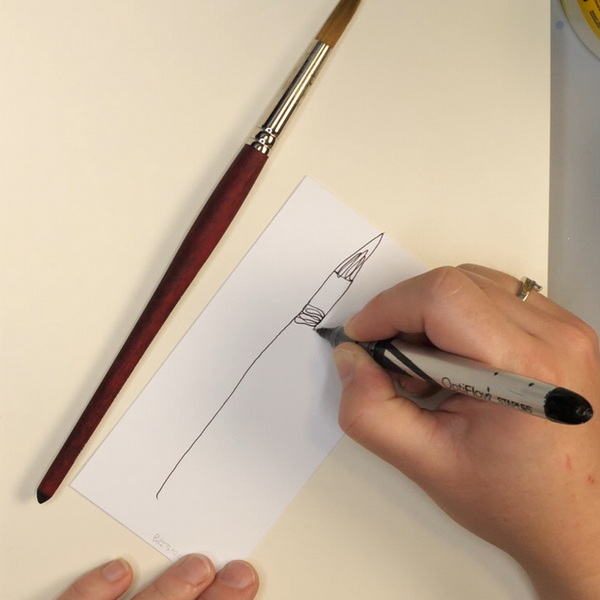
Contour Drawing with a Water-Soluble Pen
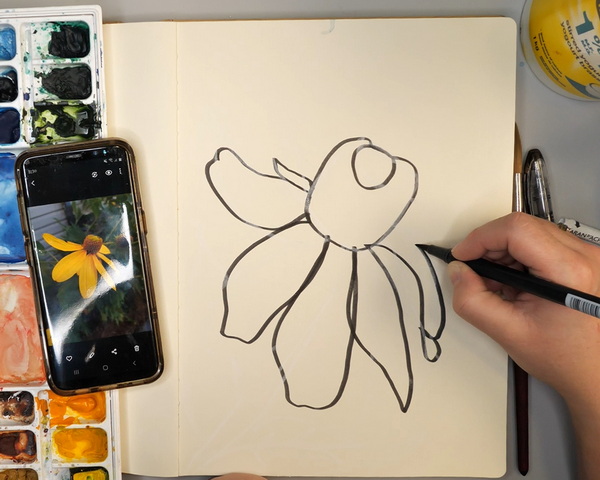
Add a second contour drawing on top of the first one using a water-soluble pen or marker. Try starting in the same place with this second contour drawing. As the white wax pastel of the first contour is difficult to see, you will be drawing near, but not necessarily on the previous contour drawing.
For this step I used a Tombow dual-tip brush pen and used the brush end for this drawing. If you would like a thinner line for your contour drawing, try using the bullet end of the pen.
Adding Watercolor to the Contour Drawing
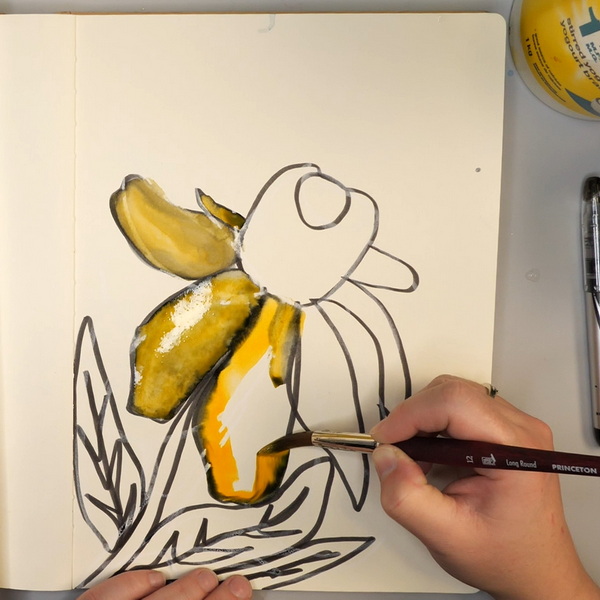
Using a watercolor brush and water, add water to the inner edge of the black contour drawing. Touch the tip of your brush to the edge of the black contour drawing to cause it to bleed. You can choose to blend out the black pen with water or a combination of water and watercolor paint.
This can create a variety of effects depending on your personal preference. You could choose to blend only a bit of water into the edges and create very little blend. You can also make the choice to add a lot more water for a more intense, darker blend on the project.
When you are blending you may run into having too much black pooling on your drawing. You can prevent this by working in small areas cleaning your brush regularly between strokes.
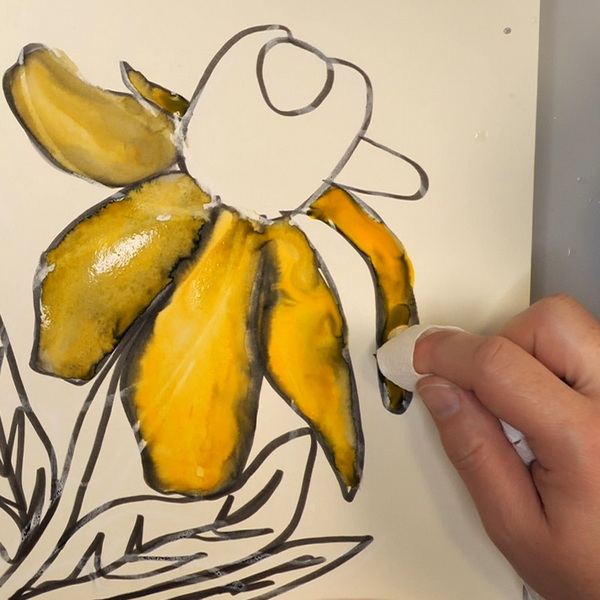
If you end up with puddles of black where you don’t want them, you can choose to dab the surface with a paper towel or use a dry watercolor brush to pick up the color to remove it from your surface.
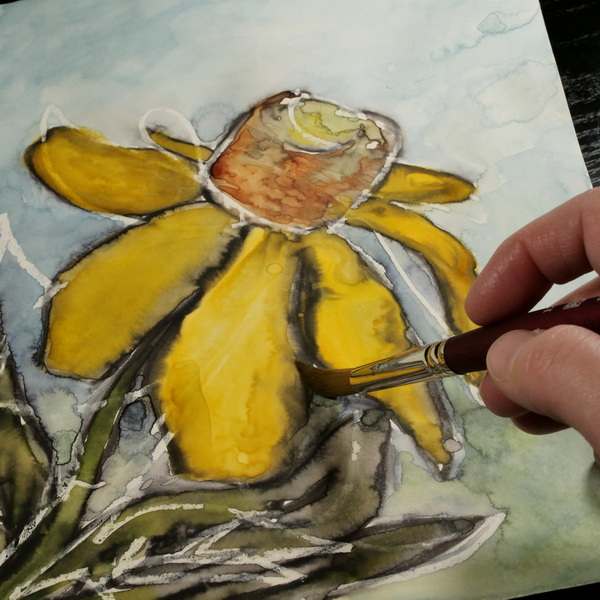
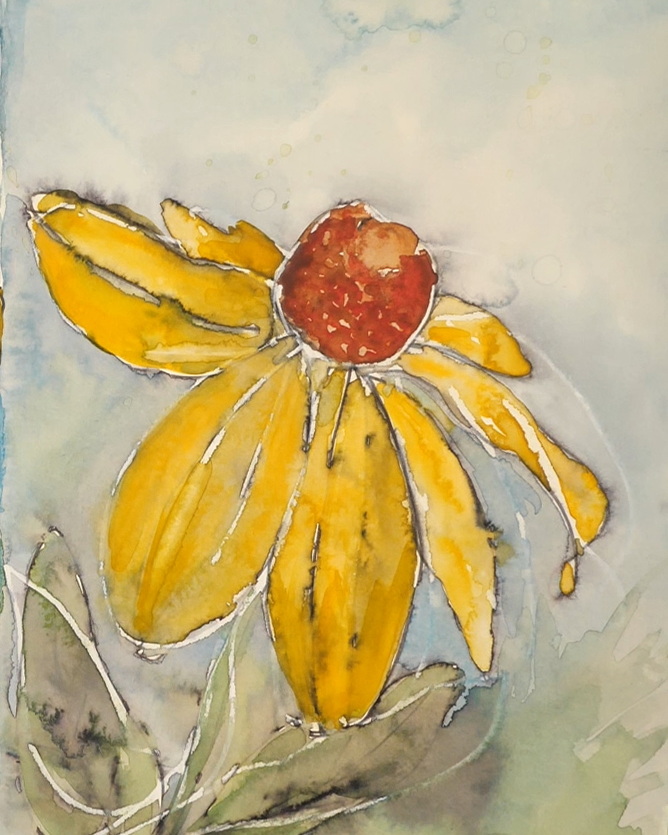
Painting the Flower Center
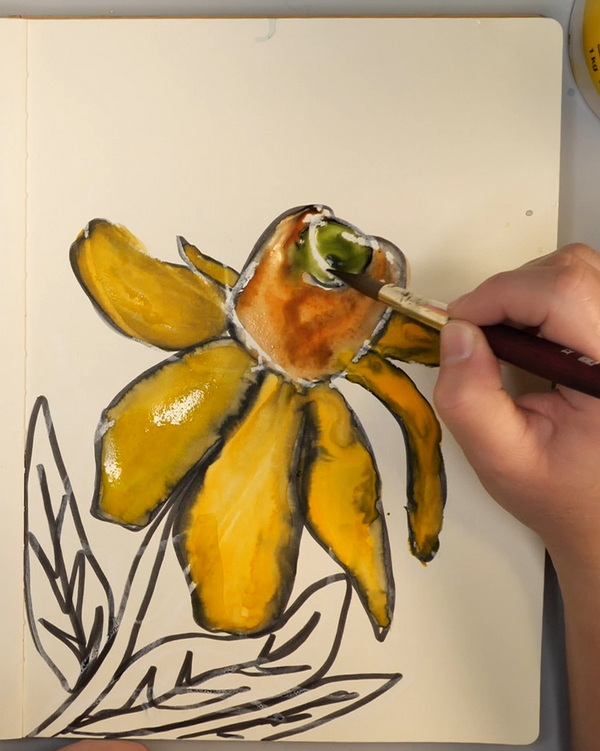
When painting the flower center of the drawing, you can choose to use a wet-on-wet technique to get unique color blends. For the flower center I used both I used both Sap Green and Burnt Sienna to get this effect. For additional texture, I dropped small amounts of paint onto the surface of the flower center using a watercolor brush.
Painting Leaves with Watercolor
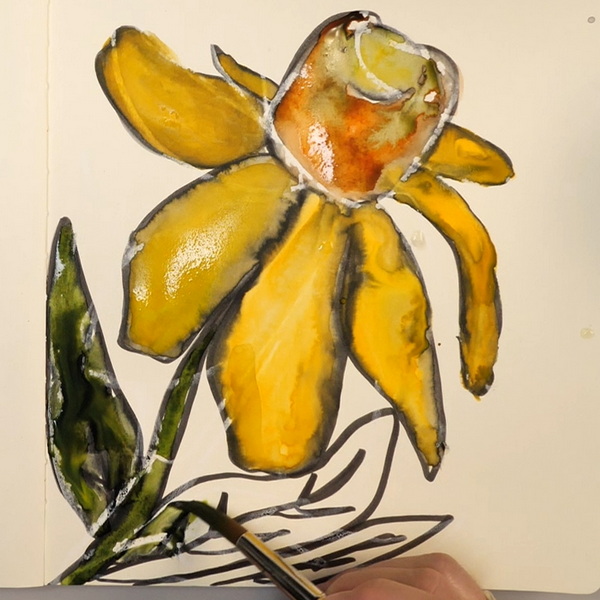
When adding color to the flower leaves, if you have added a heavy layer of pen (like I have), use a very light color of watercolor paint. As the paint mixes with the black pen, it will darken. By understanding how the paint will mix with the pen, this prevents having to remove paint at a later point. If you do find your leaves too dark, dab off some of the color with a dry watercolor brush or add highlights with yellow watercolor paint.
Adding Watercolor to the Background
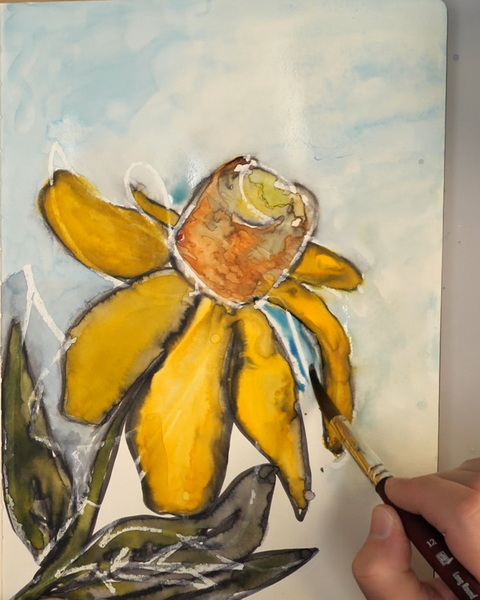
Before adding watercolor paint to the background of the drawing, make sure that the flower is fully dry. This prevents the background watercolors from blending into the yellow of the flower.
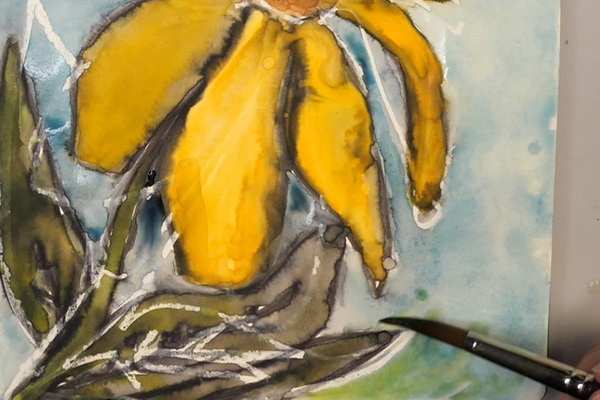
When adding background color, you can choose to touch the black edges of the flower to create a bleed into the background colors. This is a fun way of loosening up the look of the flower and creating a softer, more painterly effect. By mixing the black with blue watercolor paint, this creates different hues while still only using a few colors of watercolor paint.
You can finish up this painting by adding in green watercolor paint along the bottom of the page. This will give grounding to the flower image so that it does not look like it’s floating.
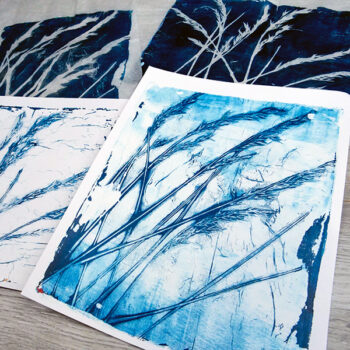
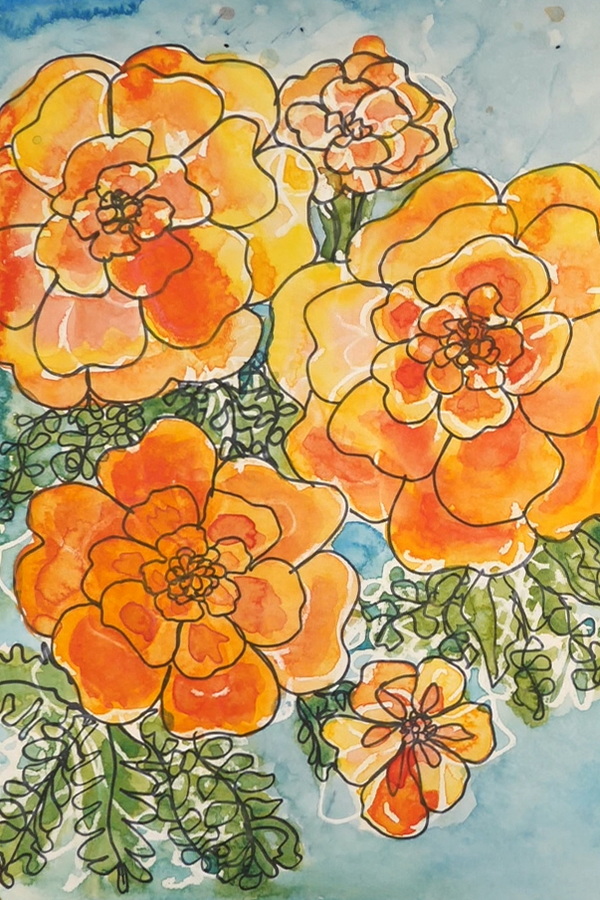
4 Examples of this Contour Drawing Technique
Here are 4 examples of how I used this contour drawing technique with watercolor paints and water.
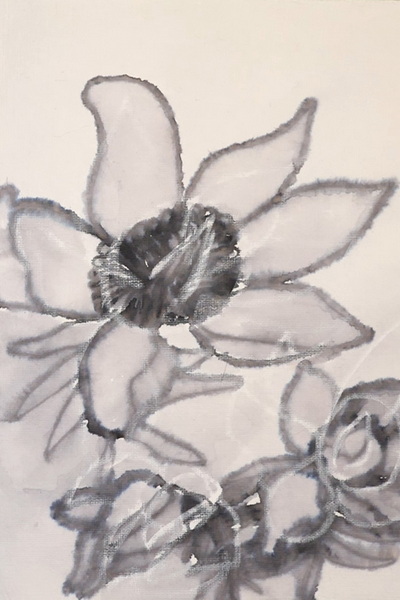
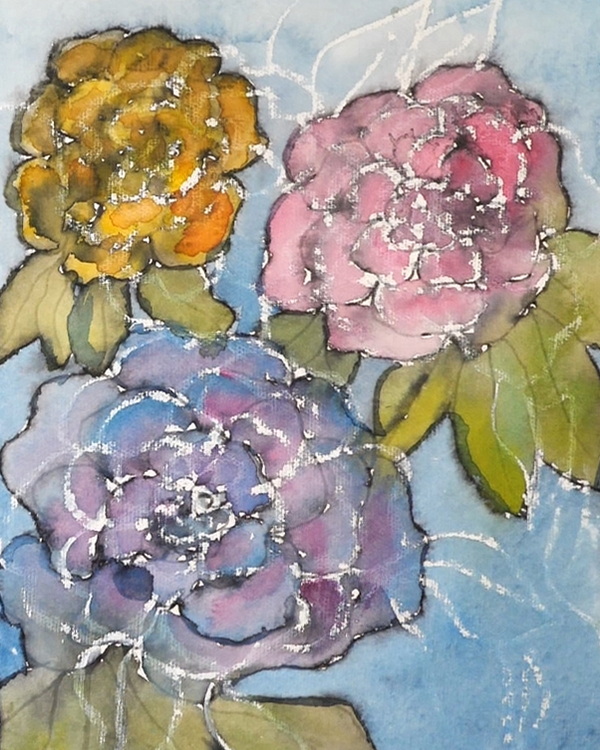
In this first example I only used water with a brush to blend out the black to create a variety of values in the image.
In this second example I used a rougher watercolor paper and more detailed flowers. The rough watercolor paper creates a less consistent resist image and the additional detail led to a more smudgy look to the result. The lesson I learned from this page was to stick to more simple drawings when blending with a lot of water.
This third example is using the same subject as we did in this tutorial. But instead of using the brush end of the maker, using the bullet end. As there was less black ink on the page, this led to having much thinner lines of black than with the brush side of the marker.
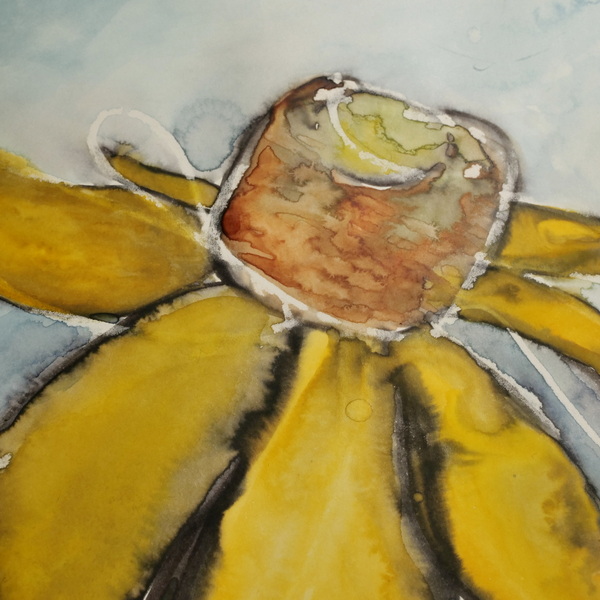
This fourth example is what happens when you are not paying attention to your pen type. I decided to use a different pen, but I didn’t pay enough attention to whether it was water-soluble or not. Once I added water, I realized that it was permanent. Even though it did not turn out as planned, I still added watercolor to this page.
This is a good example if you wanted to create a contour drawing without the bleeding technique. It still has a resist, which adds interest to the page but creates a different final effect.
What Do You Think?
What do you think of these techniques? Is this something you would try in your own journal? I would love to hear about your experience and what combination of pens and crayons/pastels you used on this project.
I hope that this gives you some confidence to start drawing and developing your creative practice this year. Learning a new skill isn’t always easy, but techniques like contour drawing can make the process so much easier!
Project Supply List
- Ranger Ink Dylusions Classic Journal 8×11
- Caran D’Ache Neocolor 1 Water-Resistant Wax Pastel White
- Tombow Dual Brush Pen N15 Black
- Winsor & Newton Cotman Watercolors: Cad Yellow Hue, Burnt Sienna, Turquoise, Prussian Blue, Cerulean Blue
- Mission Watercolors: Lemon Yellow
- Daniel Smith Watercolors: New Gamboge, Sap Green
- Princeton Long Round Size 12 Watercolor Brush