How to Paint a Tree in 3 Easy Steps!
Do you struggle with painting trees? It looks easy, but then why do our trees end up looking like blobs? There’s nothing more frustrating than creating a beautiful project and then have your focal image, the beautiful trees, not work out.
If this happens to you, you’re not alone. Painting trees can be easy if you understand a few fundamental things to help you get the best results.
Hop-A-Long Studio is reader-supported. When you buy through links on our site, we may earn an affiliate commission at no cost to you. Learn more.
Taking Inspiration from Nature
Before we start painting, let’s talk about what we’re trying to draw. When we were children, we were taught to draw a pine tree as a triangle with a stick. When we think of drawing a tree, this very basic outline is what we might reference back to. Or maybe we draw our trees as a stick with diagonal lines.
These are both representations of a tree, but they are very graphical and cartoony. When I’m working in my art journal and paintings, I like to create whimsical trees, but I want them to look more photo realistic, not graphical.
To help us with this, let’s walk around Fish Creek Park and look at some examples of trees. For fir and spruce trees, you’ll see spaces between the branches, so when you paint these trees, be aware that you should have holes of light between the tree branches.
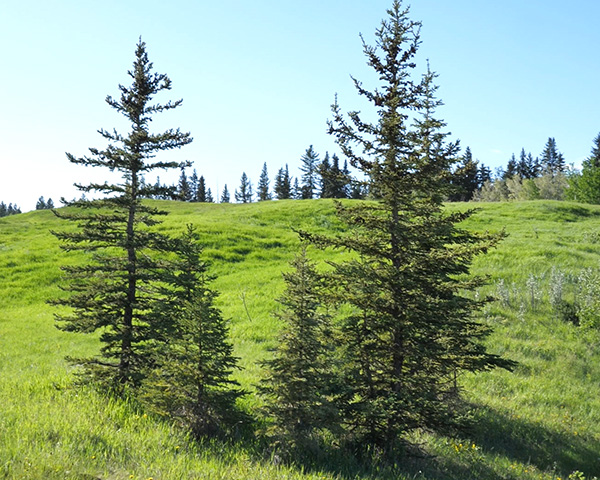
These trees, depending on their health and age can be very dense trees, especially if they are growing in a group. They branches can be quite close together and create a much denser tree. You’ll notice that their ends usually point out in different directions. If they aren’t manicured, they are a bit of a wild looking tree.
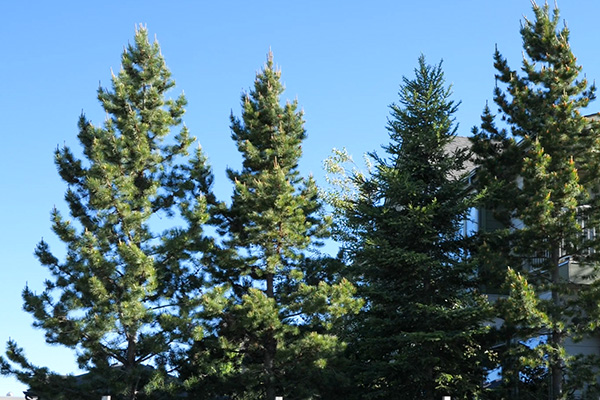
There are also Ponderosa pine trees. These aren’t native to my area, but they are planted in my neighborhood. These have less needles at the base of the tree, but they have lots of bushy needles closer to the end of the branches. They remind me of a bottle brush and have much softer needles.

These are just a few examples of trees. Take some time to go for a walk and video or photograph trees in your area. It makes painting so much easier when you have a reference
How to Paint a Tree with a Round Brush
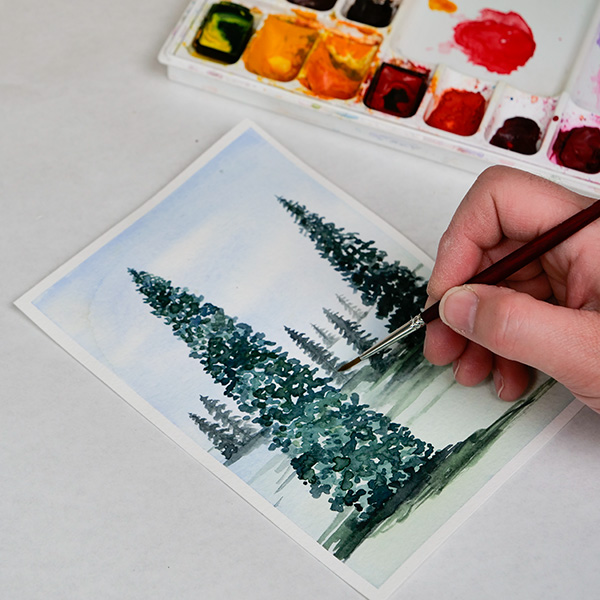
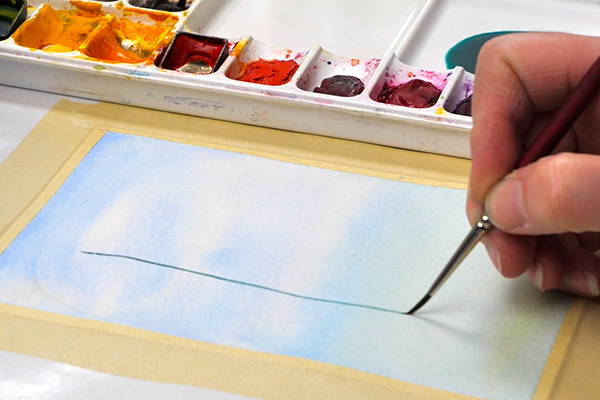
So let’s get into painting our first tree. For this tree I’m using watercolor paint and a round brush. I like to use a size 0 brush or a liner brush and a size 6 brush for this exercise. You’ll need to move your brushes up or down in size depending on the size of tree you want to create.
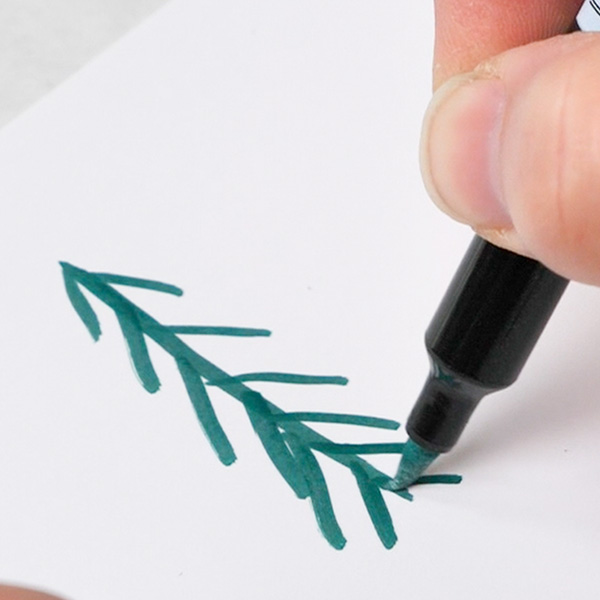
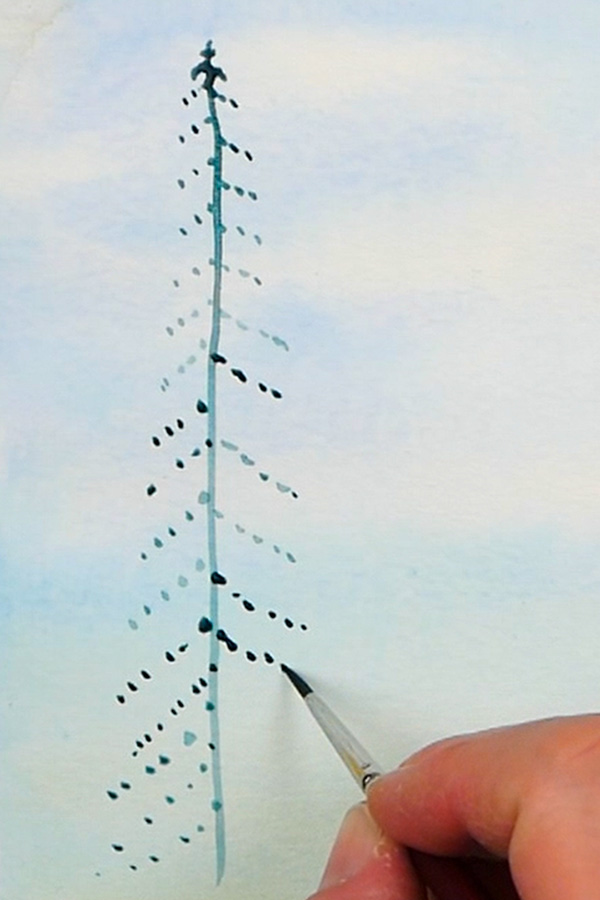
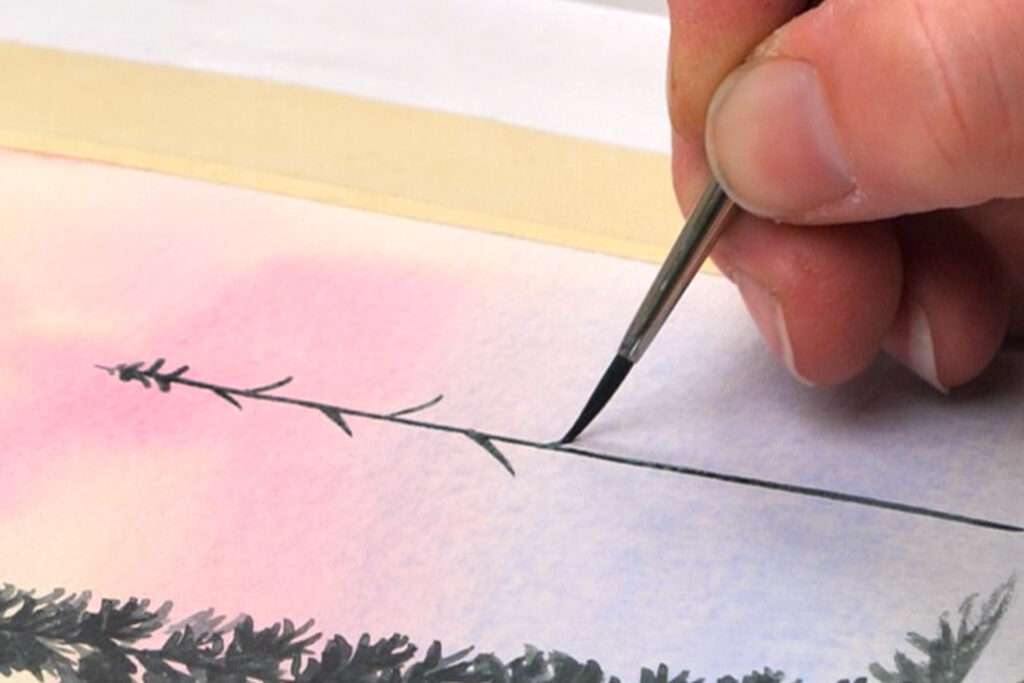
Start by painting a line with your liner or smallest brush. I tend to do this line a bit shorter at the top than the expected overall height of the tree on this project.
Start by adding in some lines of angled dots to either side of your line going from small to bigger down the length of the line. This helps create a simple structure of lines so that your branches will get larger as you get closer to the bottom of the tree. I sometimes will work quickly in a slight diagonal pattern. This keeps my structure even and my hand steady.
If you find your tree is a bit too squat, lengthen the line at the top of the tree. This way you can create a bunch of even smaller branches so that the tree looks balanced.

Designed For Water-Based Paints - Wide variety of shapes and sizes for various watercolor art techniques from precise detail to large washes; Fine tipped Rounds #0 #3 #6 #8 #10 #12; Dagger Striper 3/8"; Oval Wash (Cat's Tongue) 3/4"; Flats #6 3/4"
Adding in Details
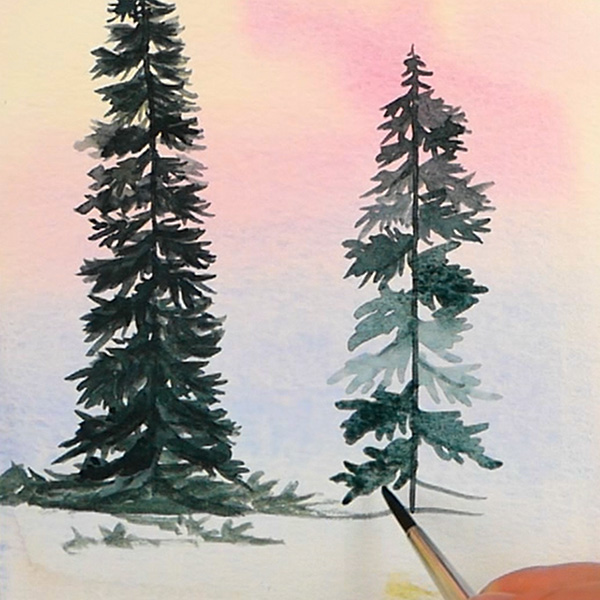
Start adding in more dots and dashes of colors with your watercolor brush to fill out the tree branches. I add more to the ends of the branches but also thicken the areas coming towards the middle of the branch.
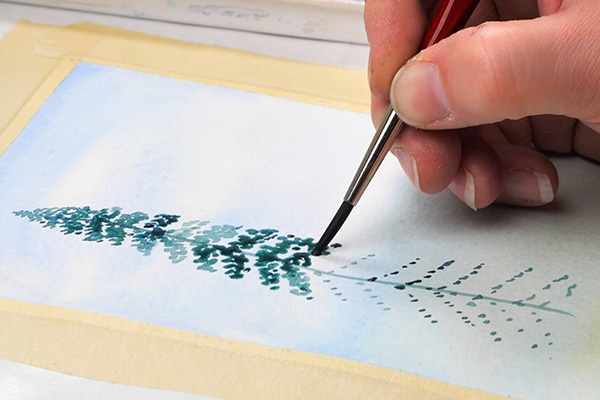
These branches will generally look a bit more disconnected, which makes them look awkward and odd. To fix this, add in dots to connect some of the branches in areas. This should leave some areas near the center open, while leaving some areas near the ends connected and other areas less connected.
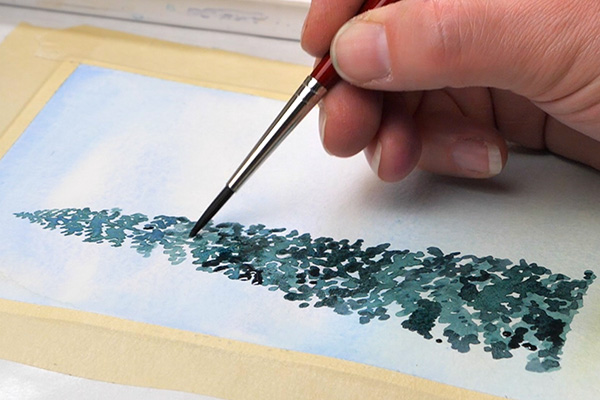
At this point you should have a nice-looking tree. But perhaps you want to add some shadows and highlights to your trees. This is where you can come in with some darker colors or mix yellow into your green paint to make highlights.

How to Paint a Tree with a Flat Brush
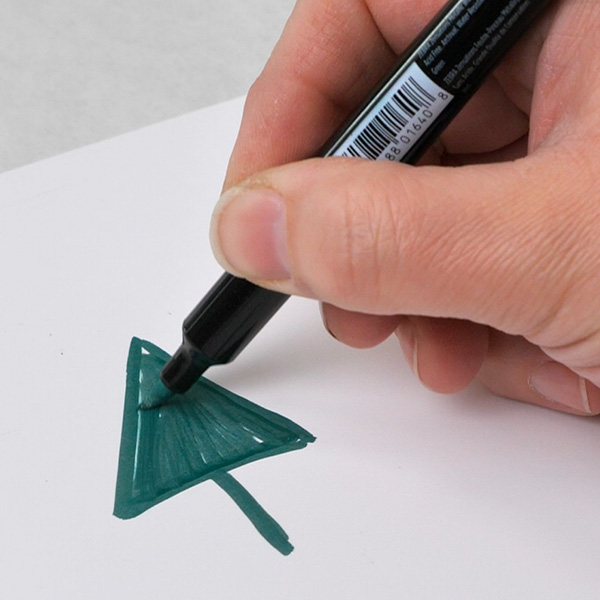
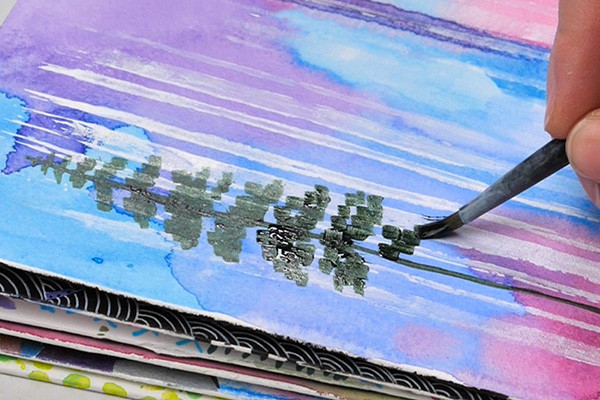
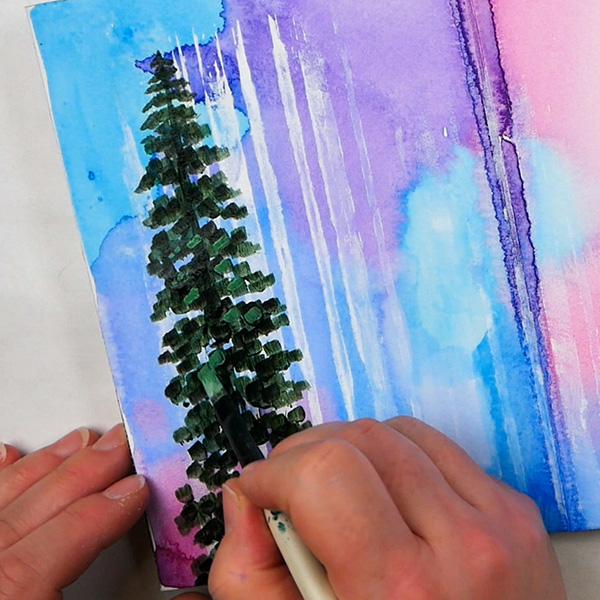
I like using watercolor paints for practicing my trees but when I’m working in my art journal, I generally paint my trees with acrylic paint and a flat brush.
The technique is similar, start with a line which you can create with the thin end of your flat brush or with a liner brush. Using the wide side of the flat brush, make small rectangles or squares in a downwards motion with your acrylic brush. I love this pixelated stroke for creating trees, it gives the tree an interesting look due to the nature of the brush strokes.
As with the method above, start filling in the tree branches by adding in more strokes. Be careful to leave areas open so that there is variation in the tree and it prevents it from looking like a blob. Finish this step by connecting some of the branches so that they make the tree look more natural.
When working with acrylics, I tend to start with the midtone colors for the tree, then add areas of highlight and shadow to the design.
Creating a Tree with Softer Branches
If you want to great a tree that looks softer and bristlier, or have more open spaces, here’s a slightly different take on these trees.
After drawing your line, add in some smaller dashes to indicate the shapes of the branches. Now move in curved strokes to indicate the softness and movement of the leaves.
Make sure that the spaces between the branches are more open and make sure that you create variation in your downward strokes. By varying the strokes this gives the trees a more natural look.
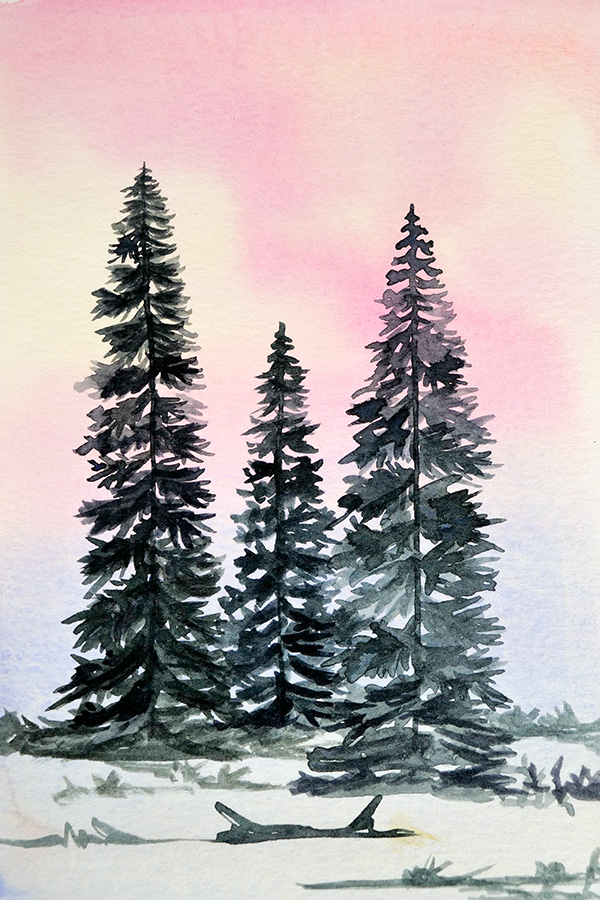
You can see that by understanding a few fundamentals, you can create beautiful trees. It does take a bit of practice, but you’ll end up with beautiful results. Make sure to sign up on the link below for my free PDF with step by step instructions and illustrations on how to paint these trees. This is a great resource for the next time you go to paint trees.

Looking for More Tree Inspiration?
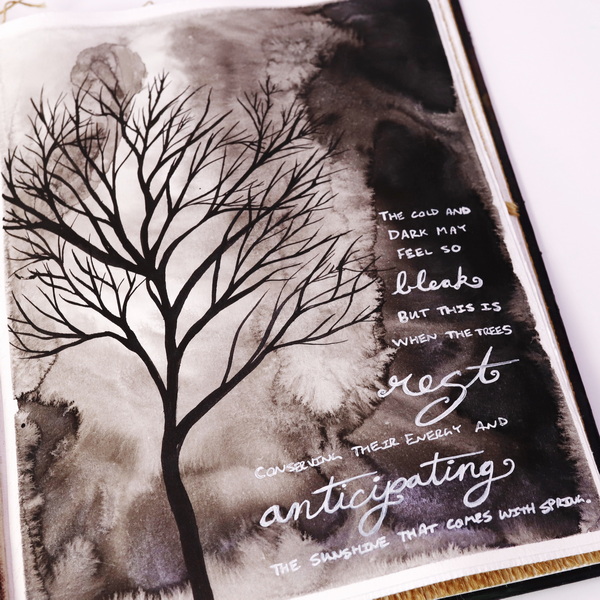
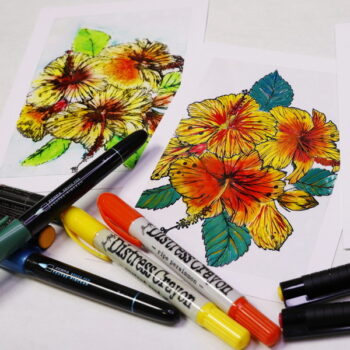
If you’re looking for another article about how to paint trees, click here! With this project I was creating a beautiful art journal page featuring a deciduous tree using ink!
Project Supply List
Designed For Water-Based Paints - Wide variety of shapes and sizes for various watercolor art techniques from precise detail to large washes; Fine tipped Rounds #0 #3 #6 #8 #10 #12; Dagger Striper 3/8"; Oval Wash (Cat's Tongue) 3/4"; Flats #6 3/4"

- Quality student-grade range
- 40+ colors, including modern and historic pigments
- Strong tint strength
- Reliable transparency and lightfastness
- Uniform consistency for beginners and students

- Professional quality
- Astonishing collection of 250+ colors
- Maximum pigment loads and pure gum arabic
- Highest possible lightfastness and permanence
- Expertly made in Seattle, Washington

- Professional quality
- Comparable pigment load to Golden Heavy Body Acrylics
- 100% acrylic emulsion; no fillers, dyes, or opacifiers
- Intense, permanent colors with a smooth, fluid consistency

Liquitex Basics Acrylic Colors were developed for students and artists who require dependable quality at an economical price. Each color is uniquely formulated to bring out the maximum brilliance and clarity of the individual pigment.
Liquitex Basics Acrylic Colors were developed for students and artists who require dependable quality at an economical price. Each color is uniquely formulated to bring out the maximum brilliance and clarity of the individual pigment.
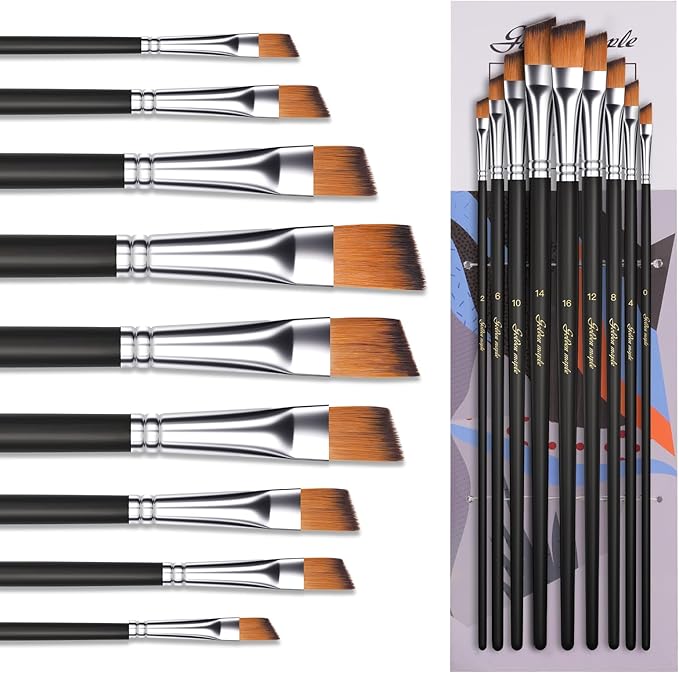
This angled paint brushes set includes 9 sizes (0,2,4,6,8,10,12,14,16) for achieving optimal painting results. Crafted for durability, these acrylic paint brushes deliver smooth strokes and precise color control. The resilient filaments hold paint effectively and release it evenly for seamless application.
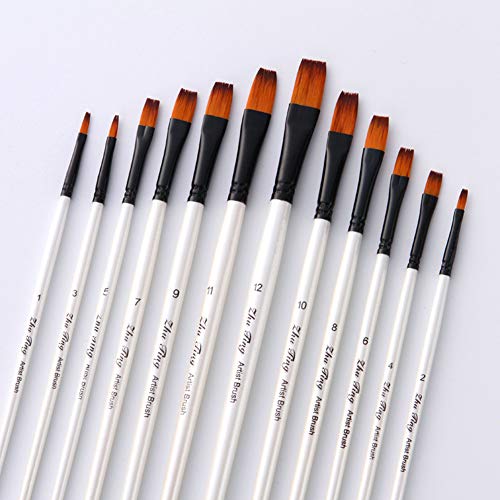
Flat Paint Brushes come in 12 popular sizes:#0,#1,#2,#3,#4,#5,#6,#7,#8,#9,#10,#11,#12. Extremely versatile size range. fits your needs for different kinds of art activities.
Designed to appeal to students, Canson XL pads contain more sheets at a comparable or better price than other value pads in the marketplace.

- Acid-free
- Made in the USA
- Cold Press 140lb paperweight

- Acid-free palette paper, 50 Sheets at 9" X 12"
- Smooth mixing surface against grey paper for a neutral back drop on which to view colors

Perfect for adventurous artists, this water pot expands on site then collapses for transport. It's also easy to clean and store. Ridges around the rim keep brush handles separated and organized while you're painting.
Scotch Greener Masking Tape for Production Painting 2050 is made with paper from sustainably managed forests and regenerating latex harvested from rubber trees.