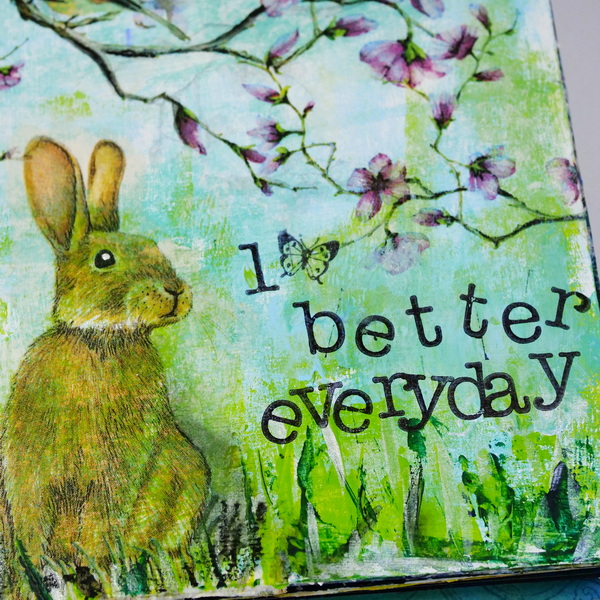
New to Art Journaling? Basic Techniques using Paints and Napkins
Are you new to art journaling? Or do you have a pristine art journal that you’re afraid to start creating in? The first few pages in an art journal can be hard. You may not feel like you know what you’re doing, or perhaps you’re struggling with what to create in your journal. Today we’re starting with a simple prompt and basic art journal techniques to get you started.
Hop-A-Long Studio is reader-supported. When you buy through links on our site, we may earn an affiliate commission at no cost to you. Learn more.
Starting with a Thought or Question
Usually most of my art journal pages start with a thought or question. Occasionally, they start with a technique that I want to experiment with. The art journal is a great place for artistic play without judgement, and a place to express thoughts or work through emotions.
Today I want to start with a question that I’d like you to answer through your page:
What is your intention for this year?
We often start the year talking about New Year’s Resolutions. New Year’s Resolutions aren’t a bad thing, but the statistics on sticking with resolutions throughout the year isn’t high. I like starting my year with an intention and a few SMART goals.
If you don’t know what SMART goals are, visit this article about setting artistic goals.
I love the idea of intention because it takes the pressure off. My intentions are often changes that I want to make in my life that are less measurable. You intention might be choosing a slower pace for the year, finding more peace in your life, or choosing joy.
Choosing an Intention
My last year’s intention was to spend more time with my husband golfing. We had both been so busy with work, we were having a hard time fitting it in. At the beginning of 2022 we talked about intention and what we wanted from the year. We decided our intention would be to go to the driving range or golf every Saturday morning.
Except for a couple of weeks, we maintained this habit and it became something we really looked forward to. Not only was it nice practicing and getting exercise, but it was also a great way to connect and spend time together. Often it led to a nice lunch or coffee and some great quality time.
If you don’t know where to start with change in our life or goal setting, start with establishing intention. It can be the simplest thing. But if it makes you happy and brings you joy, that’s good enough.
My Intention for 2023
For 2023 my intention is to take one step forward everyday. I love the Japanese word Kaizen which is often translated as “change for the better” or “continuous improvement”. I really like it phrased this way: “1% better everyday”.
This doesn’t mean that we are perfect everyday. We just try to improve that little bit everyday. That is my plan for this year. To keep learning, to keep growing, to keep moving forward.
We all choose what we focus on and what we do focus on will grow in our lives, for the good or for the bad. When we choose to be intentional, it can help us focus on the things that we truly want.
Easy & Fun Art Journal Page
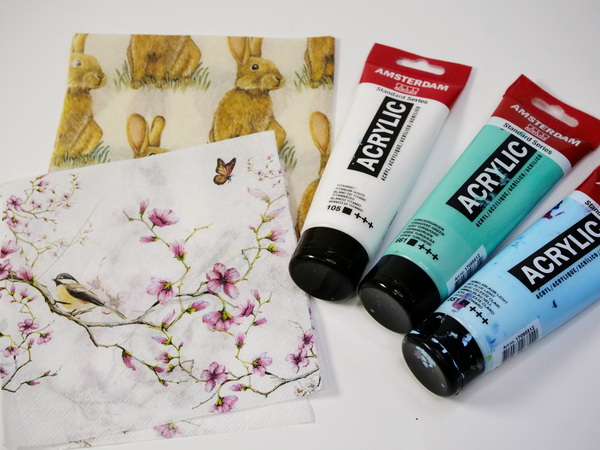
Think about your intention when making this page. Your imagery can line up with your intention, but it doesn’t have to.
For this page, I’m using two of my favorite materials for thie basic art journal techniques: paints and napkins.
Prepping the Journal Page
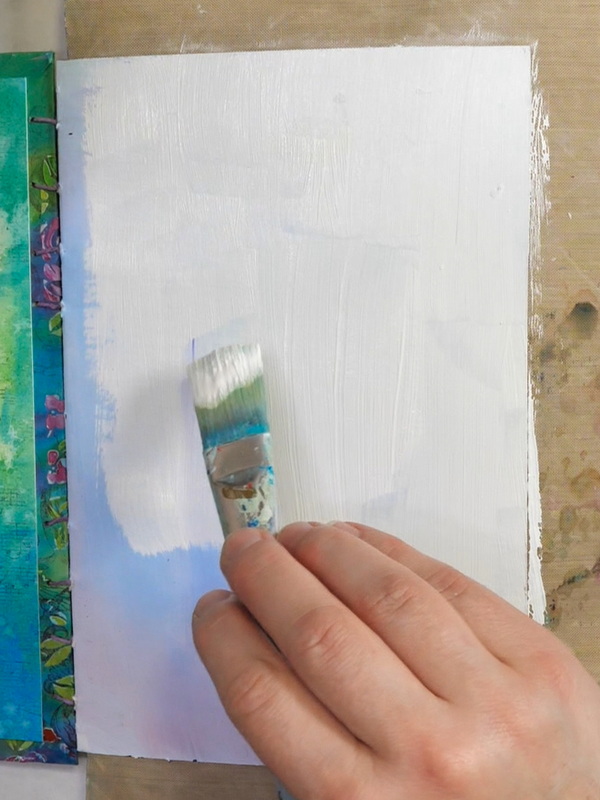
Start by adding a layer of gesso to your journal. Gesso helps seal the paper surface, giving it tooth (or grip) for the paint that will be added on top. Add two thin coats of gesso to the page, allowing each layer to dry before adding the next layer of gesso.
Get one-of-a kind journals lovingly created by artist Nadine Milton founder of Hop-A-Long Studio.
A ready-mixed painting ground, Liquitex Acrylic Gesso primes surfaces and adds the right level of tooth for optimum color stability, adhesion, and absorbency.
Simple Ways to Add Acrylic Paint to an Art Journal
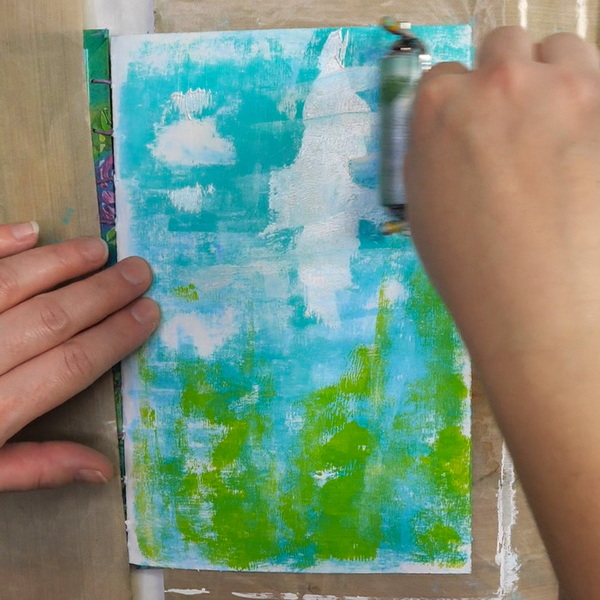
There are many simple ways to add paints to an art journal. Today we’ll focus on how to easily add paint with a brayer.
Add paint to your palette and roll the brayer through the paint until you have a thin and even layer of paint on the brayer. Roll the brayer onto the surface varying between short and long strokes. You can go in multiple directions to create texture and marks. Continue to load the brayer with color until you have the result you like.
For this project I used pale colors so that the color of the background will not overwhelm the napkin images. I started with Amsterdam Sky Blue Light and then added in Amsterdam Turquoise Green. As I knew that I wanted to create a grass area on my page, using Amsterdam Yellowish Green to the bottom of the page.
- Versatile tool for printmaking, scrapbooking, and stamping
- Provides even ink distribution and maximum coverage
- Allows for consistent prints on a variety of surfaces
Proudly crafted in the Netherlands, these acrylic paints are value priced and easy to use, making them an excellent choice for the beginning or intermediate artist. They can be mixed with water or mediums, and clean up requires only soap and water.
Proudly crafted in the Netherlands, these acrylic paints are value priced and easy to use, making them an excellent choice for the beginning or intermediate artist. They can be mixed with water or mediums, and clean up requires only soap and water.
Proudly crafted in the Netherlands, these acrylic paints are value priced and easy to use, making them an excellent choice for the beginning or intermediate artist. They can be mixed with water or mediums, and clean up requires only soap and water.
Pebeo High Viscosity Studio Acrylic Paints are the ultimate mixed media acrylic! Vivid, deep, and richly pigmented, it offers very good lightfastness and permanence.
What’s nice about the brayer is that the paint is easy to apply and control and it creates a lot of texture. If you go a bit too dark with your colors, you can always brayer over white paint to lighten it up again.
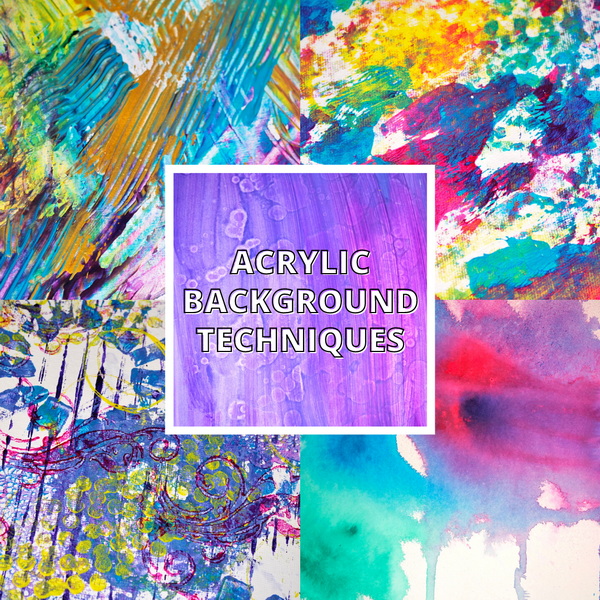
For more acrylic background techniques, visit this article: Intimidated by the Blank Page? 5 Acrylic Background Techniques for the Art Journal.
Adding Napkins
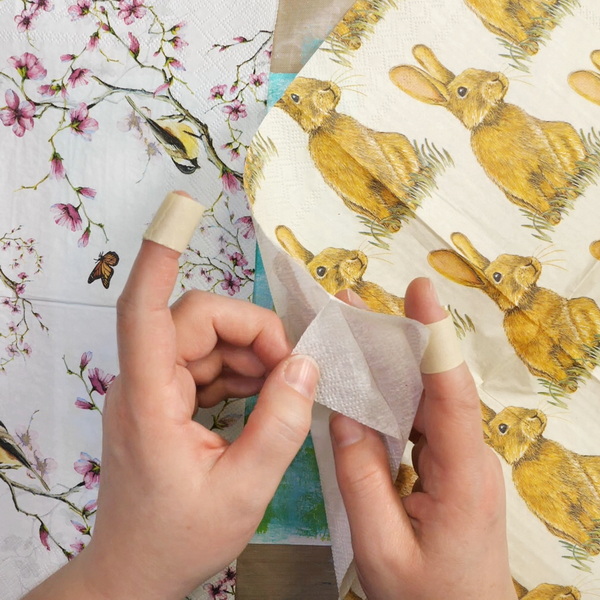
Before you can add your napkin images, you will need to disassemble your napkins. Most napkins will generally have 2 or 3 layers. One layer that is printed on and 2 white layers beneath it. You want to remove these extra layers so that you are left with a thin, printed napkin for your project.
To separate these layers, use masking tape to help pull the layers apart. You will also want to tear out the images that you are using for your project. For a detailed explanation of this process, please visit this article: Art Journaling with Napkins.
Adding Napkins with Matte Medium
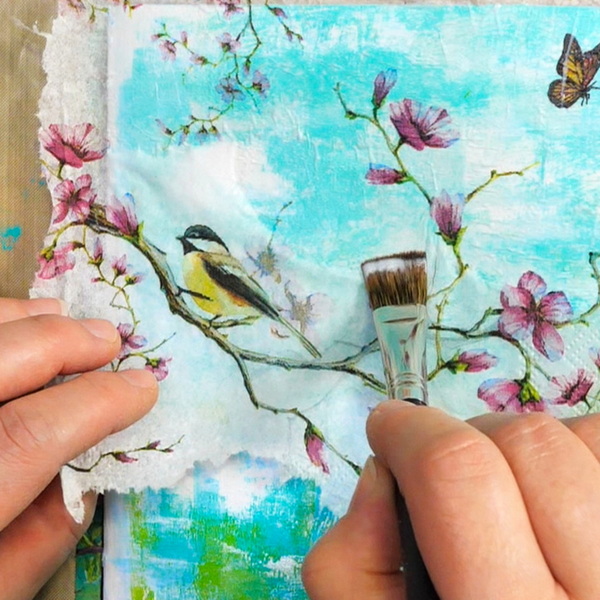
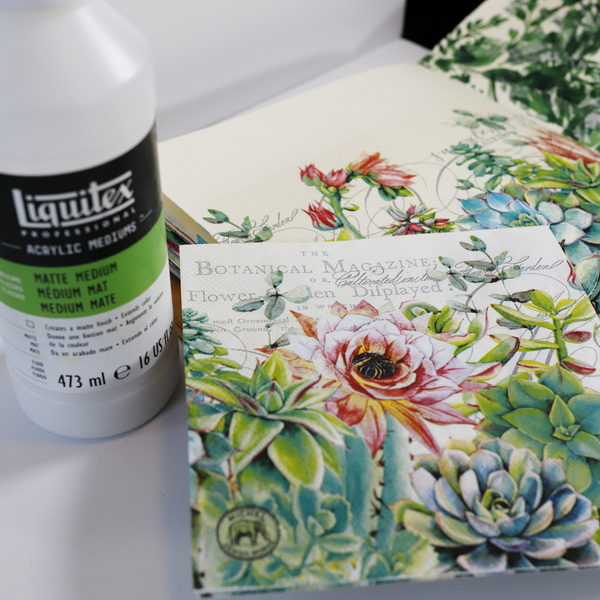
As the disassembled napkins are very delicate, you need to work carefully. Start by adding a thin layer of matte medium onto your page and lay your napkin on top. Brush a layer of matte medium on top of the image to adhere it to the project.
Make sure to work section by section to prevent wrinkles and bubbles to your image. When you add matte medium, don’t brush over it several times and overwork the area, this can rip the napkin.
Creates a matte, non-reflecting finish when added to acrylic colors. Lightweight, non-toxic; Opaque when wet, translucent when dry.
These cherry blossom decorative napkins are perfect for your next collage and mixed media project!
Package of 20 premium 3-ply paper napkins that are perfect for your next collage and mixed media project!
Adding Shadows and Highlights
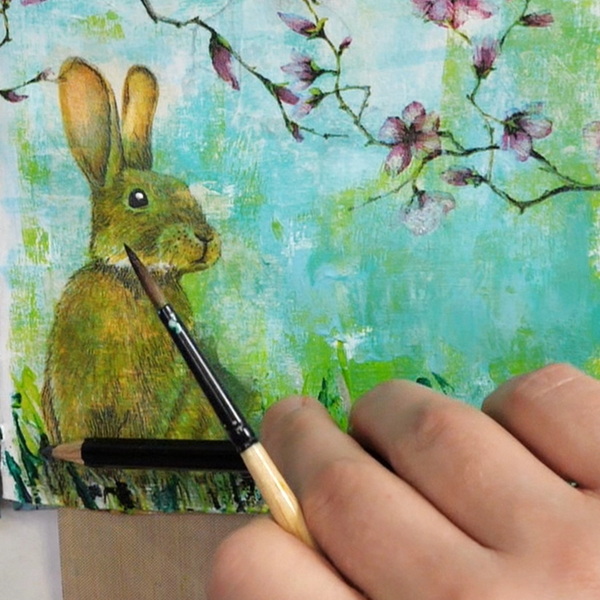
Once your image is dry, you can start adding shadows, highlights, and other details to your project.
I wanted the rabbit to feel grounded in the page, so using Pebeo Pthtalocyanine Green and Amsterdam Yellowish Green paint and a palette knife, I added in paint around the image to look like grass.
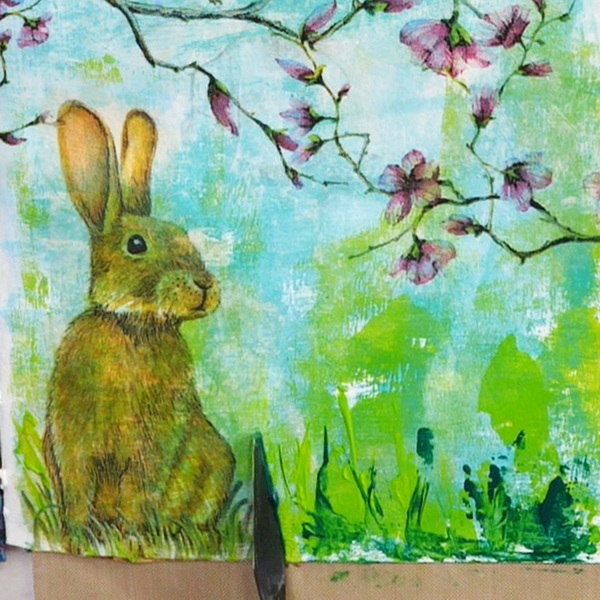
For highlights I used a wash of Golden Iridescent Pearl paint to add small highlights to the branches and flowers.
- Professional quality
- 100% acrylic emulsion; no fillers, dyes, or opacifiers
- Intense, permanent colors with a smooth, fluid consistency
- Excellent lightfastness
Make sure that the paint is diluted enough to give you transparent color. If it’s not diluted enough, you’ll lose the details underneath. I also added in a catchlight in the rabbit’s eye and painted areas in the chickadee to help it stand out more.
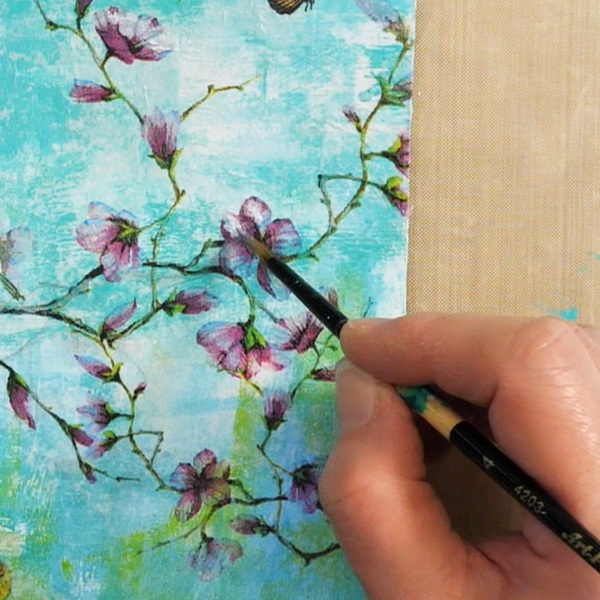
For shadows, I love using my Stabilo All pencil. This pencil is an intense black color. You can draw the color on, then use a brush to move it around as the pencil is water soluble.
Stabilo's soft, waxy leads mark on virtually any surface. This is not an artist colored pencil, for drawing and sketching, but rather a colored marking pencil. Use it for writing in color on paper and other surfaces, even difficult surfaces like plastic, film, and mylar.
If you find that you’ve added color on too darkly, just add a bit of water and dab off. This pencil works on a variety of surfaces and is excellent for art journaling.
Add Your Journaling or Statement
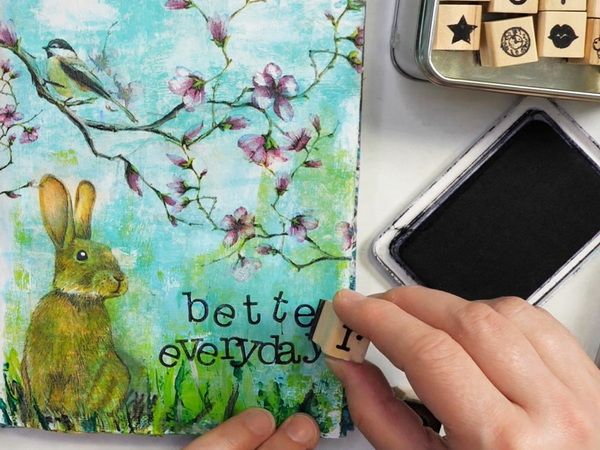
You can add your journaling with a paint pen, gel pen or even stamps. I like using Jet Black archival ink and word stamps for adding phrases to my art journal. I added “1% better everyday” as a reminder of my intention this year.
The Jet Black Archival Ink Pad by Ranger Ink is acid-free, non-toxic, water-resistant, and fade-resistant, and provides lasting results. This ink will not deteriorate paper and does not bleed when inks, paints, or markers are used over it.
Each package contains 52 wooden stamps embossed with alphabet letters and 2 ink pads. Please make yourself know that a set of 26 alphabet letters is about 3.7" long and 2.9" wide. and each stamp is 0.6"long, 0.6"wide and 0.6" high.
All Done!
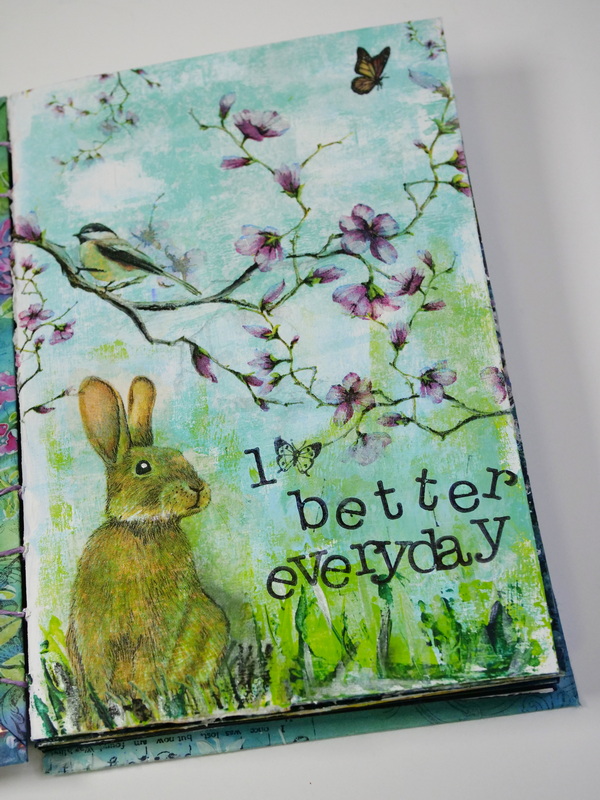
This page is done! Not all art journal pages have to be complex to be beautiful. If you are new to art journaling and adding in shadows or highlights seems overwhelming, just add your background paint and a napkin and call it done. This can be as complex or simple as you decide to make it.
Any Questions?
Any question about how to do these basic art journal techniques with paint and napkins? Are these techniques that you use regularly in your projects? I’d love to hear what you use in your art journaling projects! You can always leave a comment below, I’d love to start a conversation with you!
Project Supply List
Every time you purchase from the affiliate links below, this supports my website (at no additional cost to you) and lets me bring you new content every week. Thank you for your support!
Get one-of-a kind journals lovingly created by artist Nadine Milton founder of Hop-A-Long Studio.
A ready-mixed painting ground, Liquitex Acrylic Gesso primes surfaces and adds the right level of tooth for optimum color stability, adhesion, and absorbency.
- Versatile tool for printmaking, scrapbooking, and stamping
- Provides even ink distribution and maximum coverage
- Allows for consistent prints on a variety of surfaces
Proudly crafted in the Netherlands, these acrylic paints are value priced and easy to use, making them an excellent choice for the beginning or intermediate artist. They can be mixed with water or mediums, and clean up requires only soap and water.
Proudly crafted in the Netherlands, these acrylic paints are value priced and easy to use, making them an excellent choice for the beginning or intermediate artist. They can be mixed with water or mediums, and clean up requires only soap and water.
Proudly crafted in the Netherlands, these acrylic paints are value priced and easy to use, making them an excellent choice for the beginning or intermediate artist. They can be mixed with water or mediums, and clean up requires only soap and water.
Pebeo High Viscosity Studio Acrylic Paints are the ultimate mixed media acrylic! Vivid, deep, and richly pigmented, it offers very good lightfastness and permanence.
- Professional quality
- 100% acrylic emulsion; no fillers, dyes, or opacifiers
- Intense, permanent colors with a smooth, fluid consistency
- Excellent lightfastness
- Acid-free palette paper, 50 Sheets at 9" X 12"
- Smooth mixing surface against grey paper for a neutral back drop on which to view colors
Creates a matte, non-reflecting finish when added to acrylic colors. Lightweight, non-toxic; Opaque when wet, translucent when dry.
These cherry blossom decorative napkins are perfect for your next collage and mixed media project!
Package of 20 premium 3-ply paper napkins that are perfect for your next collage and mixed media project!
Stabilo's soft, waxy leads mark on virtually any surface. This is not an artist colored pencil, for drawing and sketching, but rather a colored marking pencil. Use it for writing in color on paper and other surfaces, even difficult surfaces like plastic, film, and mylar.
The Jet Black Archival Ink Pad by Ranger Ink is acid-free, non-toxic, water-resistant, and fade-resistant, and provides lasting results. This ink will not deteriorate paper and does not bleed when inks, paints, or markers are used over it.
Each package contains 52 wooden stamps embossed with alphabet letters and 2 ink pads. Please make yourself know that a set of 26 alphabet letters is about 3.7" long and 2.9" wide. and each stamp is 0.6"long, 0.6"wide and 0.6" high.
This set of student brushes includes sizes #1,#2,#3,#4,#5,#6,#7,#8,#9,#10,#11,#12. The small paint brushes are designed with imported Nylon hair, which is soft and smooth, but also resistant to moisture, so you can focus on your painting.
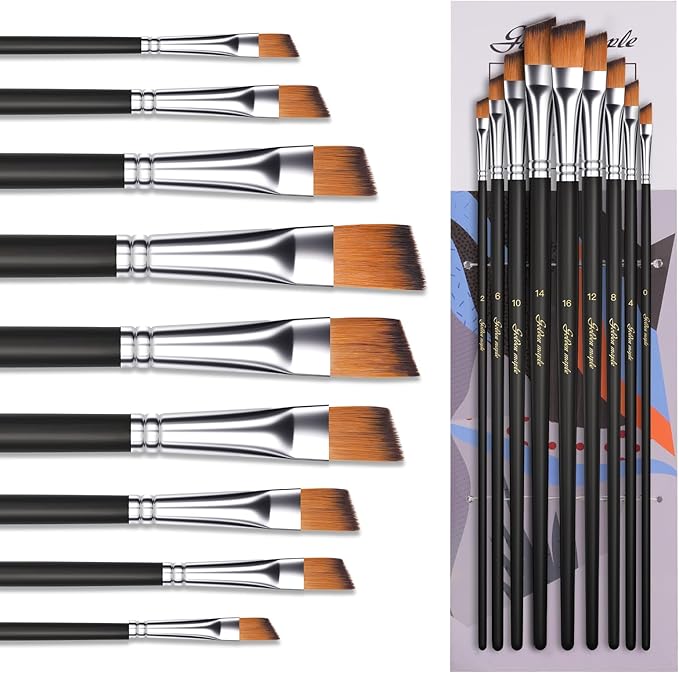
This angled paint brushes set includes 9 sizes (0,2,4,6,8,10,12,14,16) for achieving optimal painting results. Crafted for durability, these acrylic paint brushes deliver smooth strokes and precise color control. The resilient filaments hold paint effectively and release it evenly for seamless application.


