Using Alcohol Inks with Stencils
Have you ever tried using alcohol inks with stencils on a large project? It can sometimes be challenging using stencils with alcohol inks because of the loose nature of the medium. If the stencil is smaller than the surface that you are using, it can leave harsh lines detracting from the overall design.
Layering Alcohol Inks
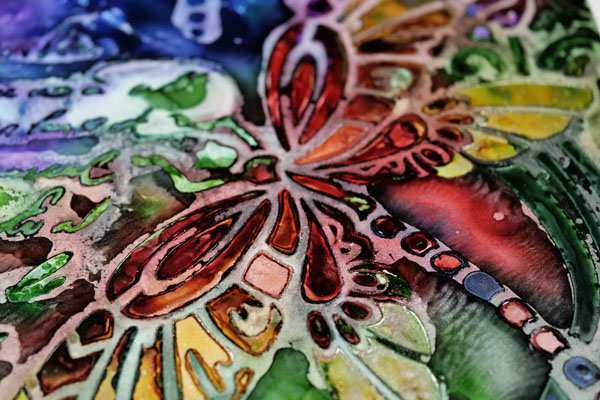
One of the ways to prevent harsh lines in your alcohol ink project is by layering alcohol inks. One thing to keep in mind when using this technique is that when you add more ink, it rewets and often resists the ink below. When it resists, the ink will push the previous layer of alcohol ink away from the newest layer of ink.
Through experimentation you will understand how the inks work together so that you end up with a result that you are very happy with.
Alcohol Ink Scrapbook Page
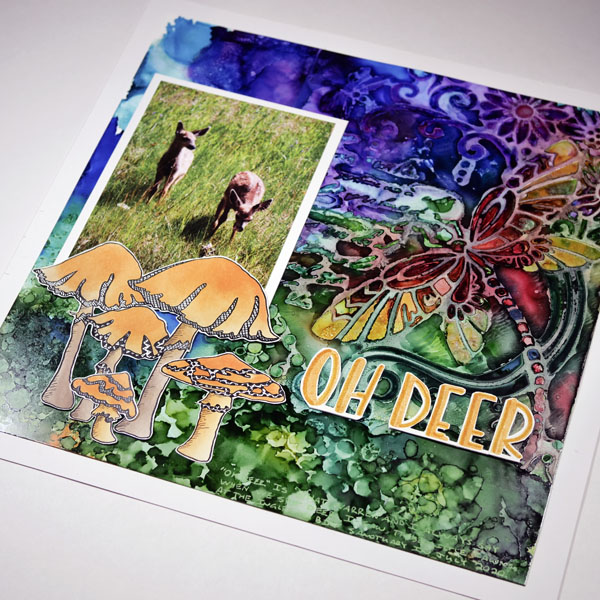
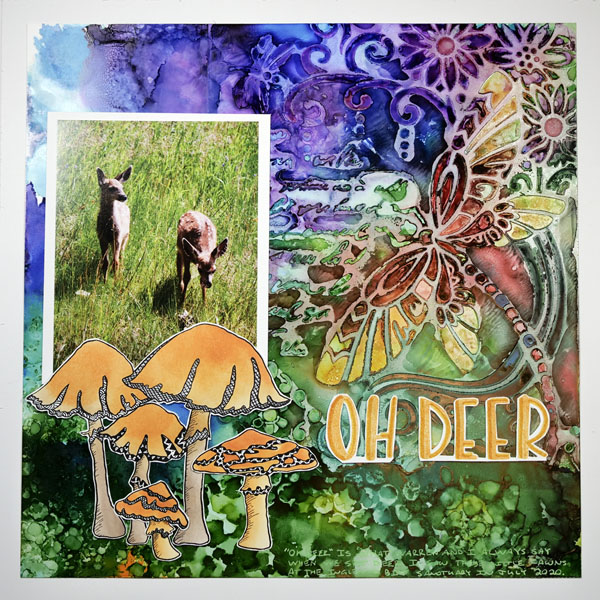
In this week’s project we will be using alcohol inks through stencils by layering alcohol inks. With this project we will be using an 11 inch by 11-inch piece of Yupo to add our alcohol inks to.
Adding Alcohol Ink to Yupo
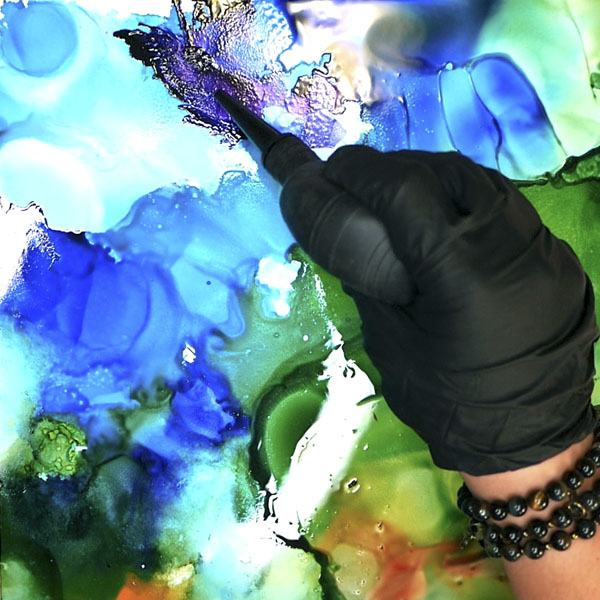
Add a layer of alcohol inks to the Yupo using a variety of alcohol inks, 99% alcohol and blending solution. By using a rubber air bulb to push the ink and by mixing the ink with alcohol and blending solution, this will move the ink around the page. Make sure to work quickly as the alcohol will dry within seconds of being applied. The alcohol and blending solution will extend working time so make sure to use a liberal amount of both in this step.
You can also use a blending tool with a felt to add different texture and mark making to the alcohol inks and Yupo. For this layout, I used both blending tool and rubber bulb techniques to complete the first layer.
Adding the Stencil Image
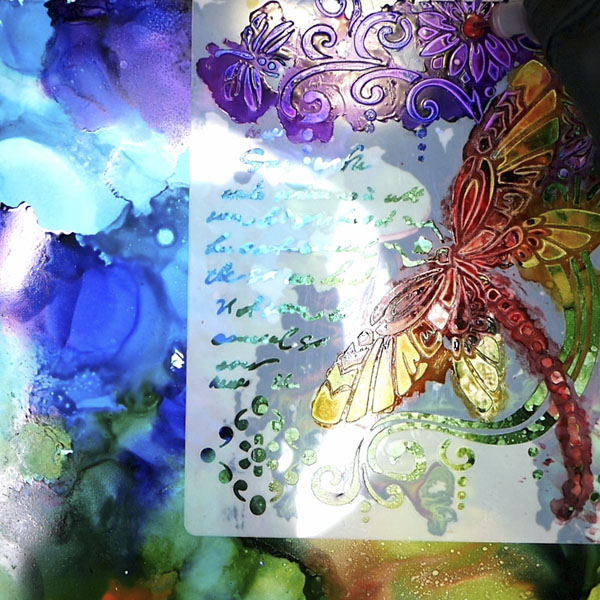
Once you have covered the entire surface with alcohol inks, add your stencil to the surface. Add alcohol inks through the stencil, spreading the ink gently with your fingers. As you work, some of the alcohol ink will seep under the stencil and meld with the layers of color already on the Yupo. Leave the stencil on the Yupo for several hours or overnight to ensure that it dries fully. Once dry, remove the stencil.
Removing Harsh Lines
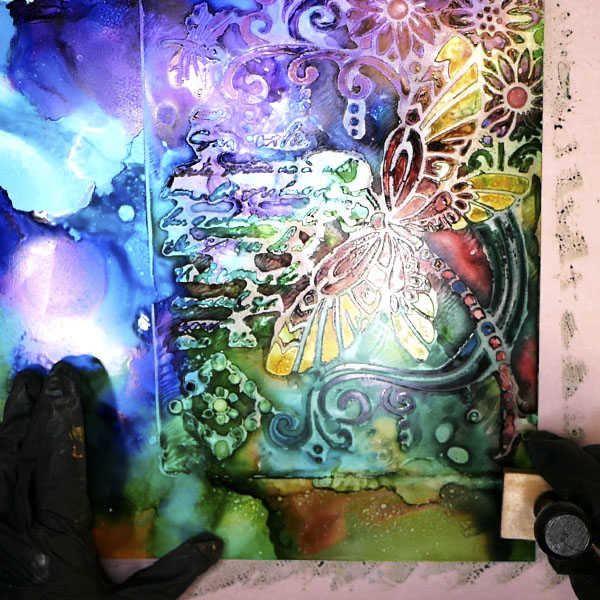
When you add a stencil to the Yupo, often a harsh line is left around the image. Spritz the harsh lines with alcohol as this will lighten and start moving the ink around. Add additional alcohol ink and using a combination of the air bulb, your finger and blending tool to soften the lines. In some places I added additional pattern using bubble wrap to add texture and blend the lines.
Adding in Scrapbooking Elements
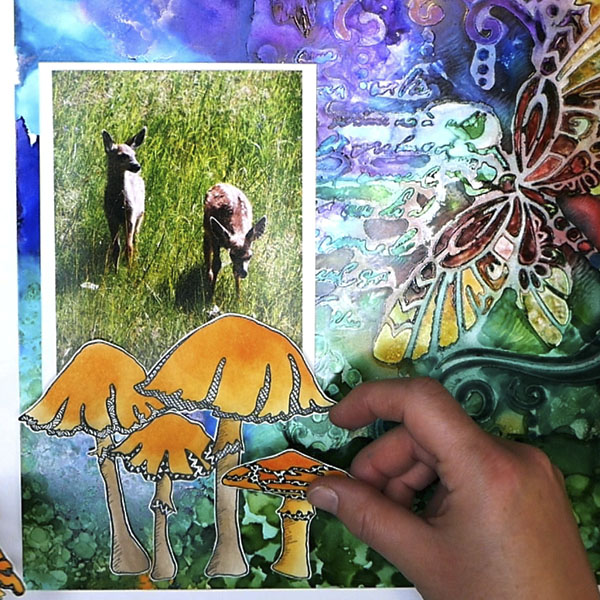
Add the Yupo alcohol ink background to a piece of 12 by 12-inch white paper. By adding a border, this makes the page itself more vibrant. Add a white mat to your focal image as this will help it stand out from the vibrant alcohol ink background.
For the mushroom embellishments, use a stencil and doodling to create these images. To see the full video tutorial for this technique, it can be viewed here.
Creating the Title
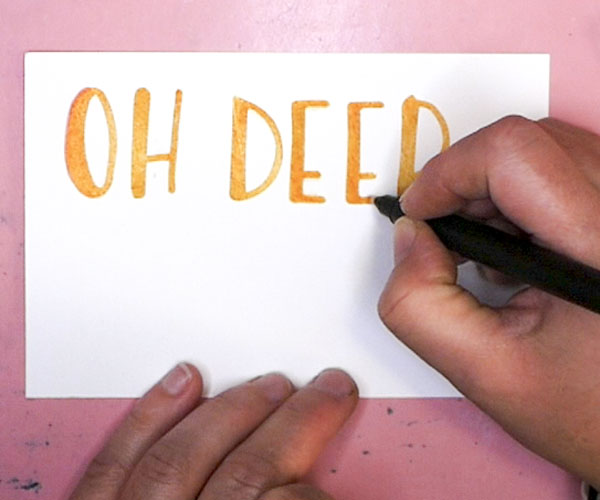
For this title, I used the Capital Letters stamp set from Wild Whisper Designs. Using Wild Honey Distress Ink, stamp your title. To add shading to the letters, add embossing pen to the edges of some of the letters, apply Distress Embossing Glaze and heat set.
Fussy cut the letters out and add this to your page. To keep the letters connected, cut a line with a craft knife at the bottom of your word and then fussy cut around the top of the letters. This will give a small border and will make it easier to apply the letters.
Add Journaling
Add journaling to your page. I chose to use a Sakura Gelli Pen so that the journaling could be read but would not detract from the rest of the layout. Not all pens work well on Yupo, so it may take experimentation to find the pen that works best for you. I recommend a Gelli pen for this step as I tend to get the most consistent results.
Questions?
What do you think of this project for using alcohol inks with stencils? Have you ever tried a project with multiple layers of alcohol inks? I would love to know if you tried this project and your own successes and challenges with alcohol inks. Please comment below or contact me directly. I hope that you have a great week and have some time for creative self care.
Project Supply List
If you are interested in purchasing the Capital Letters stamps from www.wildwhisperdesigns.com, please use code DTNADINE at checkout to get 10% off off your next order.
- Alcohol Inks: Ranger Tim Holtz- Aquamarine, Stream, Clover, Bottle, Citrus, Lettuce, Sunshine Yellow, Butterscotch, Crimson, Cranberry, Wild Plum, Amethyst, Villainous, Tranquil, Rust, Sepia, Alchemy, Envy, Coral. Jacquard Pinata- Baja Blue, Sapphire Blue and Rainforest Green.
- Tim Holtz Alcohol Blending Solution
- 99% Alcohol
- Legion Yupo
- Stencils: Stamperia Dragonfly, TCW Stencil Whimsical Shrooms
- Creative Scrapbooker Superstock
- Scotch Advanced Tape Glider
- Sakura Gelly Roll Pen Moonlight XPGB 427 Fluorescent Green
- Tim Holtz Distress Ink Wild Honey
- Ranger Tim Holtz Embossing Pen Bullet Tip
- Tim Holtz Distress Embossing Glaze Fossilized Amber
- Wild Whisper Design Capital Letter Stamps
- Stamping Block
- Craft Knife
- Cutting Mat


