Fall Leaf Card Project
Are you looking for some creative inspiration for this fall season? Fall leaves have been part of my inspiration for the last month, including this fall leaf card project. In Calgary I feel so fortunate to have enjoyed such a beautiful fall. Between the mild weather, changing leaves and sunny, crisp days, it has been a beautiful season.
Thanksgiving and Gratitude
Thanksgiving in Canada was in October, but as Thanksgiving in the USA is coming up soon, I thought sharing this fall leaf card project was rather timely. During this time of pandemic, it may be harder to visit family for the holiday celebrations. But there is no reason we cannot bless others through sending cards and encouraging thoughts.
Fall Leaf Card Project
For this fall leaf card project, I wanted to focus on stamping in layers and adding different color values to create a vibrant card. To see the full step by step tutorial, please see the video below.
Choosing Your Paper
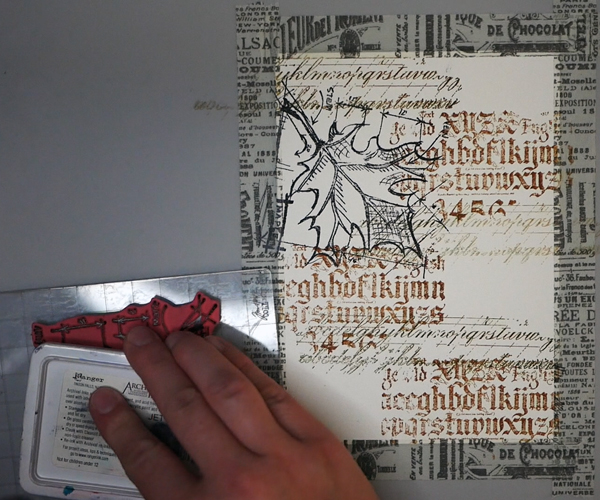
For this card project I was using acrylic paper. The acrylic paper is a smooth heavyweight paper which makes it smooth enough for stamping and strong enough to hold water and mediums without buckling. I cut my acrylic paper down to a 5” 7” size and taped my paper down with washi tape. I left a 1/8” edge around the paper which will create a crisp white boarder around the image.
Stamping the Images
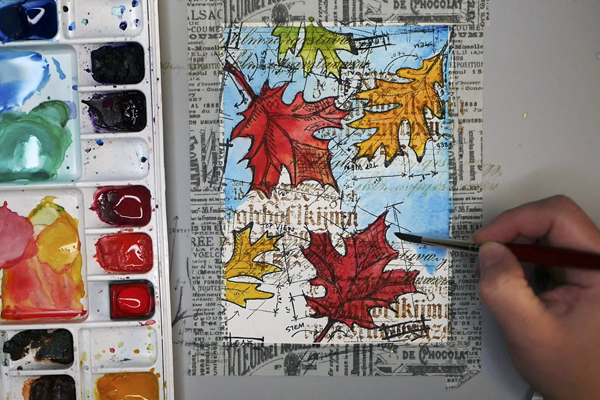
Using Saddle Brown Staz-on waterproof ink, I stamped multiple images from my Tim Holtz Stampers Anonymous Faded Type in a random pattern. After completing this layer of stamping, I used Archival Jet-Black Ink, I to stamp Autumn Blueprint oak and maple stamps on the background.

Water Coloring the Leaves
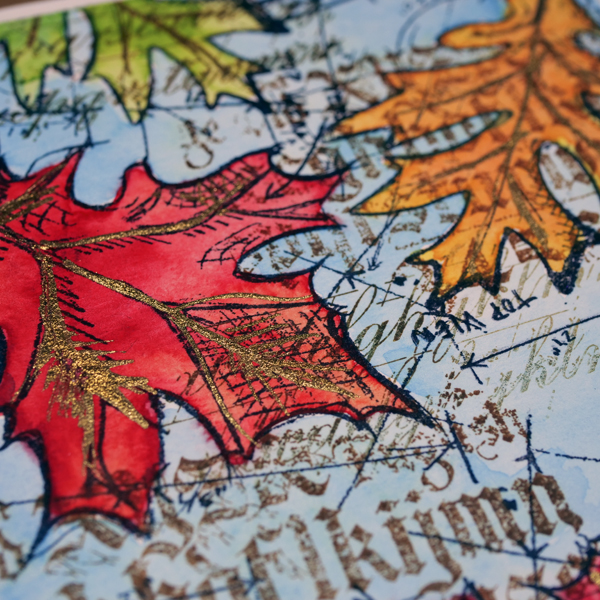
Once fully dry, I added watercolor paint to the images. For the maple leaves I used a combination of Winsor and Newton watercolor paints in Alizarin Crimson Hue, Permanent Deep Red and highlights with Cadmium Red Pale Hue and Cadmium Yellow Hue. As the images had a fair amount of detail, I used a size 6 round DaVinci Cosmotop Spin watercolor brush to apply the paint.
For the oak leaves, I used a combination of Cadmium Yellow Hue, Cadmium Red Pale Hue, and highlights with Viridian Hue.
Water Coloring the Background
Once these were fully dry, I started water coloring the background. When you are adding watercolor, please be aware that they will rewet. It requires a certain amount of brush control to color a background in a way that will not cause bleeding in your main image.
Using stamps to color inside of makes it easier because there is a small amount of space between the background and the leaves. These small gaps that are created by the permanent ink are often enough to keep the two colors of paint separate from each other. When I am working in small areas, I tend to use a smaller brush so that I can have more concise strokes.
When creating the background, I purposely watered down my paint. What makes watercolor such a great medium is that you can get very vibrant colors or very muted colors. By varying the amount of water you use and how heavily you apply the paint, you can get some different effects. For this background I used Cerulean Blue Hue and Turquoise with a fair amount of water to create a very soft background and pale colors.
Creating Depth
Using softer colors in the background creates depth in your card. When I was learning to paint, I often I struggled with having more than one color value. When I talk about color values, I am talking about the lightness or darkness of a color. Using color values allows you to have a more intense color in one area, and then lighter color in another. By adding this variety, this pulls your subject from the background and provides depth to your piece.
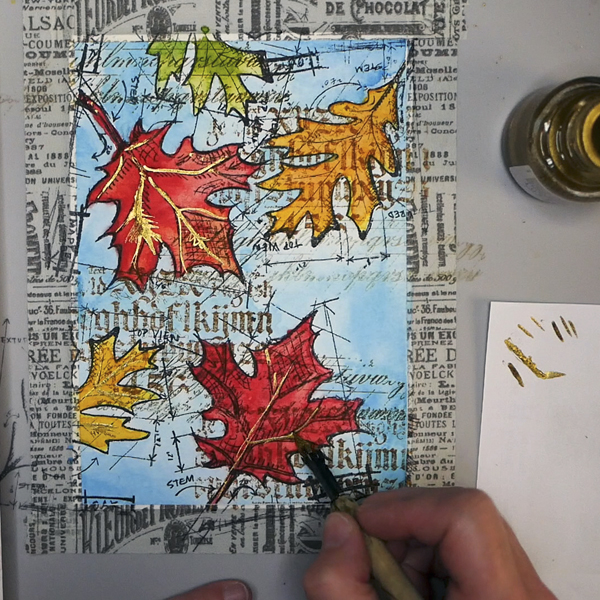
Adding Dip Pen Highlights
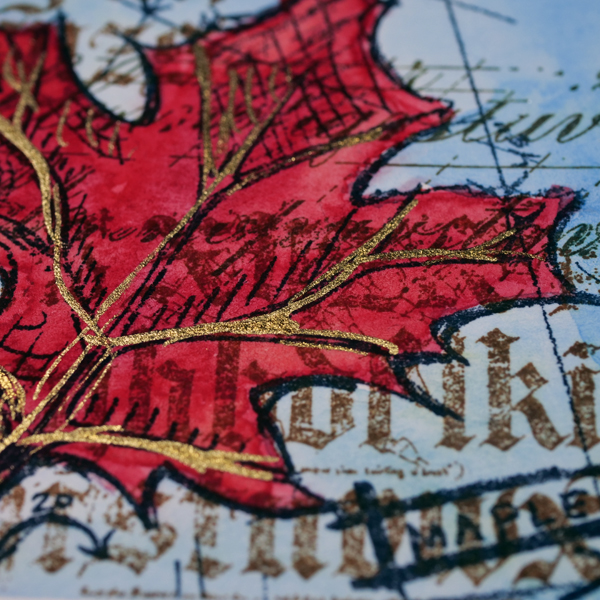
Once the background was finished and dry, I decided to add some dip pen highlights. You can use any pen to add highlights, but I like using a dip pen. I was using a dip pen with Winsor and Newton Gold Ink. By making loose sketchy marks, this adds highlights to the leaves and showcases the leaves as the focal point.
Building on Your Skills
This is a simple project with some great skill building techniques in it. Watercolor painting is not always easy. But by using stamped images can help you gain confidence with your paints and learn how they work. The more familiar you are with your watercolor paints, the easier it is to move to more complex projects.
Project Supply List
- Paper: Canson Montval Coldpress Acrylic Paper (185lb/ 400gsm)
- Stamps: Tim Holtz Stampers Anonymous Faded Type, Tim Holtz Stampers Anonymous Autumn Blueprint
- Inks: Ranger Jet Black Archival Ink, Stazon Saddle Brown, Winsor and Newton Gold Ink
- Paints: Windsor and Newton Cotman Watercolors- Cerulean Blue Hue, Turquoise, Lemon Yellow, Cadmium Yellow Hue, Cadmium Red Pale Hue, Alizarin Crimson Hue, Permanent Deep Red, Viridian Hue
- Brush: Cosmospin Watercolor Brush Size 6
- Other Supplies: Stamping Block, Tim Holtz Washi Tape, Water Container and Water, Heat Embossing Tool, Dip Pen Holder and Nib