Valentine’s Day Slimline Card
As Valentine’s Day is just days away, I wanted to share with you how to make a Valentine’s Day slimline card. Valentine’s Day cards are fun to make, but what if you want to move away from more conventional colors for these cards? In this tutorial we will be creating a card that does not use red or pink, but the more muted greys and greens.
Slimline Cards
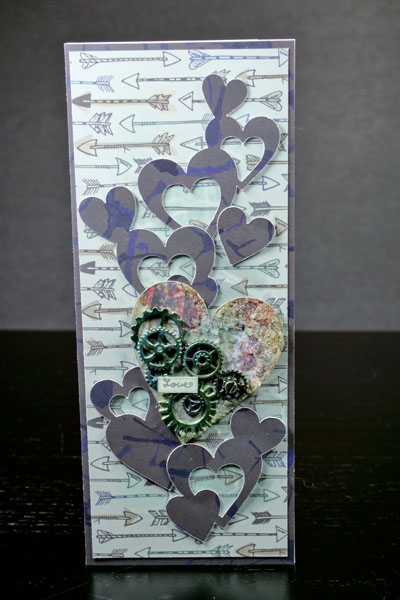
Slimline cards seem to be everywhere. The style and dimension of these cards lead to some great creative possibilities. The panoramic style of them allows you to approach creativity and cardmaking in a different way. When used in an upright format, the narrowness of the space makes it a fun way to showcase die cuts and embellishments. The design of these cards allows for variation in composition and using the rule of thirds, you can end up with some unique results.
Valentine’s Day Card
In this Valentine’s Day slimline card, we will be using paper and die cut images to make a dynamic card with strong composition. As in many of these projects, we will be altering images to bring a mixed media element to this card.
Creating the Card Back
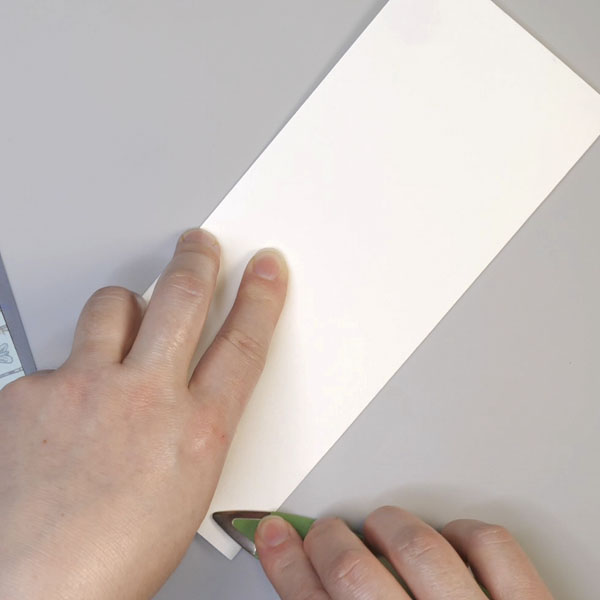
When creating cards, you need to choose the size of the card back that you will be using. There is a variety of slimline card dimensions, but for this card we will be using dimensions of 3.5 inches by 8.5 inches. Part of the reason for limiting the height to 8.5 inches is that this allows you to use a 8.5 by 11 inch piece of cardstock for making card backs.
To make the card back, cut a piece of cardstock 7 inches by 8.5 inches. Fold this in half and score with a bone folder to get a crisp edge. This will give you a card with the dimensions of 3.5 inches by 8.5 inches. I could suggest using at least a 90lb cardstock for a card back to ensure that it is stiff enough to stand upright.
Cutting Card Base Papers
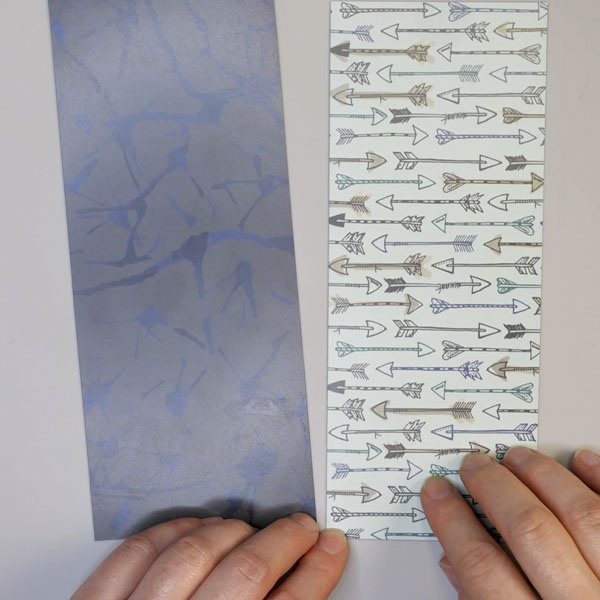
For this card I chose to use some of the beautiful paper from Wild Whisper Designs Adventure paper pack. Cut the arrow patterned paper to 3.25 inches by 8.25 inches. To create a border for this patterned paper, use the dark grey patterned paper in the Adventure collection to cut a rectangle 3.5 inches by 8.5 inches.
Cutting Die Cut Hearts
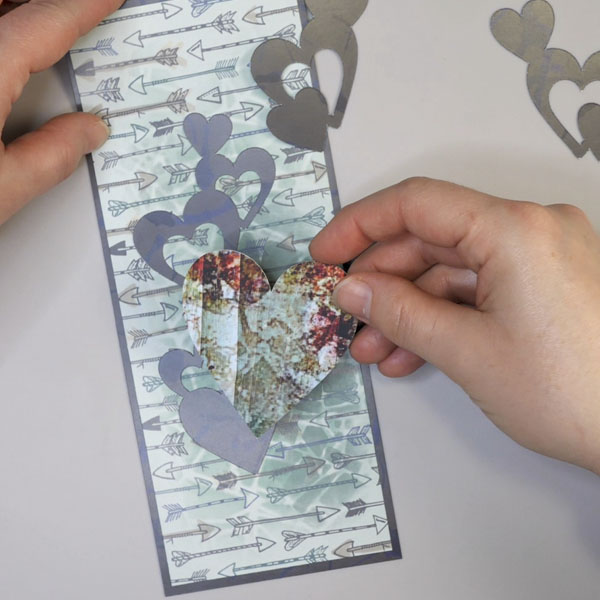
Using the same dark grey patterned paper, cut out heart shapes for the card. I used a heart pattern included in my Brother ScanNCut software, resized, and cut out multiple images for this card. You could also cut hearts by hand if you do not have a ScanNCut or die cut machine.
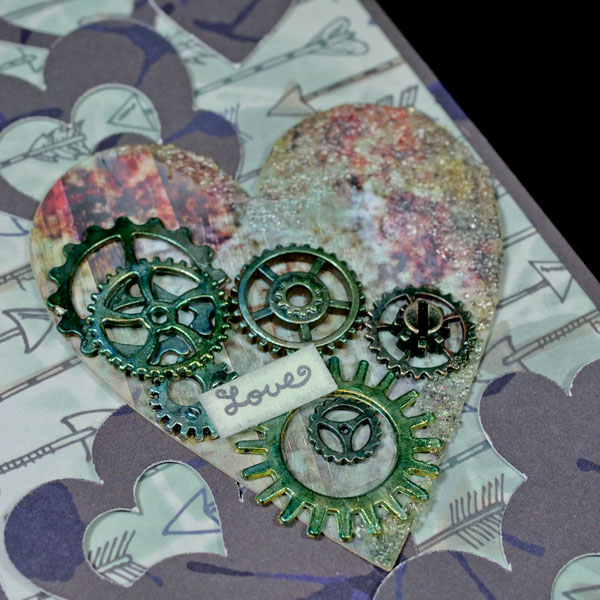
Using Pam Bray’s Watercolor paper pack, cut out a large heart to be used as a focal image for this card.
Adding Texture to Arrow Patterned Paper
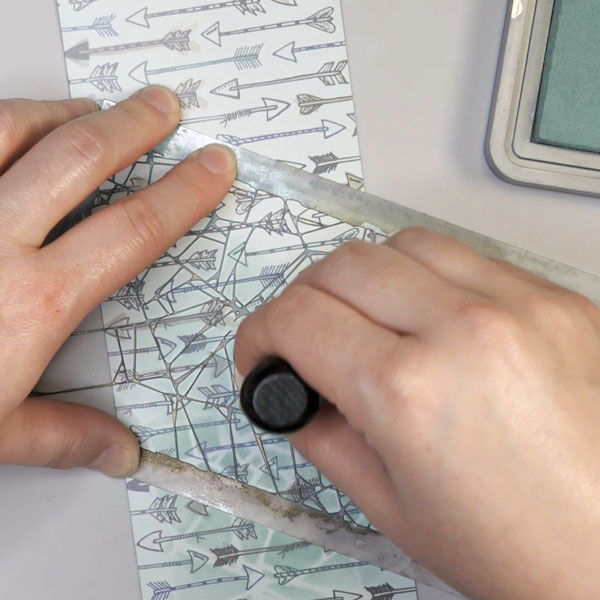
The arrow patterned paper is beautiful, but to add a bit of variation to this card background, add ink through a stencil. If you are unsure how to add texture that will not be overwhelming to the rest of the project, test on an offcut of the patterned paper with different stencils and ink colors.
Using the Tim Holtz Shattered stencil add Distress Oxide Evergreen Bough ink through the stencil. Adding a light layer of ink creates texture and subtle layers without competing with the background paper. By turning the stencil and working in sections, this provides a more random pattern to the background. Finish by adding Distress Oxide Iced Spruce ink through the stencil in the area that you will be adding your focal image heart.
Adding Alcohol Ink to Gears
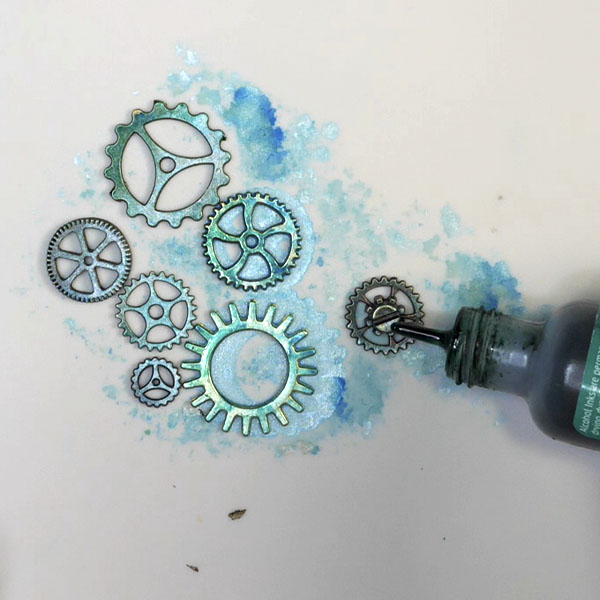
One of the texture items for the focal heart will be metal gears. As these gears come in a variety of finishes, adding alcohol ink to the gears ties the colors of the gears together. To color the gears, add a few drops of alcohol ink to a blending tool felt and apply to the gears. Using complimentary colors to the paper will add cohesion to the design.
Adding Texture to Focal Heart
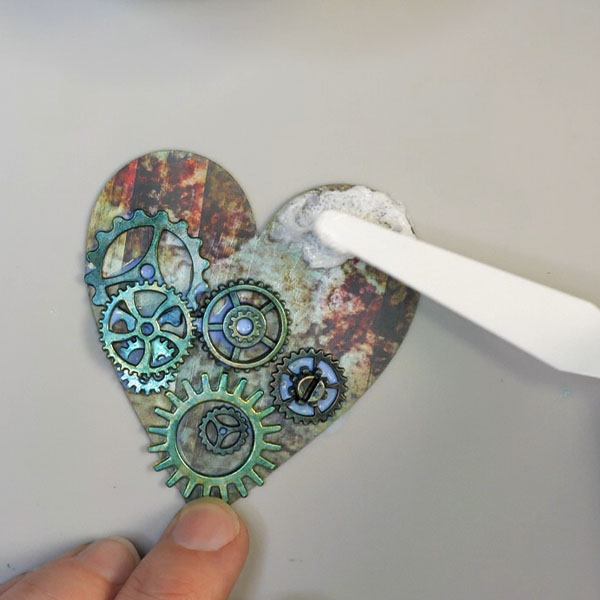
Add Distress Oxide Cracked Pistachio and Vintage photo ink to the edges of the heart. Apply glue to the gears and add to the focal heart. Add glass bead gel with a palette knife to the edges of the heart and between the gears. Let dry completely. You will know the glass bead gel is fully dry when it is transparent.
Adding Love Statement
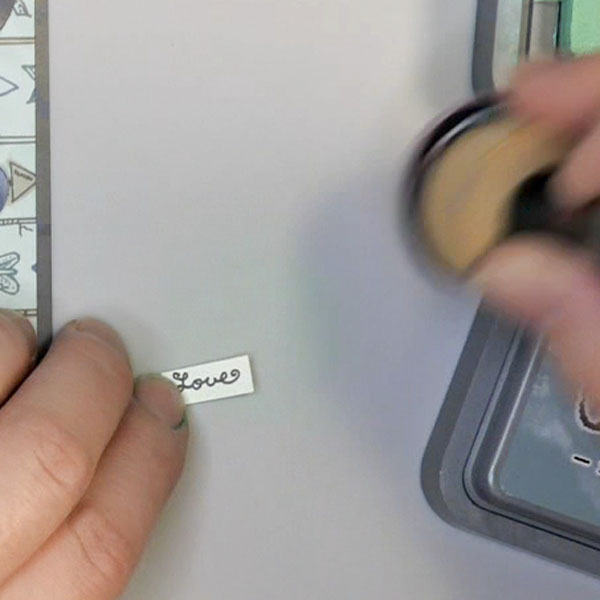
Using a pen, write the word “love” onto a piece of paper and cut out. Using Distress Oxide inks, tint the paper to match the card and adhere to the focal heart with glue dots. For this step you can also use stickers or a stamp instead of handwriting to add the word to the card.
Assembling the Card
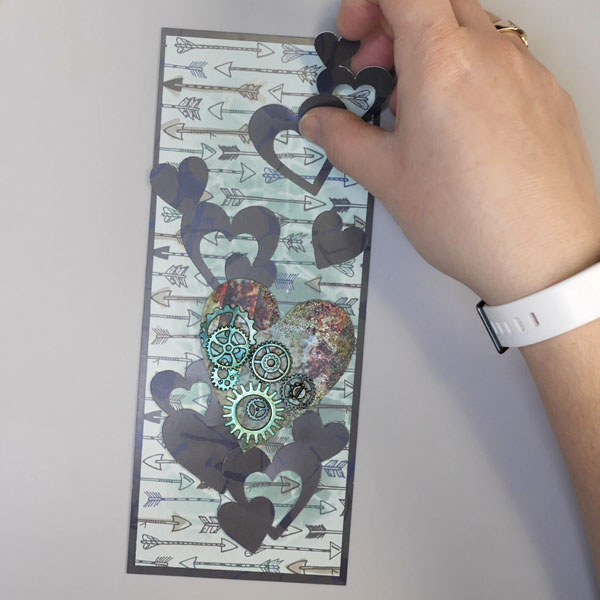
Arrange the die cut hearts and the focal image onto the card and adhere with glue dots. Tape to the white card back.
What Do You Think?

What do you think of this Valentine’s Day slimline card? Are you making cards for your loved ones this Valentine’s Day? I would love to hear what you think of this project and what you are creating for Valentine’s Day. You can contact me directly or comment below. If you try this card design, I would love to see your take on this card. If you are sharing on Instagram please use the hashtag #hopalongstudio so that I can view your projects.
Project Supply List
- Wild Whisper Designs Adventure Paper
- Wild Whisper Designs Pam Bray Watercolor Paper
- Brother ScanNCut
- Heart Design for Brother ScanNCut
- Metal Gears
- Ranger Tim Holtz Alcohol Inks: Clover, Tranquil, Pool, Aquamarine and Smolder
- Golden Glass Bead Gel
- Scotch Tape Runner
- Thermoweb Zots Clear Adhesive Dots
- Staples 90lb white cardstock
- Palette Knife
- Tim Holtz Distress Oxide Inks: Vintage Photo, Cracked Pistachio, Evergreen Bough, Iced Spruce
- Ranger Mini Blending Tool, Ranger Distress Blending Tool, Foam pads and felts
- Tim Holtz Shattered Stencil
- Scissors
- Faber Castell Pitt Pen Black


