New to Napkin Decoupage? Start HERE!
Do you know that you can create beautiful works of art with napkins? These aren’t just beautiful napkins to be used at parties or around the house but are the start of a beautiful art or craft project! If you’ve never tried napkin decoupage, join me as I share everything you need to know to get your first napkin project completed!
Hop-A-Long Studio is reader-supported. When you buy through links on our site, we may earn an affiliate commission at no cost to you. Learn more.
The Napkins
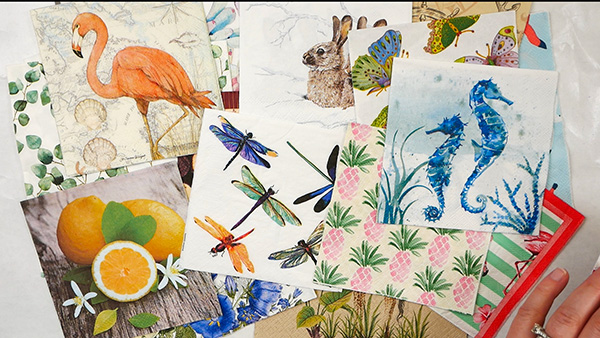
The one question I constantly get asked is “what napkins can you use?” Any paper napkin with an image printed on it will work for these techniques. These can be small cocktail napkins, regular and large napkins as well as skinny napkins. Any of these will work for creating napkin art.
Where to Get Napkins?
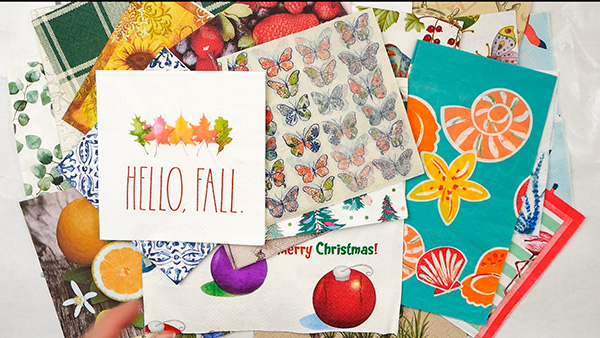
Once you start into napkin art, you’ll start acquiring napkins everywhere. I get many of mine from napkin exchanges and my friends know that if that have any leftover napkins from parties, to send them my way! You can also get them from online stores. I’ve purchased napkins from Ninny’s Napkins before. This isn’t the cheapest way to go, but you’ll find a selection of beautiful, curated napkins and you only need to purchase a couple instead of trying to get through an entire set of 25 or 30 napkins.
Prepping the Napkins for Your Project
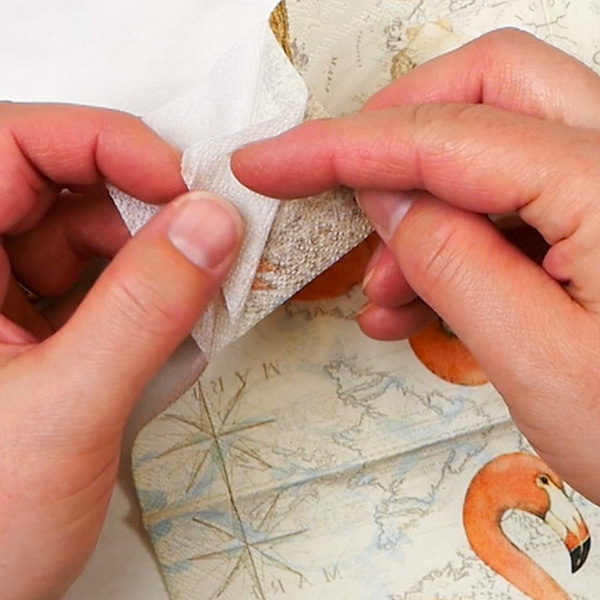
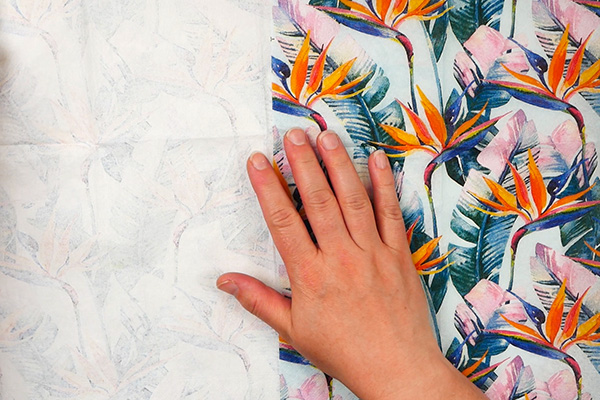
Before we can start adding these beautiful images to our projects, we need to take off the extra layers of paper from the napkin. Once these layers are removed this will give you a clear and vibrant image to use on your projects.
Most napkins are either 2 ply or 3 ply. So you’ll either need to remove 1 or 2 layers from your napkin. Some napkins are easier to separate than others. You may be able to separate the layers with your fingernails. If you struggle with this, use washi or painter’s tape to carefully peel the layers apart. When you get them started, be very gentle when you pull them apart as the napkin is delicate and can rip.
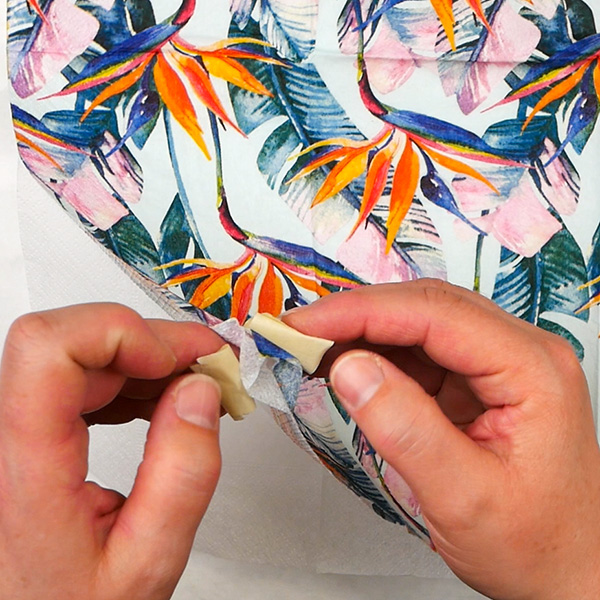
Ghost Images
You’ll notice that the first layer of napkin that you remove is fully white. But the second layer, depending on how dark the pigment of the printed image, may have a ghost image. I don’t throw these away but use these in my art journal with decoupage to create interesting subtle colors and textures.
Tearing the Napkin
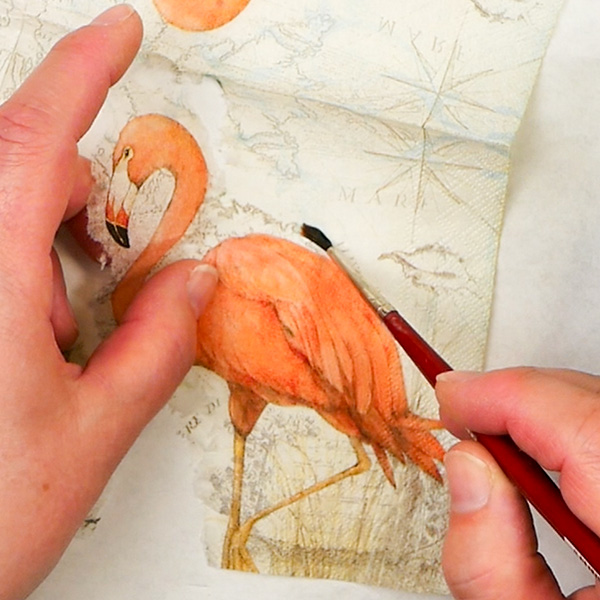
If you don’t want to use the full image, add water with a paintbrush and carefully tear the image. Without the water you’ll end up with an uneven tear. The water simply gives you more control over the way the napkin tears.
I have a few more tricks about how to cut out images from napkins, make sure to come back next week as I share more about ways to get the best results cutting and tearing napkins!

Choosing the Right Decoupage Glue
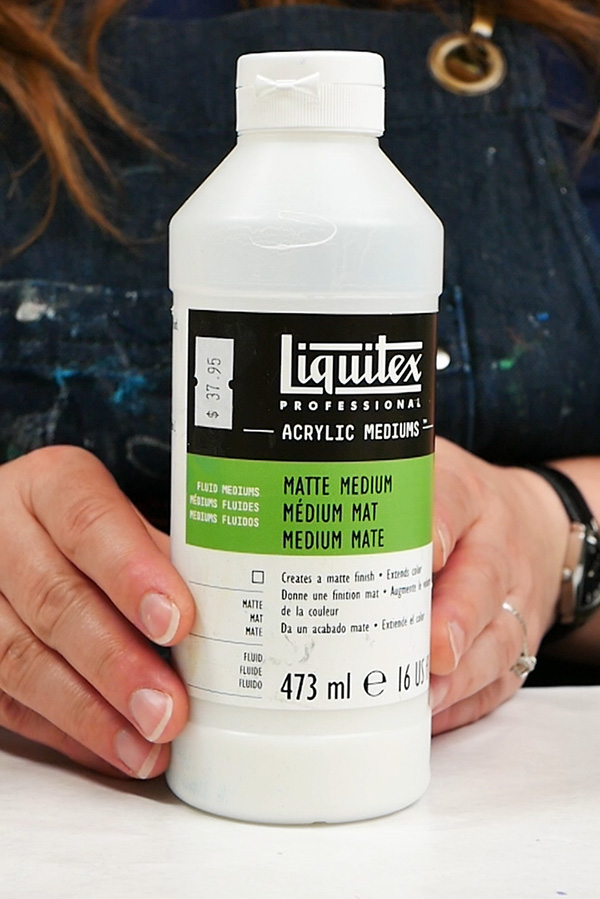
My favorite medium for napkin decoupage is Matte Medium. The brand that I highly recommend is the Liquitex matte medium. You can also use Modge Podge or another collage medium to apply the napkins. I the artist brands, like Golden and Liquitex, because they don’t yellow over time. Plus, they don’t smell strong the way Modge Podge does.
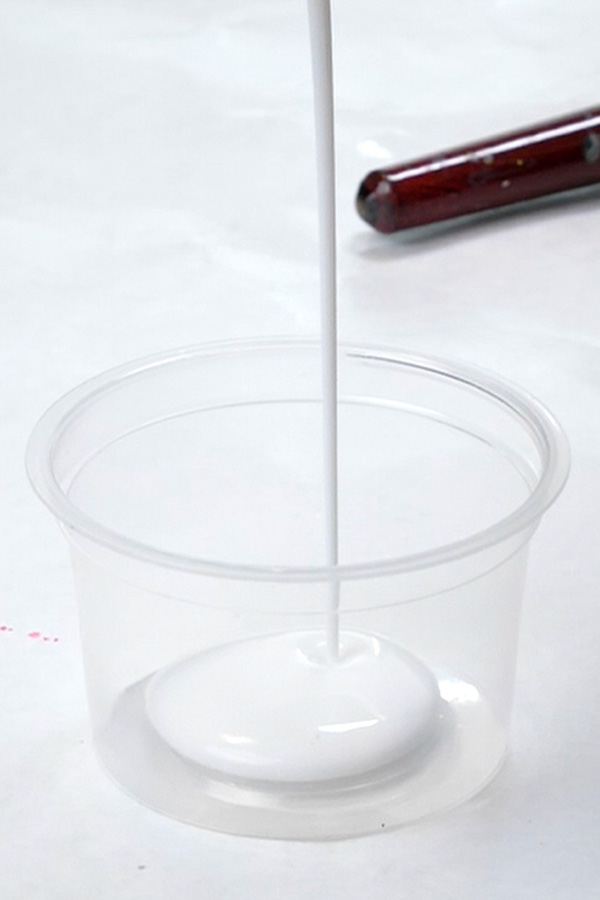
The key is to make sure that whatever decoupage medium you use, that it has a liquid consistency like maple syrup or thinner. Any heavier mediums (like a gel medium) are much harder to apply and could rip your napkin.
How to Decoupage a Napkin
The larger the napkin, the more challenging it will be to apply, especially if you don’t want wrinkles. There are 2 different techniques that I’ve found to be most effective that I want to share today.
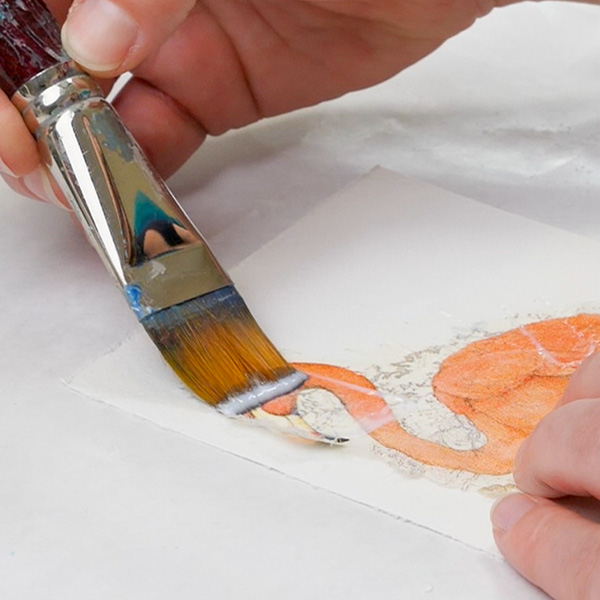
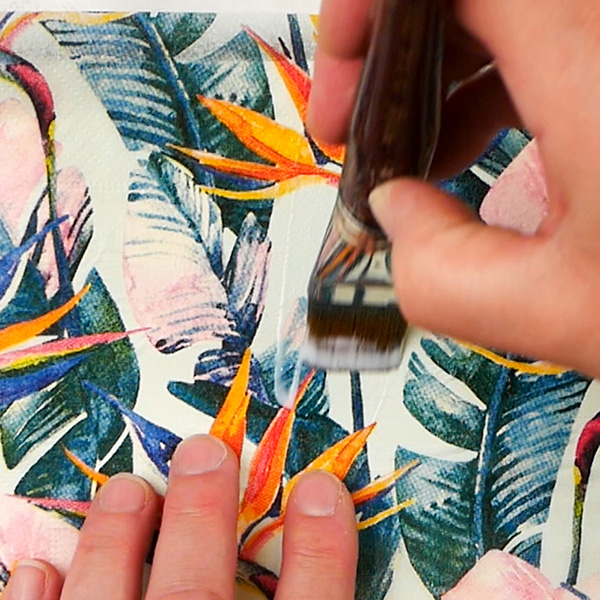
The first is for those who have never tried napkin decoupage before. This will be easiest way to do it. Lay out the napkin as evenly and smoothly as possible onto your surface. Using a soft brush and your favorite collage medium, add it gently to the surface. Because the napkin is so thin, the matte medium will absorb into the napkin sealing it to the surface.
The other option is to add matte medium to the surface, then add the napkin on top. When using a large napkin, I work in sections. This way I tend to get less wrinkles and have more control over the image.
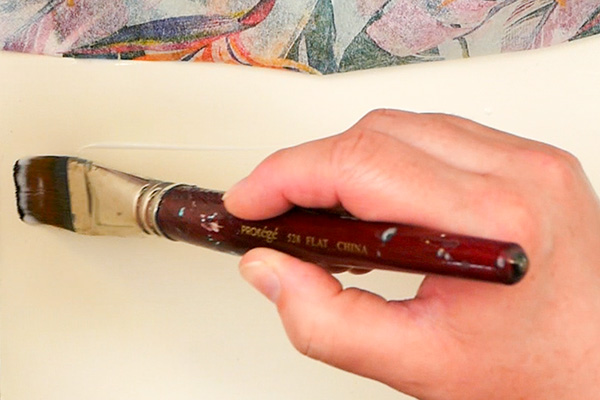
The key for both napkin decoupage techniques is to not overwork the image. If you feel like you didn’t have enough collage medium on in the first layer, don’t add more.
Let the surface dry completely and then add in more collage medium to areas that you may have missed. If you go over the wet napkin, you’ll tear it with your brush. Let it dry and you can always add more on top.
When it’s dry, you’ll notice the stippling on the napkin in the area around the edge. This is normal as this is what keeps the layers of napkins together.
Your Background Matters
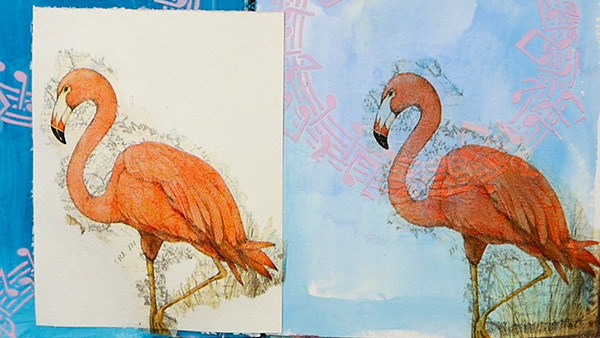
When working with napkins, the background color matters. When you add your napkin to a white background, you will get fantastic contrast. But what if you want to add a napkin to a background that already has color on it? This is where you need to be careful. If you add it to a very dark background, it’ll disappear onto the page like this.

Part of your page planning will be deciding how dark you want your background and how this will affect the napkin that you will add on top. I like choosing light colors for my background, usually applied with paints, inks or watercolors. This creates a beautiful background for your napkins, but you’ll still be able to see the images clearly on top.
But what if you add a napkin and it’s too dark? Then make sure to check out the article in the image below. I create this project showing different ways you can revive a muted napkin image on your project.
There’s lots of ways that you can use images on dark or colored backgrounds, you just need to understand a few techniques to get the best results.
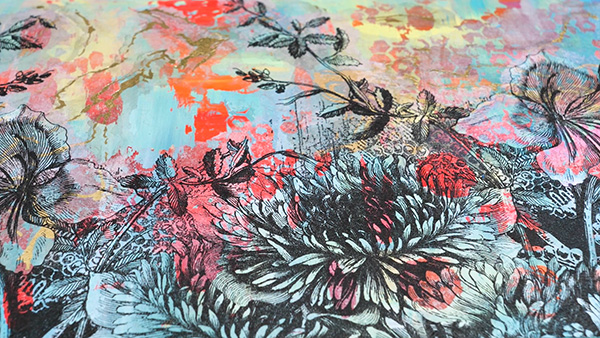
Layering Napkins
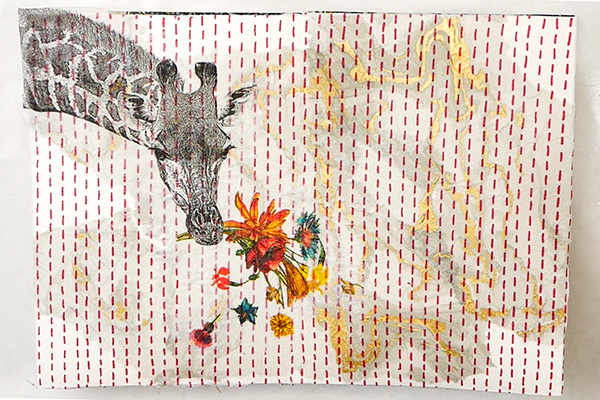
When you use napkins, you can use multiple designs on one project. By layering them this can create a beautiful and unique background. Like a good lasagna, the napkins become more than the sum of their parts. The key is to make sure that the layer below is fully dry before adding another napkin on top.
Here are a few examples of pieces I’ve done with layers of napkins. They can make beautiful and complex art pieces.
This piece I created for a friend of mine for her wedding. I had taken some of the napkins from her bridal shower and included them in the background of this painting. She loved that I added them to the painting, it made it so much more meaningful to her.
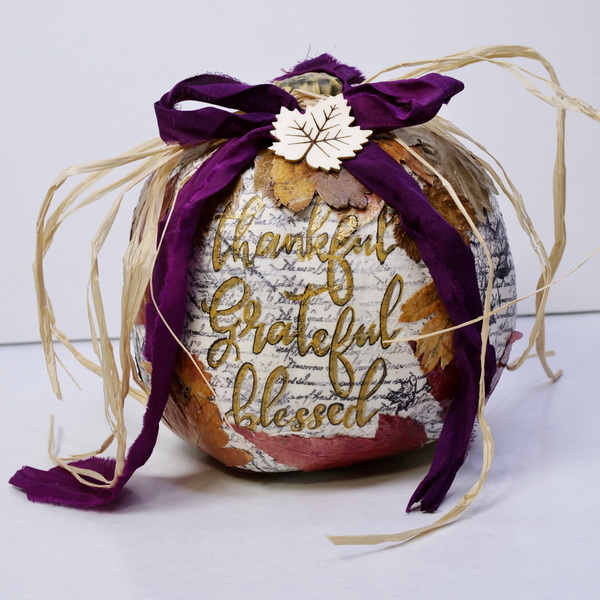
You can use them on decorative pieces like pumpkins. In this project I was decoupaging dried leaves and napkins to make a Thanksgiving pumpkin.
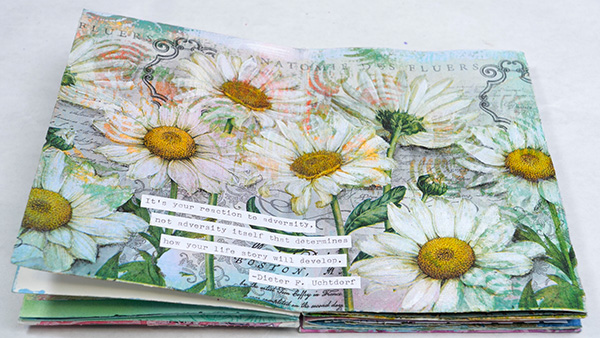
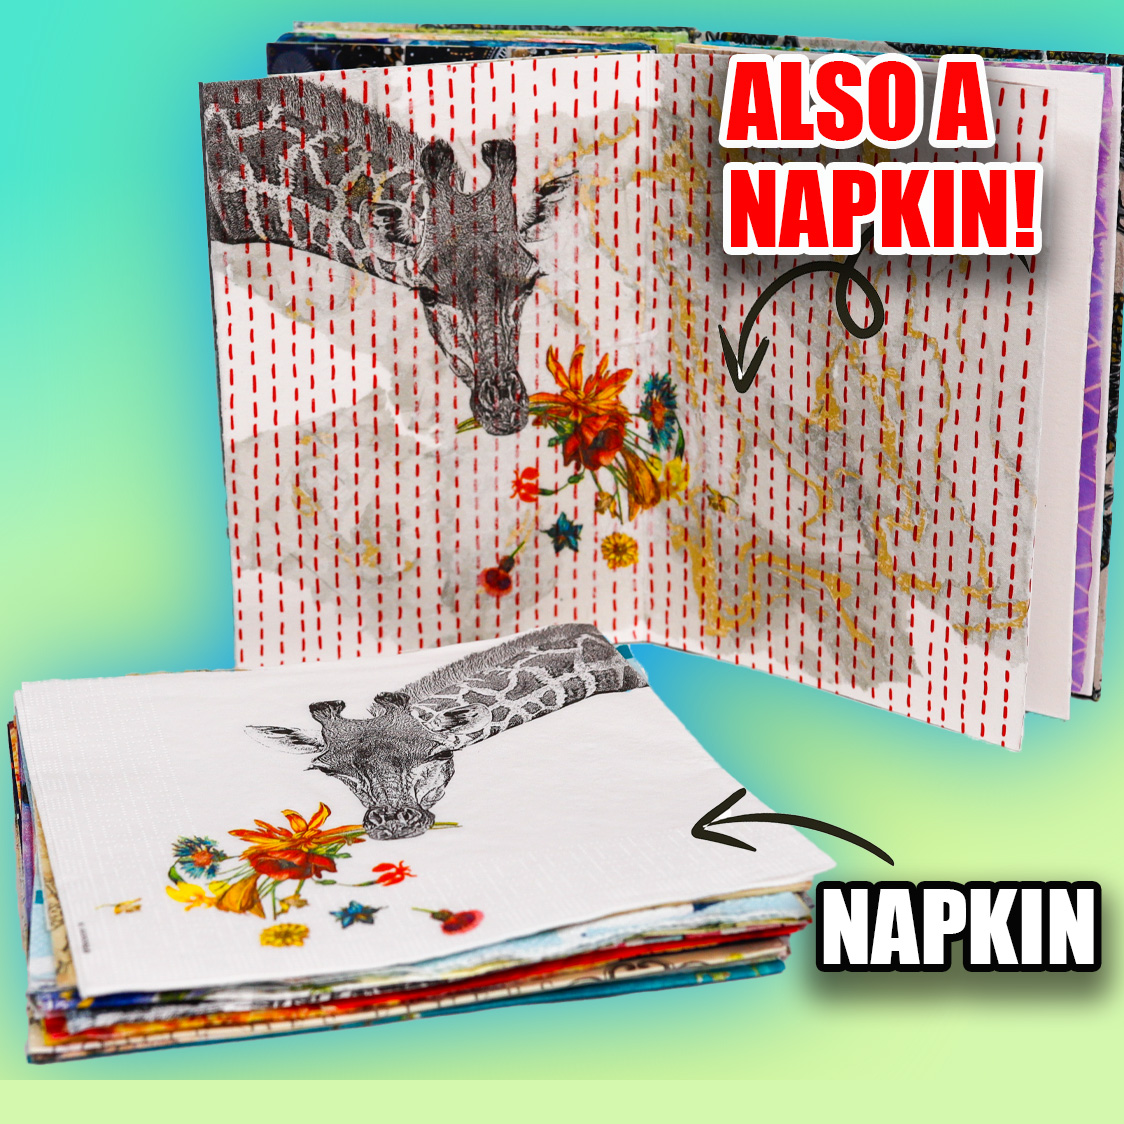
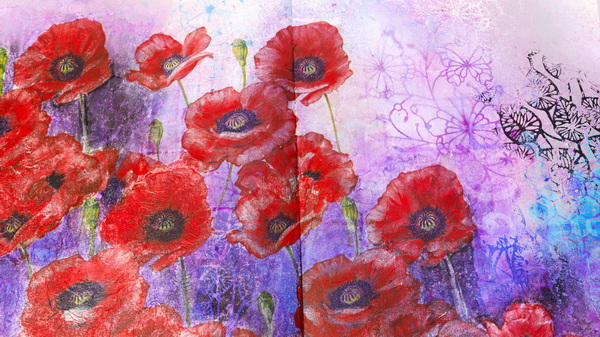
But my favorite way to use napkins is to use them in my art journal. This is a way to make quick backgrounds or beautiful focal images for an art journal page.
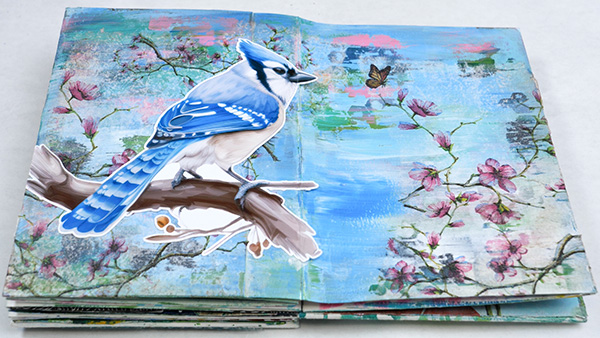
I tend to add extra layers of paint and other mediums on top to bring out the beautiful colors. Check out the other videos in the playlist for more inspiration on how to use napkins!

Next Steps for Napkin Decoupage
Napkins are a lot of fun, are easy to use and you can create so many beautiful project from them! I hope that this has given you the confidence you need to try these out for yourself. Come back next week when I’ll share with you how to get the best and most precise images out of your napkins! In the meantime, check out these projects on how to use napkins in your art journal and on 3D objects.
My Favorite Napkin Projects
- My Napkin Art is Disappearing! 3 Easy Ways to Recover Images
- Art Journaling with Napkins
- New to Art Journaling? Basic Techniques using Paints and Napkins
- The Art of Napkin Decoupage: How to Easily Transform Any Surface
- Mixed Media Magic: Transforming Pumpkins with Decoupage
Project Supply List
Napkins
- From Amazon.ca: https://amzn.to/4cFCVLJ
- From Amazon.com: https://amzn.to/3xOtTx4
- Ninny’s Napkins: https://ninnysnapkins.com/
Decoupage Medium
Liquitex Matte Medium
- Amazon.com https://amzn.to/3W3cWZl
- Amazon.ca https://amzn.to/4bEFWLD
- Blick Art https://shrsl.com/4lb4d
Golden Matte Medium
- Amazon.com https://amzn.to/3zxj1Ej
- Blick Art https://shrsl.com/4lb4e
Modge Podge
- Amazon.com https://amzn.to/4eGl6xY
- Amazon.ca https://amzn.to/3xqA7U0
- Blick Art https://shrsl.com/4lb4f
Mixed Media Brushes
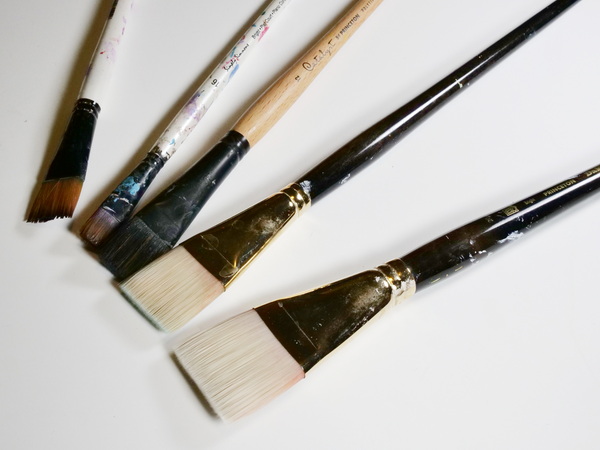
- Amazon.com https://amzn.to/3zqaRxF
- Amazon.ca https://amzn.to/4eLmwao
- Blick Art https://shrsl.com/4lb4h
Art Journals
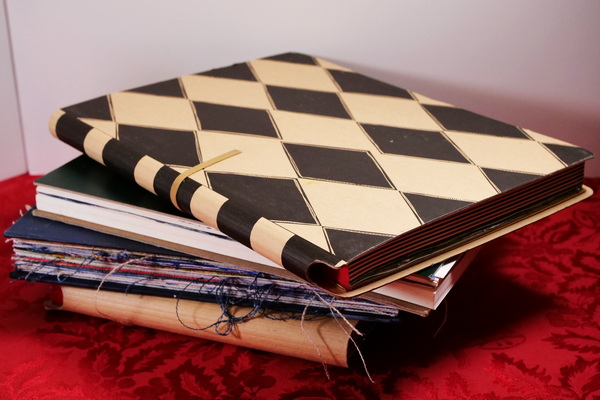
Dylusions Journals
- Amazon.com https://amzn.to/45KBF7M
- Amazon.ca https://amzn.to/45HDXVn
- Scrapbook.com https://shrsl.com/4lb4i
Ohuhu Mixed Media Journal
- Amazon.com https://amzn.to/3W0AwWC
- Amazon.ca https://amzn.to/3xt6rph