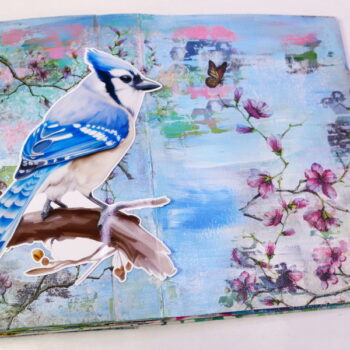
Easy Art Journal Page Using Paper
If you are new to art journaling, it can be intimidating knowing where to start. One of the most basic techniques is creating an art journal page using paper. This doesn’t require a lot of materials and it’s an easy place to get started. But we’re going to spice up this art journal page by adding mediums to the paper. This is a great way to use paper but add your own creative flair to your journal page.
Hop-A-Long Studio is reader-supported. When you buy through links on our site, we may earn an affiliate commission at no cost to you. Learn more.
The Art Journal Prompt
Before I start every page, I usually start with a thought, idea, or a quote that has been in my thoughts. Today my prompt for you is: “What do you fear?”
What do you Fear?
I’ve been going through transition lately and have needed to acknowledge my fear. Most importantly, how to find acceptance in uncertainty. I found this quote from Brene Brown from her book Daring Greatly that is the reminder for me to embrace the fear as well as to embrace joy in my life.
Numb the dark and you numb the light.”
Brene Brown
Fear can paralyze us and prevent us from growing in our lives. But the unexpected thing about fear is that if we ignore it or suppress it, fear can numb us to other emotions like joy and happiness. Fear can prevent us from finding joy in other areas of our lives.
Especially if we are new to creativity, it can be hard to know where to start. You may be feeling overwhelmed or fearful to try. Remember that you’re not alone. Every creative, no matter where they are in their journey, has had those moments too. Many continue to experience it.
To help us to conquer our fear, it can help to write it down. You can talk about the small fears or your big ones. It could be a fear that you’ve always had or a fear that you’re experiencing today. The purpose is to acknowledge the fear, to embrace those feelings and move past them.
I hope that as we work together through this project, this will help build your confidence in your creative practice. More importantly, that this will be a page where you can journal about your fears.
Art Journal Page Using Paper
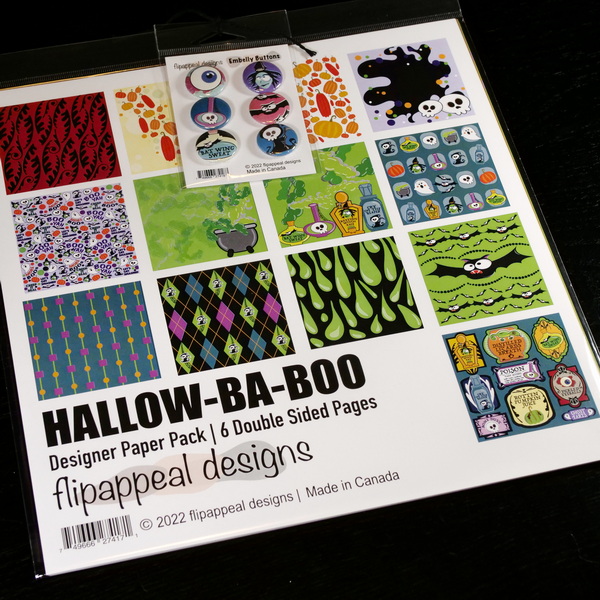
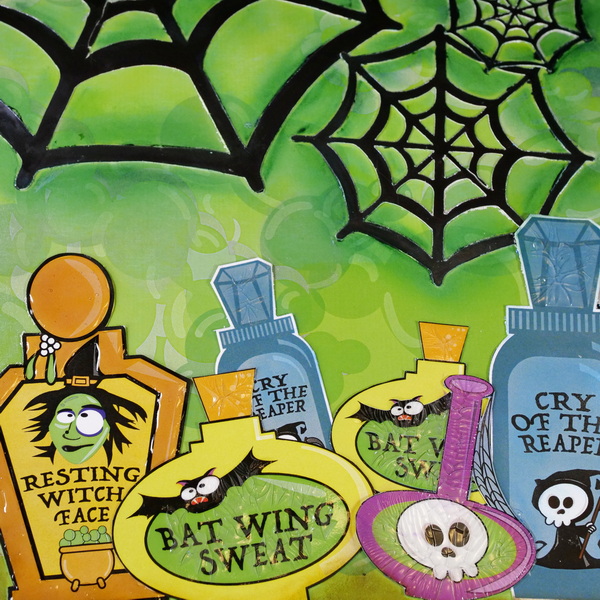
The paper that I’m using today is Hallow-Ba-Boo designer paper from FlipAppeal designs. This is a new paper line that a friend of mine has started to design and sell. She gave me some to play with and I thought it would be perfect for an art journal page about fear!
Choosing the Paper
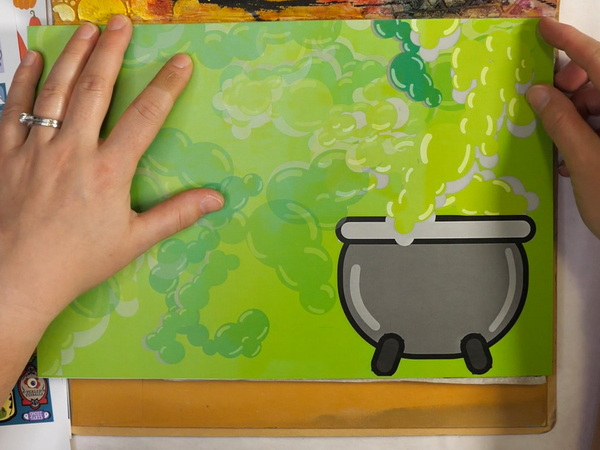
When art journaling using paper, paper choice is very important. Do you want busy or solid patterns? Do you want to use light paper or dark paper? I chose the green cauldron paper because of the fun movement of the bubbles and smoke. It was also a mid-value which lets me go lighter and darker with my mediums and focal images.
I cut the paper to the size of my journal. I tend to leave an extra ¼ inch in case I don’t line up the paper correctly. Glue it to your journal using Art Glitter glue and cut off the excess paper.
Fussy Cutting Images
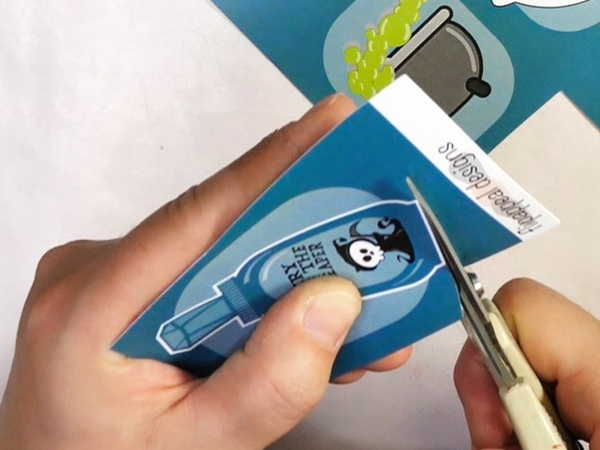
What I love about using paper with graphical designs is many of the images can be fussy cut out of paper using scissors or a craft knife. Because of this, the paper isn’t just useful as a background, but also for focal images and embellishments on your page.
To fussy cut images with scissors, use a set of fine-tipped scissors that can allow you to make very fine cuts. You can decide to leave a white area around the image or not. In my case, I wanted the white to contrast the mid-values of the background color, so I fussy cut to the white edge of the paper.
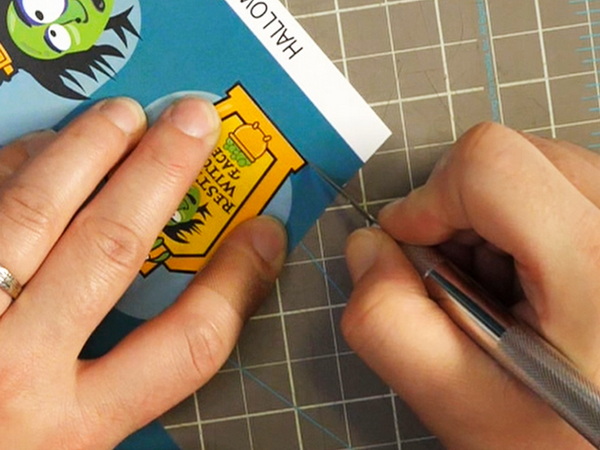
If you would like to use a craft knife instead of scissors, make sure to use a self-healing cutting mat. Place your paper onto the surface and cut around the image using the craft knife. I often turn the paper as I’m working so that I generally work in downstrokes. This way I can be a lot more consistent with my cutting strokes which leads to better results.
Cobweb Images
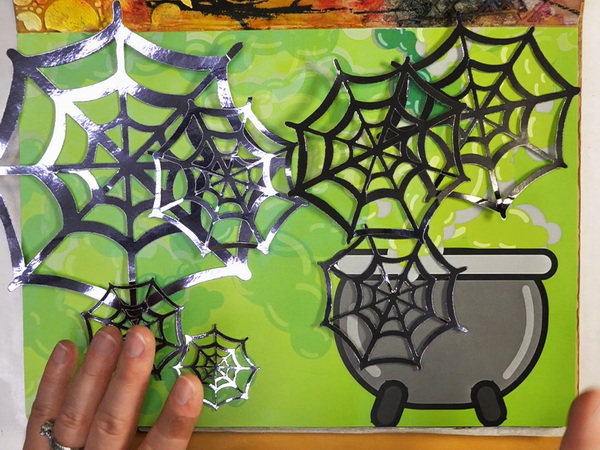
I love to add my own images into my art journaling pages. But I didn’t have a cobweb image, so I drew one. I used my Brother ScanNCut to scan the image and turned it into a cut file that I could resize and cut out. From one drawing I made images of multiple sizes. I used black metallic paper to cut out my images so that they will stand out from the background.
If you don’t have an electronic die cutting machine, you can trace and cut out your image. If you’re not sure how to trace an image, check out this article where I go into detail about tracing images.
I am sharing my cobweb image in a pdf format so that you can trace it and cut it out for your project. Just let me know where to send it in the form below and I will send it straight to your email box. As an added bonus, I will also enter you into a giveaway for a set of Hallow-Ba-Boo designer paper from FlipAppeal Designs. I have two packages of paper to give away and I will be choosing winners on October 8, 2022.

Adding Layers to the Art Journal Page
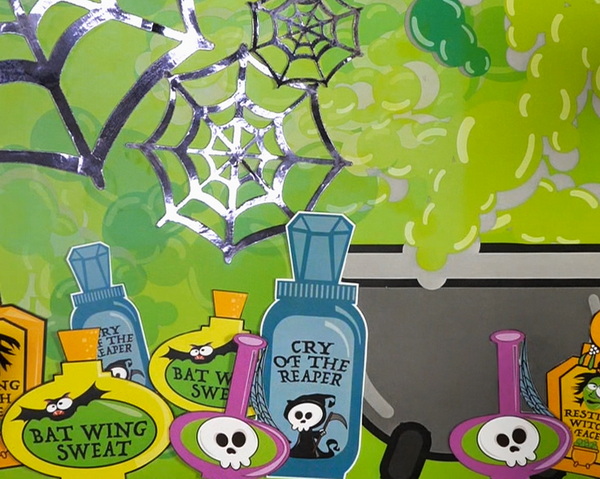
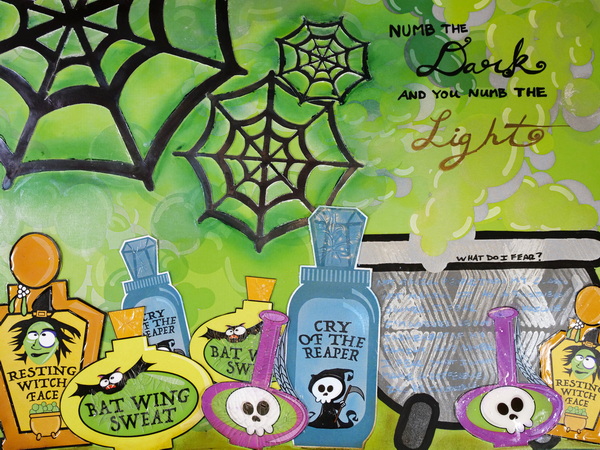
Now it’s time to assemble the page. I arranged the fussy cut bottles around the cauldron overlapping them and creating several layers of imagery. I also overlapped the cobwebs and the bottles to create more depth to the page. By layering images, it gives a sense of distance and depth to the art journal page.
I glued the images down using Art Glitter glue as it is easy to apply, dries quickly and dries clear.
Adding Stenciling with Acrylic Paint
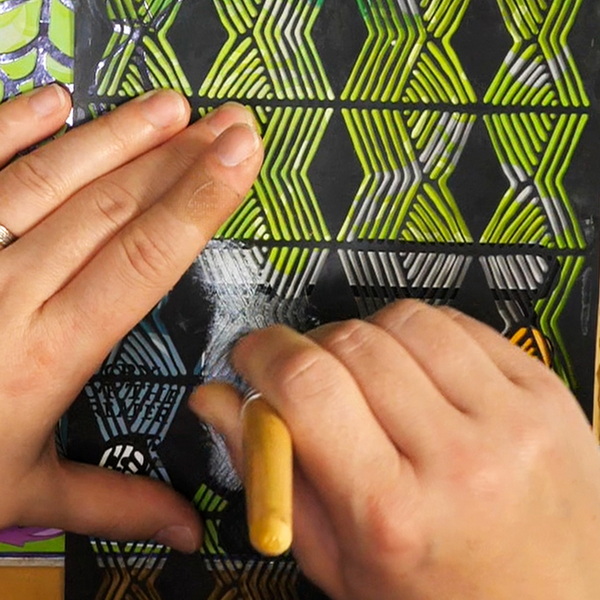
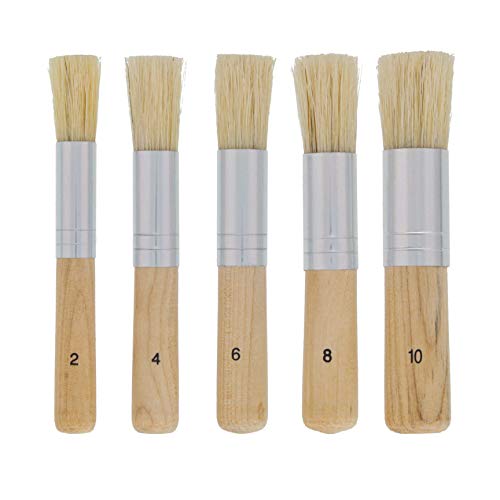
To add more texture to the cauldron image, try using a stencil and acrylic paint. By using Golden Fluid Iridescent Pearl acrylic paint this can create thin, shimmery layers to the paper pieces. Using a stencil brush I added paint to the surface on the stencil being careful to add it around the bottle images. If I was to do it again, I would have added the paint before adding the focal images.
If you have leftover paint, using your finger, rub it around the edges of the cauldron and onto the smoke wisps and bubbles. This adds shimmery effects that has a color flipping quality about it.
Customizing Your Art Journal with Gelatos and Distress Crayons
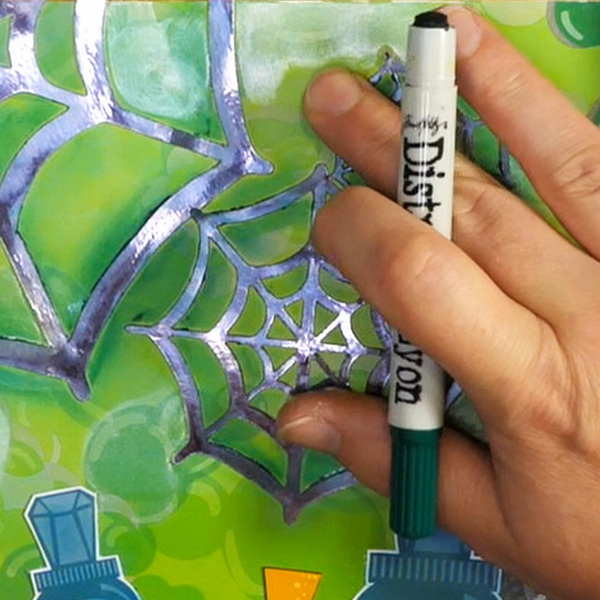
As the paper has a smooth, slightly slippery finish, it’s perfect for adding Faber-Castell gelatos and Tim Holtz Distress Crayons to customize your art journal page. To add gelatos and crayons to the page, add a bit of the medium onto the paper and rub around the surface with your finger. If you’re having trouble getting the mediums to move, moisten your finger to help them move more easily.
I added the luminescent gelatos to the bottles to give them a bit of shine. Especially for the diamond tops of the blue bottles, these accents can have a lot of impact.
I like to ground my focal images, by adding Vintage Photo Distress Crayon to the foreground this gives a sense of grounding. To create more shading around the cobwebs, I added Pine Needles Distress Crayon around the shapes.
Cleaning up Images & Adding Journaling
If you find that your paint covers up too much of the image, come in with a black paint marker to clean up the edges of the cauldron.
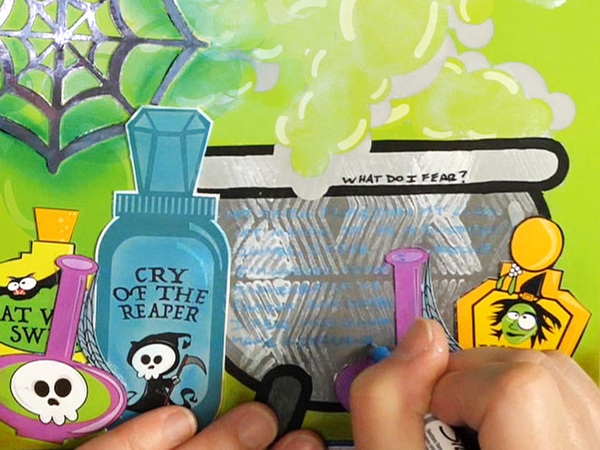
You can add your journaling anywhere in the page, but I chose to add it inside the cauldron. I was thinking about how thoughts can stir in our minds, and how it can be helpful to put them out on paper.
I added the question “What do I fear?” in black and added my journaling in a metallic blue so that it would be less noticeable. Sometimes I want my journaling to be very contrasting, other times I want it to be subtle but still readable.
Adding the Quote
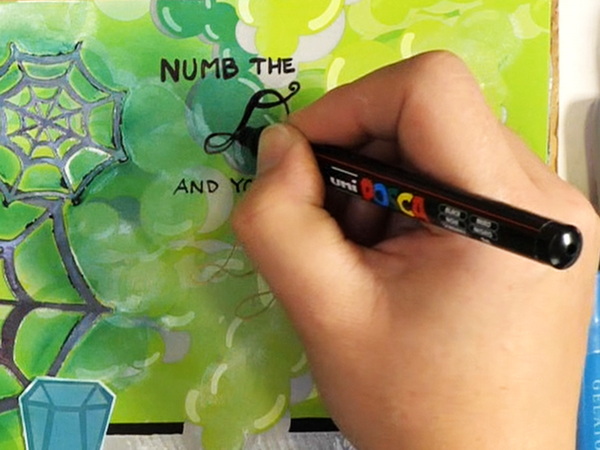
I love the quote from Brene Brown, so I wanted to add it to my page using my own writing. If you’re not super happy with your writing, start by writing in caps and cursive, then go through and thicken the letters.
For cursive lettering, remember that upstrokes are thin, downstrokes are thick. It’s a great way of adding quotes that you can embellish and customize on your art journal page.
Adding Glossy Accents
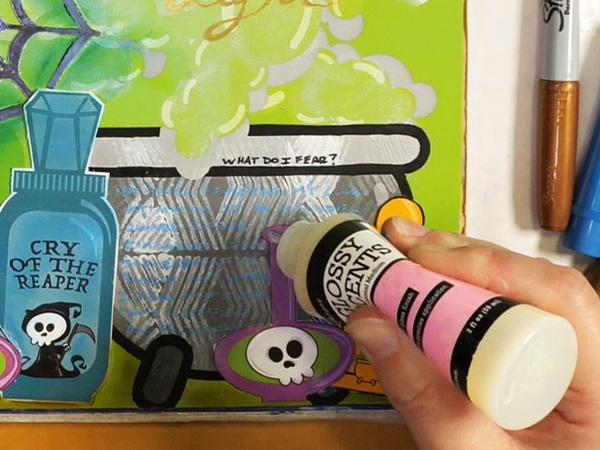
I love adding a variety of clear mediums on my art journal page, especially on the focal images! To make the bottles shiny use a combination of Glossy Accents, Crackle Accents and Sepia Accents, I added them to the page.
Try to add these in an even layer, but don’t worry too much if it’s not perfect. The glossy accents are self- leveling mediums, so they will end up creating an even layer on the surface. The glossy accents will dry clear but glossy. For the crackle accents, they will be glossy with cracks in the surface. The sepia accents are slightly tinted to give a darker, more sepia look to the photos.
Any Questions?
Any questions about creating an art journal page using paper? If you are new to art journaling, adding the mediums may feel like too much. You don’t necessarily have to add them, it’s completely up to you.
But I wanted to show you how easy it is to add mediums that work with paper. This can create a more cohesive project and can let you add your own custom touch to the papers.
If you have any questions or comments, please leave a comment below. And don’t forget to enter the draw!
Project Supplies
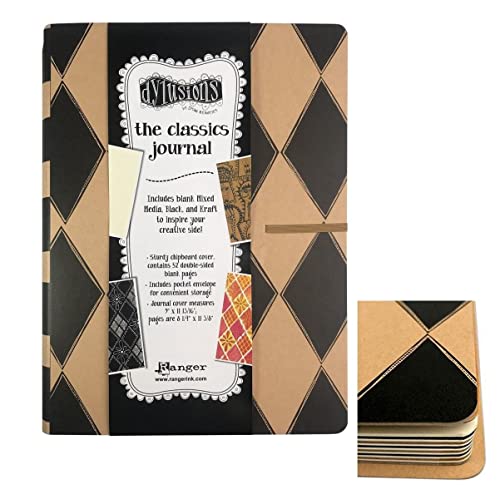
When you need somewhere to create and preserve your artwork, look no further than this Dylusions Classics Journal from Ranger Ink, designed by Dyan Reaveley. This journal includes 52 double-sided pages, 28 mixed media, 12 black and 12 Kraft pages, all waiting for your inspiration.

Ideal for cutting a wide variety of crafting materials including paper, photos, scrapbook pages or specialty materials. Cutter comes with a lifetime warranty.


Pitt Artist Pens offer a waterproof pigmented India Ink with unsurpassed lightfastness. These acid-free pH neutral markers come in a wide variety of colors and nib sizes and provide great versatility to pen-and-ink drawings requiring lots of intricate details.

Hammermill 8.5” x 11” Colored Cardstock 110lb Paper is a premium thick cardstock designed for print and copy use on copiers and printers. It’s heavy cardstock that’s ideal for heavy duty projects.


Art Glitter Glue is permanent and dries clear and adheres to a variety of surfaces. It's water based and acid free. Make sure to close lid to avoid drying of glitter glue. Bundle comes with one bottle of 8oz, one bottle of 2 oz and a metal tip for easy application.

You're going to feel just like an expert when you're cutting the smallest of details with the Cutter Bee Scissors by EK Success. These un"bee"lievable compact scissors will have you feeling like a queen bee when you swarm right into your fine detail or fussy cutting projects.

Premium hobby knife set is equipped with 10 different exacto blades. There are three types of blades, curved blades are suitable for carving curved lines; oblique fine point knife blades are fit for detail carving; flat blades are suitable for chiseling, removing excess material


- Opaque ink is perfect for creating scrapbooks, posters, and window art
- Extra-fine tip lays down ultra-sharp lines
- Water- and fade-resistant ink won’t bleed through heavyweight paper
- Water-based, acid-free, archival-quality, and AP certified formula


Introducing the ultimate tool for unleashing your creative potential - the Posca Paint Marker. Elevate your artistic endeavors with a marker that combines innovation, versatility, and top-notch quality, all in one package.

- Professional quality
- 100% acrylic emulsion; no fillers, dyes, or opacifiers
- Intense, permanent colors with a smooth, fluid consistency
- Excellent lightfastness

Sakura marker pens write on glass, wood, porcelain, plastic, paper, and metal. Archival Quality: Pen paint is waterproof, fade resistant, and chemically stable when dry.